In-App Cases
In-App cases are practical scenarios of marketing mechanics configured through the In-App channel. Each case follows the same scheme: when the In-App is shown, what the user sees, what happens after the action, and what result the business gets. How to assemble the mechanic from an In-App template and a placement — in the steps of each case.
All mechanics rely on one set of In-App capabilities:
- Display types — Fullscreen, Modal, Slideup, Floating bar, as well as custom HTML/CSS/JS through the code editor.
- Display triggers — application start, navigation to a screen from the resource, and a custom event from the application. The content can be shown immediately or after a specified time after the trigger.
- Display conditions — schedule, display frequency via a sending policy, display limit per user, placement priority.
- Content — multiple pages in a template with switching inside the application, profile variable insertion, clickable buttons and links, ready-made editor blocks.
- Content variants — a placement can include up to 8 templates: the audience is split between them in equal shares at random.
- Audience — profiles subscribed to the In-App channel, as well as anonymous users without a subscription.
- Events — the platform registers In-App screen opening, closing, and actions; these events can trigger scenarios.
In-App content is launched only through placements. It is not used in broadcasts, regular, trigger mailings, or A/B/n tests.
Onboarding and welcome flow
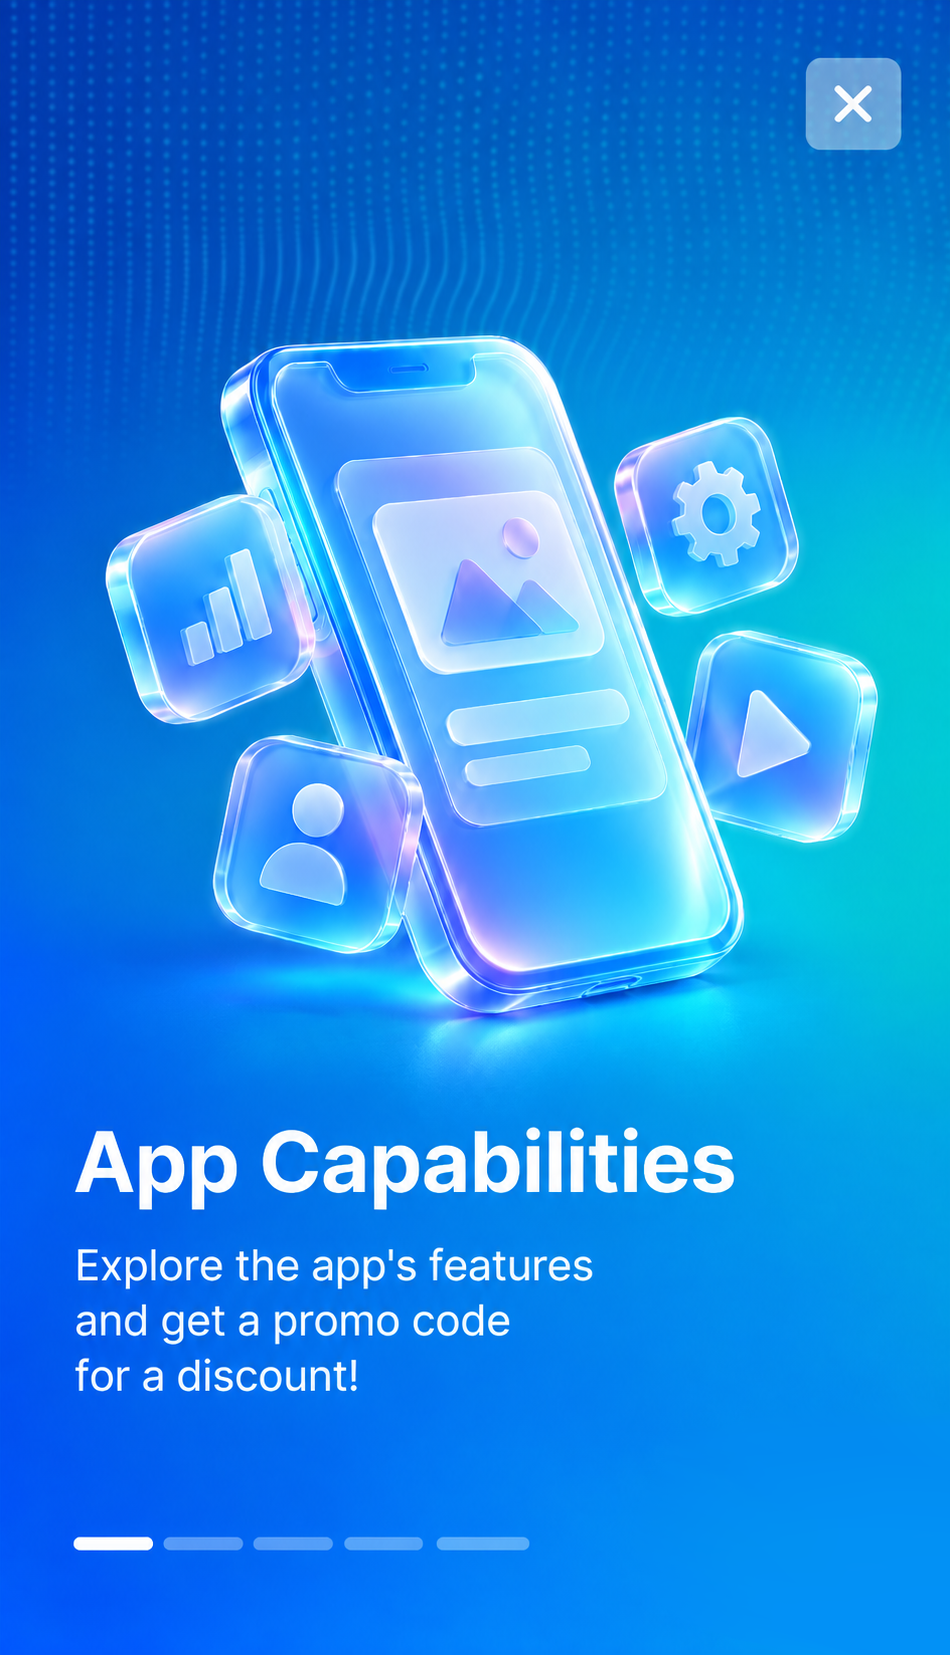
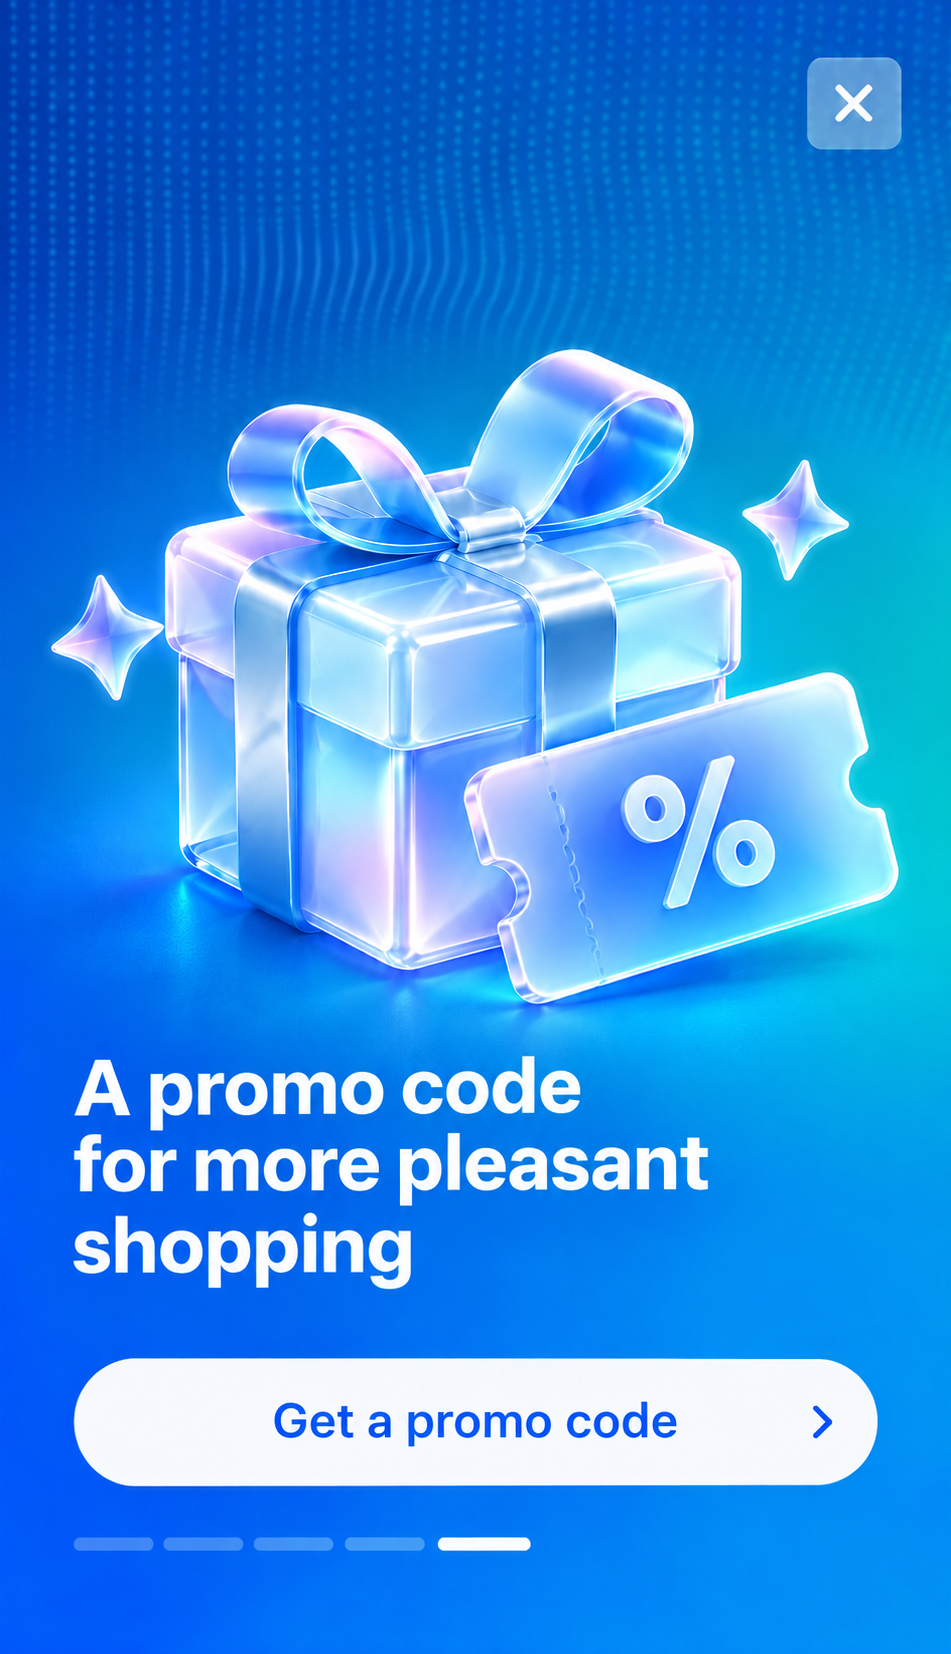
Scenario: a new user opens the application for the first time. Four or five short screens appear one by one: favorites, personal recommendations, bonus program, order tracking. The last screen shows "A promo code for pleasant shopping" and a "Get promo code" button.
Goal: introduce a new user to the application features and hand over the first promo code.
How to assemble:
- Create a resource with the In-App channel and prepare the application screens where the content will be shown.
- In the template, assemble a chain of several pages: each screen introduces one application feature, the last one contains a button with the promo code. Recommended display types: Fullscreen or Modal.
- Create a placement with the application start trigger. The trigger fires on every application launch, so set a display limit of 1 display per user: the chain will be shown at the first launch and will not repeat.
If the list of features does not fit on one screen, use multiple template pages — the user switches between them inside the application.
Scheme: Fullscreen or Modal → 4–5 template pages → application start → display limit of 1.
Collecting push permissions
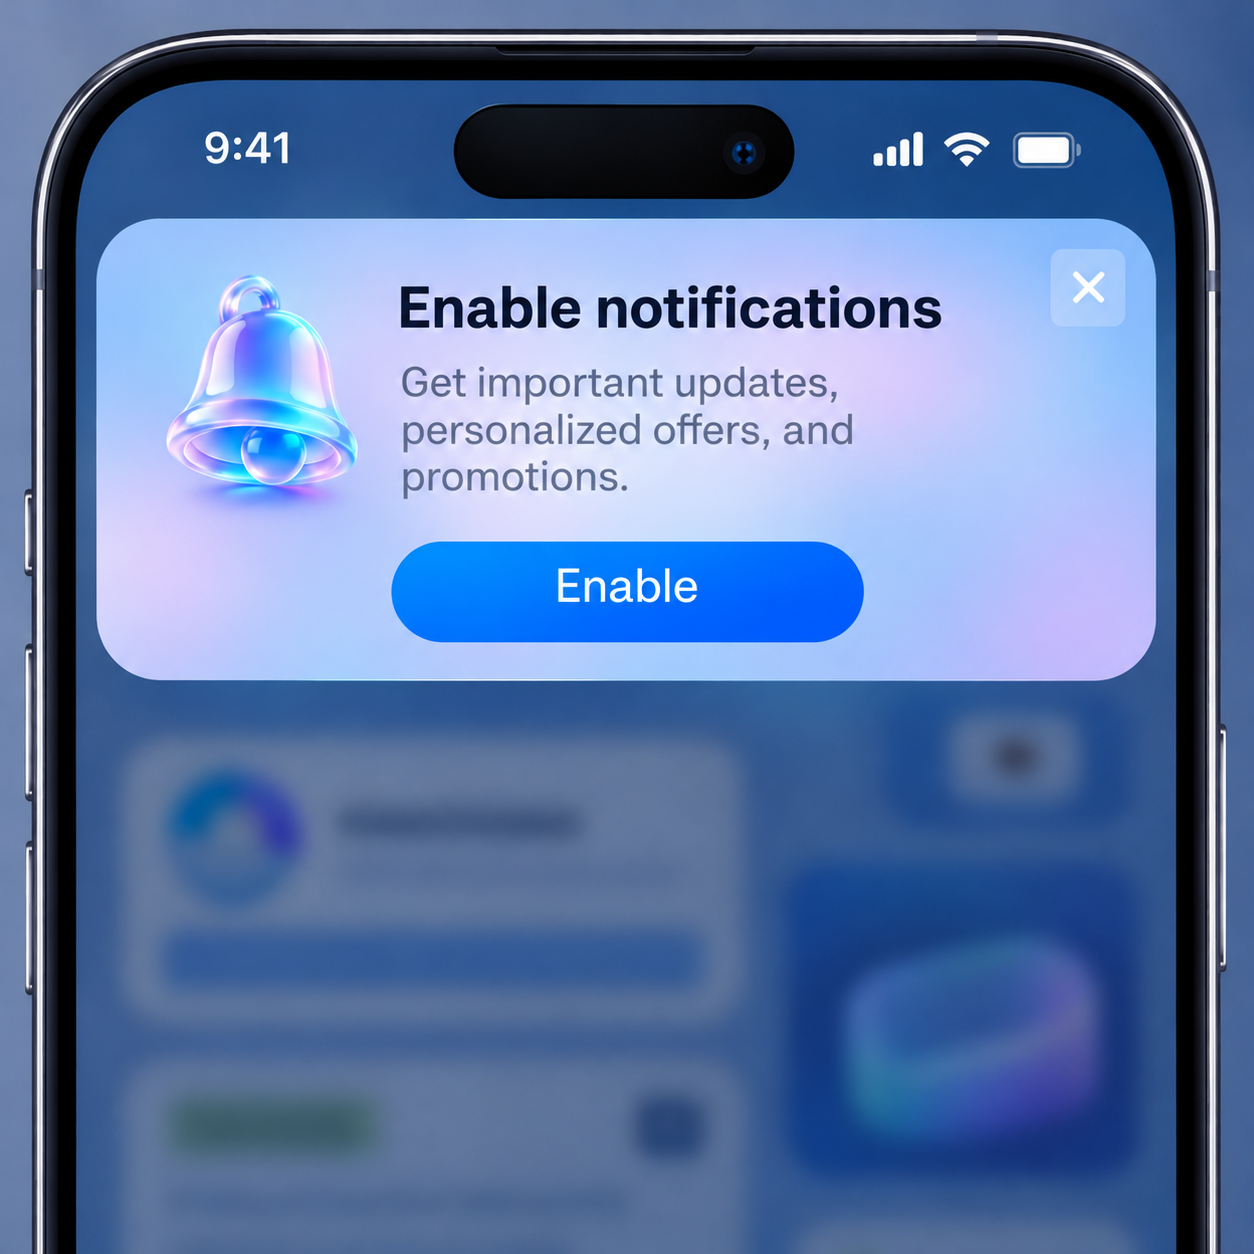
Scenario: the user has just placed their first order, and a Slideup appears at the top: "Don't miss the delivery" — "Enable notifications, and we will tell you when the courier is on the way". After the button is tapped, the application opens the system push permission dialog. For those who dismissed the request, a separate In-App with a button leading to the notification settings is shown later.
Goal: obtain consent to push notifications at the moment they are useful to the user.
How to assemble:
- In the template (Slideup or Modal type), explain what the application will notify about and how it relates to the current action: for example, report the delivery status after an order is placed.
- Create a placement with the custom event from the application trigger — the developer launches the display using the trigger by name method at the right moment: for example, after an order is placed or after the first completed actions. Another option is the navigation to a screen from the resource trigger: the window will appear when the user opens the selected screen, for example the "New arrivals" section.
- When the button is tapped, the application initiates the system push permission request — the application developer implements this logic.
- For users who dismissed the system request, prepare a separate placement: an In-App with a button leading to the application's notification settings screen — the specific page is defined by the application developer.
The moment of the request affects consent: a window shown right at the first launch may seem intrusive. The trigger by name gives the application control over the timing.
Scheme: Slideup → event after the first order → system permission request; for those who dismissed — a button to the notification settings.
Promo campaigns and promo codes
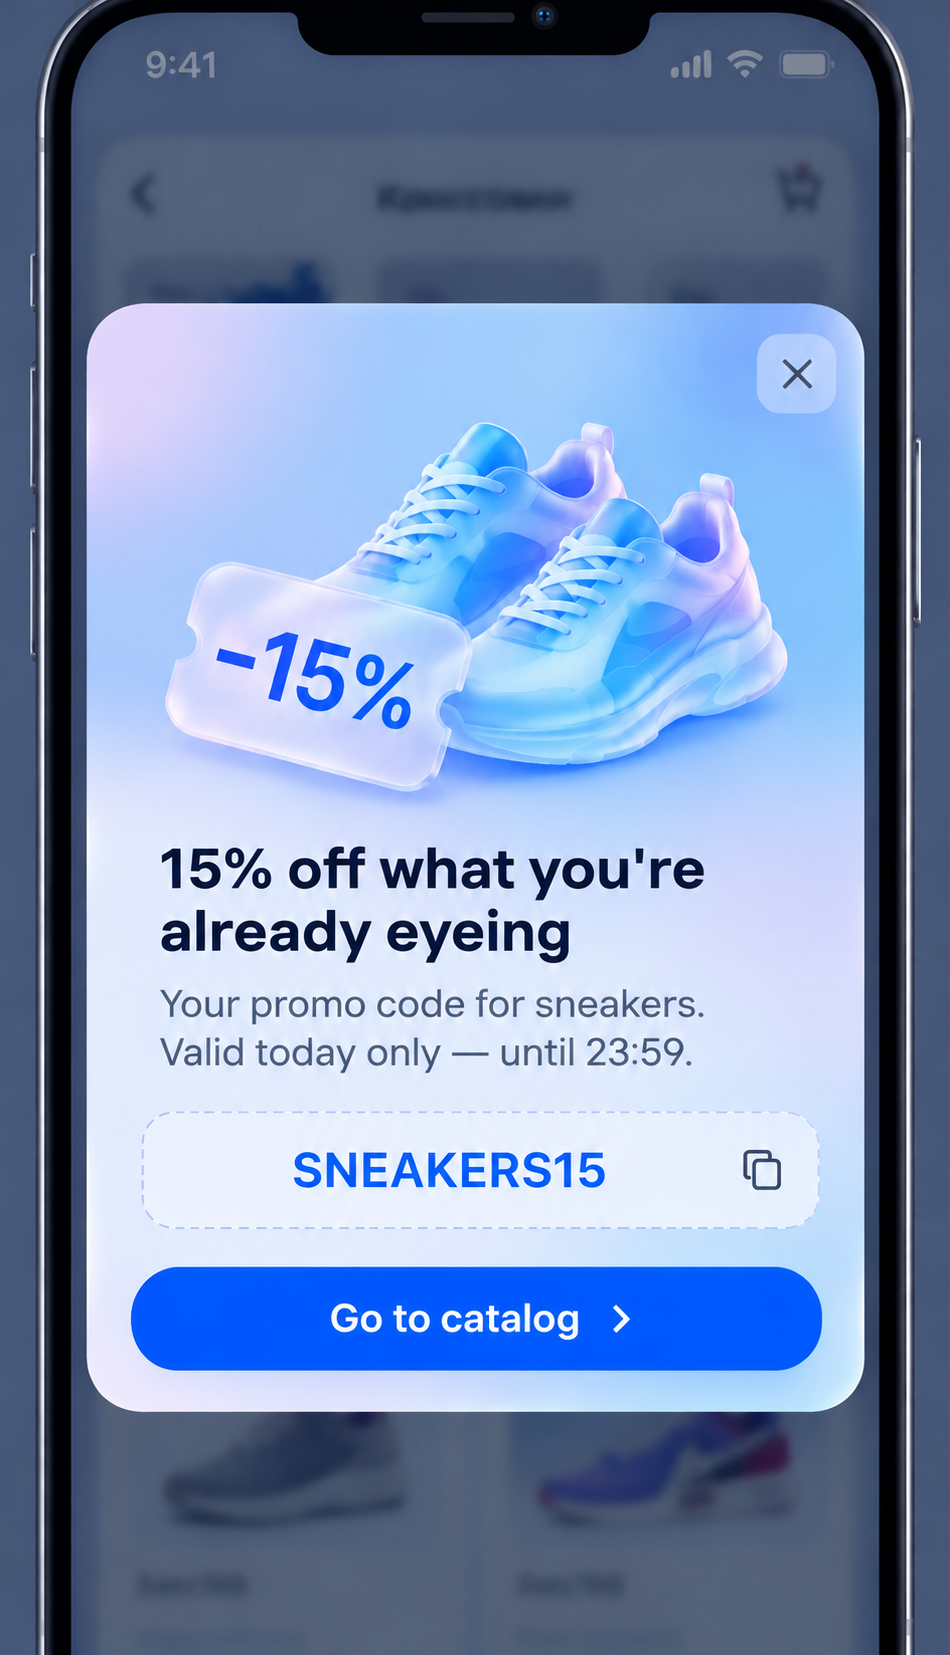
Scenario: the user opens the "Sneakers" category for the second time in a week. When entering the catalog, a Modal appears: "−15% on what you have been looking at", the SNEAKERS15 promo code, and the expiration time — until 23:59. The "Go to catalog" button leads to the section with the active promotion.
Goal: show the user a personal promo code and lead them to a purchase.
How to assemble:
- Insert a variable into the template text — for example,
{profile.Data.Custom["promo_code"]}or any other depending on where the promo code is stored in the profile. Each subscriber gets their own value. - Assemble a segment by interests: category views, additions to favorites, past purchases.
- Assign the "Go to catalog" button a link to the catalog section with the active promotion.
- Create a placement with the navigation to a screen from the resource trigger and the audience from the segment — the promo code will be shown when the user enters the catalog.
- So that the promo code is not shown on every entry to the catalog, restrict the displays: either absolutely — with a display limit per user, or with a sending policy. If the promotion is time-limited, set a display schedule.
Another option is promo codes created in the platform. They are not integrated with the SDK: promo codes are created and stored in the platform, and inserted into the In-App template with a variable of the form {loyalty.name.promocode}, where name is the name of the loyalty program. How to create and store promo codes — see the Promotion codes article.
Scheme: Modal → promo code variable → interest-based segment → screen navigation to the catalog → restricted displays.
Personal offers
Scenario: the user opens a product card, and a Slideup appears on top: "You have 1,840 bonus points. Pay with them for up to 30% of this purchase". A profile with a different loyalty level sees a different offer: name, status, points balance, and price are inserted from the profile data.
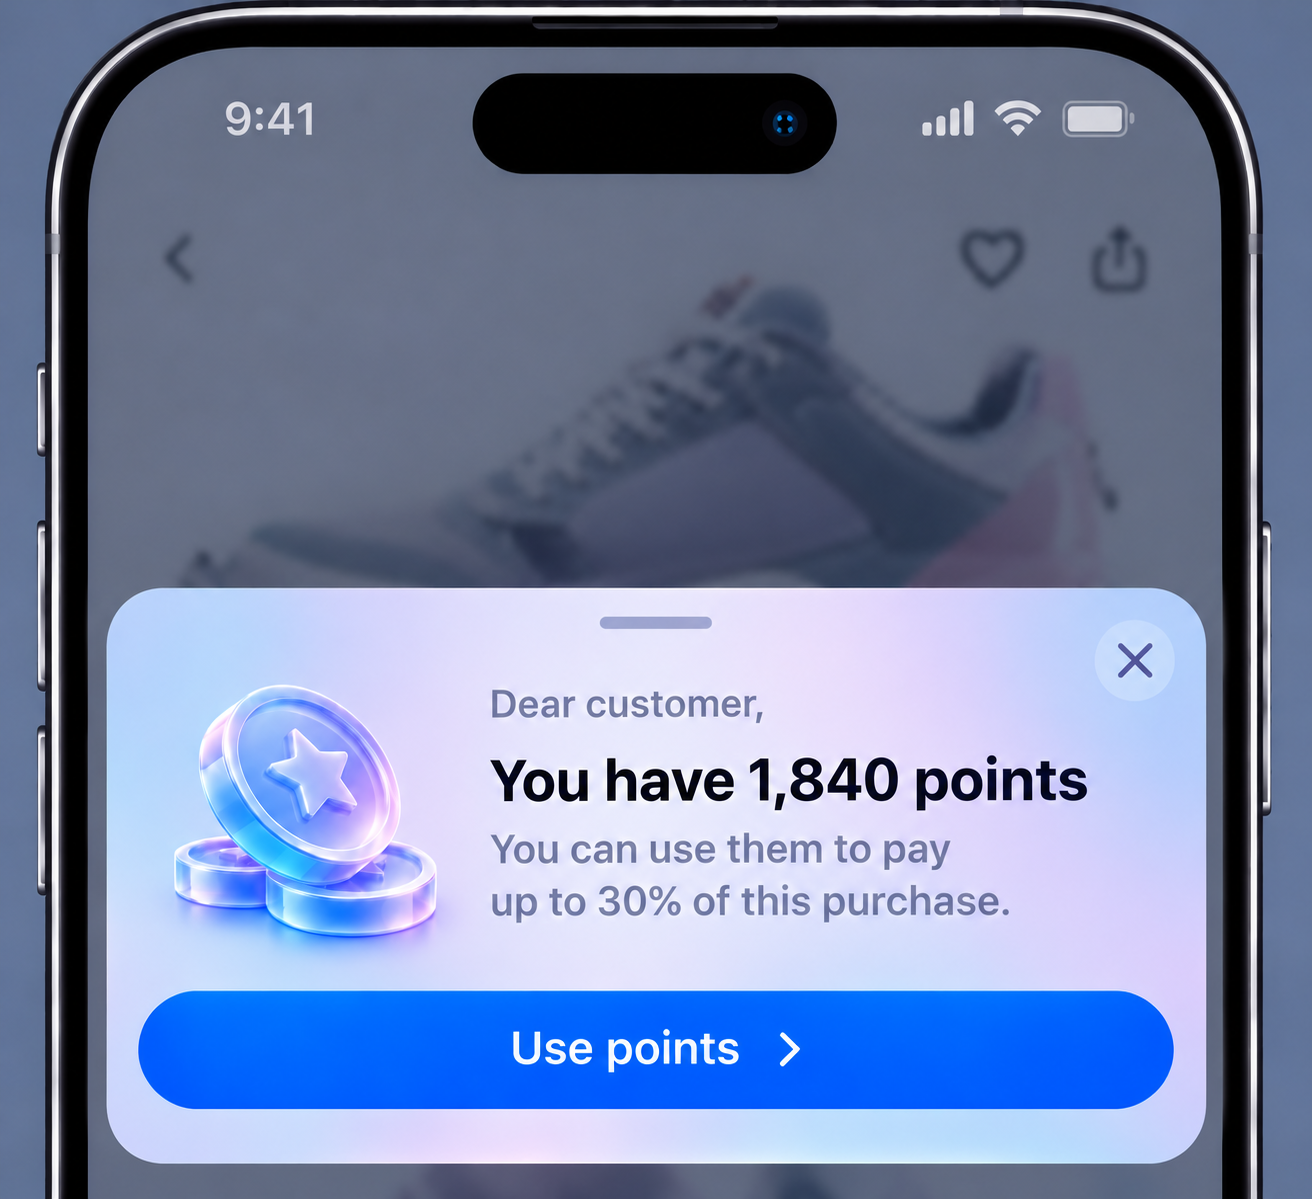
Goal: show an offer assembled from the profile data: name, loyalty level, points balance, personal price.
How to assemble:
- Assemble the offer in the template from profile variables: name in the greeting, loyalty status or level, current points balance, personal product price. The data source is profile fields inserted via variables.
- Use the Modal or Slideup type: the offer is noticeable but does not cover the whole screen.
- Create a placement with the navigation to a screen from the resource trigger — for example, the profile screen, product card, or cart.
- If the offer is time-limited, set a display schedule.
Scheme: Modal or Slideup → profile variables → screen navigation (product card, cart) → display schedule.
Gamification
Scenario: the order is placed, and an In-App with a scratch card appears on the "Thank you for your order" screen: "Scratch the layer and find out your bonus for the next purchase". Under the layer — "+500 bonus points".
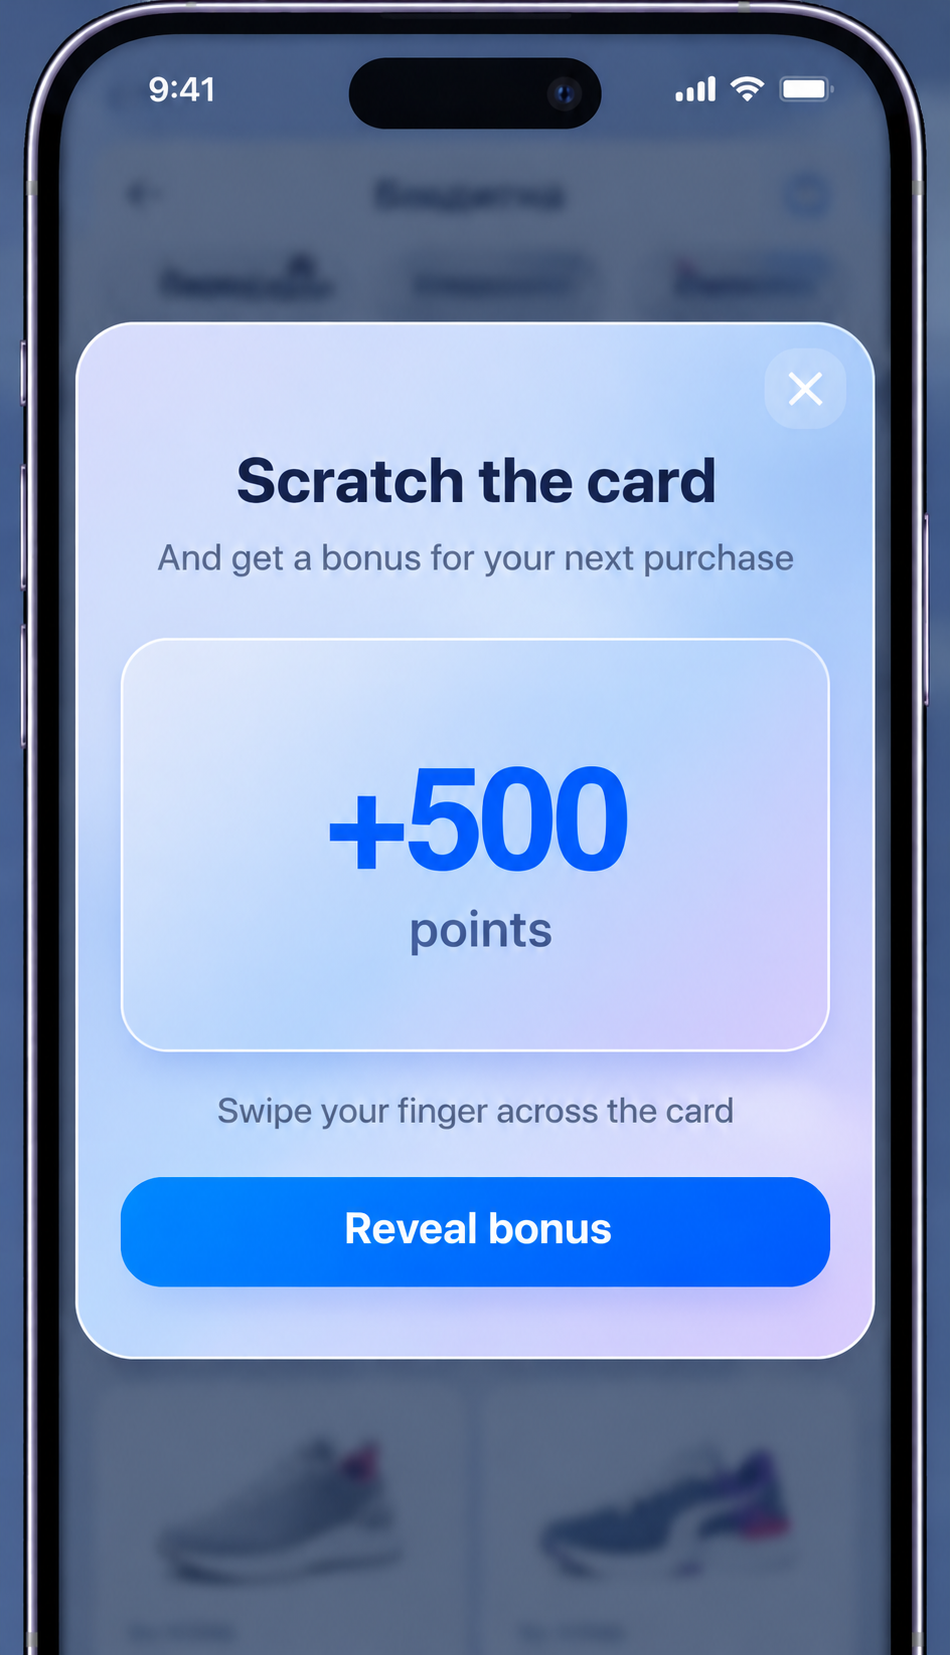
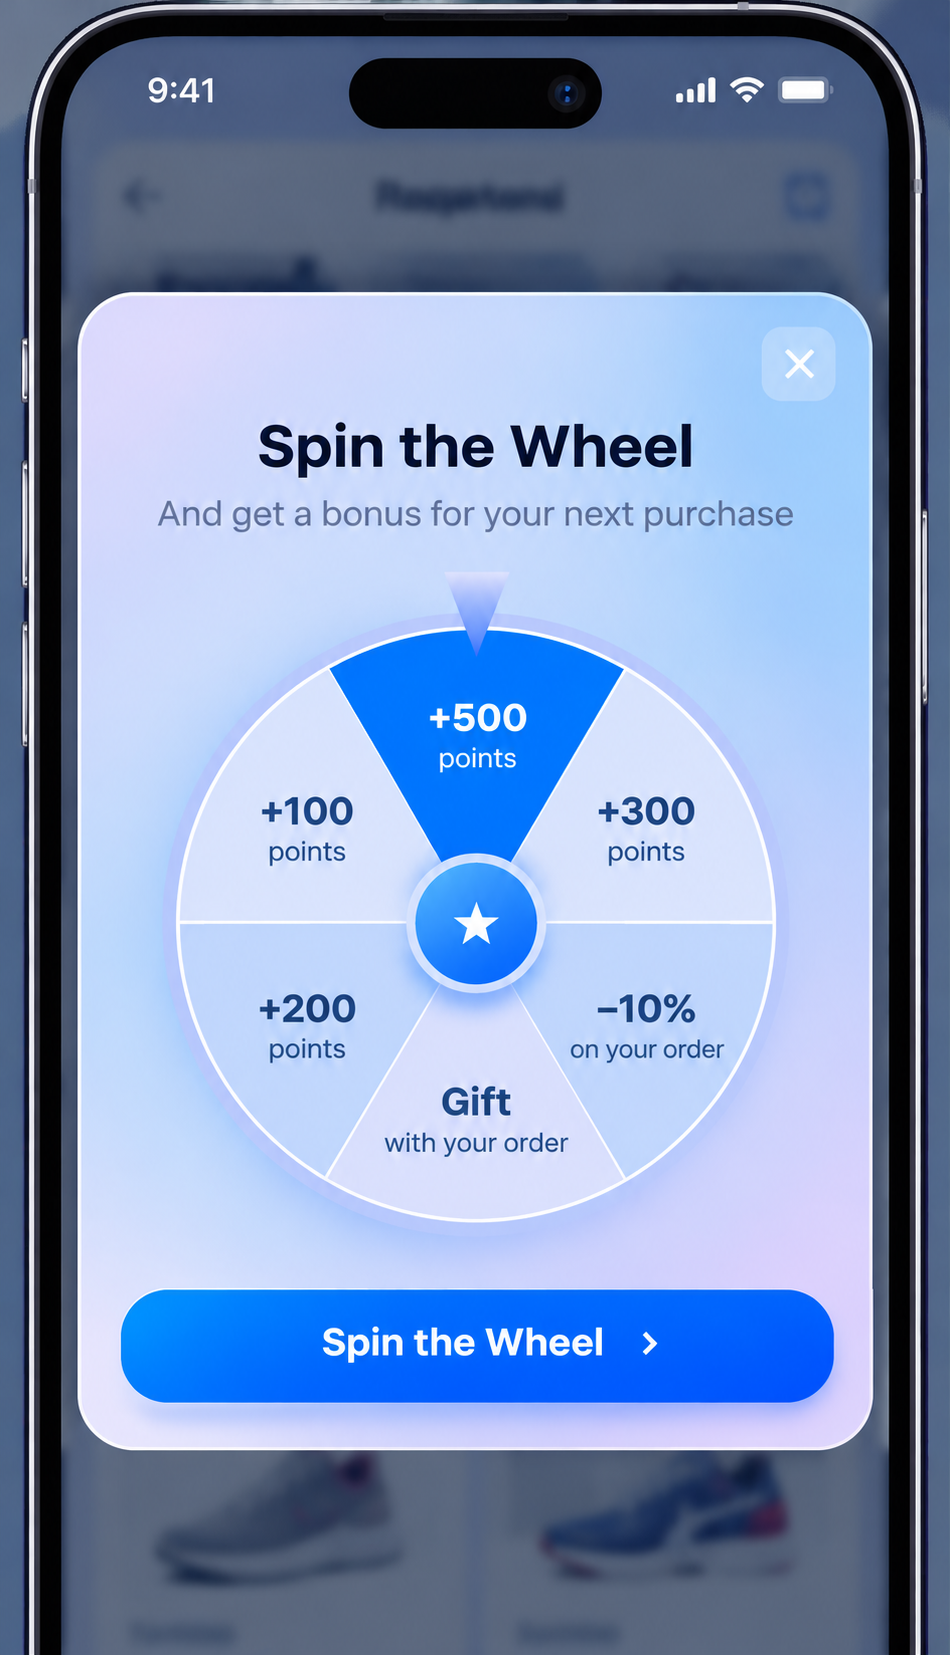
A scratch card and a wheel of fortune cannot be assembled in the template block editor — game mechanics are created with code only. Below is an example of a wheel of fortune implemented in HTML, CSS, and JS.
HTML
<div class="fortune-app">

  <div class="fortune-header">
    <h2>Wheel of fortune</h2>
    <p>Spin the wheel and get a prize</p>
  </div>

  <div class="fortune-container">

    <!-- Fixed pointer -->
    <div class="fortune-pointer"></div>

    <!-- Rotating wheel -->
    <div class="fortune-wheel" id="fortuneWheel">

      <!-- Sector 1 -->
      <div class="fortune-prize prize-1">
        <strong>+500</strong>
        <span>bonus points</span>
      </div>

      <!-- Sector 2 -->
      <div class="fortune-prize prize-2">
        <strong>+300</strong>
        <span>bonus points</span>
      </div>

      <!-- Sector 3 -->
      <div class="fortune-prize prize-3">
        <strong>−10%</strong>
        <span>discount</span>
      </div>

      <!-- Sector 4 -->
      <div class="fortune-prize prize-4">
        <strong>Prize</strong>
      </div>

      <!-- Sector 5 -->
      <div class="fortune-prize prize-5">
        <strong>+200</strong>
        <span>bonus points</span>
      </div>

      <!-- Sector 6 -->
      <div class="fortune-prize prize-6">
        <strong>+100</strong>
        <span>bonus points</span>
      </div>

    </div>

    <!-- Fixed center -->
    <div class="fortune-center">★</div>

  </div>

  <button
    id="fortuneSpin"
    class="fortune-button"
    type="button"
  >
    Spin the wheel
  </button>

</div>
CSS
/* Main container */

.fortune-app {
  box-sizing: border-box;
  width: 100%;
  max-width: 420px;
  margin: 0 auto;
  padding: 28px 20px;

  border-radius: 28px;

  background: linear-gradient(
    135deg,
    #d9e2ff 0%,
    #bdd9ff 55%,
    #d9d0ff 100%
  );

  font-family: Arial, Helvetica, sans-serif;
  text-align: center;
  color: #111d3f;
}

.fortune-app * {
  box-sizing: border-box;
}

/* Header */

.fortune-header h2 {
  margin: 0 0 8px;
  font-size: 26px;
  line-height: 1.2;
  font-weight: 700;
}

.fortune-header p {
  margin: 0;
  font-size: 15px;
  line-height: 1.4;
  color: #526184;
}

/* Wheel area */

.fortune-container {
  position: relative;
  width: 100%;
  max-width: 320px;
  margin: 32px auto 28px;
}

/* Wheel */

.fortune-wheel {
  position: relative;
  width: 100%;
  aspect-ratio: 1 / 1;

  border-radius: 50%;
  border: 6px solid #a9c4ff;

  background: conic-gradient(
    from -30deg,
    #086fff 0deg 60deg,
    #d9e5ff 60deg 120deg,
    #bcd5ff 120deg 180deg,
    #e0e5ff 180deg 240deg,
    #c5d9ff 240deg 300deg,
    #dce7ff 300deg 360deg
  );

  box-shadow:
    0 6px 16px rgba(40, 90, 190, 0.12);

  overflow: hidden;

  transition:
    transform 4s cubic-bezier(
      0.12, 0.68, 0.12, 1
    );
}

/* Sector dividers */

.fortune-wheel::after {
  content: "";
  position: absolute;
  inset: 0;

  border-radius: 50%;

  background: repeating-conic-gradient(
    from -30deg,
    rgba(255, 255, 255, 0.9) 0deg 0.7deg,
    transparent 0.7deg 60deg
  );

  pointer-events: none;
}

/* Prize labels */

.fortune-prize {
  position: absolute;
  z-index: 2;

  display: flex;
  flex-direction: column;
  align-items: center;
  justify-content: center;

  width: 30%;

  transform: translate(-50%, -50%);

  color: #214b8a;
}

.fortune-prize strong {
  font-size: clamp(12px, 4vw, 18px);
  line-height: 1.1;
  font-weight: 700;
}

.fortune-prize span {
  margin-top: 4px;
  font-size: clamp(9px, 2.5vw, 12px);
}

/* Label positions */

.prize-1 {
  top: 19%;
  left: 50%;
  color: #ffffff;
}

.prize-2 {
  top: 35%;
  left: 77%;
}

.prize-3 {
  top: 65%;
  left: 77%;
}

.prize-4 {
  top: 81%;
  left: 50%;
}

.prize-5 {
  top: 65%;
  left: 23%;
}

.prize-6 {
  top: 35%;
  left: 23%;
}

/* Pointer */

.fortune-pointer {
  position: absolute;
  z-index: 5;

  top: -15px;
  left: 50%;

  transform: translateX(-50%);

  width: 32px;
  height: 44px;

  background: linear-gradient(
    180deg,
    #c5d7ff,
    #477cff
  );

  clip-path: polygon(
    0 0,
    100% 0,
    50% 100%
  );
}

/* Wheel center */

.fortune-center {
  position: absolute;
  z-index: 4;

  top: 50%;
  left: 50%;

  transform: translate(-50%, -50%);

  display: flex;
  align-items: center;
  justify-content: center;

  width: 64px;
  height: 64px;

  border-radius: 50%;
  border: 4px solid #dce8ff;

  background: linear-gradient(
    135deg,
    #58adff,
    #075bfa
  );

  color: #ffffff;
  font-size: 28px;

  box-shadow:
    0 3px 10px rgba(0, 91, 250, 0.2);
}

/* Button */

.fortune-button {
  display: block;
  width: 100%;
  min-height: 52px;

  padding: 14px 20px;

  border: none;
  border-radius: 18px;

  background: linear-gradient(
    135deg,
    #078bff,
    #075bfa
  );

  font-family: Arial, Helvetica, sans-serif;
  font-size: 17px;
  font-weight: 700;

  color: #ffffff;

  cursor: pointer;
}

.fortune-button:disabled {
  opacity: 0.7;
  cursor: default;
}

.fortune-button:focus-visible {
  outline: 3px solid #111d3f;
  outline-offset: 3px;
}
JavaScript
// Wheel initialization

const initFortune = () => (
  (() => (
    startFortune(
      document.getElementById("fortuneWheel"),
      document.getElementById("fortuneSpin")
    )
  ))()
);

// Spin setup

const startFortune = (wheel, button) =>
  !wheel || !button || button.dataset.ready
    ? null
    : (
      button.dataset.ready = "true",

      (() => (
        setupFortune(wheel, button)
      ))()
    );

// Click handling

const setupFortune = (wheel, button) => (
  (() => (
    (() => (
      attachSpin(wheel, button)
    ))()
  ))()
);

// Spin logic

const attachSpin = (wheel, button) => (
  (() => (
    wheel.dataset.rotation = "0",

    button.addEventListener(
      "click",
      () => (
        button.disabled
          ? null
          : spinWheel(wheel, button)
      )
    )
  ))()
);

// Animation launch

const spinWheel = (wheel, button) => (
  (() => (
    button.disabled = true,

    rotateWheel(wheel),

    setTimeout(
      () => button.disabled = false,
      4000
    )
  ))()
);

// Angle calculation

const rotateWheel = wheel => (
  (() => (
    wheel.dataset.rotation = String(
      Number(wheel.dataset.rotation || 0) +
      360 * (5 + Math.floor(Math.random() * 3)) +
      60 * (1 + Math.floor(Math.random() * 6)) -
      Number(wheel.dataset.rotation || 0) % 360
    ),

    wheel.style.transform =
      "rotate(" + wheel.dataset.rotation + "deg)"
  ))()
);

// Launch after the HTML is loaded

document.readyState === "loading"
  ? document.addEventListener(
      "DOMContentLoaded",
      initFortune
    )
  : initFortune();
Goal: engage the user with an interactive mechanic — scratch card, wheel of fortune, promotion timer.
How to assemble:
- Enable the option to show the content X seconds after the trigger in the placement — the delay prepares the user for the appearance of the game.
- Assemble a non-standard interactive mechanic in the template code editor — HTML, CSS, and JS are available.
- The game mechanic can be implemented right in the template HTML/CSS/JS. If the game needs to call application functions or change profile data, a corresponding integration is required.
- The prize is granted by your logic: in the template code or on the application side. If the prize needs to be written to the profile, use the integration with the platform API.
- Create a placement with the custom event from the application trigger — for example, an event after the order is placed — and set a display limit of 1 display per user.
Scheme: code editor (HTML/CSS/JS) → event after the purchase → display delay → display limit of 1.
Repeat purchase and user re-engagement
Scenario: the user bought pet food 28 days ago. At the next application launch, a Slideup appears: "The food is probably running out" with an "Add to cart" button. For those who have not visited for a long time, an In-App is shown: "Your 2,400 bonus points are still with you. Use them by November 15".
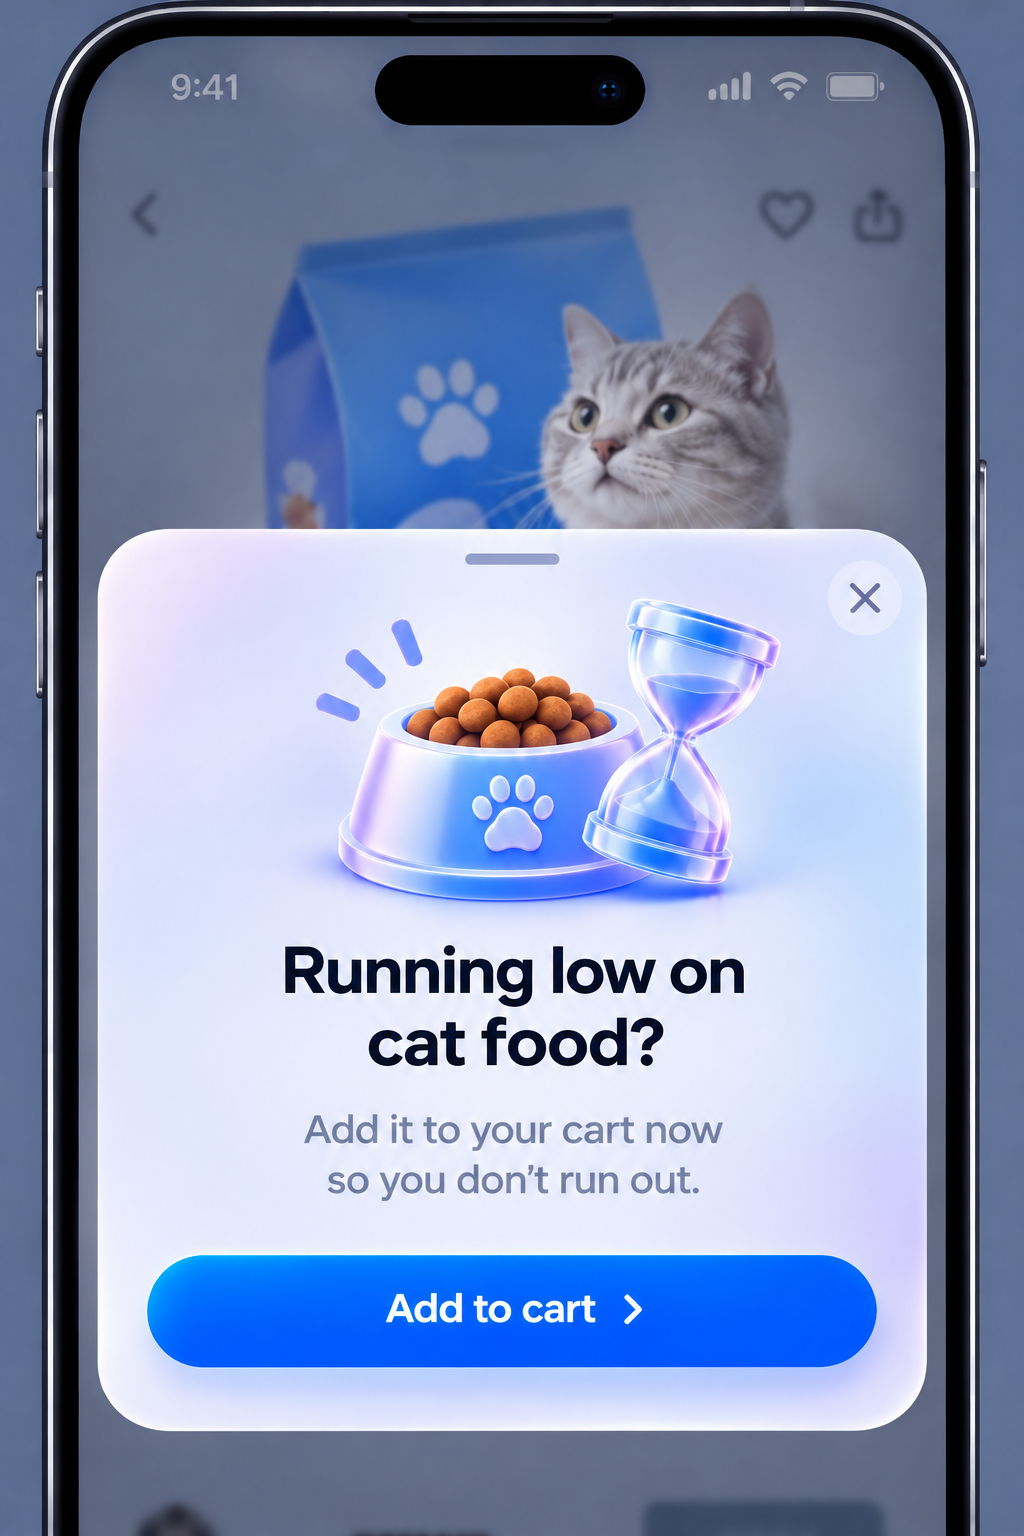
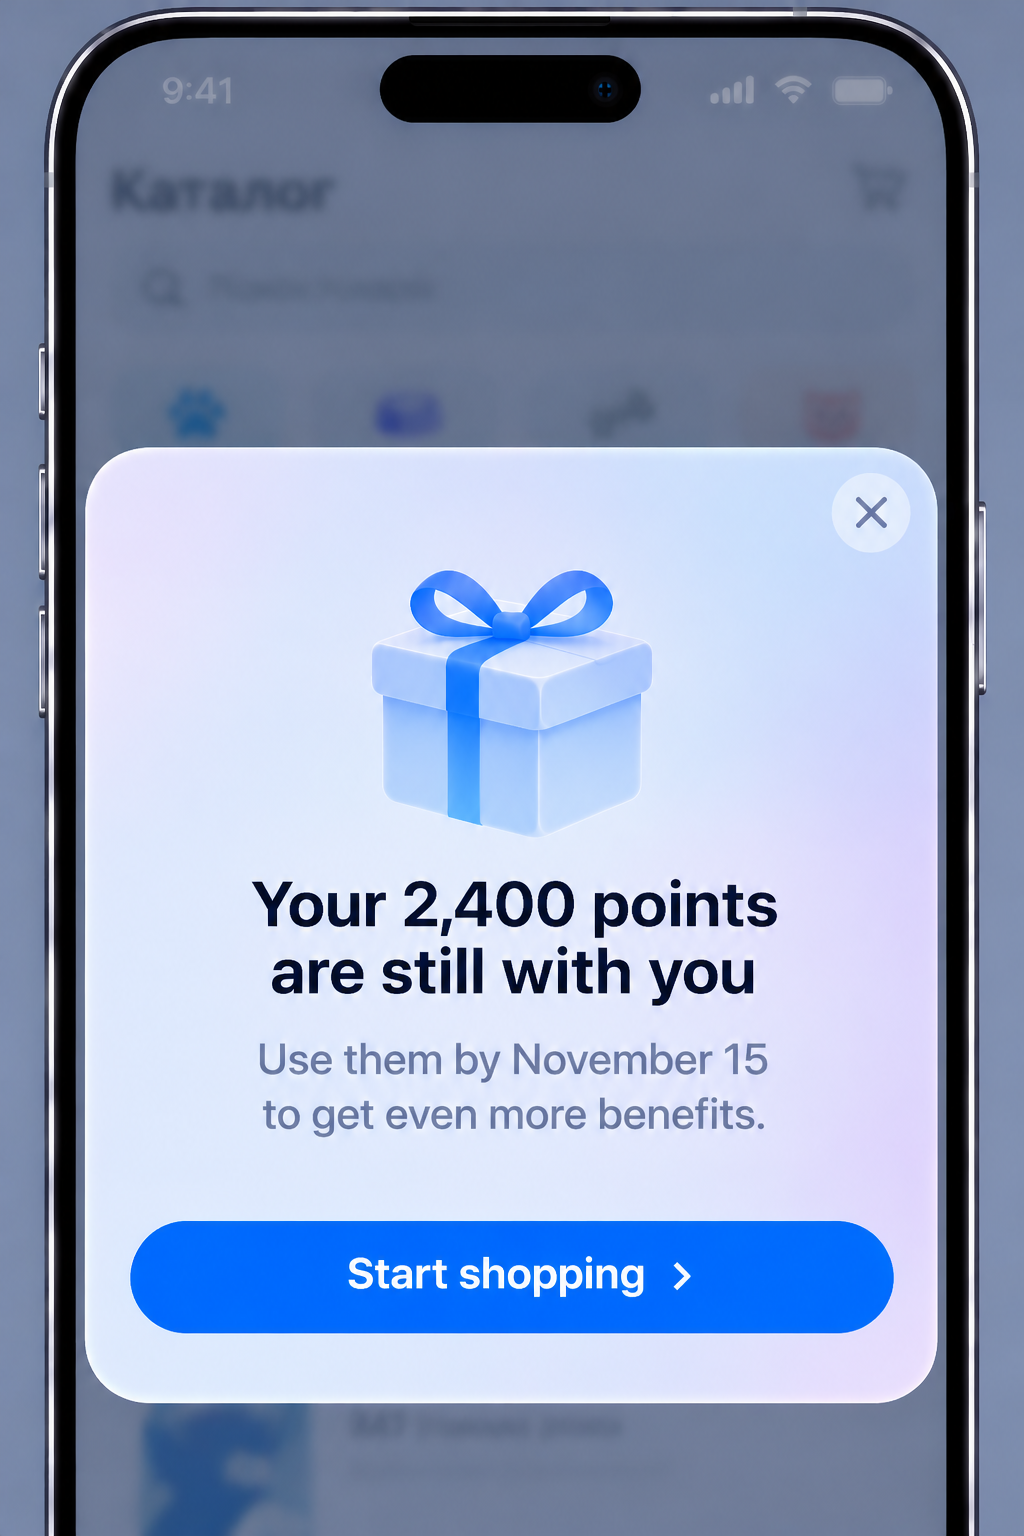
Goal: bring back to a purchase the one who is about to repeat it, and re-engage the one who has not purchased for a long time.
How to assemble:
- Assemble a segment by an event or profile field: the last purchase date more than N days ago, a specific category or product in past orders.
- In the template (Modal or Slideup type), insert variables: name, accumulated points, bonus expiration date.
- Create a placement with the audience from the segment and the application start trigger — the returning user will see the offer at launch.
- Restrict the display frequency with a sending policy.
Assemble repeat purchase and win-back as two separate placements: they have different segments, templates, and display rhythms.
Scheme: segment by the last purchase → Modal or Slideup → application start → restricted display frequency.
System and service notifications
Scenario: the application has been updated — a Floating bar appears at the top: "The application is updated to version 5.2 — see what's new". The order has been handed to the courier — a Slideup appears by the application event: "The courier is already on the way".
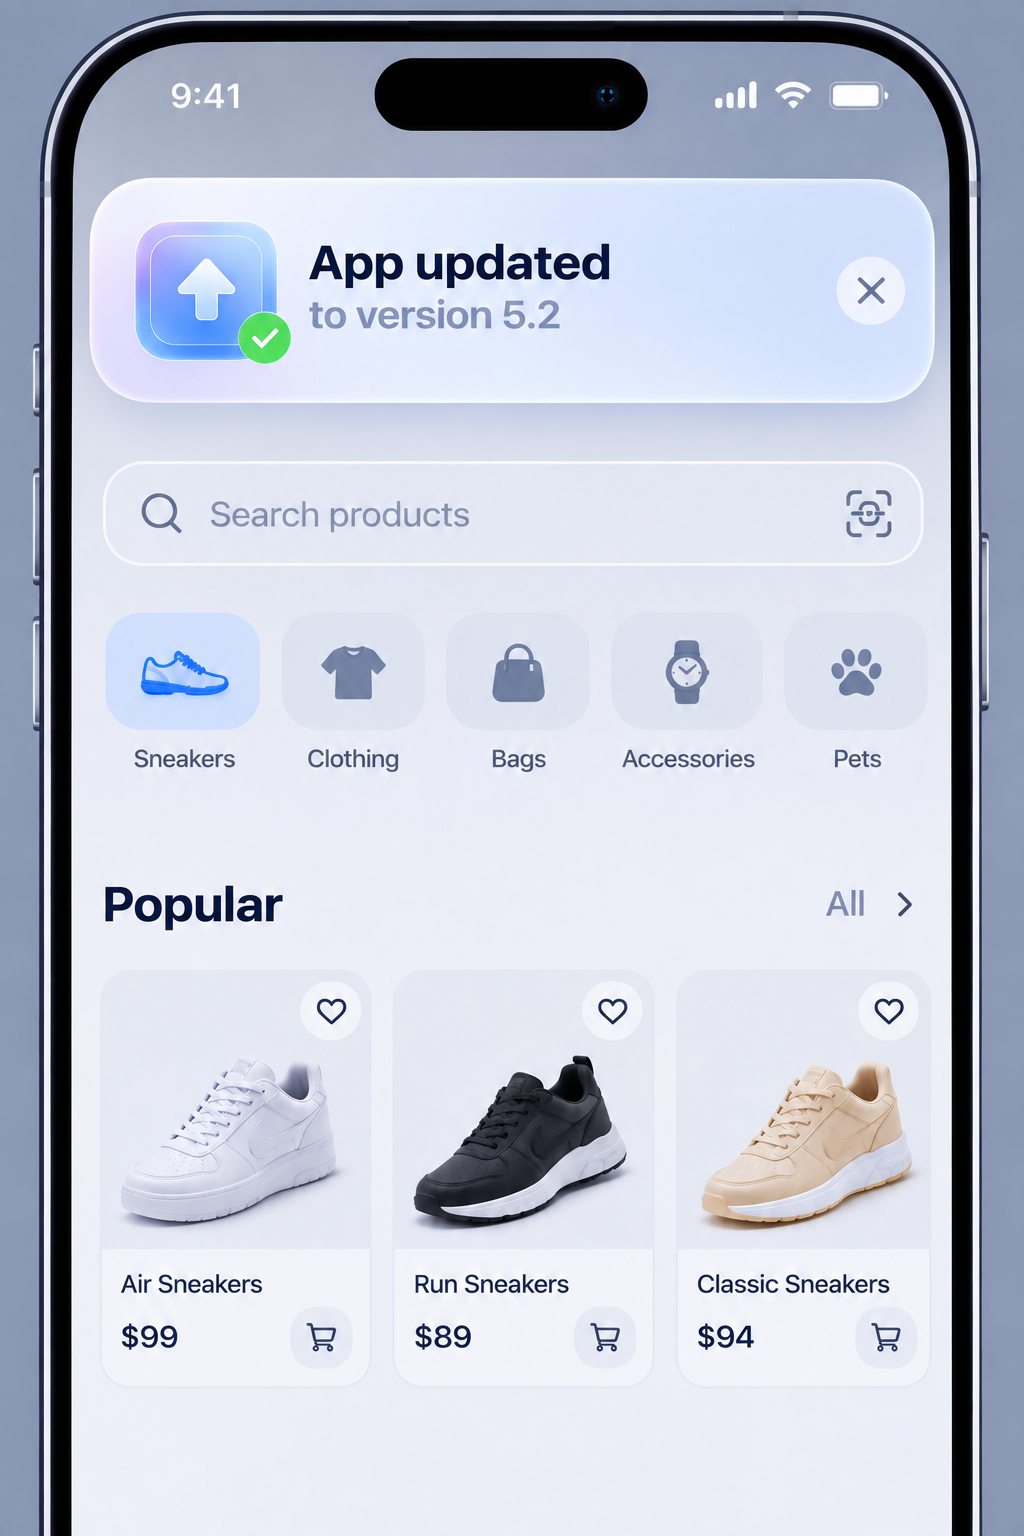
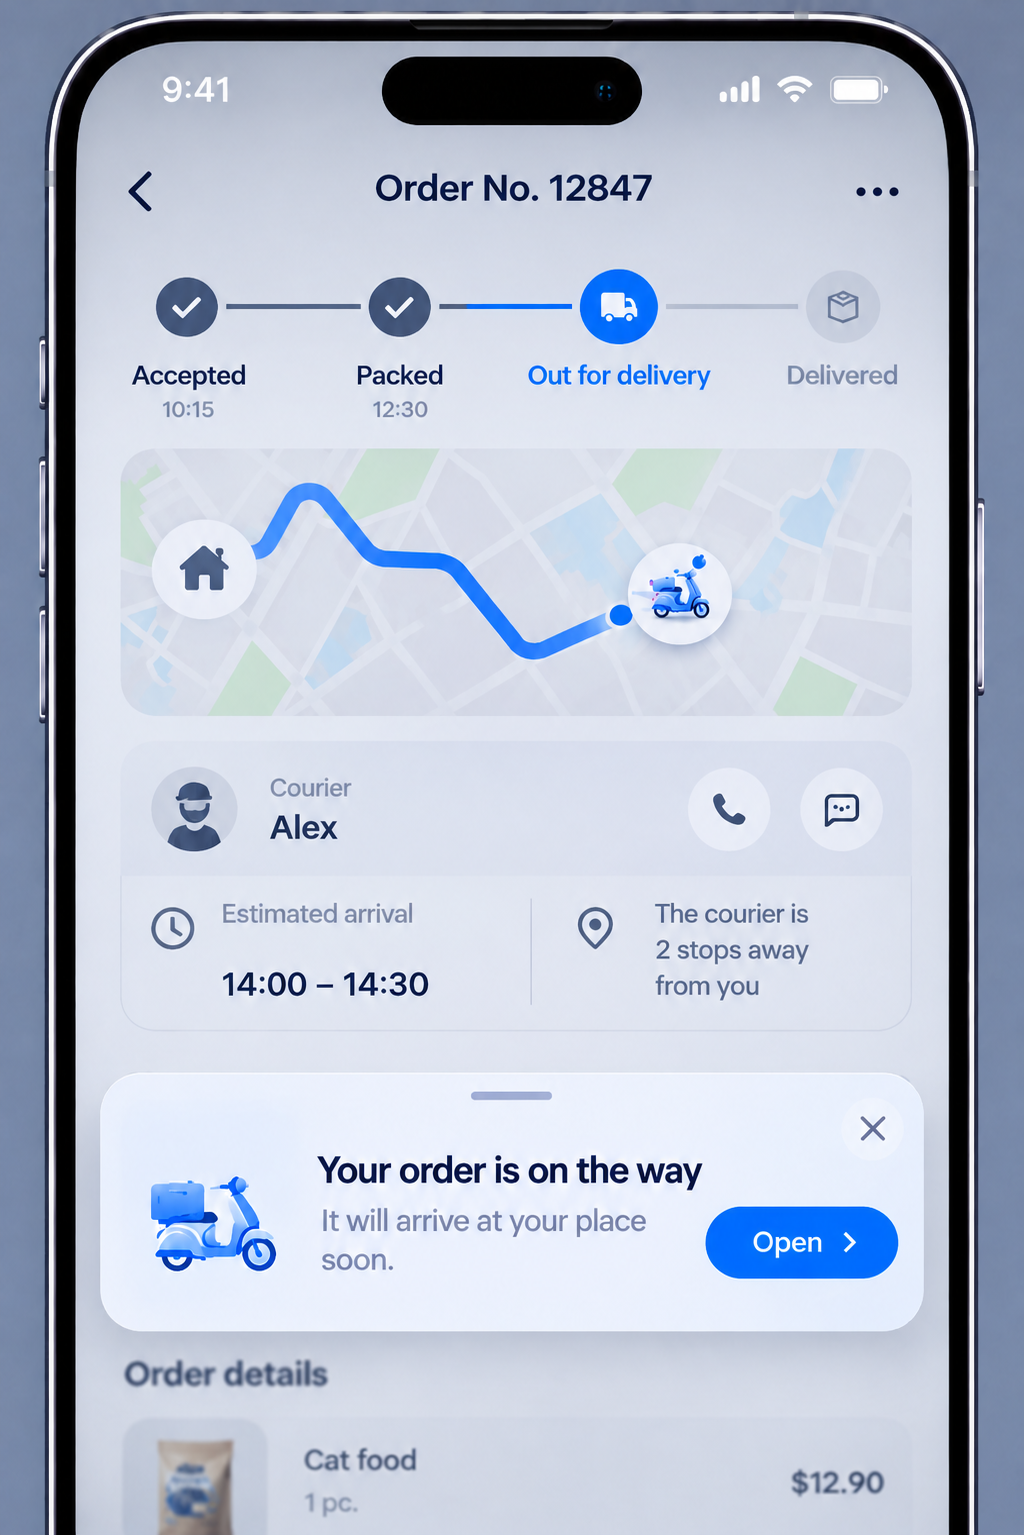
Goal: inform users about an application update, order status, or a reminder.
How to assemble:
- In the template, describe the update, status, or reminder. For unobtrusive notifications use Floating bar, for status ones — Slideup or Modal.
- For the update notification, create a placement with the application start trigger and set a display schedule — for example, for a week after the update release.
- For status notifications, the trigger by name is more convenient: the application calls the event at the moment the order status changes, and the user receives the notification at the right moment.
- Restrict the displays with a limit so that the notification is not shown on every launch.
Scheme: Floating bar → application start → schedule for a week; for statuses — Slideup → event by name (for example, order_out_for_delivery) → display limit of 1.
Anonymous user conversion
Scenario: a user without authorization has viewed several products and added two to favorites. An In-App appears: "Save your favorites" — "Log in or sign up so that the items are not lost", with a "Create account" button. After registration, the SDK links the device to the profile, and general In-Apps are replaced with personalized ones.
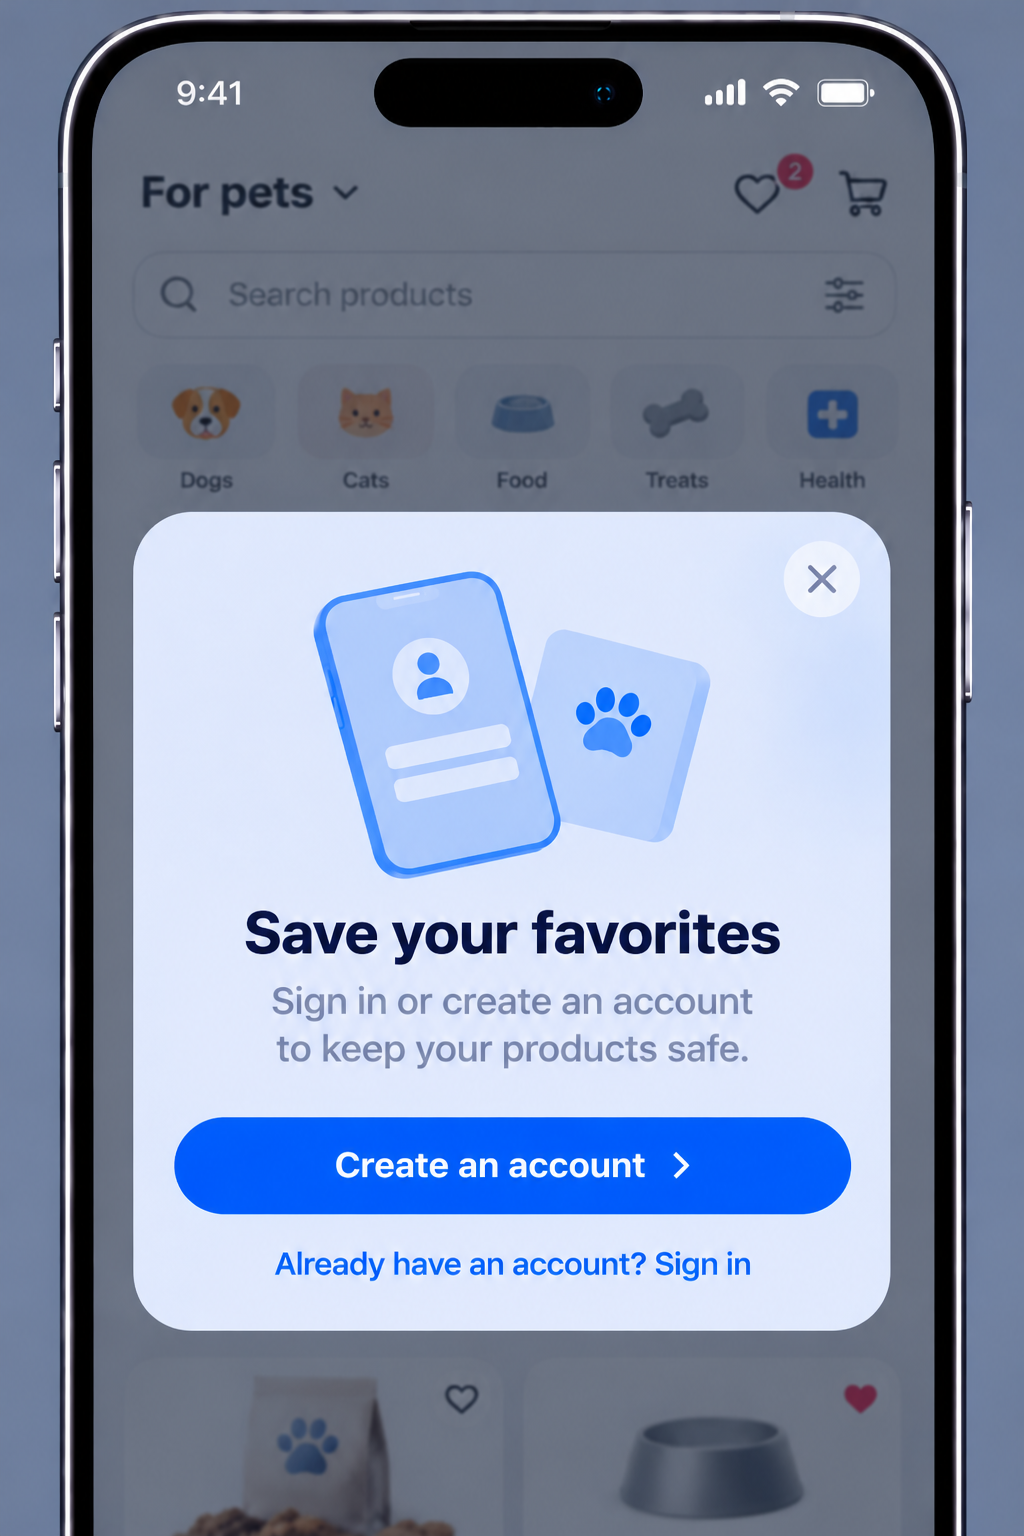
Goal: lead the anonymous user to registration and enable personalization.
How to assemble:
- Anonymous users do not have a subscription to the In-App channel, so the subscription requirement does not apply to them: In-App can be shown to all users without authorization.
- Do not use profile variables in the template — the content must be general: a call to save favorites, a bonus for signing up.
- Assign the button a link to the application's registration screen.
- Create a placement with the application start or navigation to a screen from the resource trigger, and restrict the frequency and display limit so that the mechanic does not become intrusive.
Anonymous users are tracked without a profile binding. After authentication and subscription to the In-App channel, the SDK links the device to the profile, and personalized In-Apps become available.
Scheme: a general In-App without variables → application start or screen navigation → a button to the registration screen → personalized displays after authentication.
Micro-survey after an action
Scenario: the user has chatted with a support operator, the application calls an event, and a Modal appears: "Spare a couple of minutes" — "Tell us how the communication with our operator went" with a "Leave feedback" button. The button leads to a form configured and published in the platform: the user answers the questions, and the answers are imported into their profile.
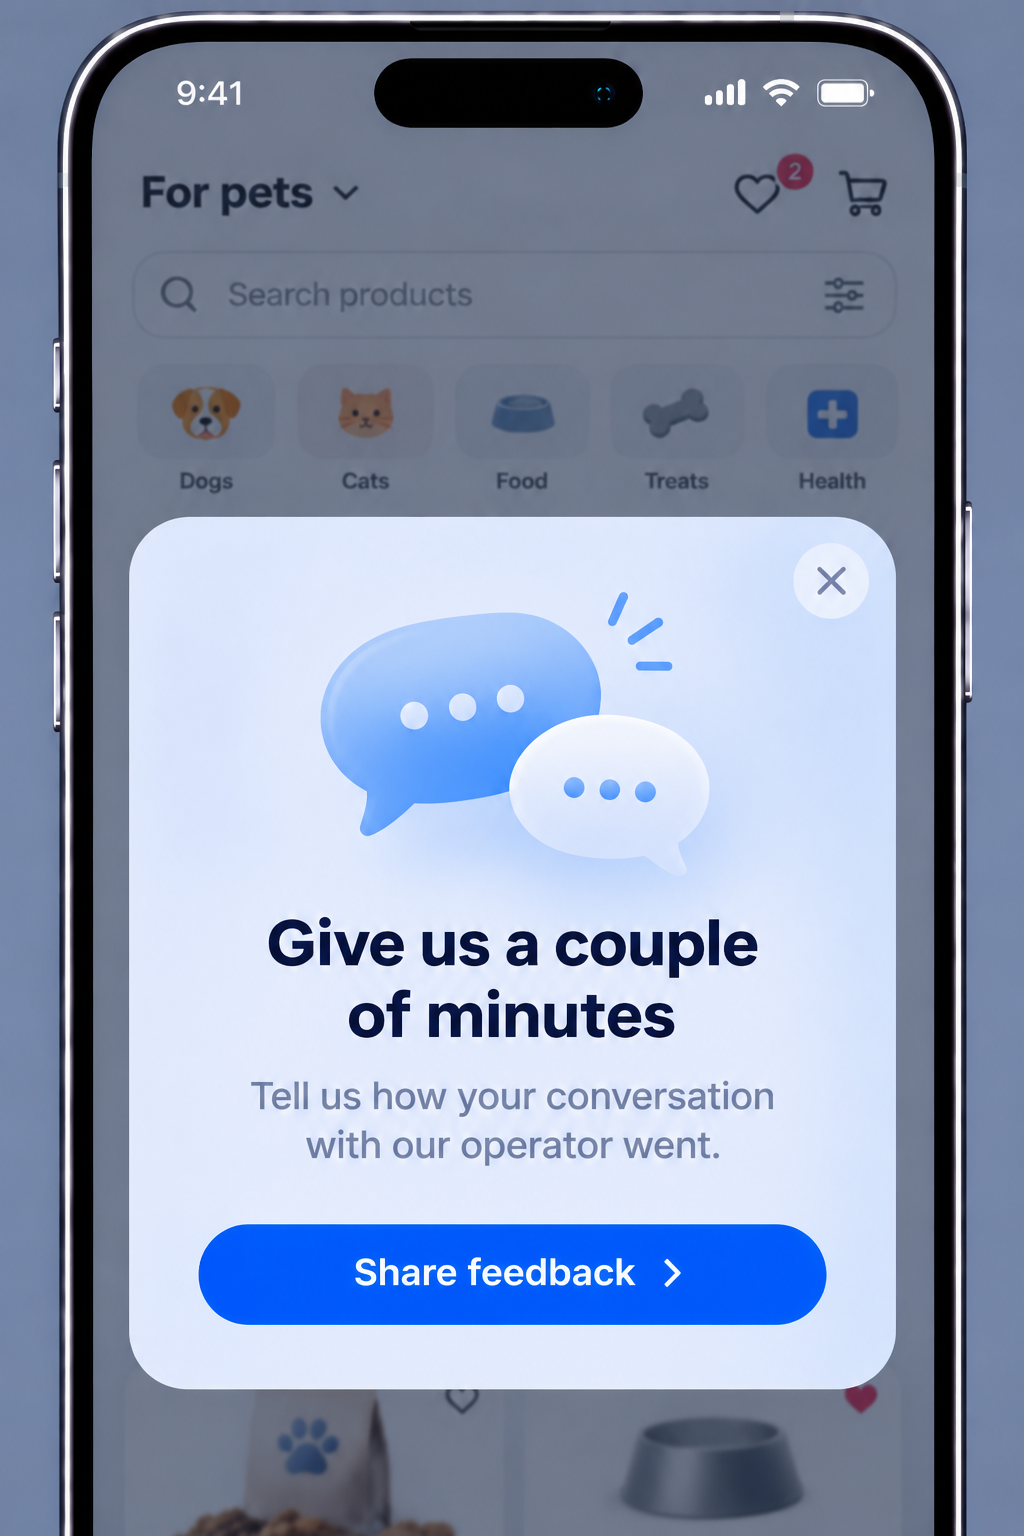
Goal: collect feedback right after an action and store the answers in the client profile.
How to assemble:
- Create a form with the survey questions — for example, a rating and a comment field. On the Actions tab, set up the import of answers into the database.
- Publish the form and copy its URL on the Share tab.
- In the template (Modal or Slideup type), write an invitation to take the survey and assign the button the copied URL.
- Create a placement with the custom event from the application trigger — for example, an event after the support chat is closed or the order is delivered.
Scheme: Modal with a button → event from the application → navigation to the published form → answers imported into the profile.
How to evaluate the result
In-App registers shows, closes, clicks, and CTR — they show how many users saw the placement and how many reacted. Shows and CTR are leading indicators: they reflect interest, while the business result is measured by conversion to the target action: a purchase, registration, or enabled notifications.
To compare content variants, add up to 8 templates to the placement: the audience is split between them in equal shares at random.