Firebase Cloud Messaging
 | To send Web Push to Mozilla Firefox, Opera, Google Chrome, Yandex Browser, Samsung Internet Browser, you must first set up a project in Firebase Console. |
Step 1. Creating a Project in Firebase Console
Go to the Firebase Console page, log in to your Google account, and click Get started. | 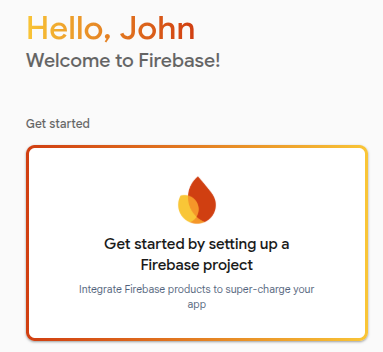 |
Specify the project name and click Continue. | 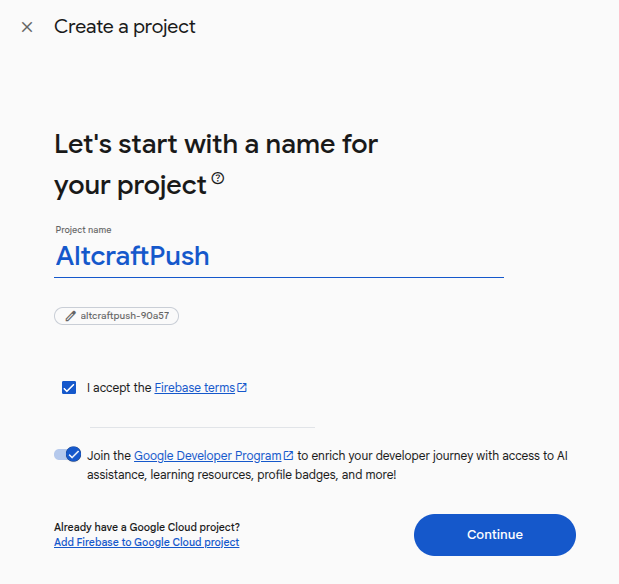 |
When creating a project, you can add the Gemini AI assistant and set up Google Analytics, but these steps are optional.
Step 2. Obtaining Project Data
To configure Firebase Cloud Messaging in the Altcraft Platform, you will need your project data from Firebase Console.
Using the left navigation panel, go to the general project settings (Settings — General). | 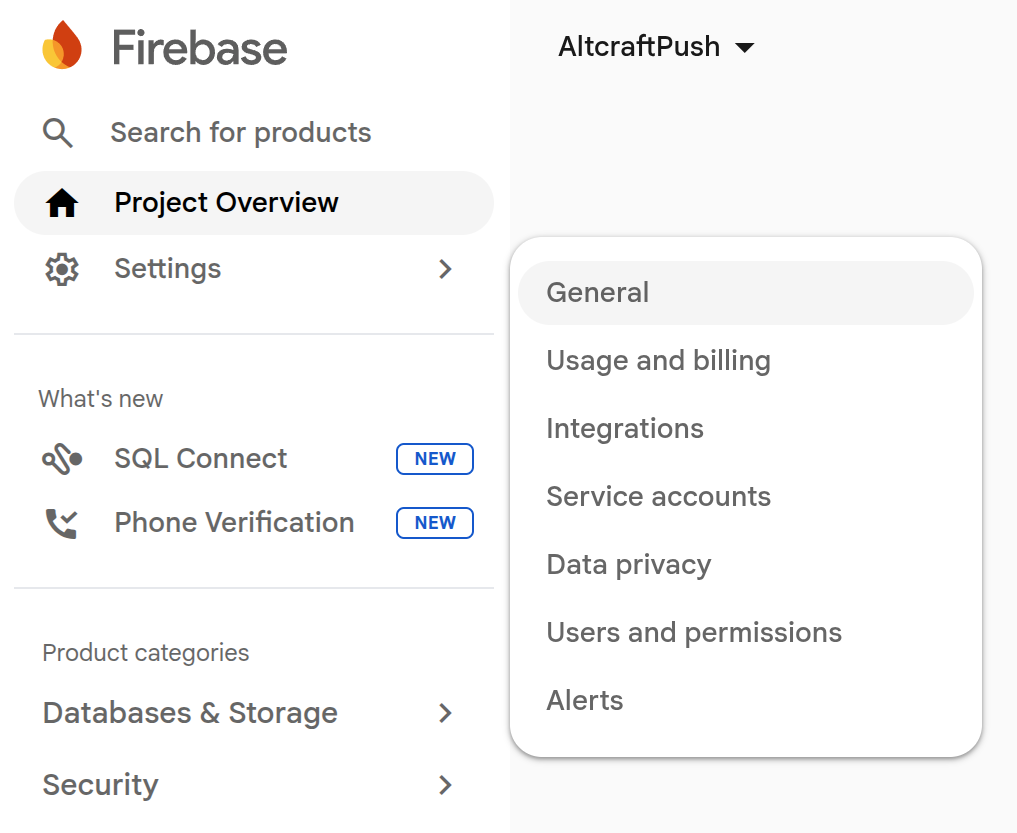 |
Scroll down the page and add a Web Application to your project. | 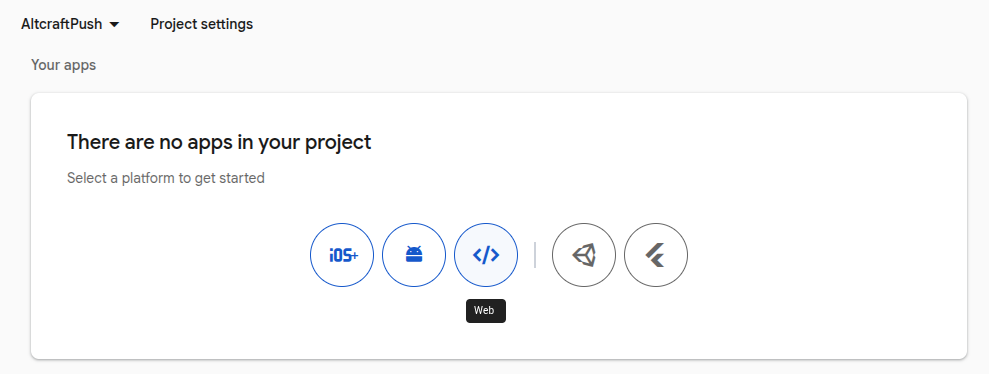 |
Give your Web Application a name. |  |
A code will appear containing the data needed to configure the resource parameters:
| 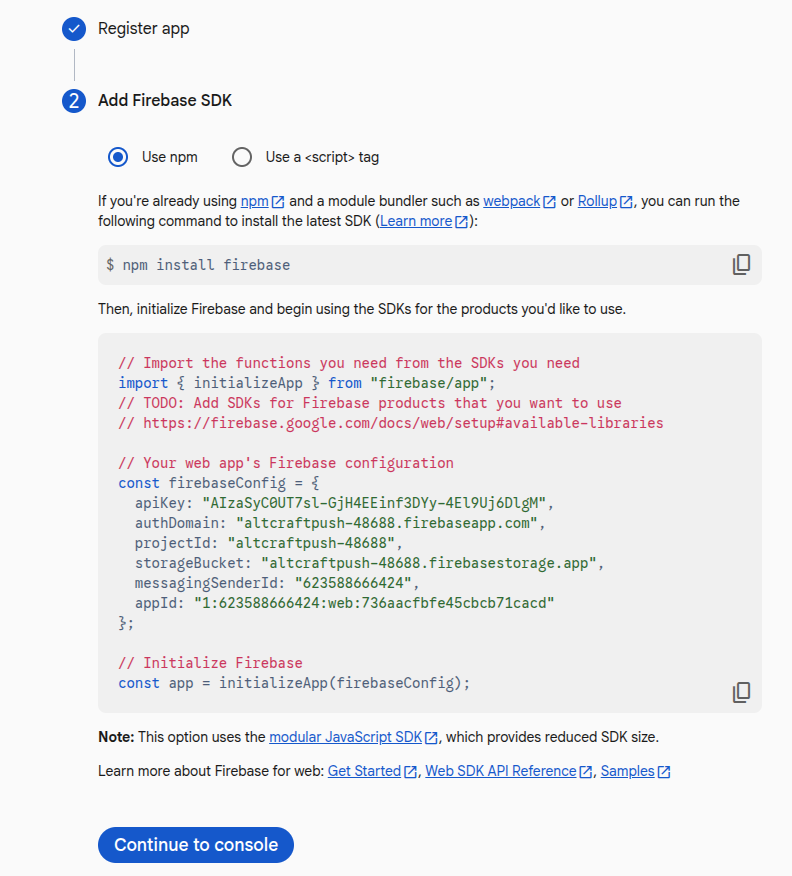 |
Return to the project settings. Go to the Service accounts tab and click Generate new private key. | 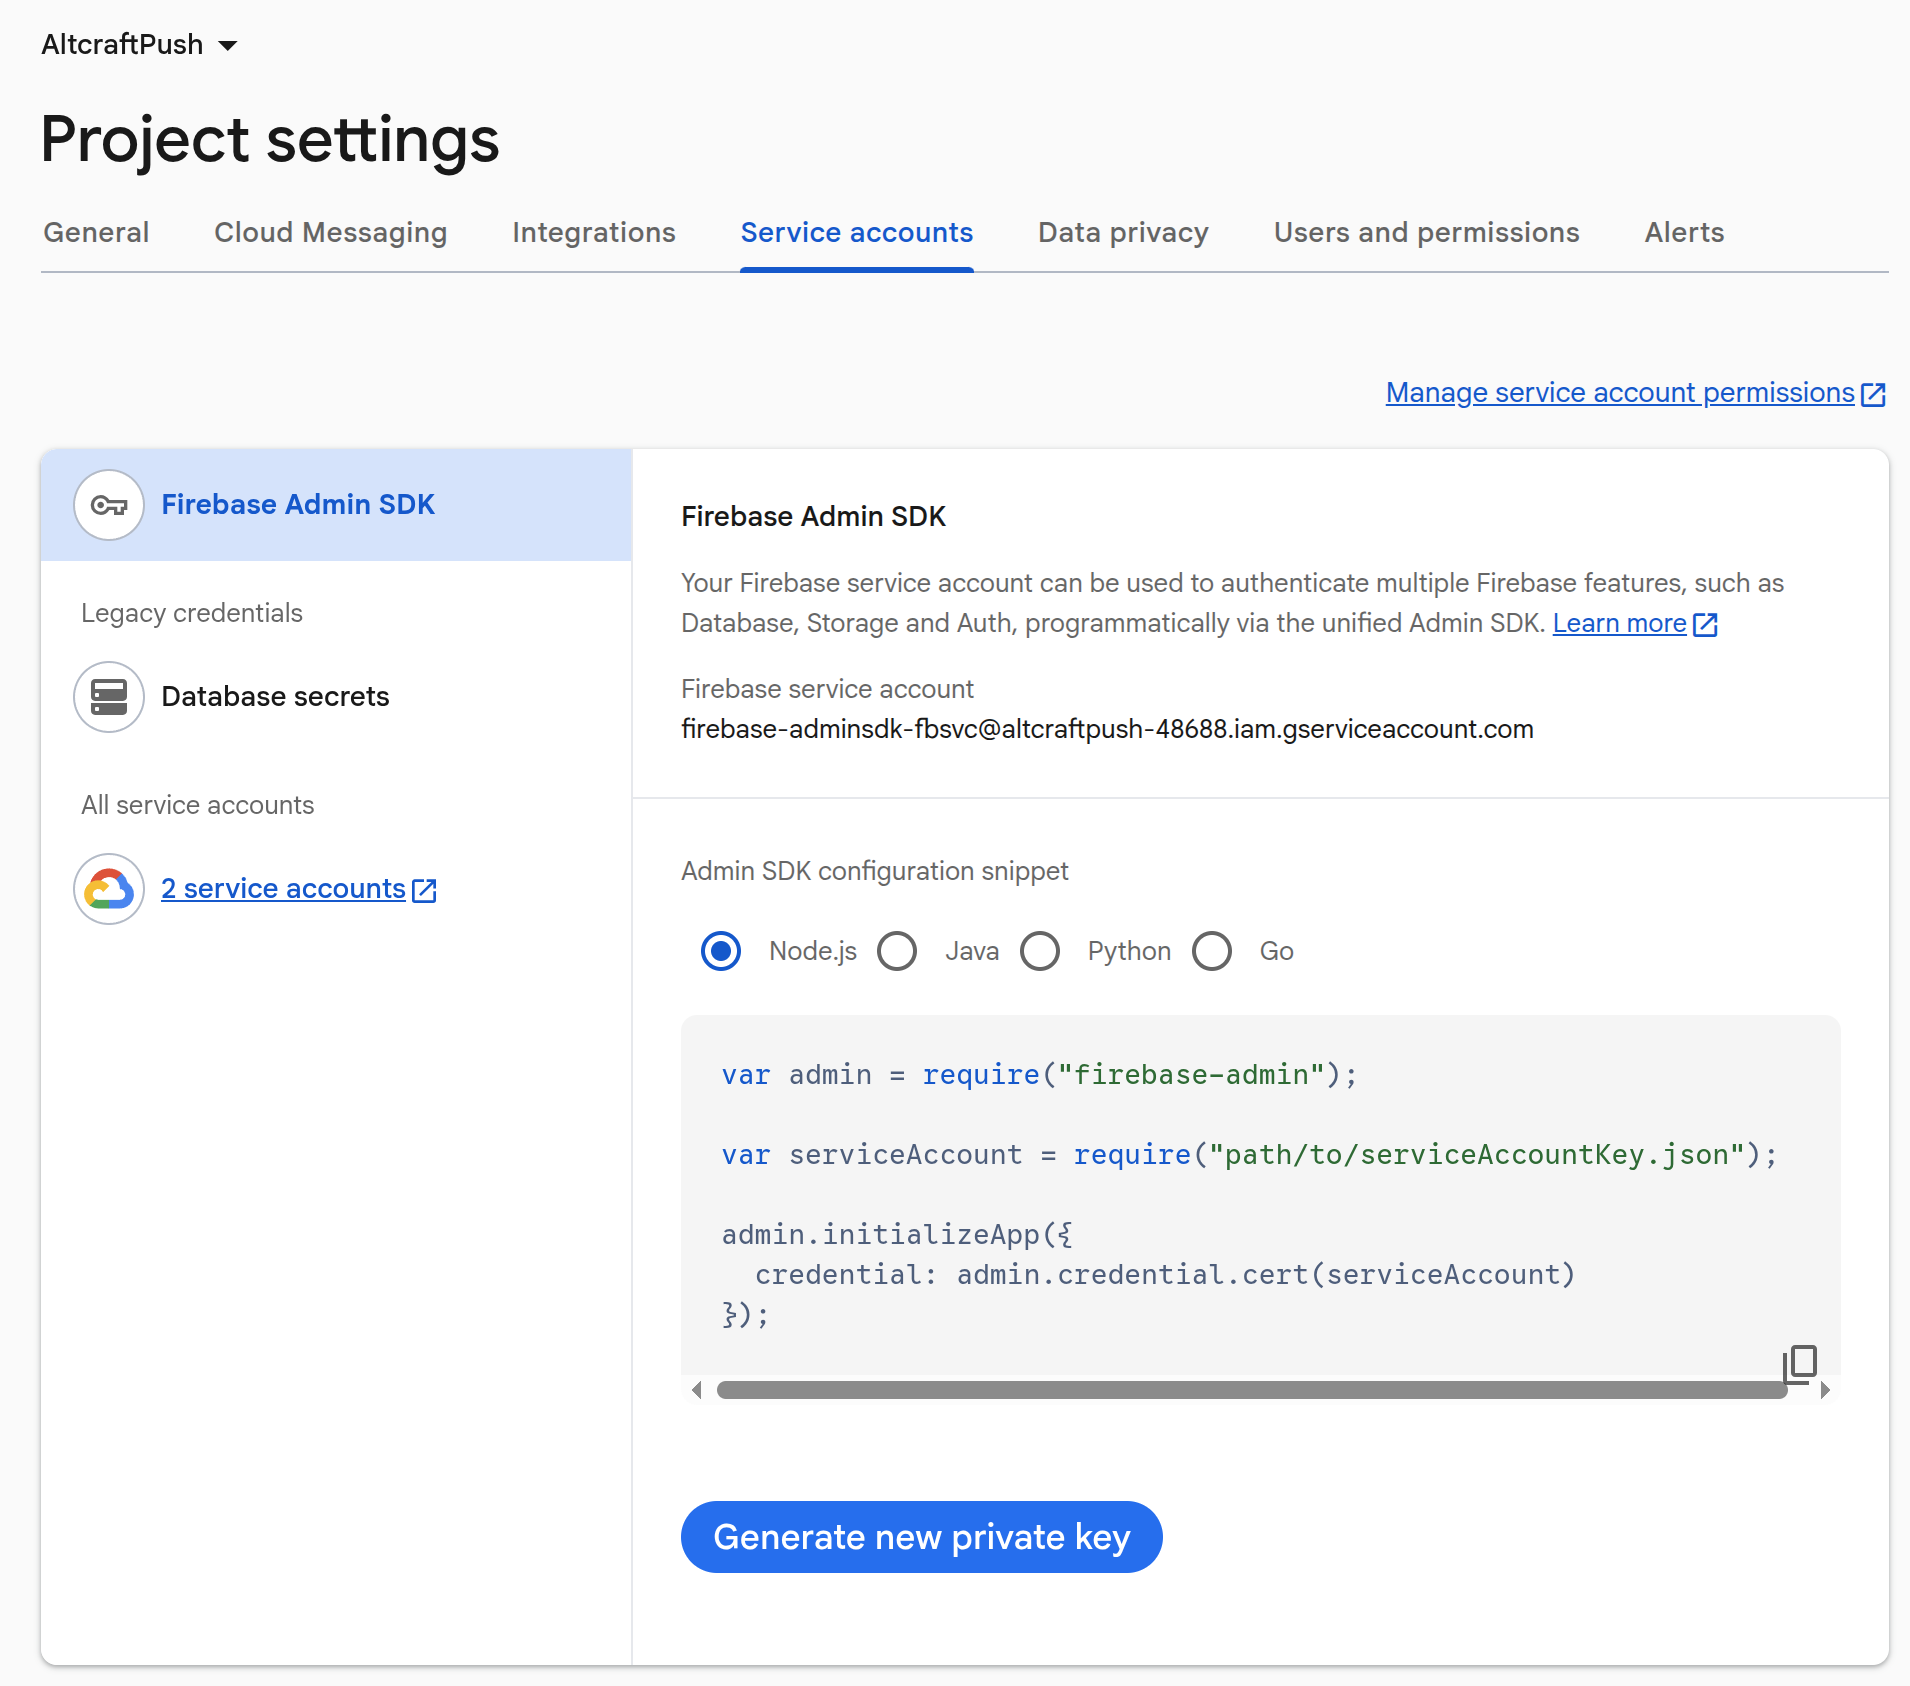 |
Confirm the generation of a new key. | 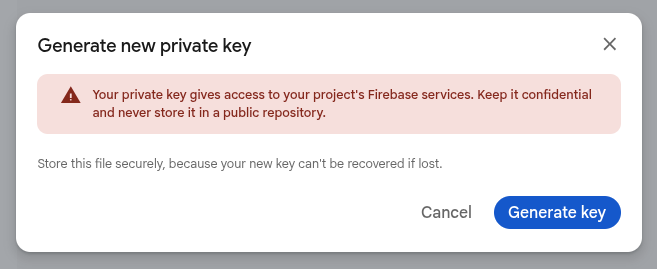 |
Step 3. Setting Up Firebase in the Altcraft Platform
Return to the Altcraft Platform and open the resource settings. For supported browsers, activate the Firebase Cloud Messaging toggle. | 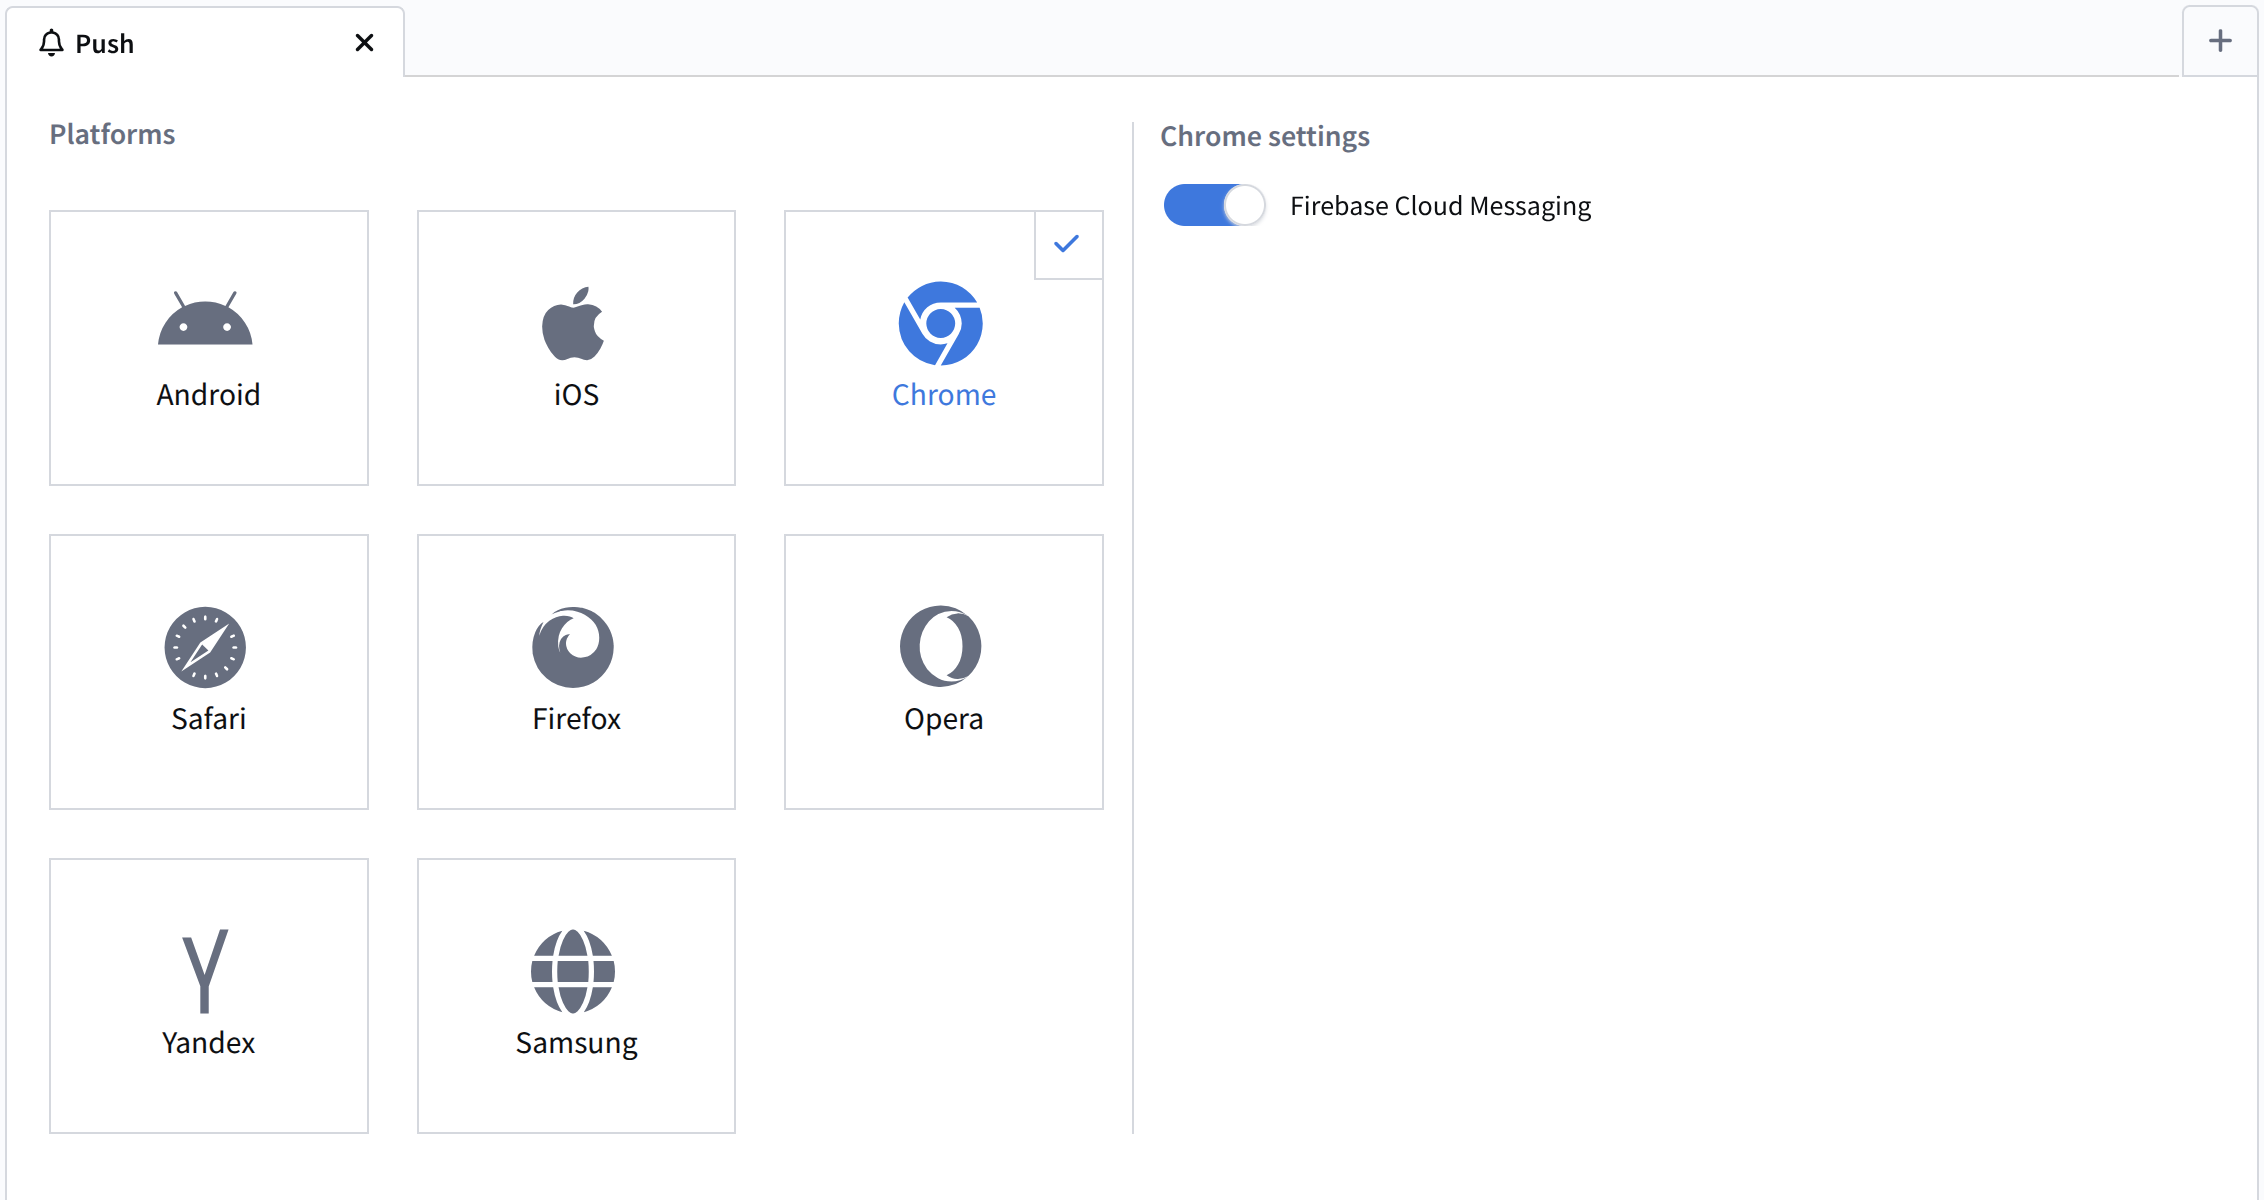 |
A tab with Firebase settings will become available. Fill in the fields:
| 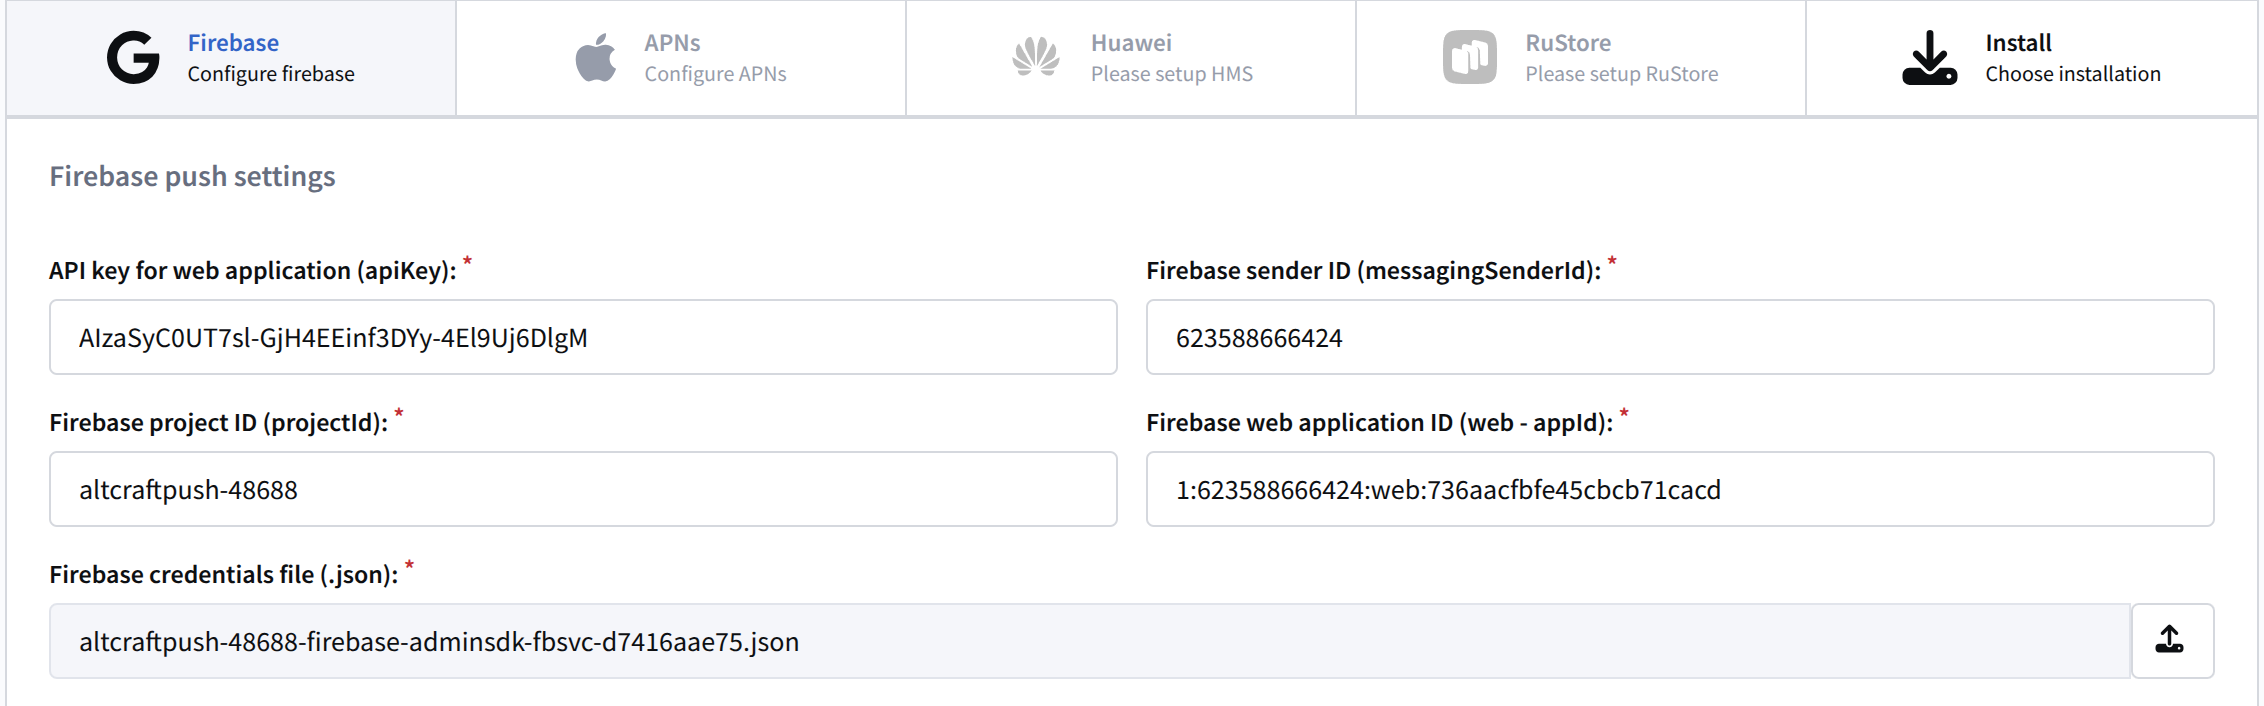 |
Save the resource or apply changes using the buttons in the upper right corner of the screen. Only after that, go to the Installation tab. | 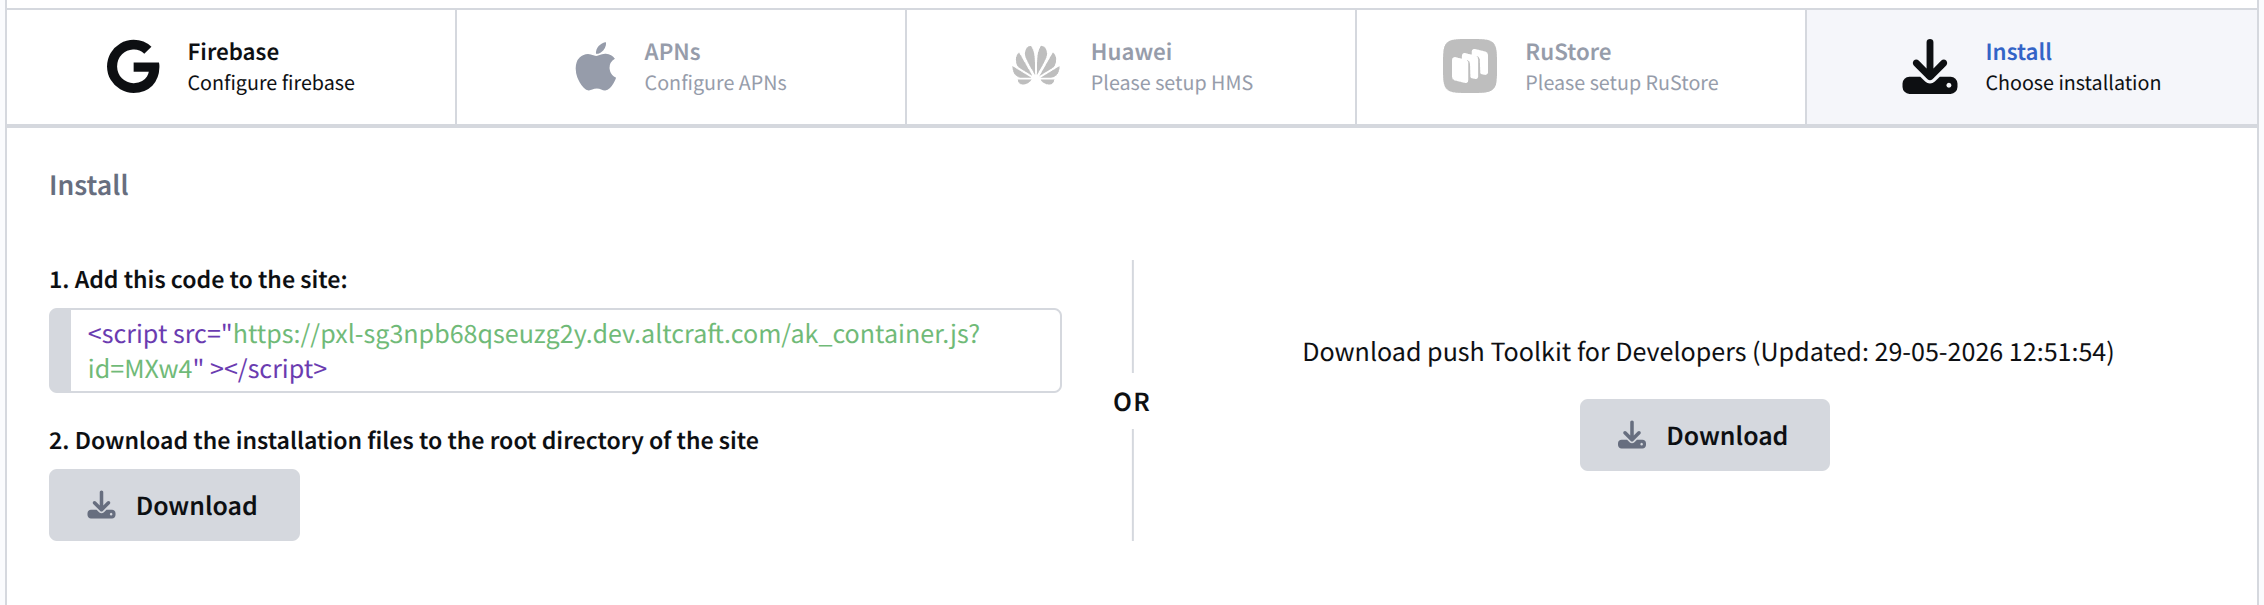 |
The resource and provider configuration for sending push notifications to PWA applications is done in the same way. For more details, see the article PWA Push.