Notify
According to the service policy, new access to the Notify service personal account is currently not provided.
Support for current users is provided by MAX Business tech support.
Integration with Notify will allow you to use the service as a communication channel for sending transactional and service notifications. To create an integration, you need to pre-configure a connection to the service. Instructions on how to connect to Notify are available on this page.
Integration settings
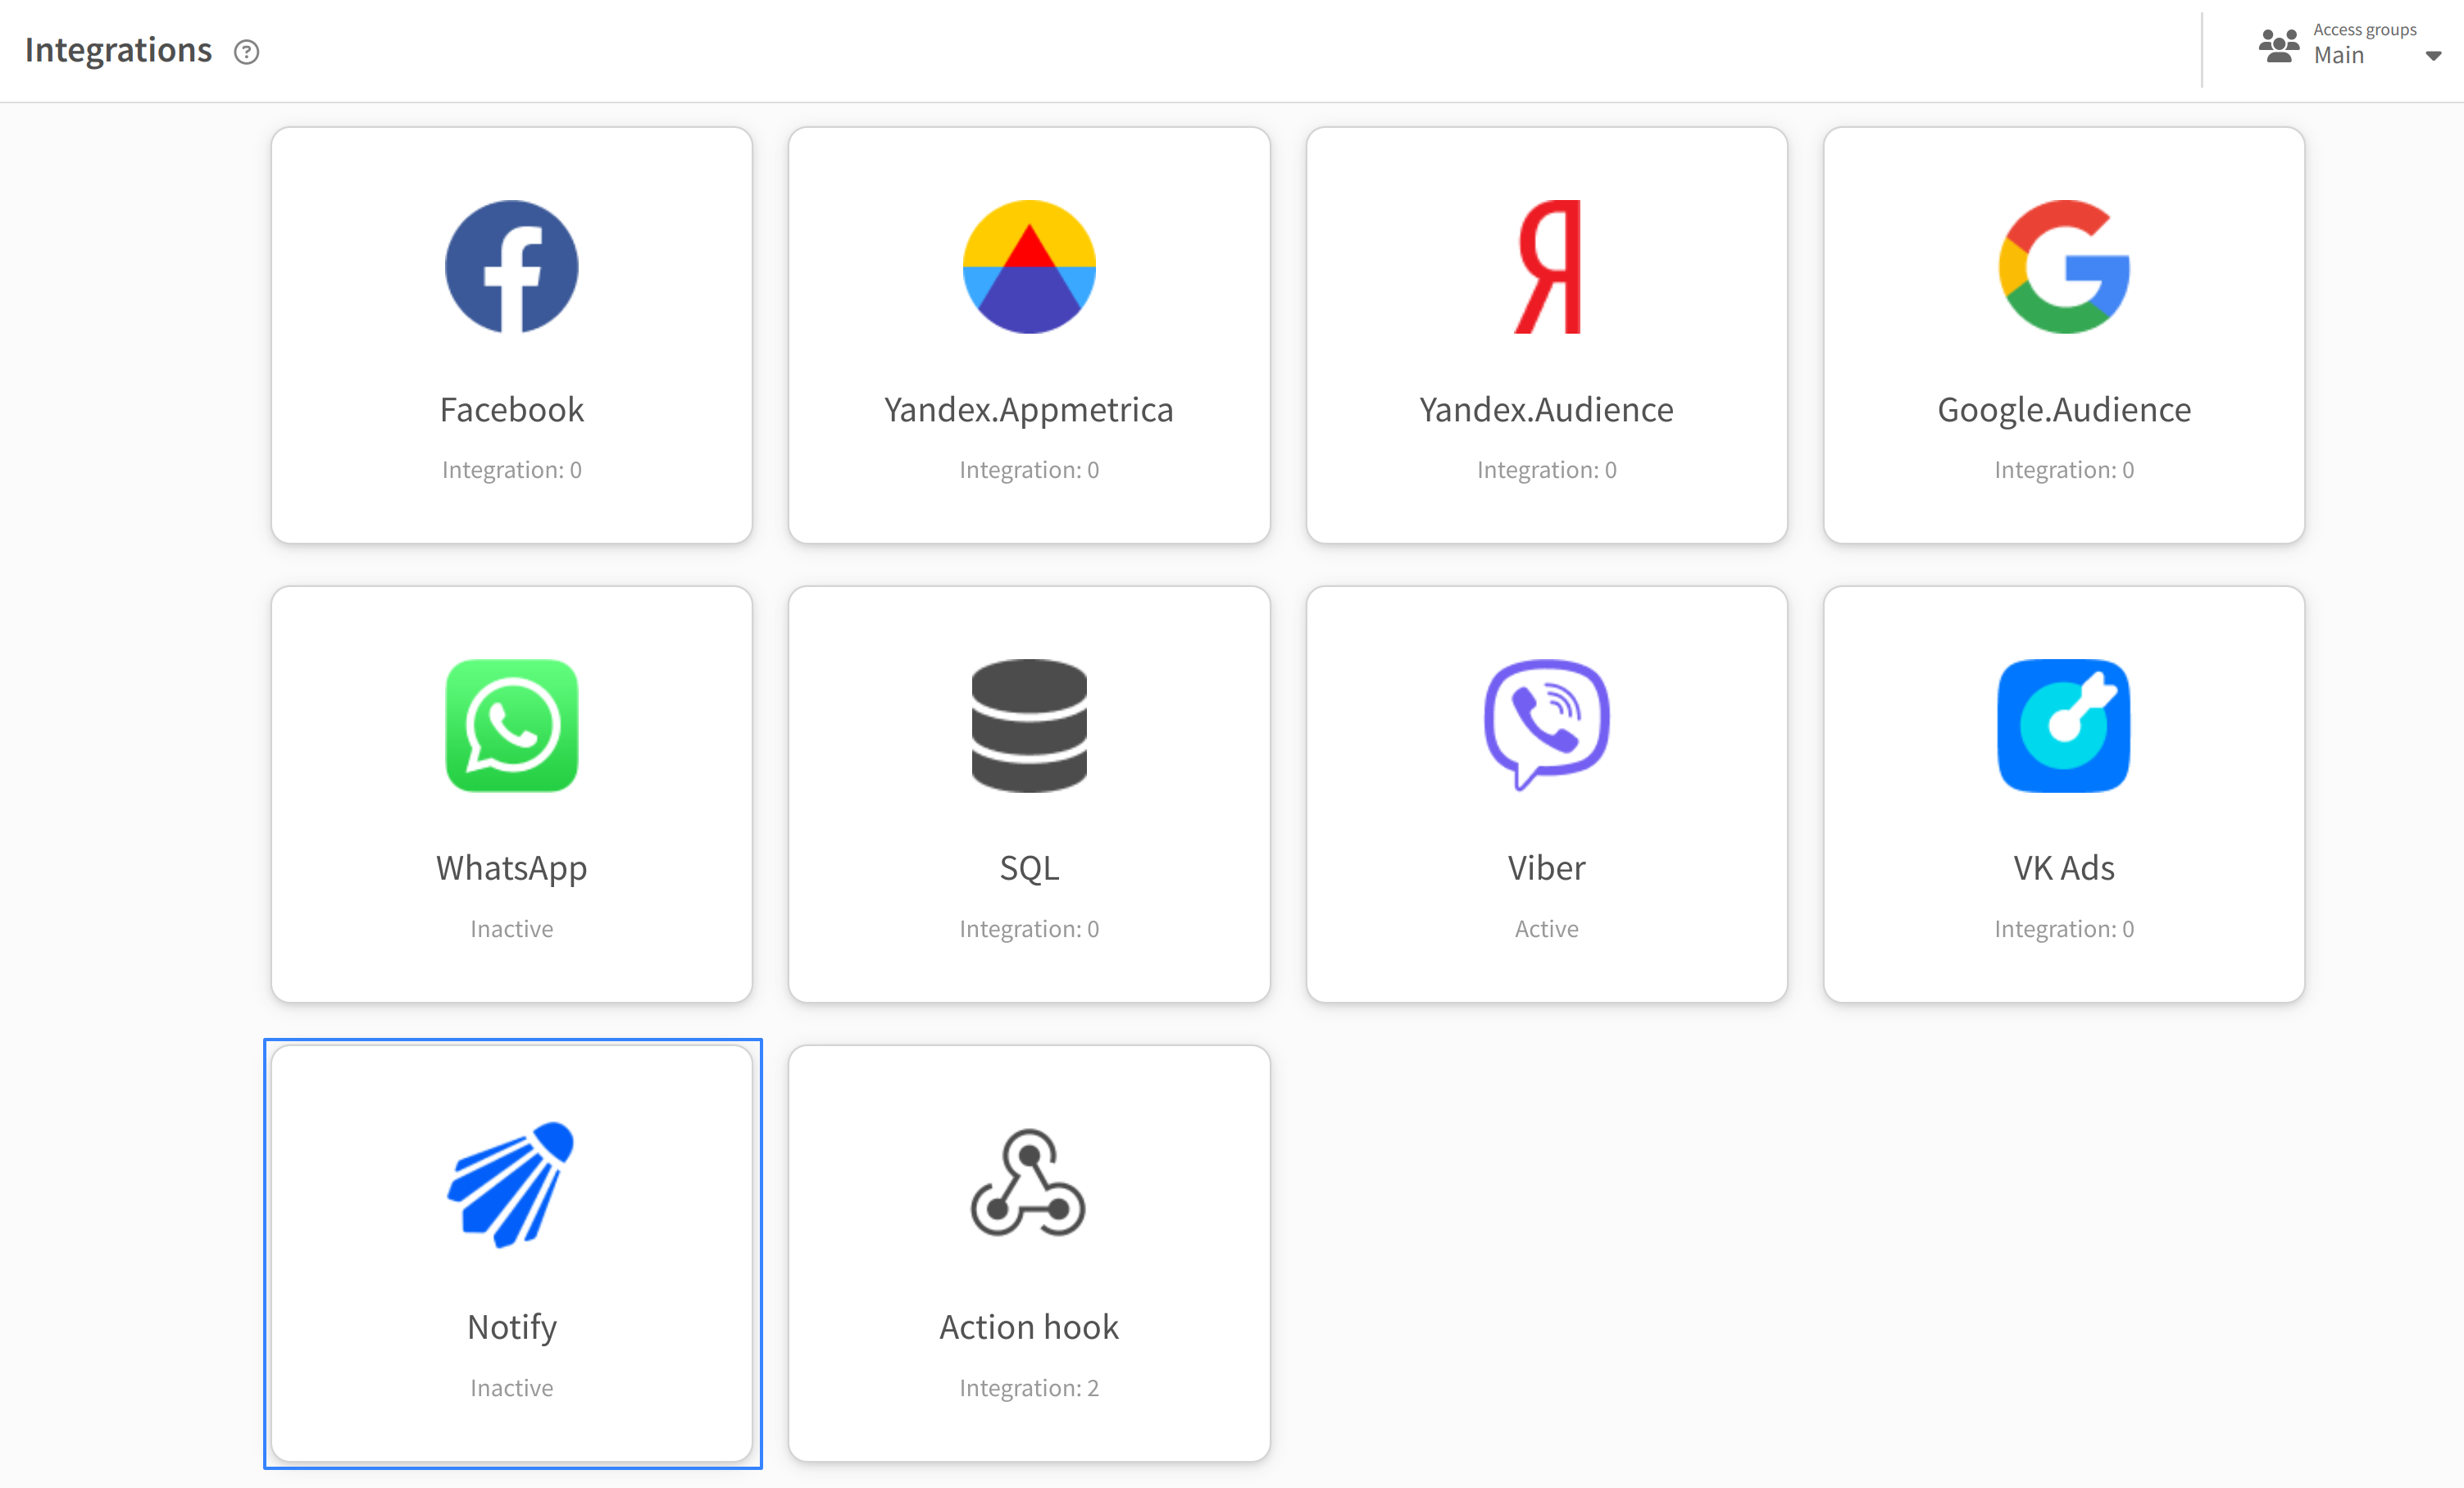
Open the Integrations section and select the integration type - Notify:
Click Add Connection:

Select an available connection to Notify:
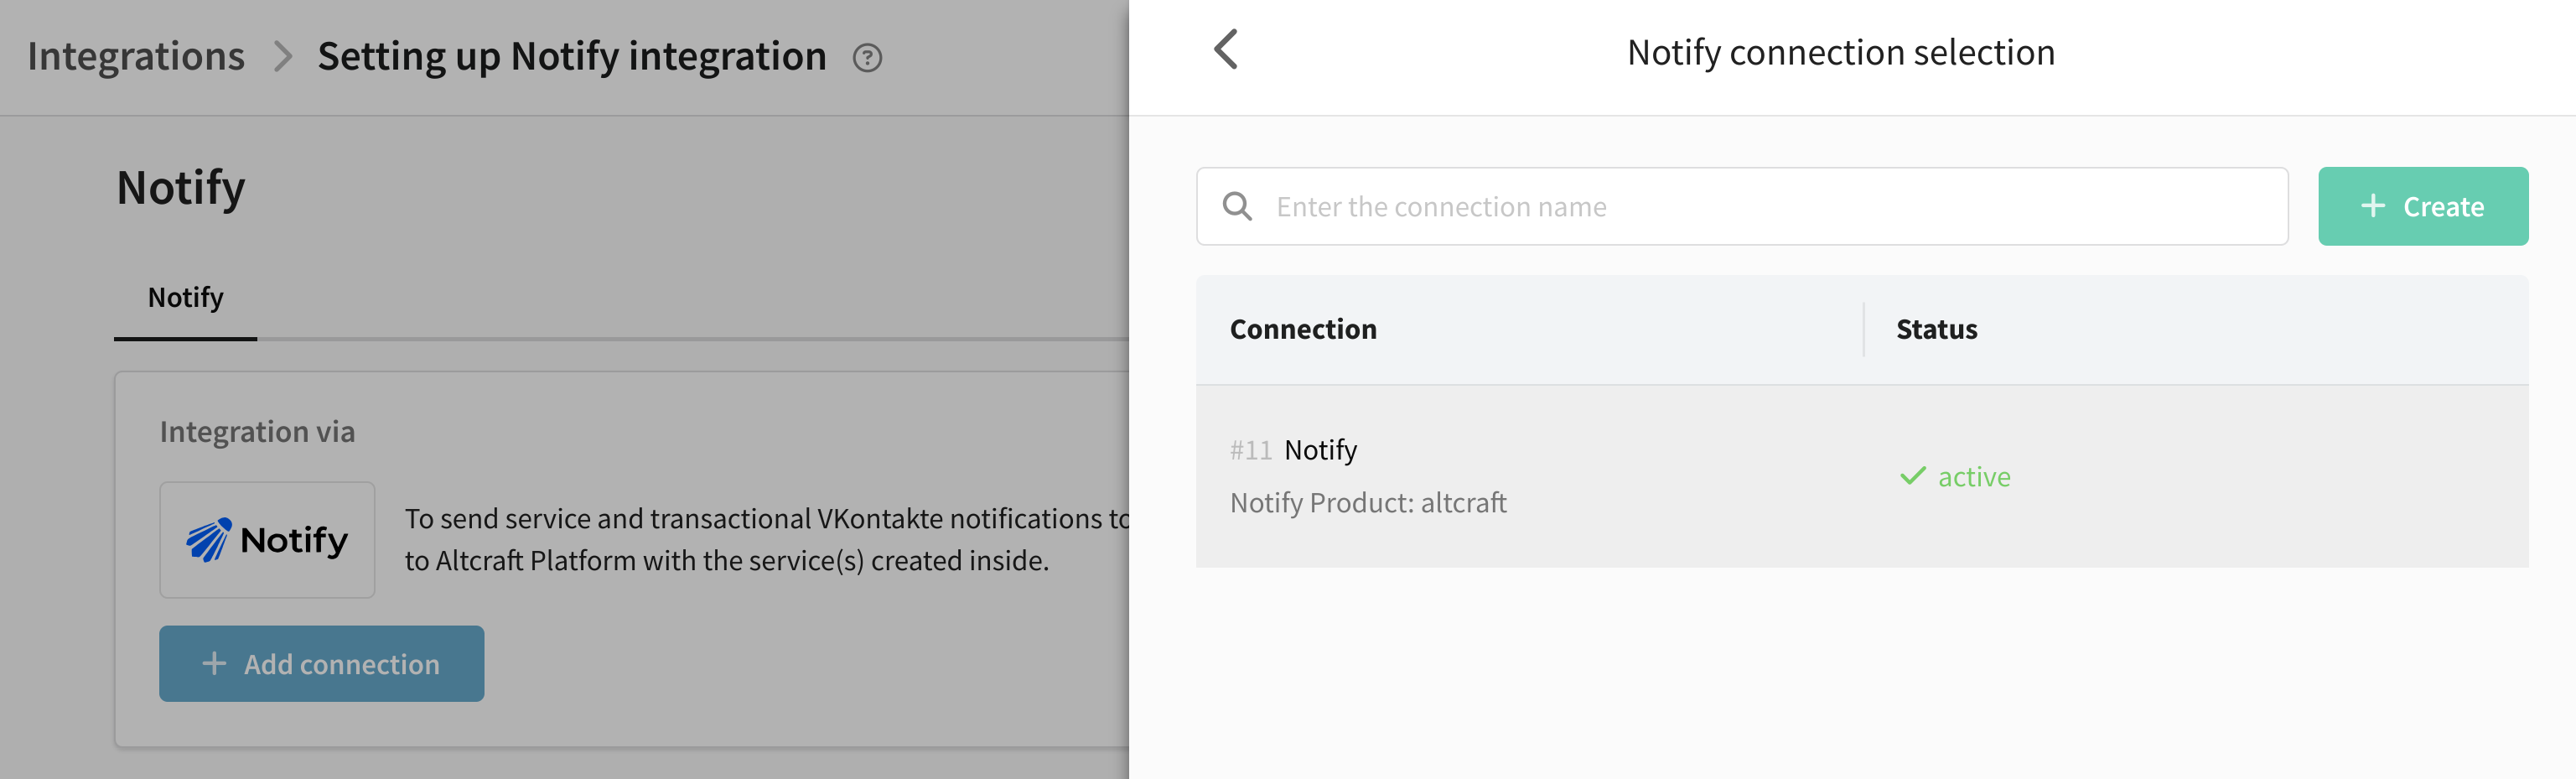
No available connections
If you haven't set up a connection to Notify yet, you can create one right in this window.
Click Create. Enter a name and description for the connection. Next, enter the Application and Signature key parameters and click Check to verify that your data is correct. If the data has been verified, click the Create button in the lower right corner:

You can read more about creating a connection ih this article.
Next, specify integration parameters, for correct work they must exactly match the corresponding parameters from Notify account:
- Service name - the name of the service for mailing, mandatory field.
- VK Community URL - link to the VK community on behalf of which the mailing will be made.
- OK Community URL - link to the community in OK on behalf of which the mailing will be sent.
- Email for template status notification - e-mail address where reports on template statuses will be sent. Required field.
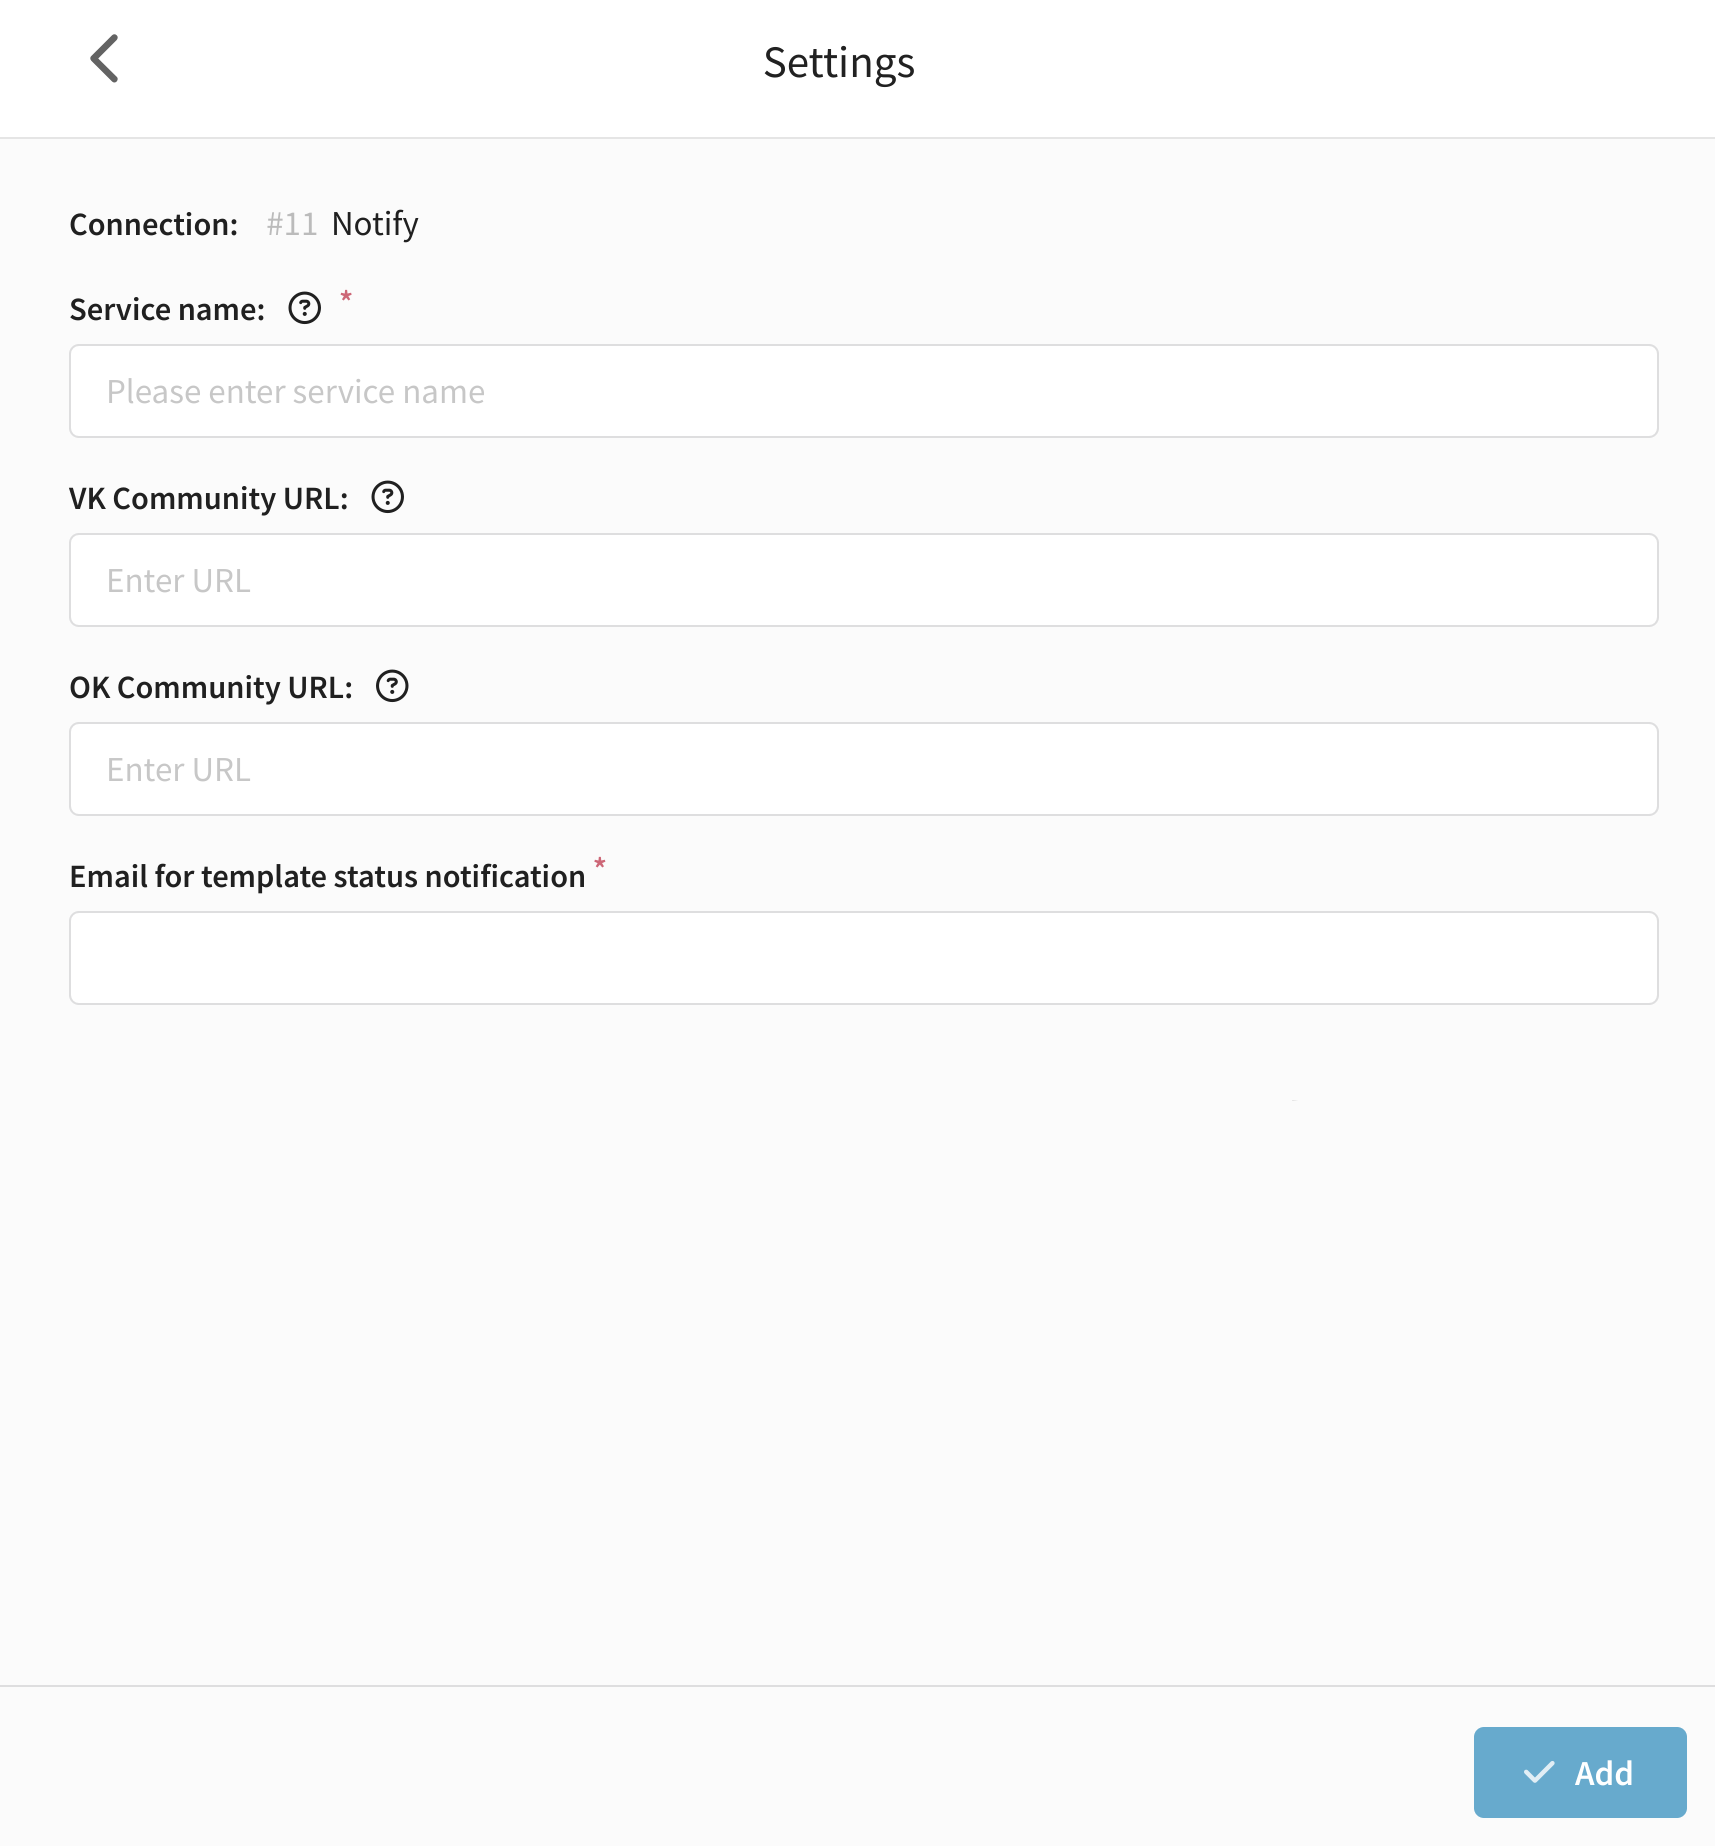
After filling in the fields, click the Add button. If the entered data is incorrect, the platform will ask you to verify its correctness. If the data is correct, the parameters will be saved.
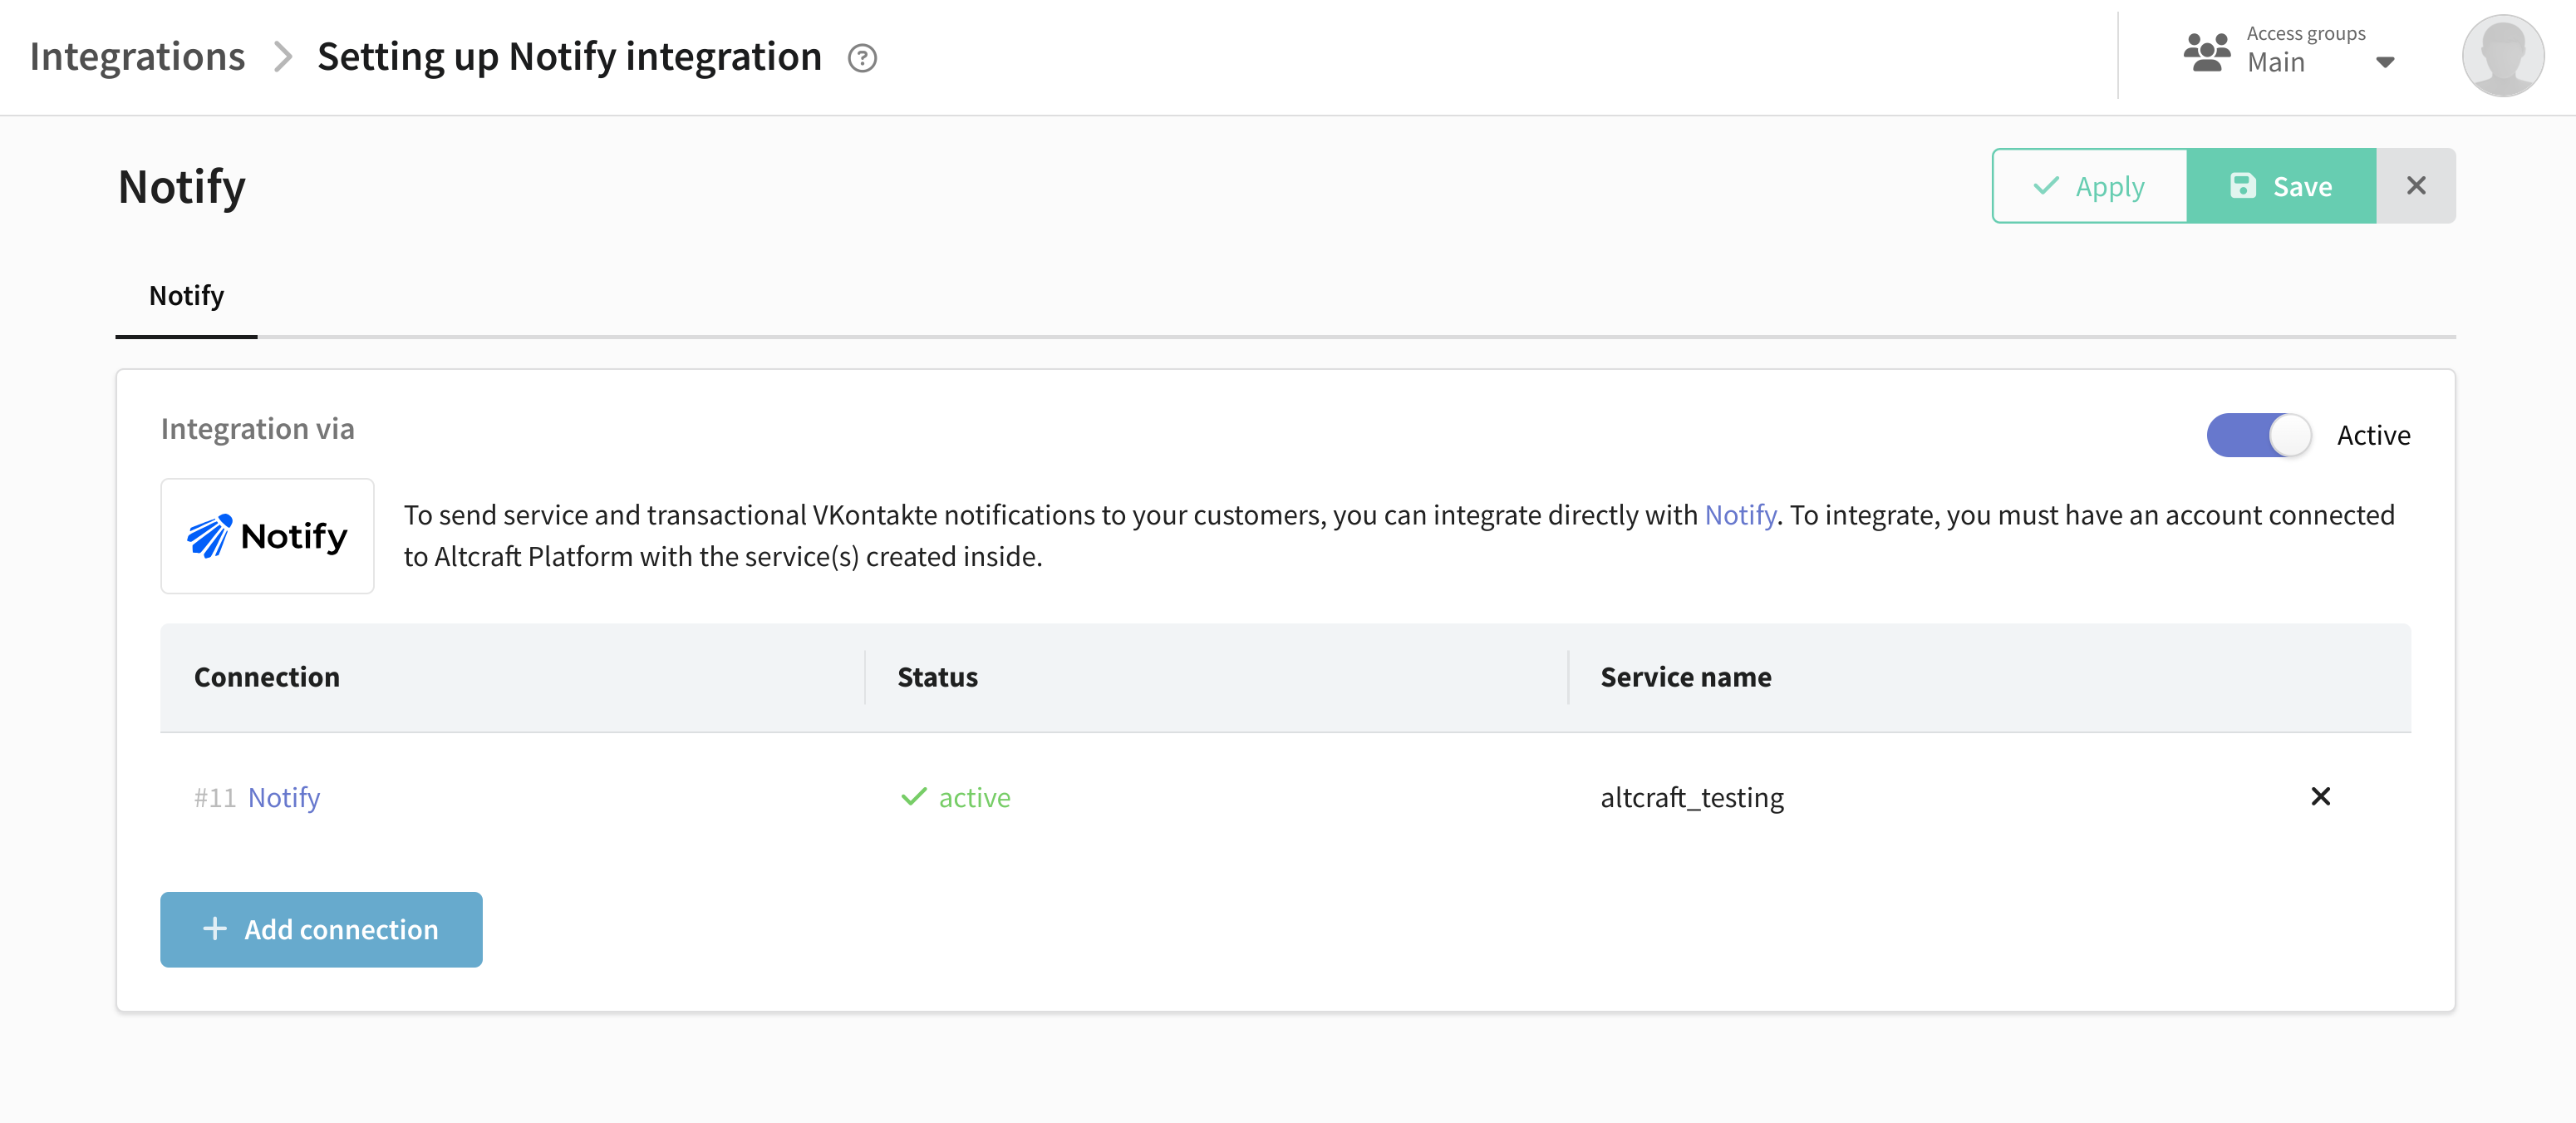
Activate the integration using the toggle and save it.
 .
.
After customizing the integration, you can use it to add a Notify feed to resource.