Actions and form publication
On the Actions tab, you can configure automatic processes that run after successful form submission. Here you can set up user data import into the database and send notifications about form completions.
Before you start working with actions, save the form.
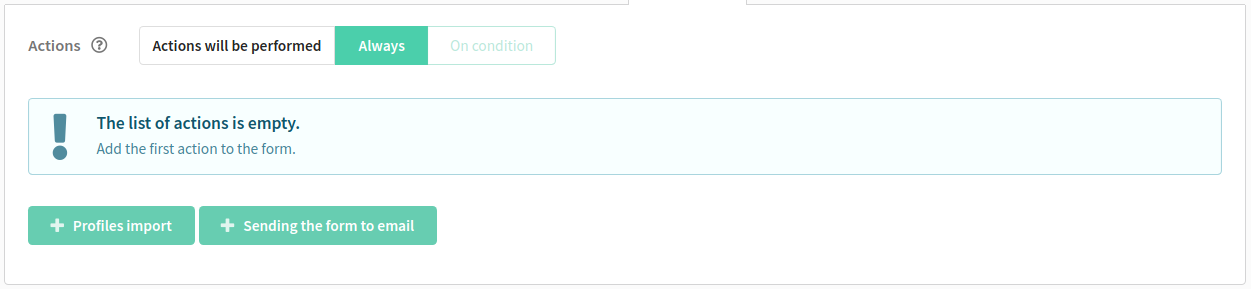
On the Actions tab, specify the actions to be performed upon successful form submission:
Profiles import allows you to upload the data of the user who filled out the form into the database;
- Sending the form to email enables sending notifications about form completions to specified email addresses.
Profiles import
Setting up profile search
Specify the profile search mode in the database:
by email address from profile or subscriptions — by the profile field
Emailor by email addresses from subscriptionsby email address from profile — only by the profile field
Emailby Message ID — by the message template identifier
by additional field — by a custom database field
Next, select the database where the profile will be imported, and the form element from which to take data for search:
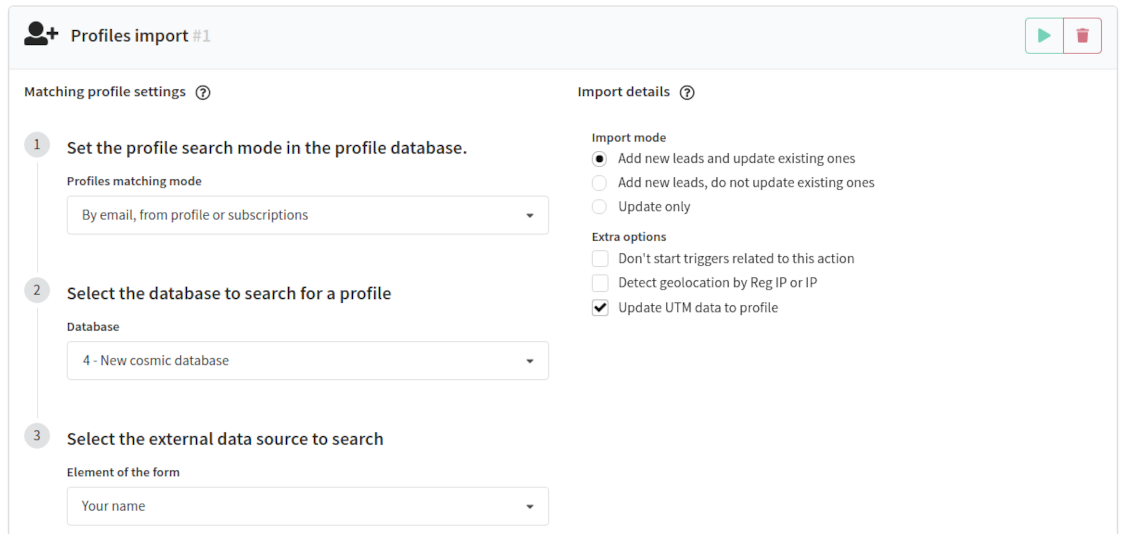
In the right part of the window, you can specify the import method:
- Add new leads and update existing ones;
- Add new leads only, do not update existing ones;
- Update only, do not add new ones.
You can also add additional rules:
Don't start triggers related to this action: disable trigger notifications for the new profile after importing into the database;
Detect geolocation by Reg IP or IP: enable automatic detection of the client's geolocation based on the data in the Reg IP (registration IP address) or IP (last known IP address) fields;
Update UTM data to profile: if the form contains UTM tags, the information about these tags is automatically updated in the profile structure after import.
Column mapping
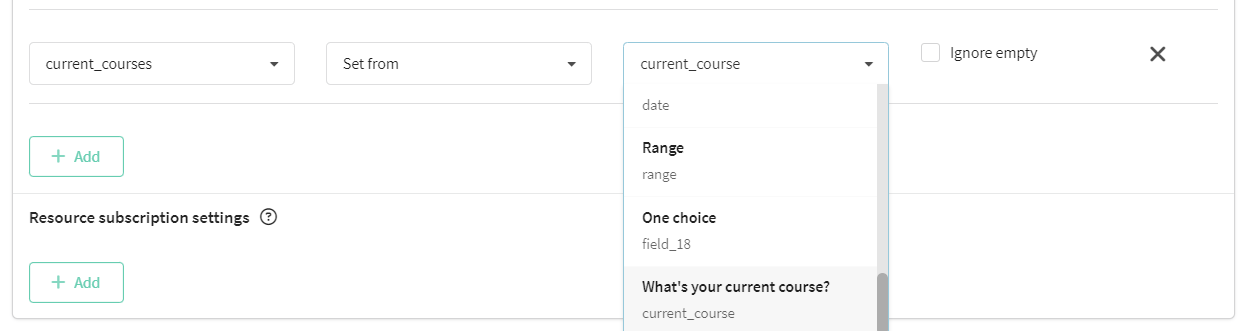
You can set the matching between the form elements and the fields in the profile card.
In the Field in the database drop-down menu, fields from the database are available: system and custom. They are necessary for matching with the main fields of the form. For example, the Email field in the database corresponds to the field of the form where you want to specify the Email.
In the Action menu, you can choose three options: set from, set custom, or remove field.
Source column contains fields that exist in the form. You can name them yourself for easier matching. We recommend naming them the same as the fields, system and custom, are called in the database.
Value handling contains the Ignore empty action. If this field in the form is not filled in, then its value does not overwrite the value in the database that is set by default.
To avoid errors when transferring responses from the form to the profile card, you need to correctly specify the field type when creating the database and match them with the form fields.
| Form element | Field's type in a database |
|---|---|
| Short text | Line |
| Line | |
| Phone number | Phones list / Line |
| Long text | Line |
| Number | Integer |
| Yes/No | Boolean |
| One choice | Line |
| Multiple choice | Tags |
| Drop-down list | Tags |
| Date | Date (RFC 3339 (ISO 8601)) |
| Range | Integer |
Resource subscription settings
When importing profiles from forms, you can immediately add a subscription to one of your resources for the client. Select the resource to subscribe to, the channel and subscription status, as well as the field from the form to be used for subscription (for example, email).

You can subscribe client profiles to multiple resources at once. To add another subscription, click the + Add button.
Sending the form to email
Add this action if you want to receive notifications about form completions. Enter your name and email address. You can add multiple recipients.
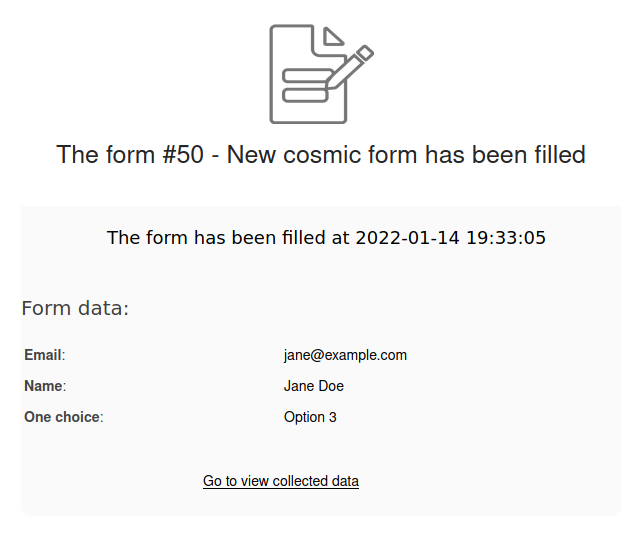
Each time a user fills out the form, an email will be sent to the specified address with the following data:
- form completion notification
- form name and identifier
- link to the form (Go to view collected data)
 — test action (send a test message to the specified email address to make sure that the entered data is correct)
 — start action (a message will be sent to the mailbox with information about how many times the form was filled out, and an archive containing data on fillings)
 — remove action
The Test action and Start action buttons work only if the form is published.
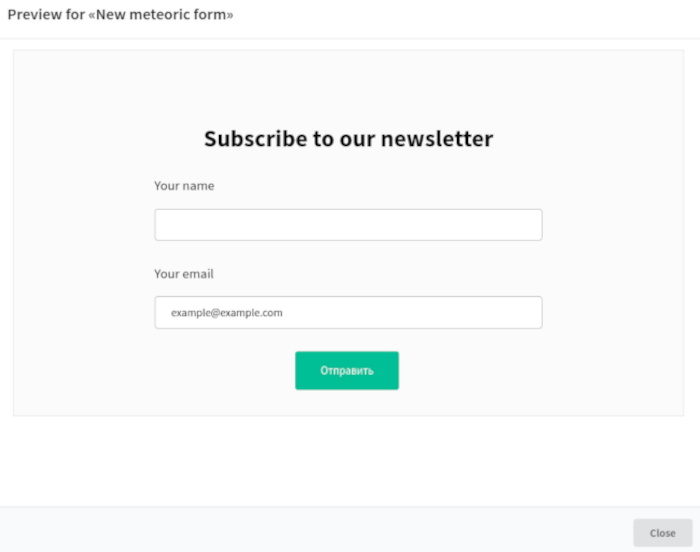
Form preview
At any time while creating and editing the form, a preview is available. To see how the published form will look, click the preview button in the upper right corner of the page ![]() , and the form will open in the way the user will see it.
, and the form will open in the way the user will see it.
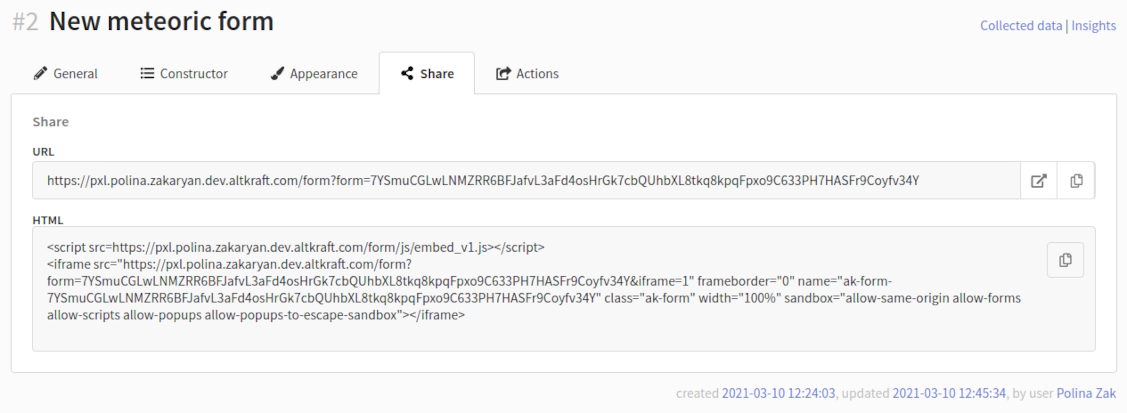
Share
When the form is ready, you can publish it. To do this, activate the Published switch on the General tab.
Once the form is published and saved, it can be used in two ways:
- URL: The platform generates a URL that leads to a separate page with the form. You can send this link to subscribers through any communication channel by adding the form variable to the message template. Learn more.
- HTML: The platform generates HTML code that needs to be added to your website page. The form will be embedded as an iframe element.
The URL and HTML code for the form are available on the Share tab:
After filling out and submitting the form, the user can be redirected to the system's final page or to any other page specified in the form settings. Please note that when embedding the form code on the website, this page will not open inside an iframe element on the current page, but the user will be redirected to a new page.