Content personalization
Description
Customer profiles data can be used for creating dynamic personal messages, that do not need constant changes. The template will take profile information from the database. It allows you to make personal human-like mailings.
For example, this is the message with a daily horoscope:
Hello, Eddie!
Daily horoscope for Scorpio.
This is the greatest day to consider your options, study economic trends, and analyze what you want from investing. You can create this message, using profile data and the link to a server generating horoscopes. This is called dynamic HTML content.
Hello, {lead._fname}!

Daily horoscope for {lead.Sign}.

{[http://127.0.0.1/horoscopes?sign={lead.Sign}]}
This way, you will make one letter for all 12 zodiac signs, that does not require any time afterwards.
Customer data in message templates
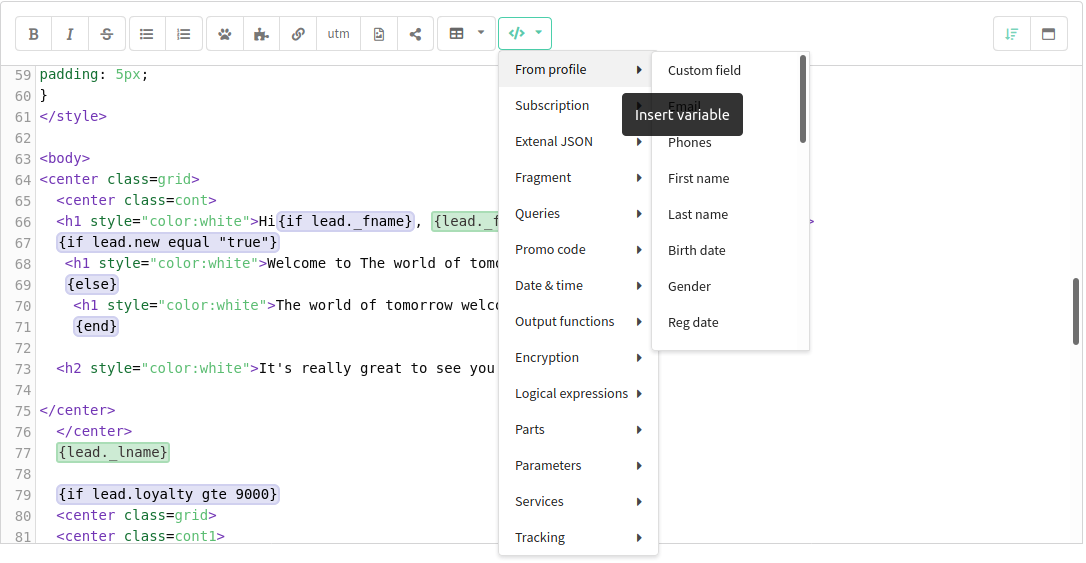
To add data from customer profiles, open variables menu (</>) in template content editor, and select one the following:
- From profile — customer data from profiles database.
- Subscription — information about profile subscriptions to different resources.
- Promo code — promo code from a certain loyalty program.
- Parameters — additional data, like Database, Mailing, Template, Resource name.
To add data from additional (custom) fields of the client profile, add {lead.Custom_Field_Name} into the code, where Custom_Field_Name is the name of the additional field that matches the one in the profile database. In our example (see above), it is {lead.Sign}.
You can also add data from the additional field of the "Object" type. Nesting can be of any type. For example, {lead.Custombject.fieldname}.
Using variables in URL parameters
URL addresses only allow Latin letters, numbers, and a limited set of special symbols. However, when using variables that pull data from profile fields into a template, certain characters may be invalid for URLs, such as spaces or non-Latin characters. In such cases, the link in the template will not work.
To avoid this situation, it is important to encode the parameters in the URL. This can be done using the {urlencode} function. For example, if you're inserting the variable lead.email into a link, use the following format:
https://example.com/?email={urlencode(lead.email)}.

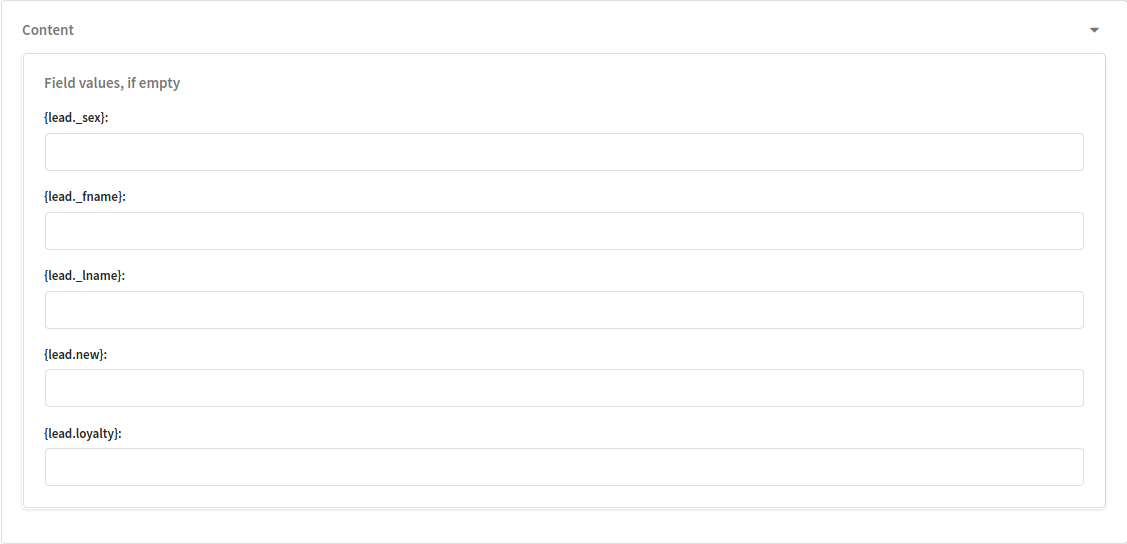
Placeholders for missing data
In the template editor Content tab you can set default values for the profile variables used. They will be inserted when there is no necessary data for a customer.
On-click customer data update & subscription
Customer data can be also updated dynamically whenever your customer clicks a specific link in your message. Add the following attribute to any link: field_name should be written the same as in profile database:
update-field_name="value"
When a customer clicks such link, the value of the customer profile field in the Database will be changed to the specified one. For instance:
<a href="http://www.example.org" name="link" update-clicked_link="true">Update clicked_link!</a>
Adding tags
To add tags to a customer's tag-type field, use the addtags-field_name="value" attribute. Tags are added to the existing ones, not replacing them.
<a href="http://www.example.org" addtags-interests="sports,travel">Add interest tags</a>
Multiple tags are separated by commas.
Removing tags
To remove tags from a customer's tag-type field, use the removetags-field_name="value" attribute.
<a href="http://www.example.org" removetags-interests="sports">Remove the "sports" tag</a>
Multiple tags to remove are also separated by commas.
- Field names in
update-,addtags-,removetags-, andsubscribe-toattributes are case-sensitive. For example,update-Interestsandupdate-interestswill target different fields. - For
addtags-andremovetags-, the field must be of the "Tags" type. - If the field is not found in the database, the operation will be skipped.
Subscribing to a resource
To subscribe your customer to a different resource on click - use the following link attribute:
<a href="http://www.example.org" subscribe-to="1">Subscribe me to resource #1</a>