Working in the editor
Creating a template
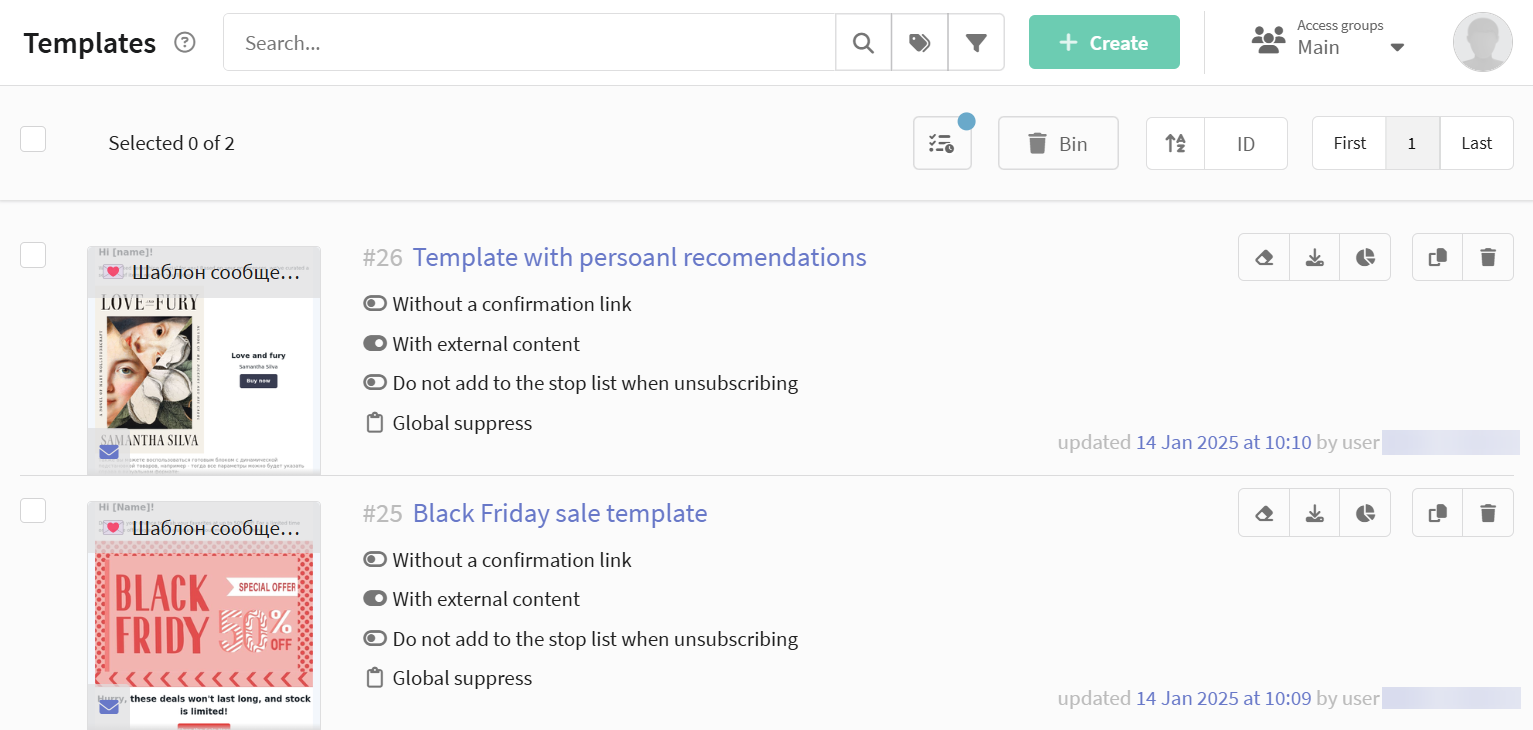
To add a new template, click on the + Create button at the top of the page:
Next you have to select the way to create a template:
- Import from a file — download the finished template as a zip archive or html file.
- Insert code — add the copied HTML code to the text window.
- Editor — create a template in the editor.
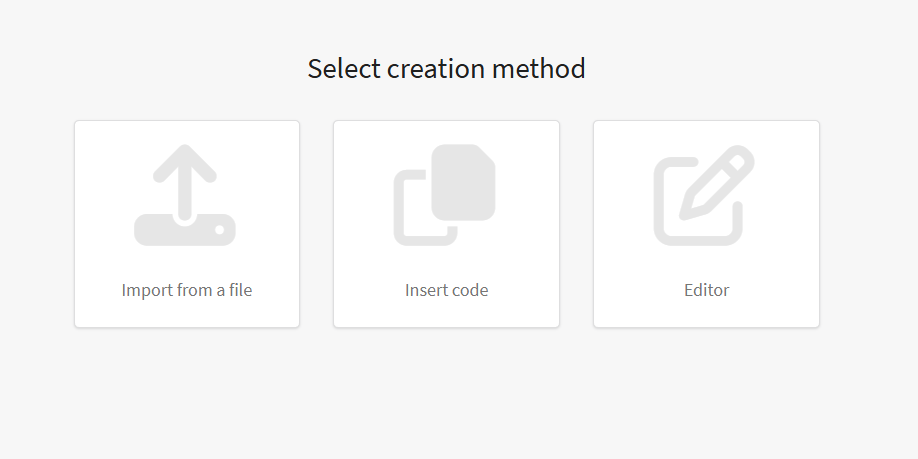
If you need to transfer a template from a third-party service, use file import or code insertion.
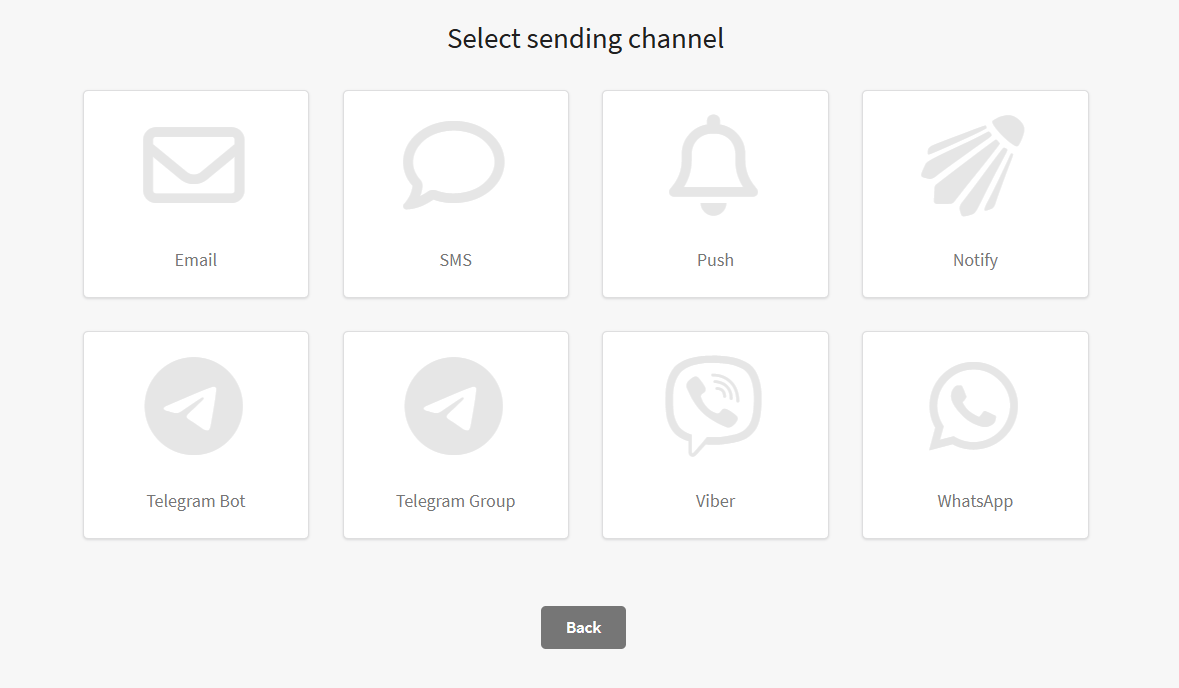
Select sending channel, or communication channel. In the future, the selected channel can be changed or a new one can be added.
General settings
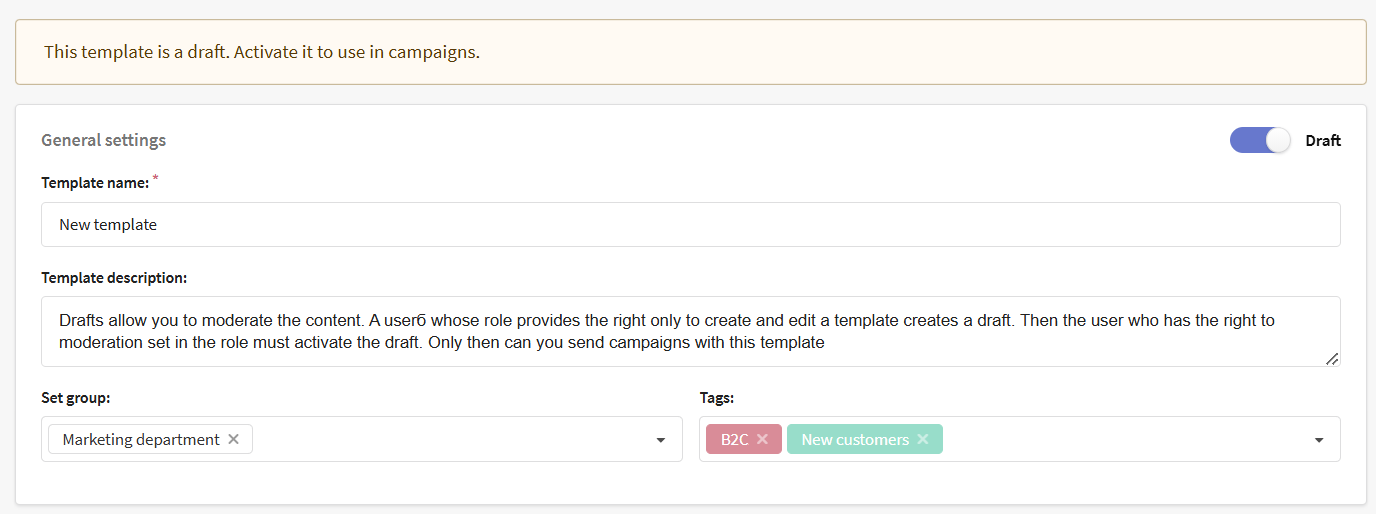
In the general settings of the template, specify its name and description, add tags and if necessary set access groups.
If it is necessary to organize content moderation, the templates provide the function of creating Drafts. To do this, you need to create a user with a specific role. The role have to allow only create messages, without moderation. User with that role will be able to fill templates with content, but templates can not be used immediately in newsletters. The second user with moderation rights must open the template and deactivate the Draft option in the General settings.
Content editor
The editor helps to create messages, quickly edit templates and also simplifies the personalization of content.
A single template can combine content for sending over all available communication channels. You define the communication channel at the creation's stage, but you can change it or add a new one. To add content to the template for a specific communication channel, click on the button in the upper right corner:

Working with each type of content is described in the articles:
Options
In the Options section, you can continue customize the template.
In the Dynamic content settings block, specify the data source for JSON content in messages. If there is valid JSON at the entered address, a preview of the first-level objects will open:

By default, the maximum size of dynamic JSON is 1 MB.
In the on-premises version, this limit is set in the configuration file using the MAX_REMOTE_CONTENT_BYTES parameter.
In the extra settings you can select custom links for the message unsubscribes and subscription confirmations. For example, if you want to direct customers to the personal account of the site or to the page for subscriptions management.
User links unsubscribes and confirmations can be created by master account users. In the template options, it is only possible to select pre-created links. For more information, see the Settings section.
Also in the extra settings you can select a custom suspression list to use with the template. With this feature, it is easy to limit sending to customers who are not suited to the type of content being sent. Additionally, you can enable the option Add unsubscribers to the attached suspression list:

Default field values and parts
The Content tab appears in the editor when you use variables with profile data or parts of messages in the template.
In the tab Content you can define default values for variables that you use in the template. So, if you use customer name substitution, but for some profiles the name field is not filled in, the default value will be used, for example, "Dear customer".
Parts of the message are similar to fragments. However, they can only be used in the template where they were created. Fragments can be used in several templates.
To start working with the parts, add the variable {part.example_part} to the template code. After that, the "Content" tab will appear at the bottom of the page, where you can customize parts of the template.
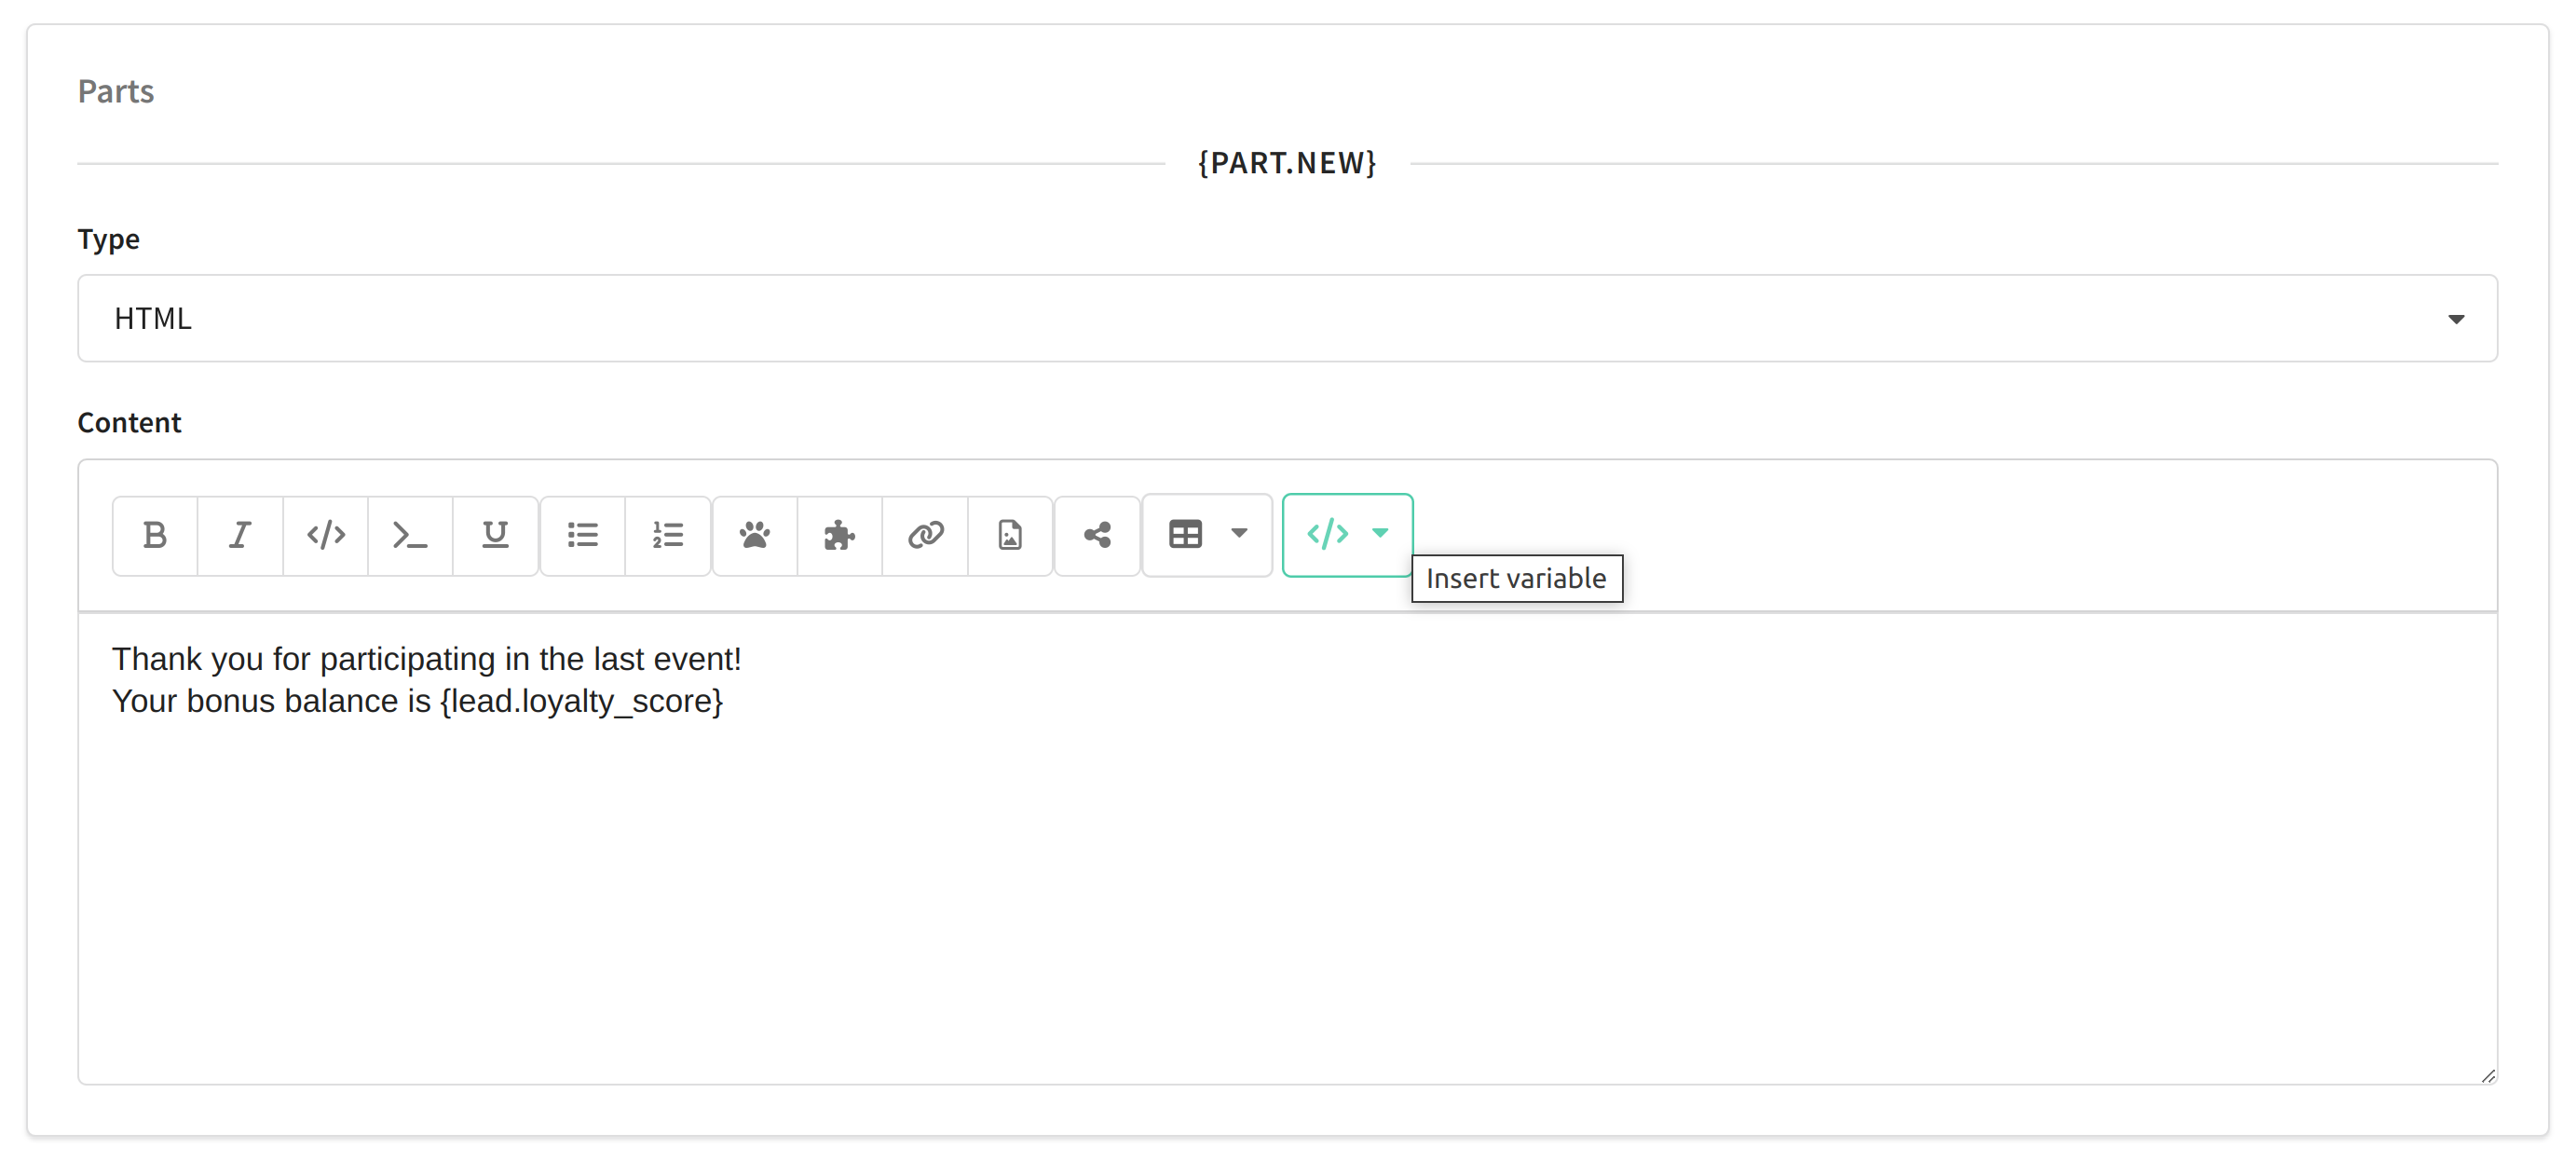
For each part, you can select the content type: HTML for email messages or text for the text version of email, as well as for SMS and Push content. Depending on the type of content, the corresponding content editor will be opened with all the necessary functions:
It is convenient to use parts together with logical expressions for a more compact display of the message code. For example, depending on the number of subscriber points (custom numeric field), one or the other part will be substituted:
{if lead.score gte 9000}
{part.part_1}
{else}
{part.part_2}
{end}
Message preview
Previewing the message allows you not only to check the HTML layout, but also to see the results of content personalization, which is based on subscriber data. Click on this button at the top of the page to activate the preview:
In the preview window, you can select the desired channel for which you want to view the content. A preview of both the HTML and text versions is available for email.
At the bottom of the window there are buttons for switching desktop/mobile display modes, as well as personalization settings.
Select the resource from which you plan to send the template, and add a new profile in the drop-down menu. The search is similar to the database search. The segmentation rules are used there, so you can immediately select a profile with the necessary data.
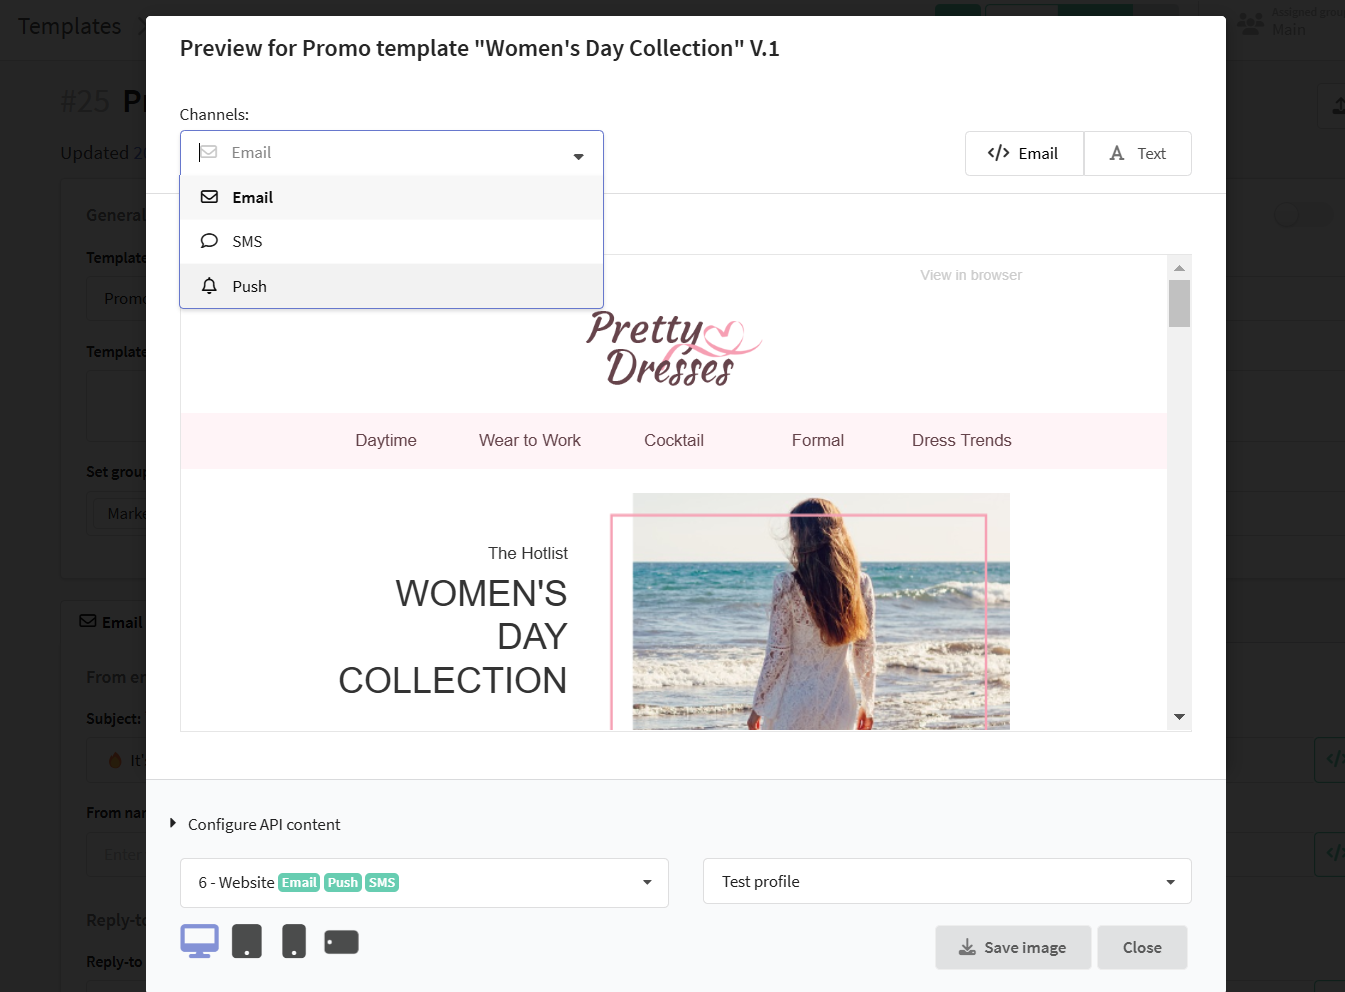
A preview of the template in png image format is available for any channel. To download an image to your device, click on "Save image".
Follow the rules to correctly upload the preview of the email template:
- CSS styles
text-decoration,text-decoration-lineandtext-decoration-colorare installed directly into the parent element of the text. For example:
<div>
  <span style="text-decoration: line-through;">Text</span>span>
</div>
- If you use fonts imported from an external source (for example, Google Fonts), it is recommended to replace them — set the fonts installed in the system in the
font-familyproperty. For example:
<!-- Correct display in preview -->
<span style="font-family: Roboto, Arial, Tahoma, sans-serif">Текст</span>

<!-- Incorrect display in preview -->
<link
  href="https://fonts.googleapis.com/css2?family=Roboto:ital,wght@0,100;0,300;0,400;0,500;0,700;0,900;1,100;1,300;1,400;1,500;1,700;1,900&display=swap"
  rel="stylesheet"
/>