Google Sheets and Altcraft integration
Let's say Google Sheets stores contact data like this:

You need to import this list of contacts into Altcraft.
To create a link between Google Sheets and Altcraft, you need to add a connection to both services. Connection to Altcraft is described in the previous manual; connection of a Google account with a link to Google Sheets can be found here.
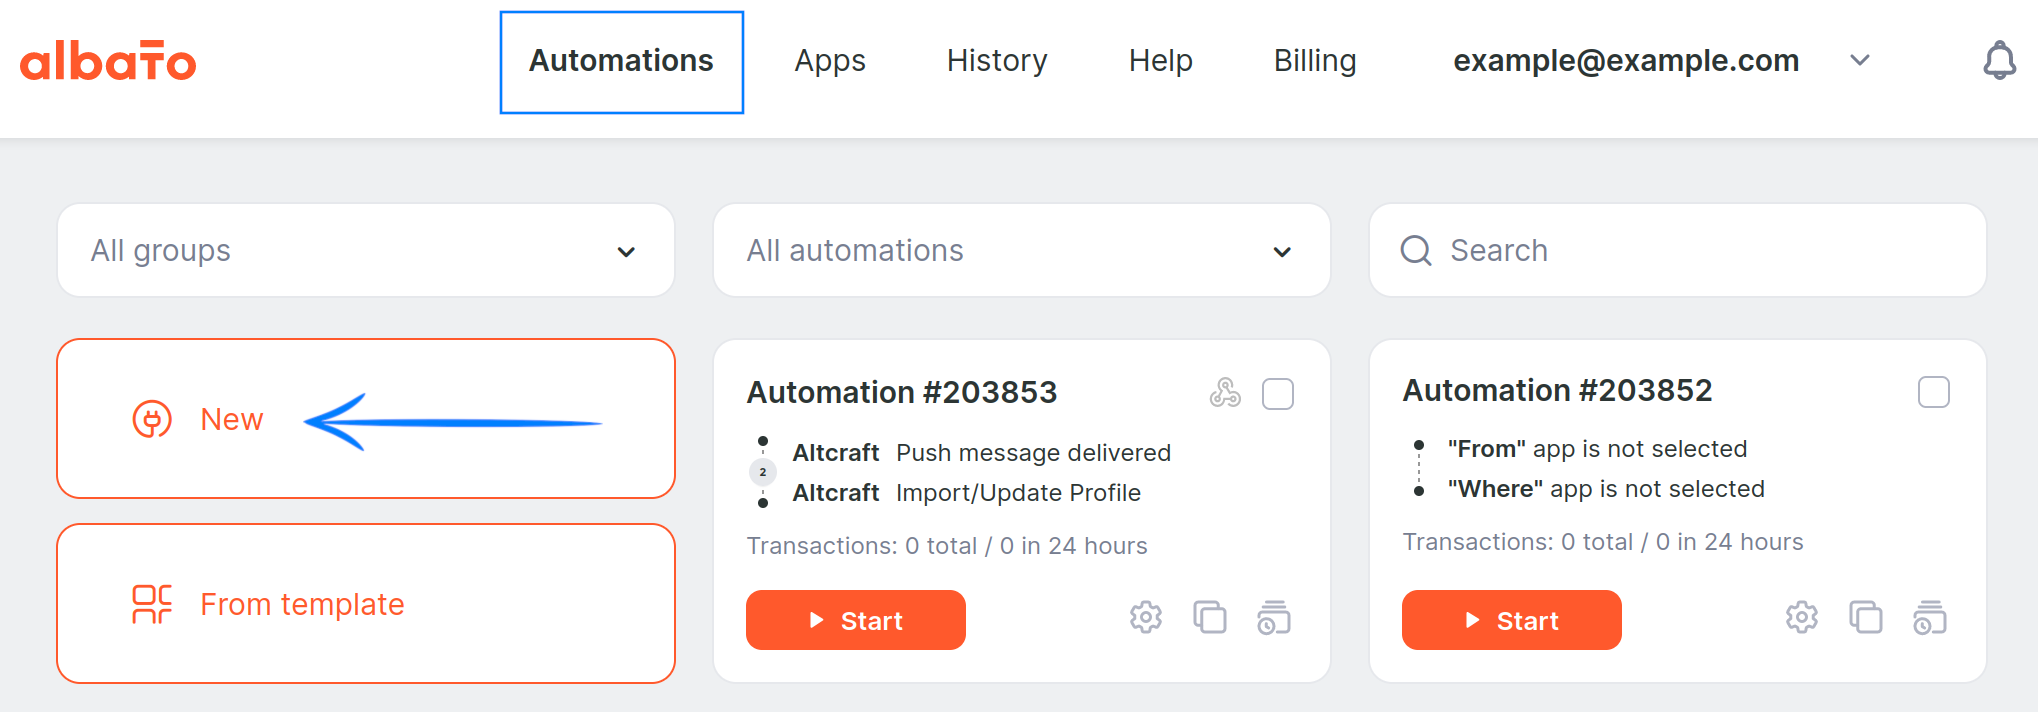
After connecting the accounts, you need to create a new bundle. To do this, select "Automations" in the top menu, and then, in the left menu, click the "New" button.
The automation builder window opens. In this window, the main settings are made: the choice of services for the automation, connection, setting by field matching, testing and launching the automation.
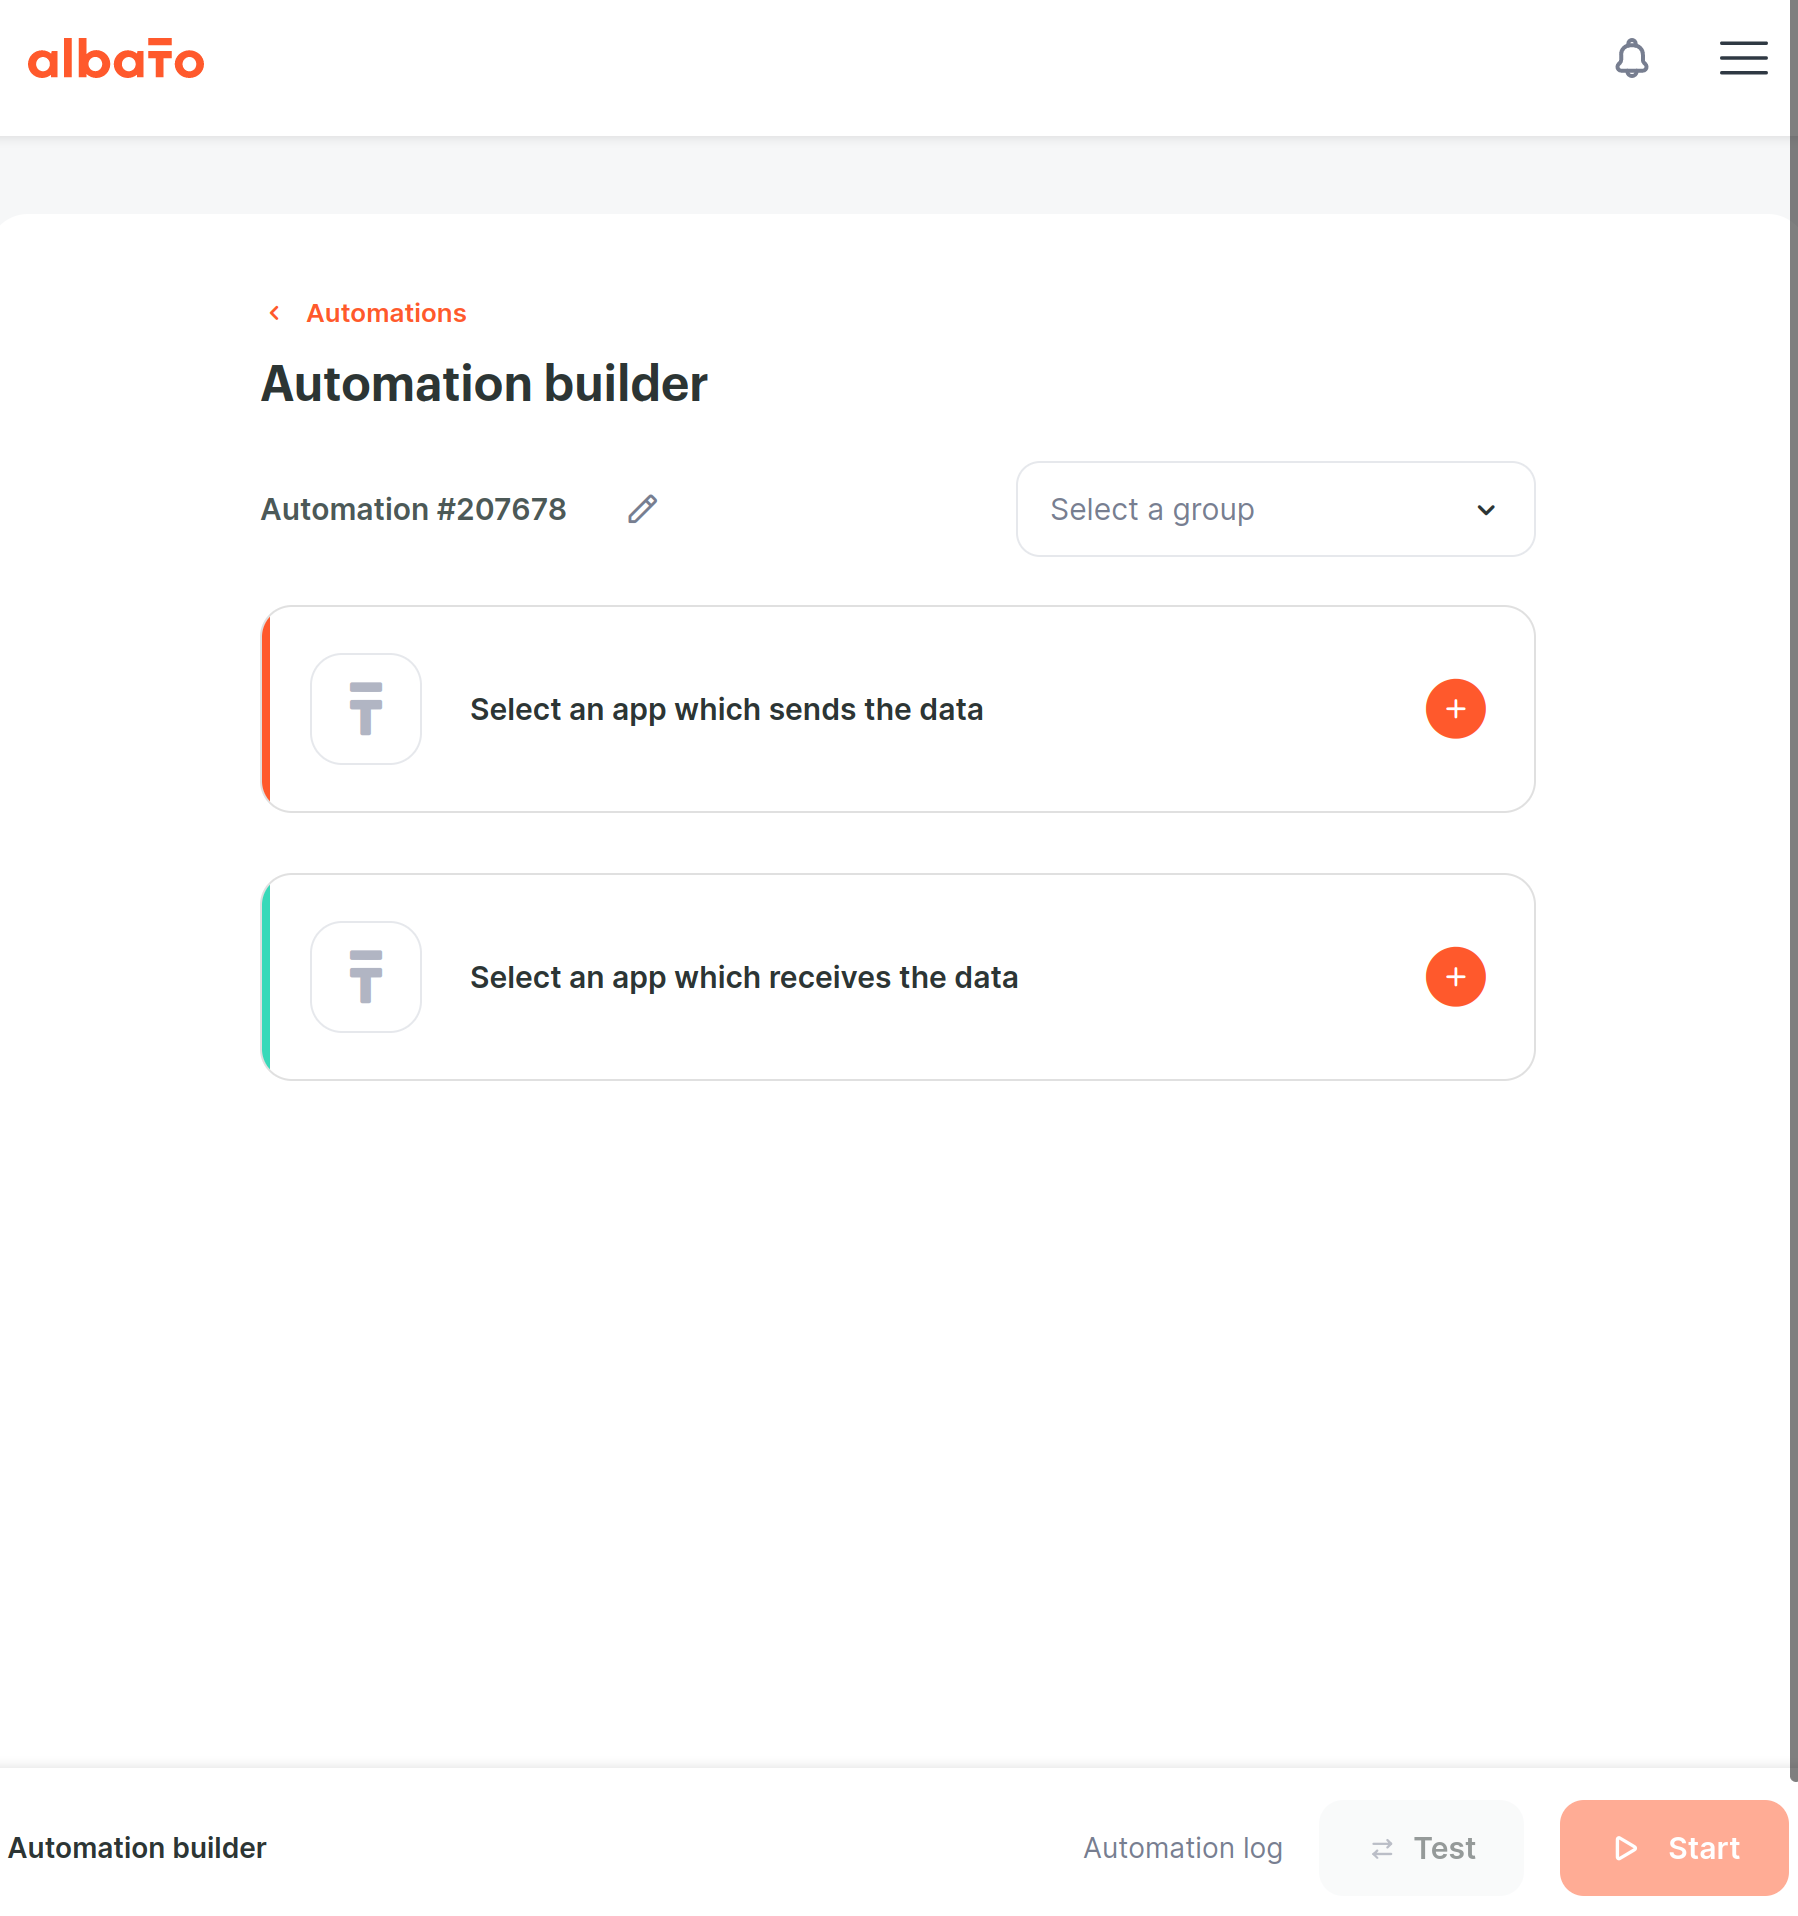
There are two tabs available in the builder:
on the first tab, you need to select and configure the service from which you want to collect data, and the event that will start the data transfer;
on the second tab, you need to select and configure the service where you want to transfer data.
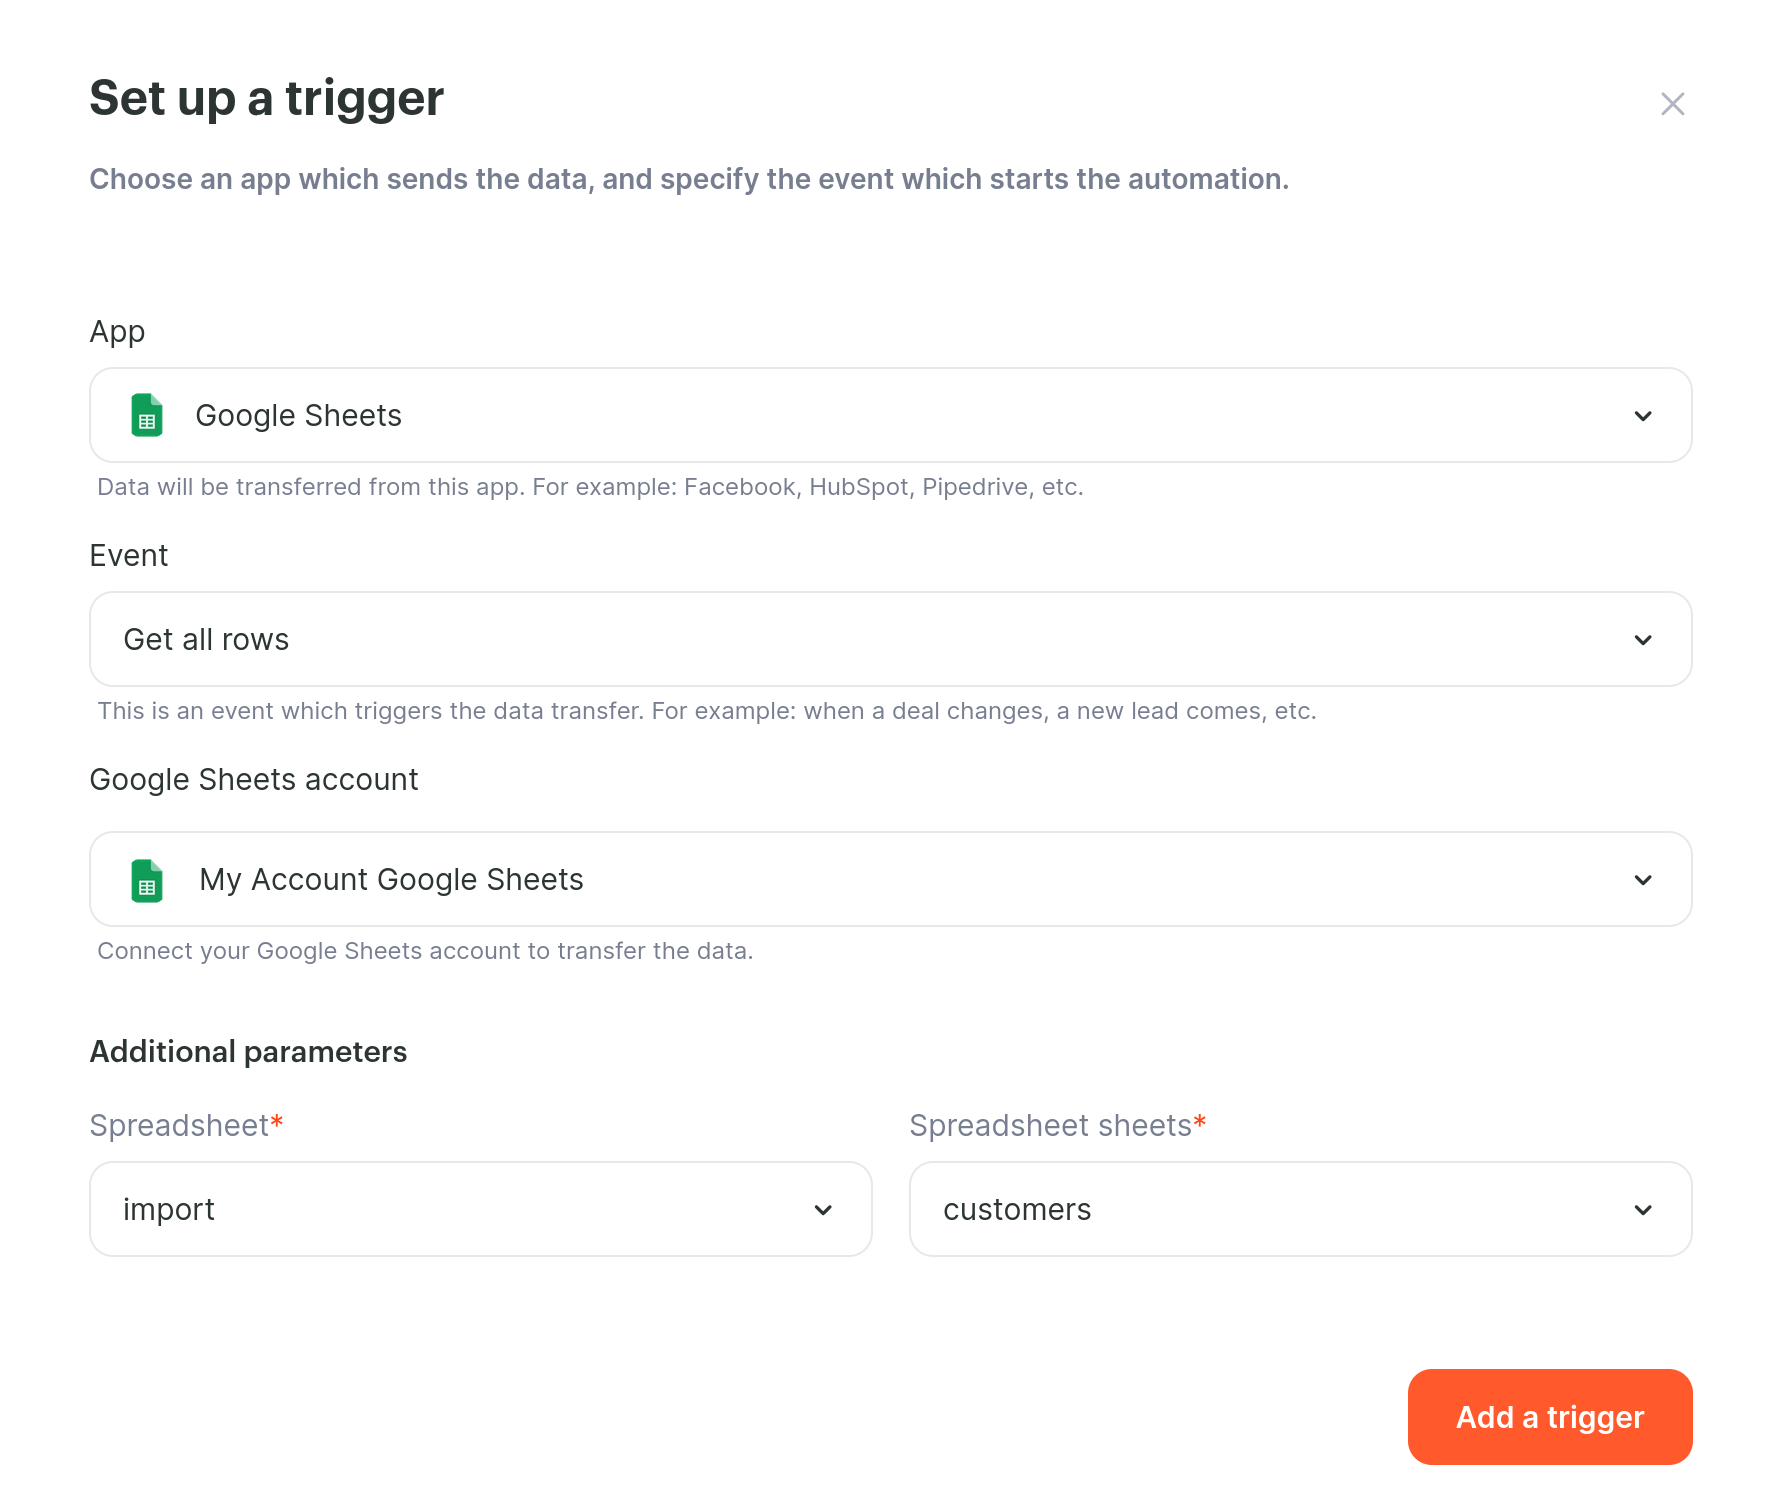
In the current example, on the first tab, you need to select the "Google Sheets" service and the event that starts the automation. You also need to connect an account or select a previously connected one, and select the required table with data.
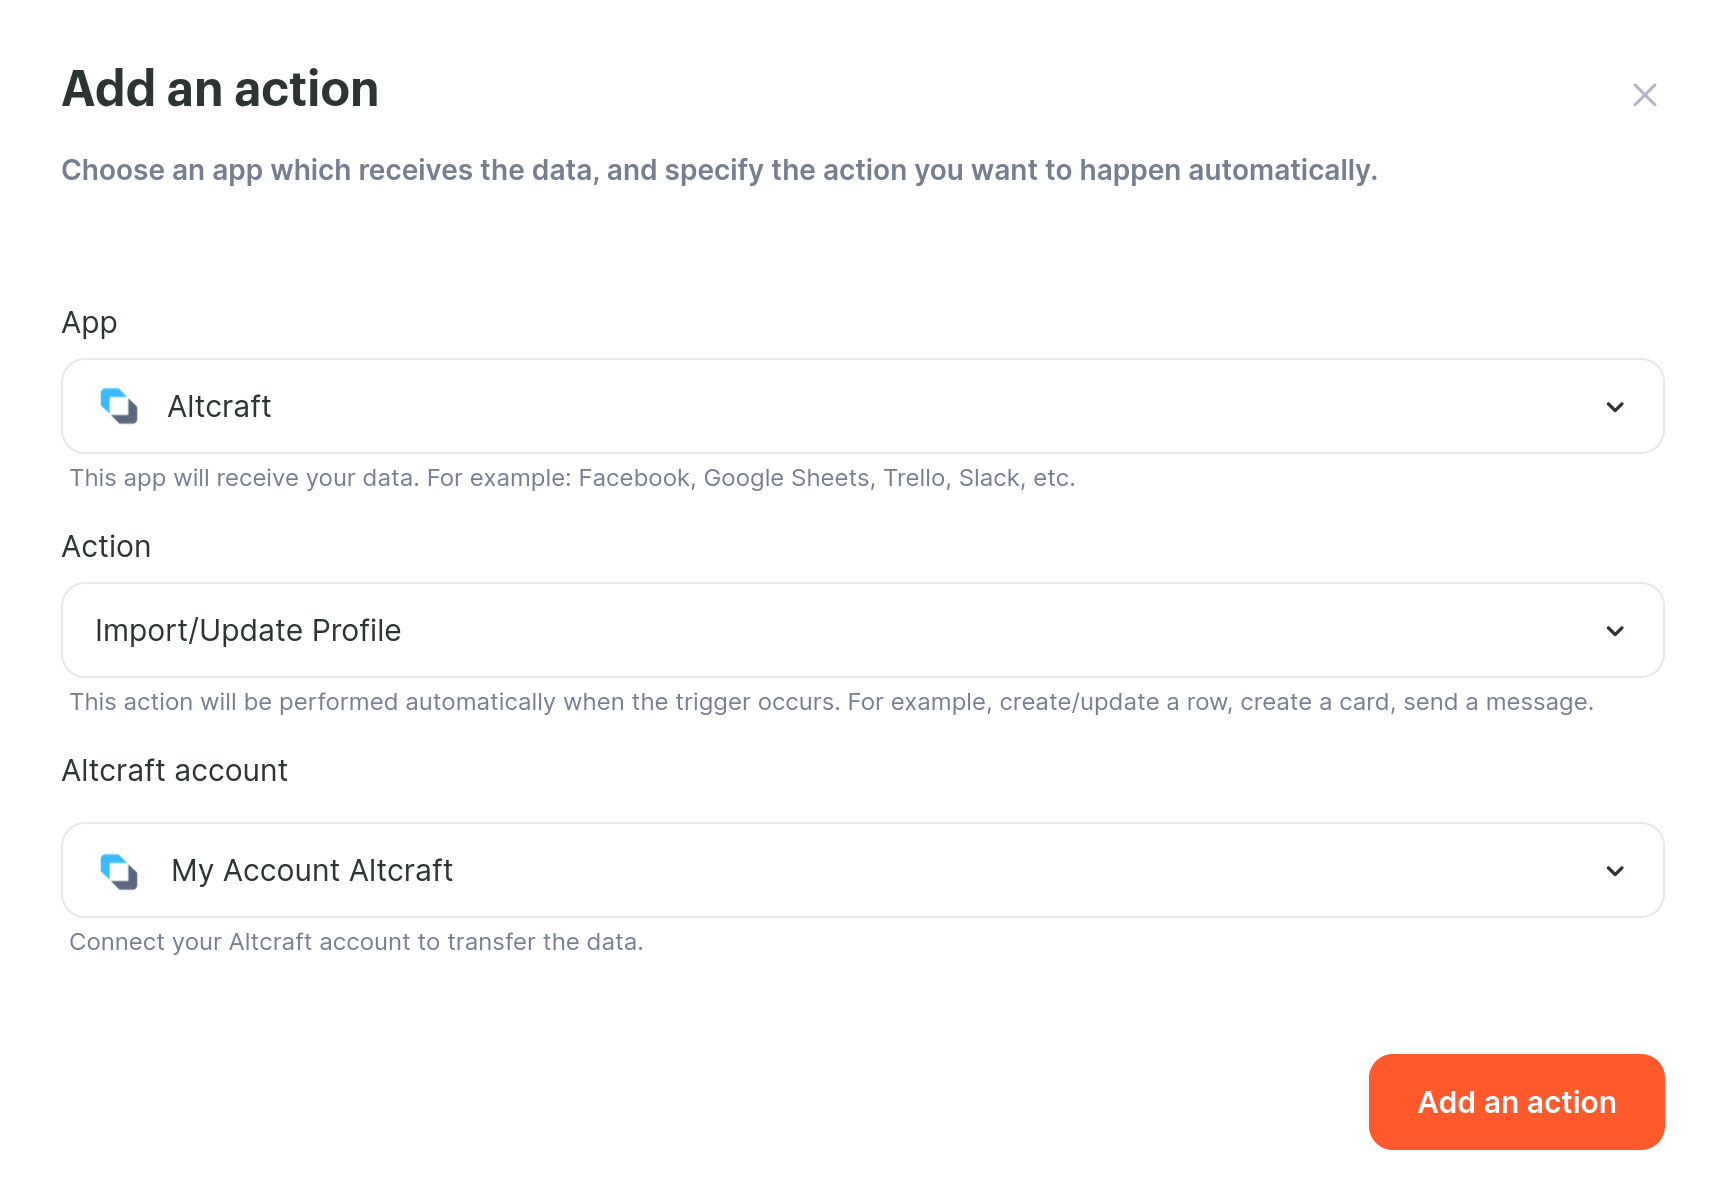
On the second tab in the first window, select the Altcraft app. Next, you need to select the action that will be performed when transferring data, as well as connect an account, or select a previously connected one.
Next, when you click "Add an action", the following window will open, where you need to match columns and fields (in other words, set up the matching of fields transferred from Google Sheets to Altcraft).
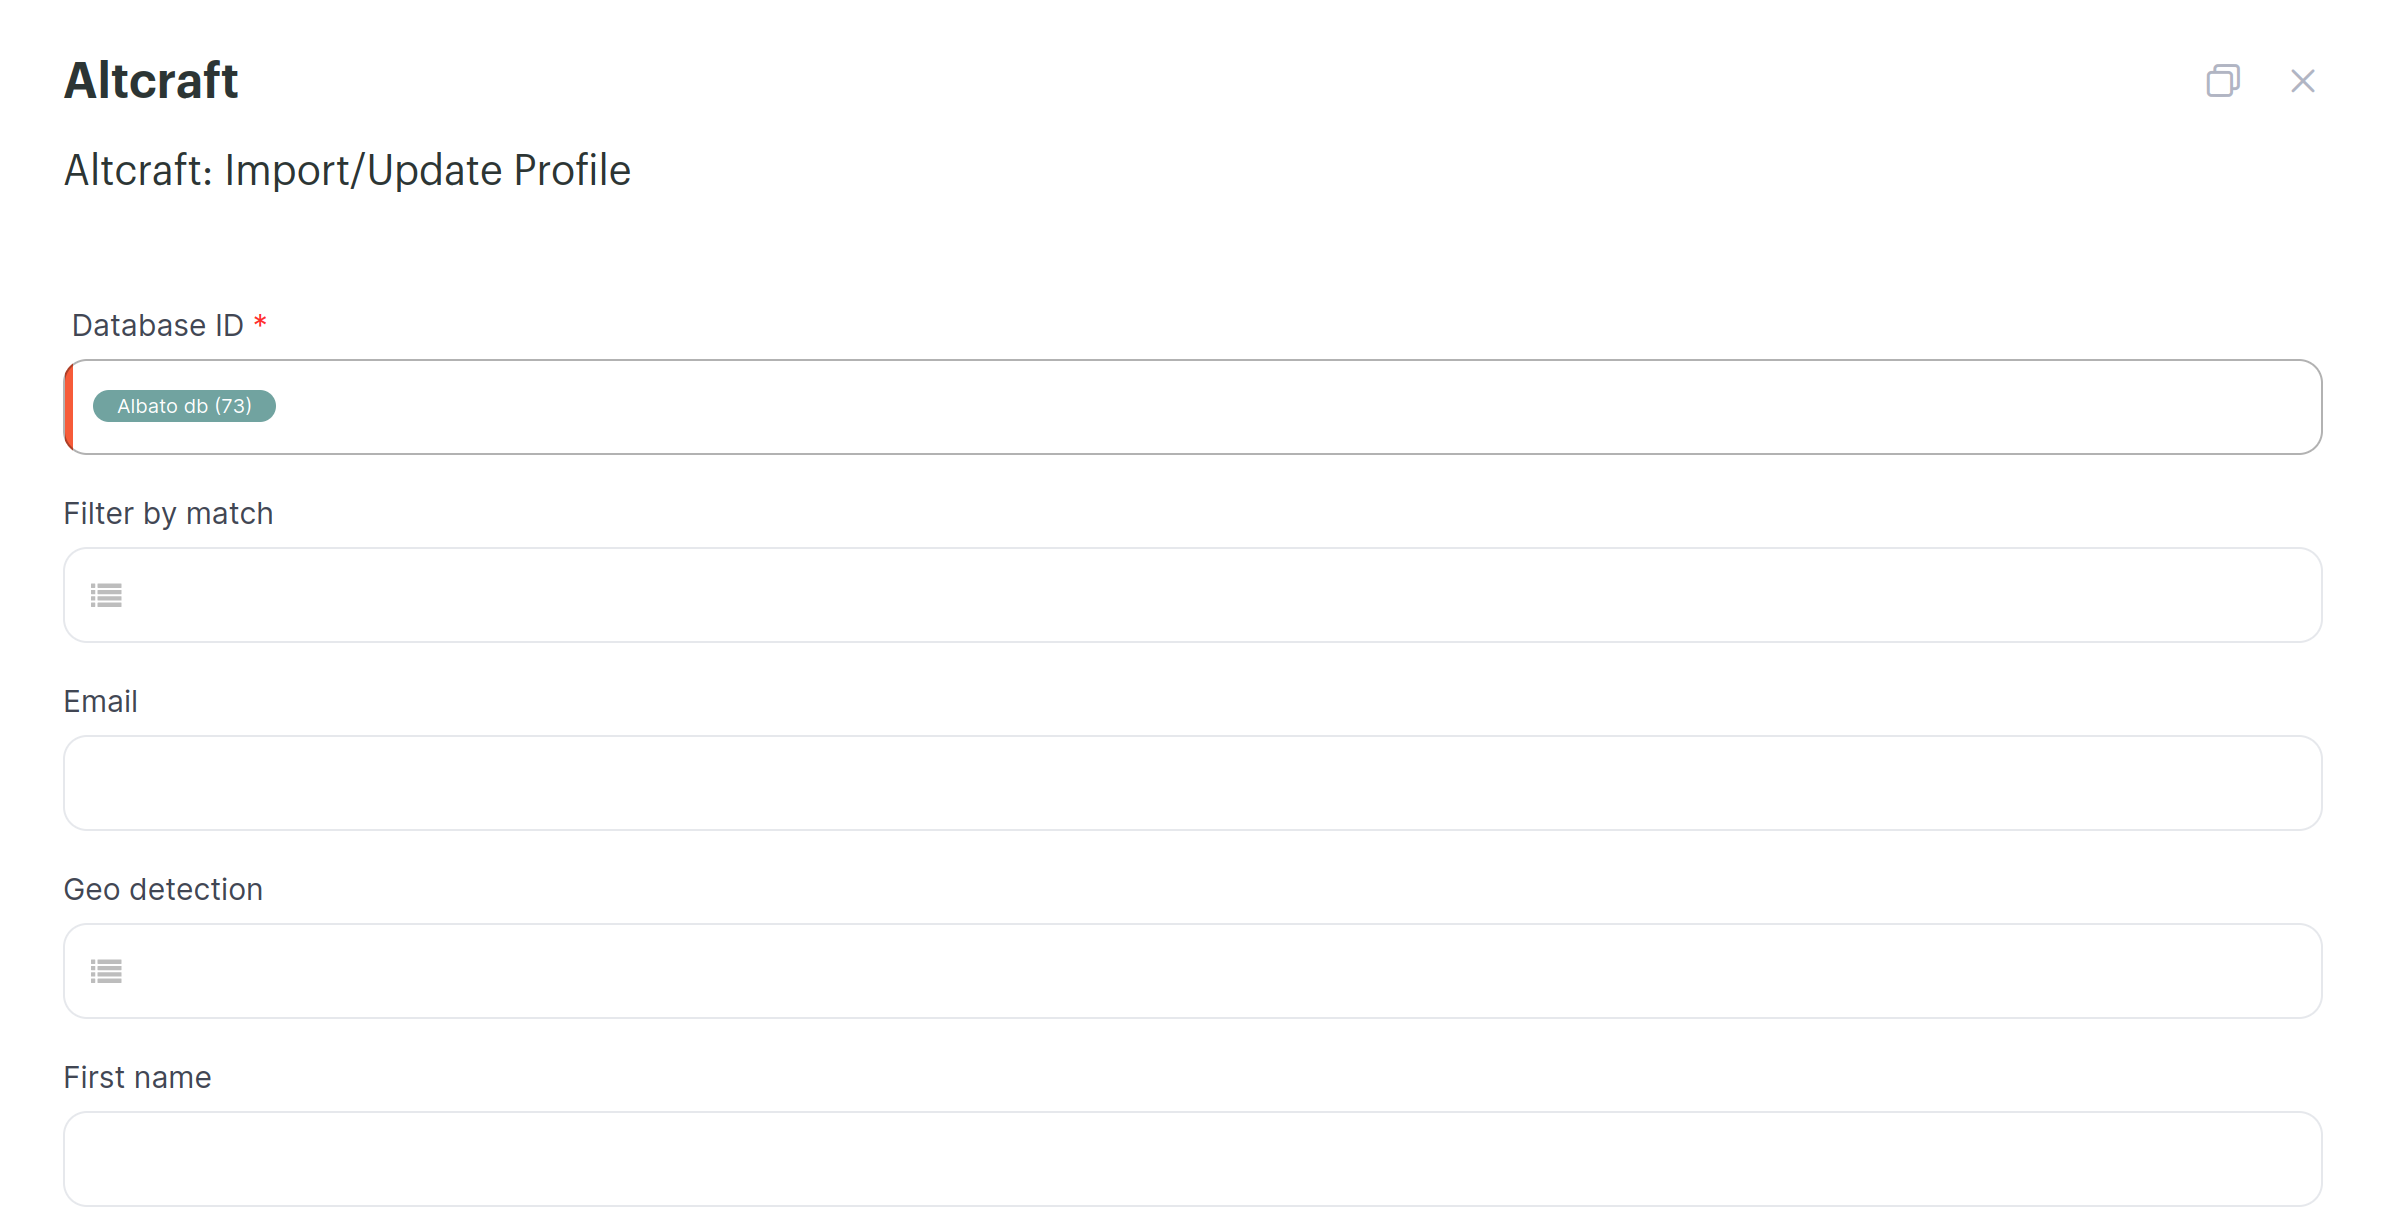
After you set up field mappings and click "Save", the following buttons will become available in the lower menu:
the "Test" button allows you to check the correctness of the configuration of the automation, as well as its performance. All information about testing can be viewed in the automation log;
the "Start" button activates the automation;
the button "Automation log" allows you to view information about the state of the automation (logging of processes during data transfer);
The "Start Schedule" button allows you to set up a schedule for activation of the automation.

After activation, the automation will be available as a card on the main window of the "Automation" section:

The automation can also be paused and cloned. Automation editing without pausing is prohibited. The automation log can be viewed without pausing directly through the link card.
In the "Transactions" section of the automation card, you can see the number of transferred data for the period.