Conditional logic in forms and surveys
Description
Conditional paging logic allows you to customize the logic of transitions between form pages. Depending on the answers given by the user, you can change the order of displaying pages, as well as set the conditions for displaying a particular page.
How to set up form logic
Activate logic
Create a form and fill in the basic settings. After that, go to the Logic tab and activate the option by clicking on the toggler in the upper right corner.

Create form structure
Go back to the Constructor tab. Create form pages and add the required elements:

Please note that you are configuring the logic for transitions between pages. In order for the user to go to the desired page after a certain answer to a question, it is necessary to create separate pages for each question, after which the transition will occur.
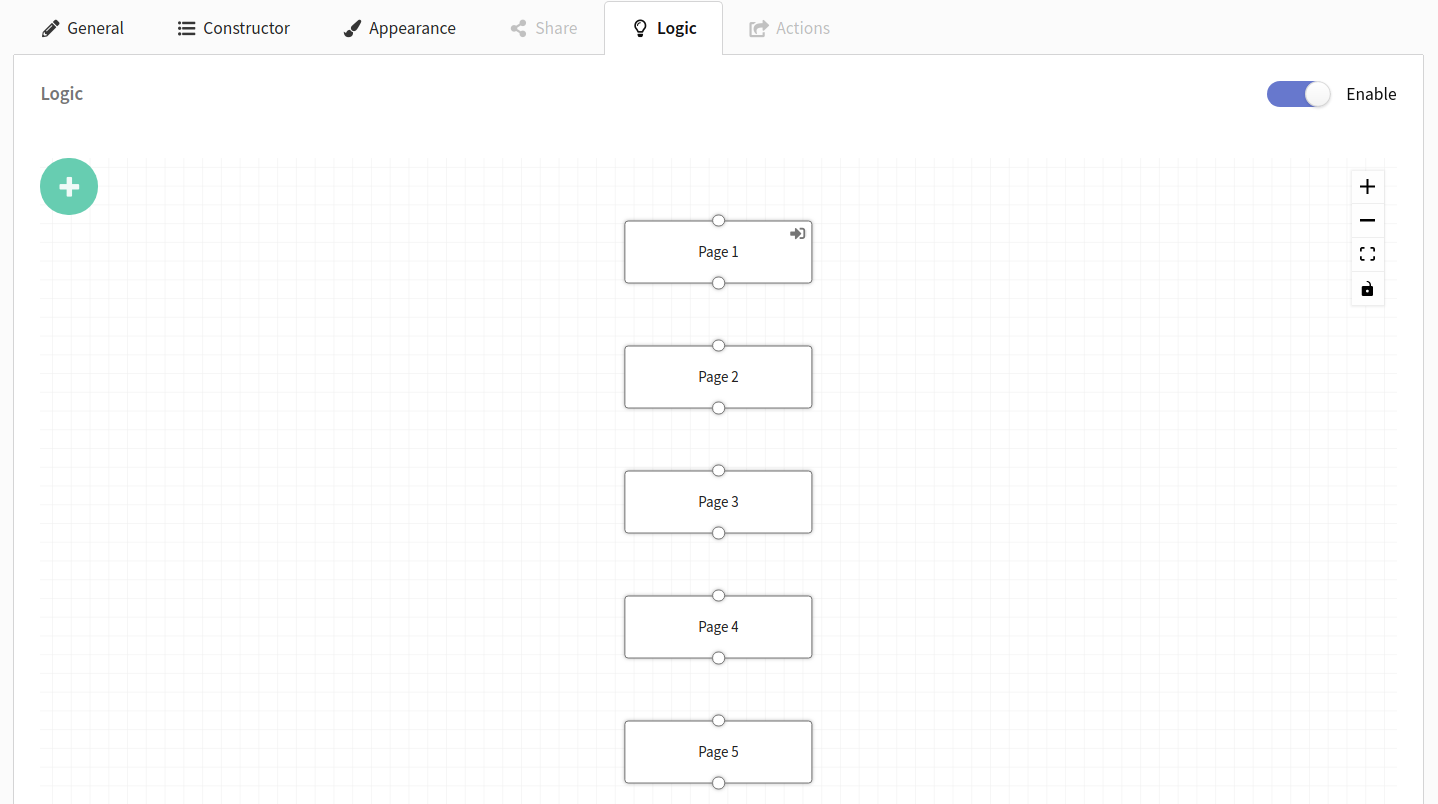
Working with logic
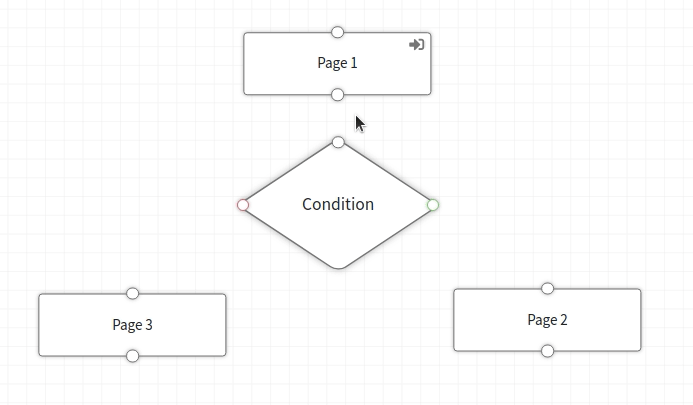
Go to the Logic tab. All created pages will be displayed in a diagram:
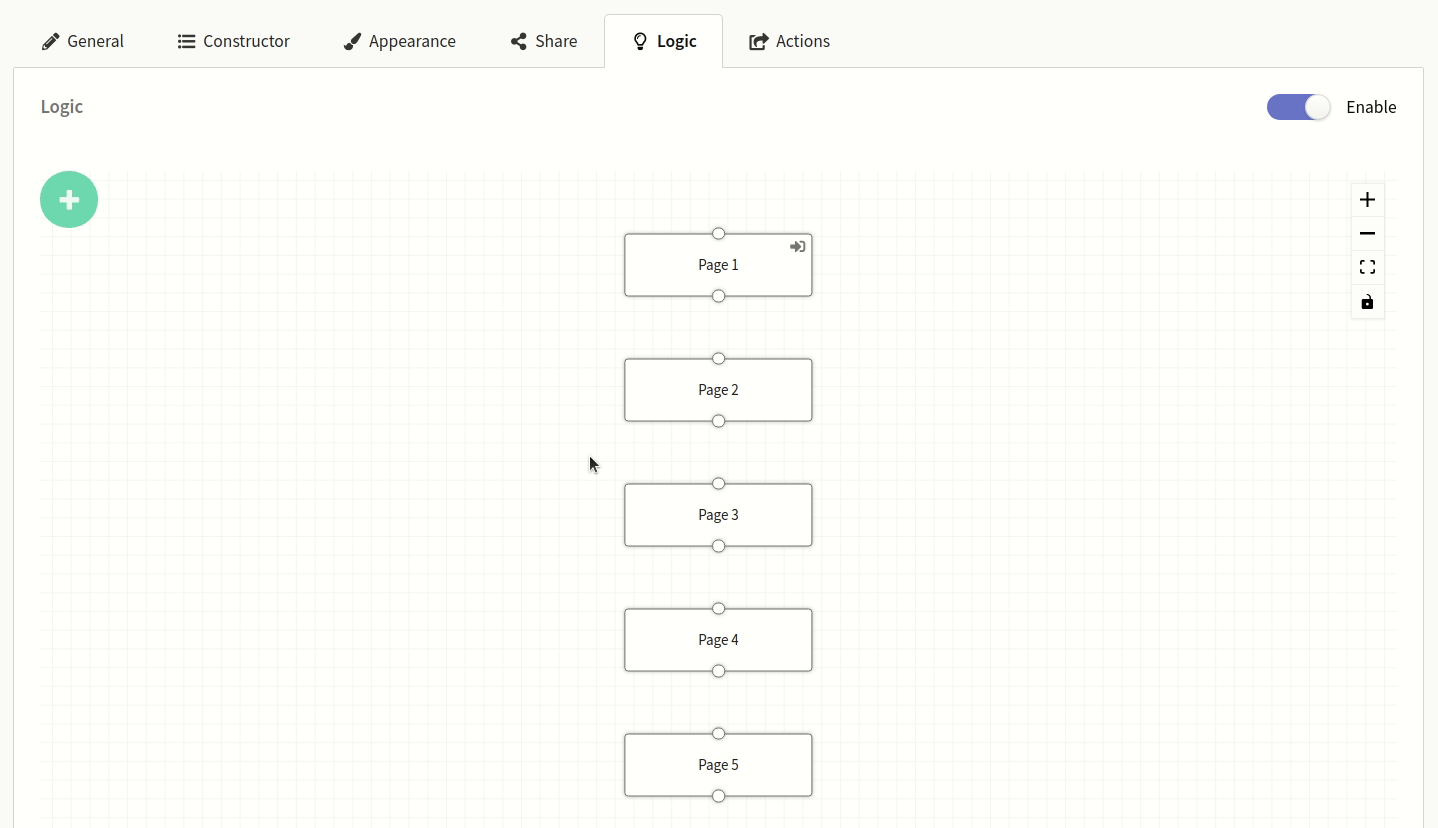
To change the order of pages, drag the blocks with your mouse:
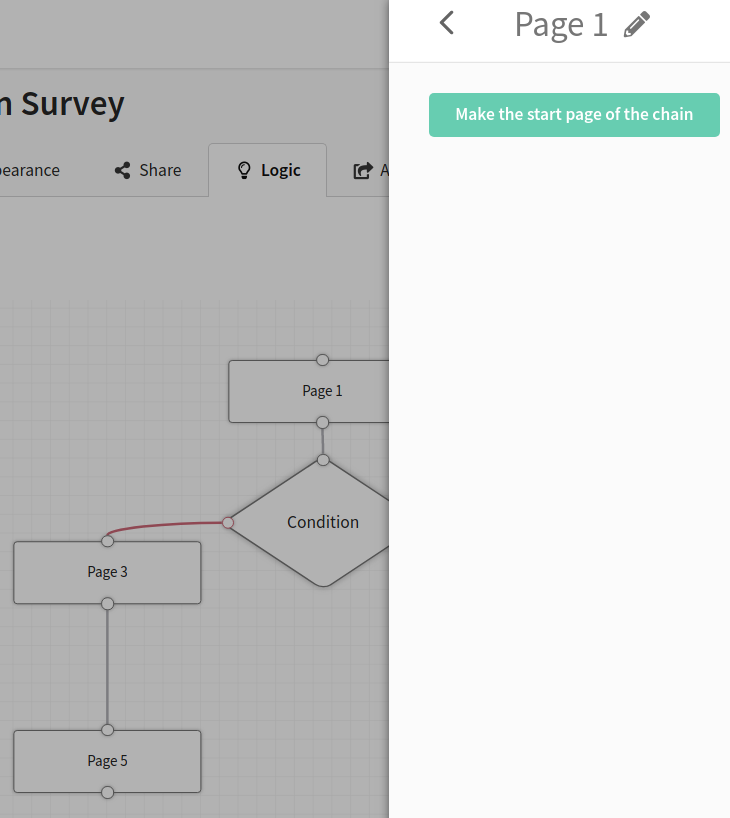
Select the start page by clicking on the page block and then clicking Make the start page of the chain. The start page can be any page in the form.
Adding conditions
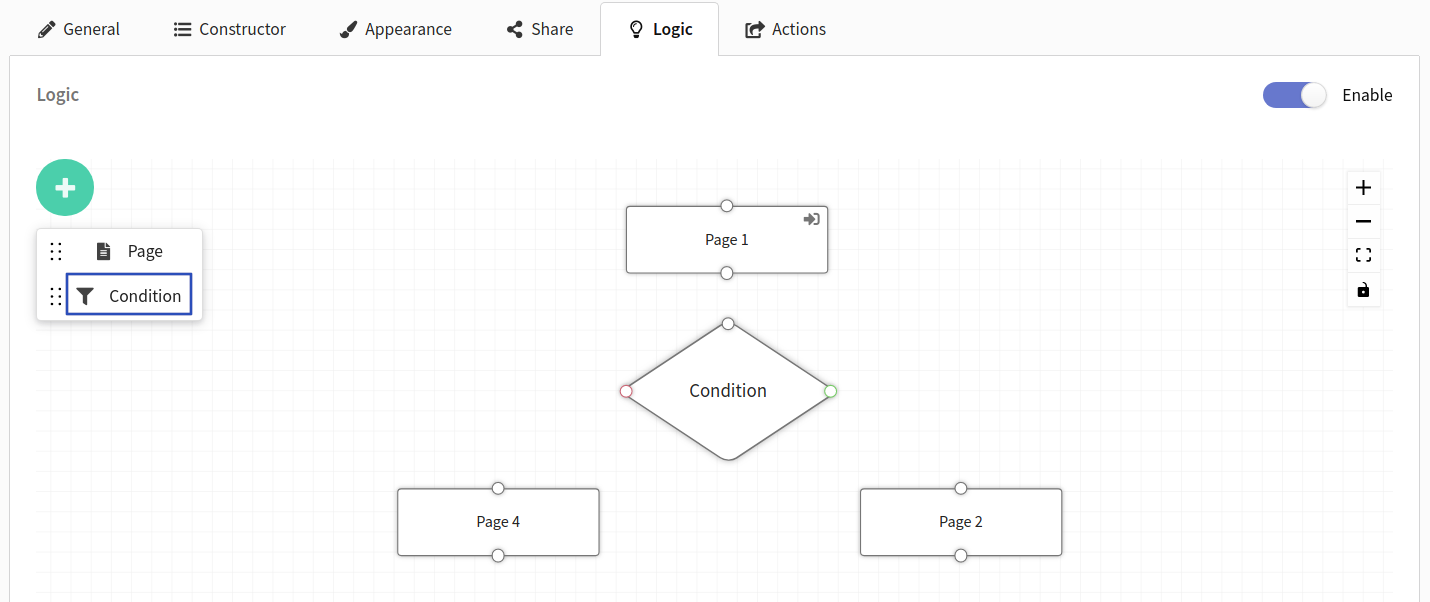
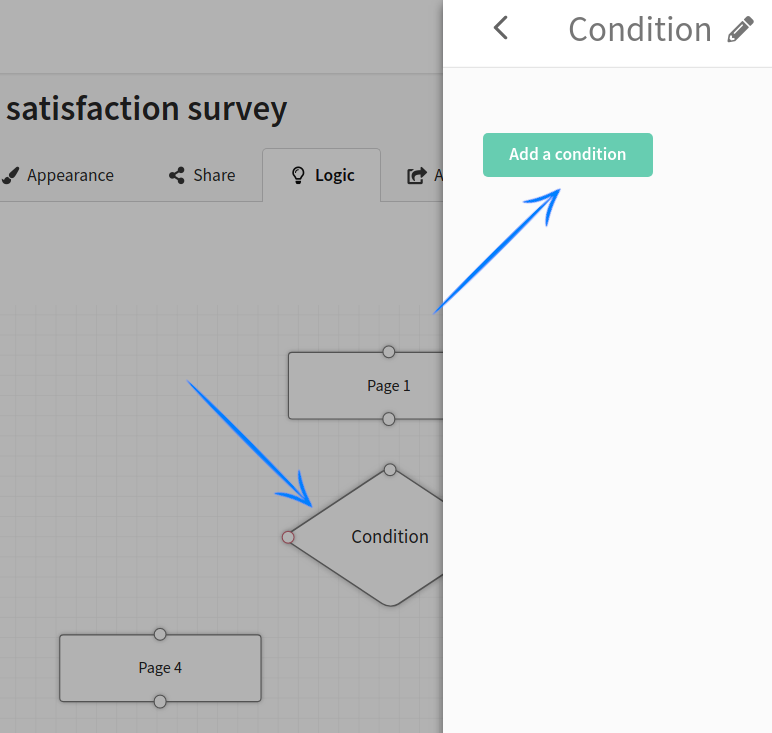
To add a condition block, click the button  and select Condition:
Click on the condition block (diamond) and click Add a condition:
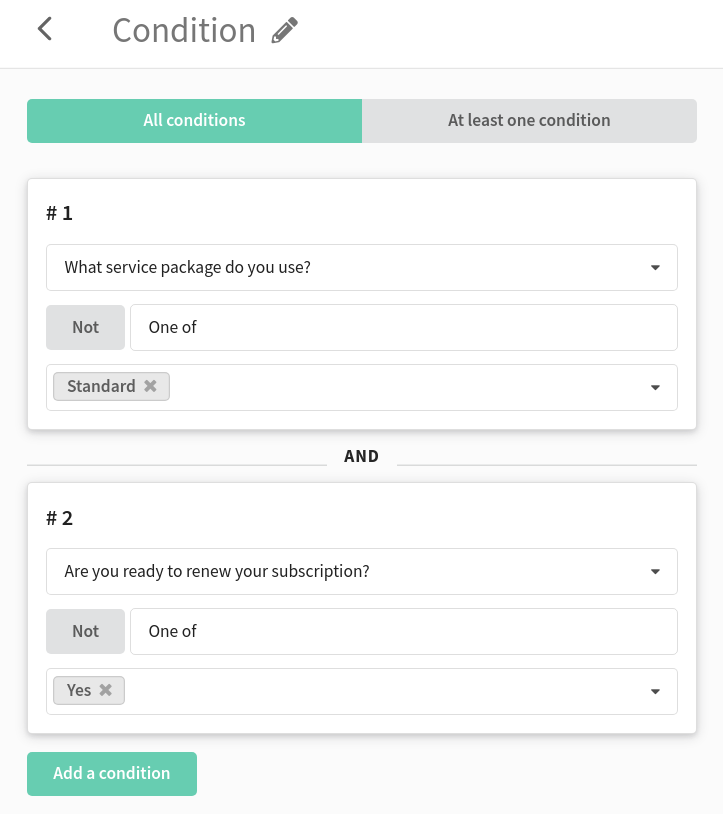
For one condition block, you can add several conditions at once. It is possible to check the user's response for meeting all conditions (All conditions) or for meeting at least one of them (At least one condition).
To remove the entire condition block from the board, use the trash can icon in the upper right corner.
Condition types
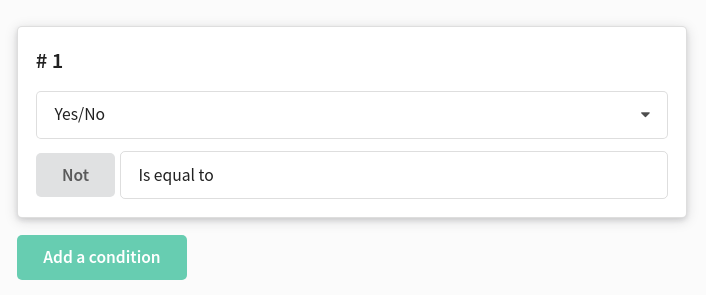
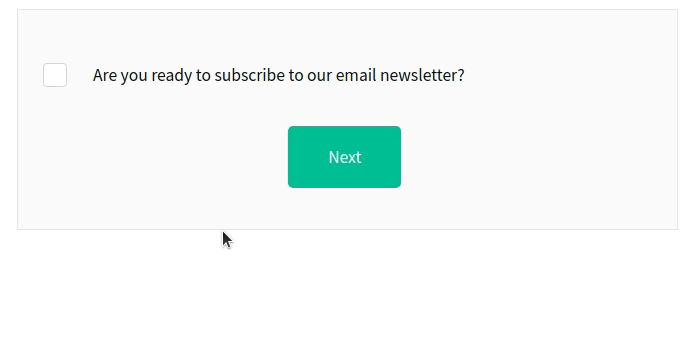
Yes/No
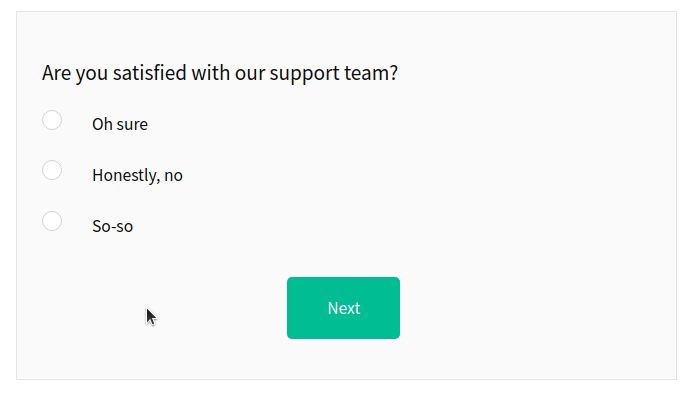
Yes/No is the simplest condition. If the user gave a positive answer, they will go to one page; if negative — to another.
Example
One choice
This element allows you to redirect the user to a specific page depending on the answer option they selected.
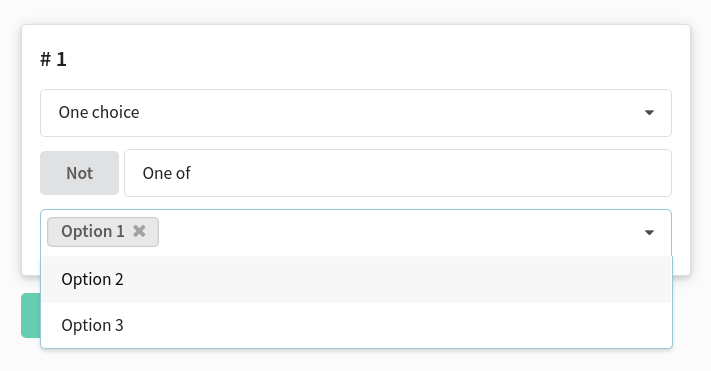
Example
Drop-down list
The drop-down list allows the user to select one or more answer options from the proposed ones. You can customize the logic so that when certain options are selected, the user is taken to one page of the form, and when others are selected, they are taken to another page.
For a drop-down list with multiple choices, the following conditions are available:
- One of — at least one of the answer options selected by the user matches the specified value
- All — all answer options selected by the user match the specified value
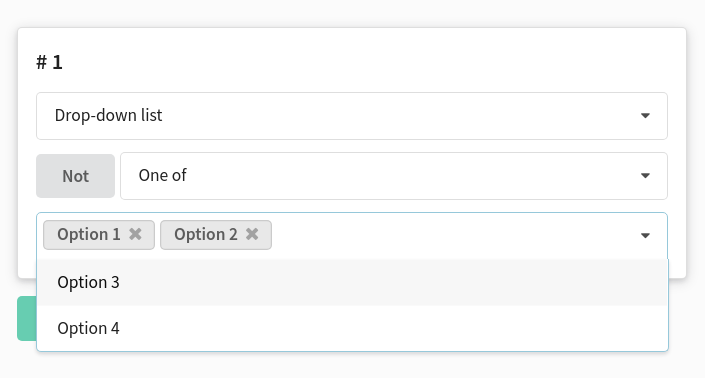
Example
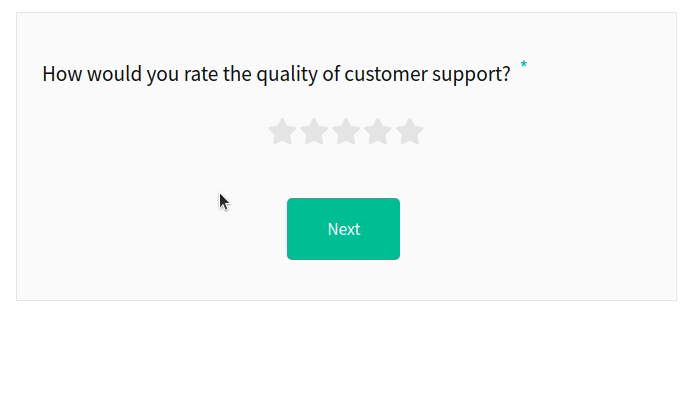
Range
The user will go to a specific page depending on which range value they check. You need to select:
- the value with which the user's response will be compared
- the comparison operator (equal, greater than, less than)
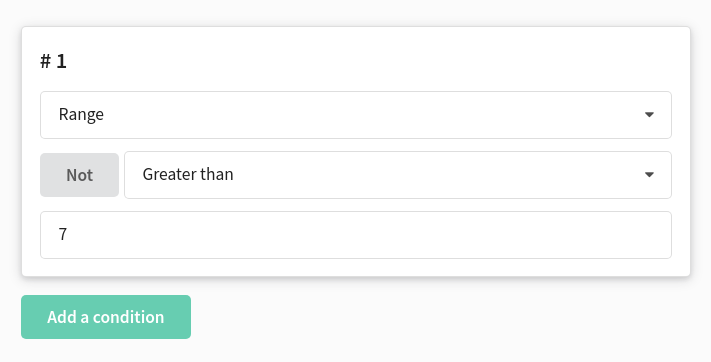
Example
Linking blocks
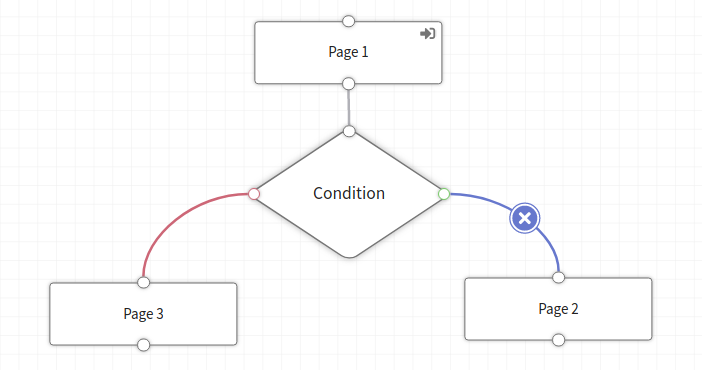
Link the form pages in the required sequence. Click and hold the icon ![]() on the block border and drag the line to the page the user should be taken to.
on the block border and drag the line to the page the user should be taken to.
- Gray line — transition between pages without conditions
- Green line — transition if the user's answer matches the condition
- Red line — if the condition is not met
To remove a link, click on the line and then on the icon ![]() :
:
Preview and publication
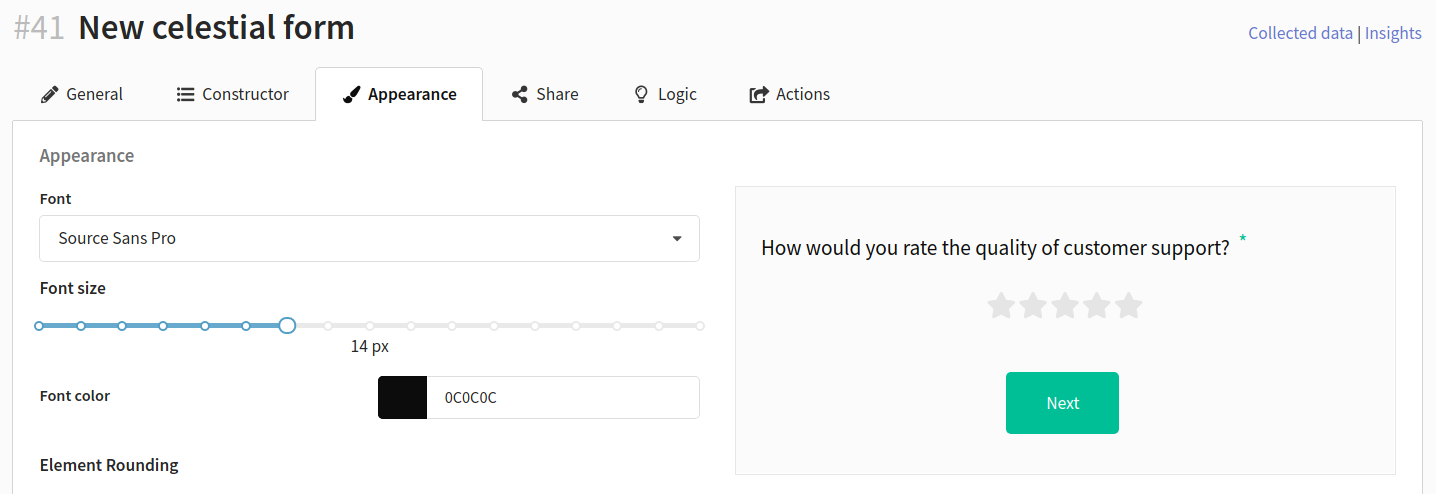
You can check the form logic on the "Appearance" tab:
After checking, save the form. After that, you can publish it and use it on the website, or send the client a link to the form page in an email.