Guide: pop-up for push subscriptions
One of the most common types of pop-ups is the push notification subscription pop-up. This kind of pop-ups will help you to quickly subscribe your website visitors to the Altcraft platform resource. In this article, we will show you how to create and customize a pop-up that will appear on page load for those users who have not yet given permission to display push notifications on your site.
For push notifications subscription to work correctly, you must first set up a resource on the platform, as well as add the corresponding script to your site. You can learn more about setting up push notifications there.
Creating and publishing a pop-up
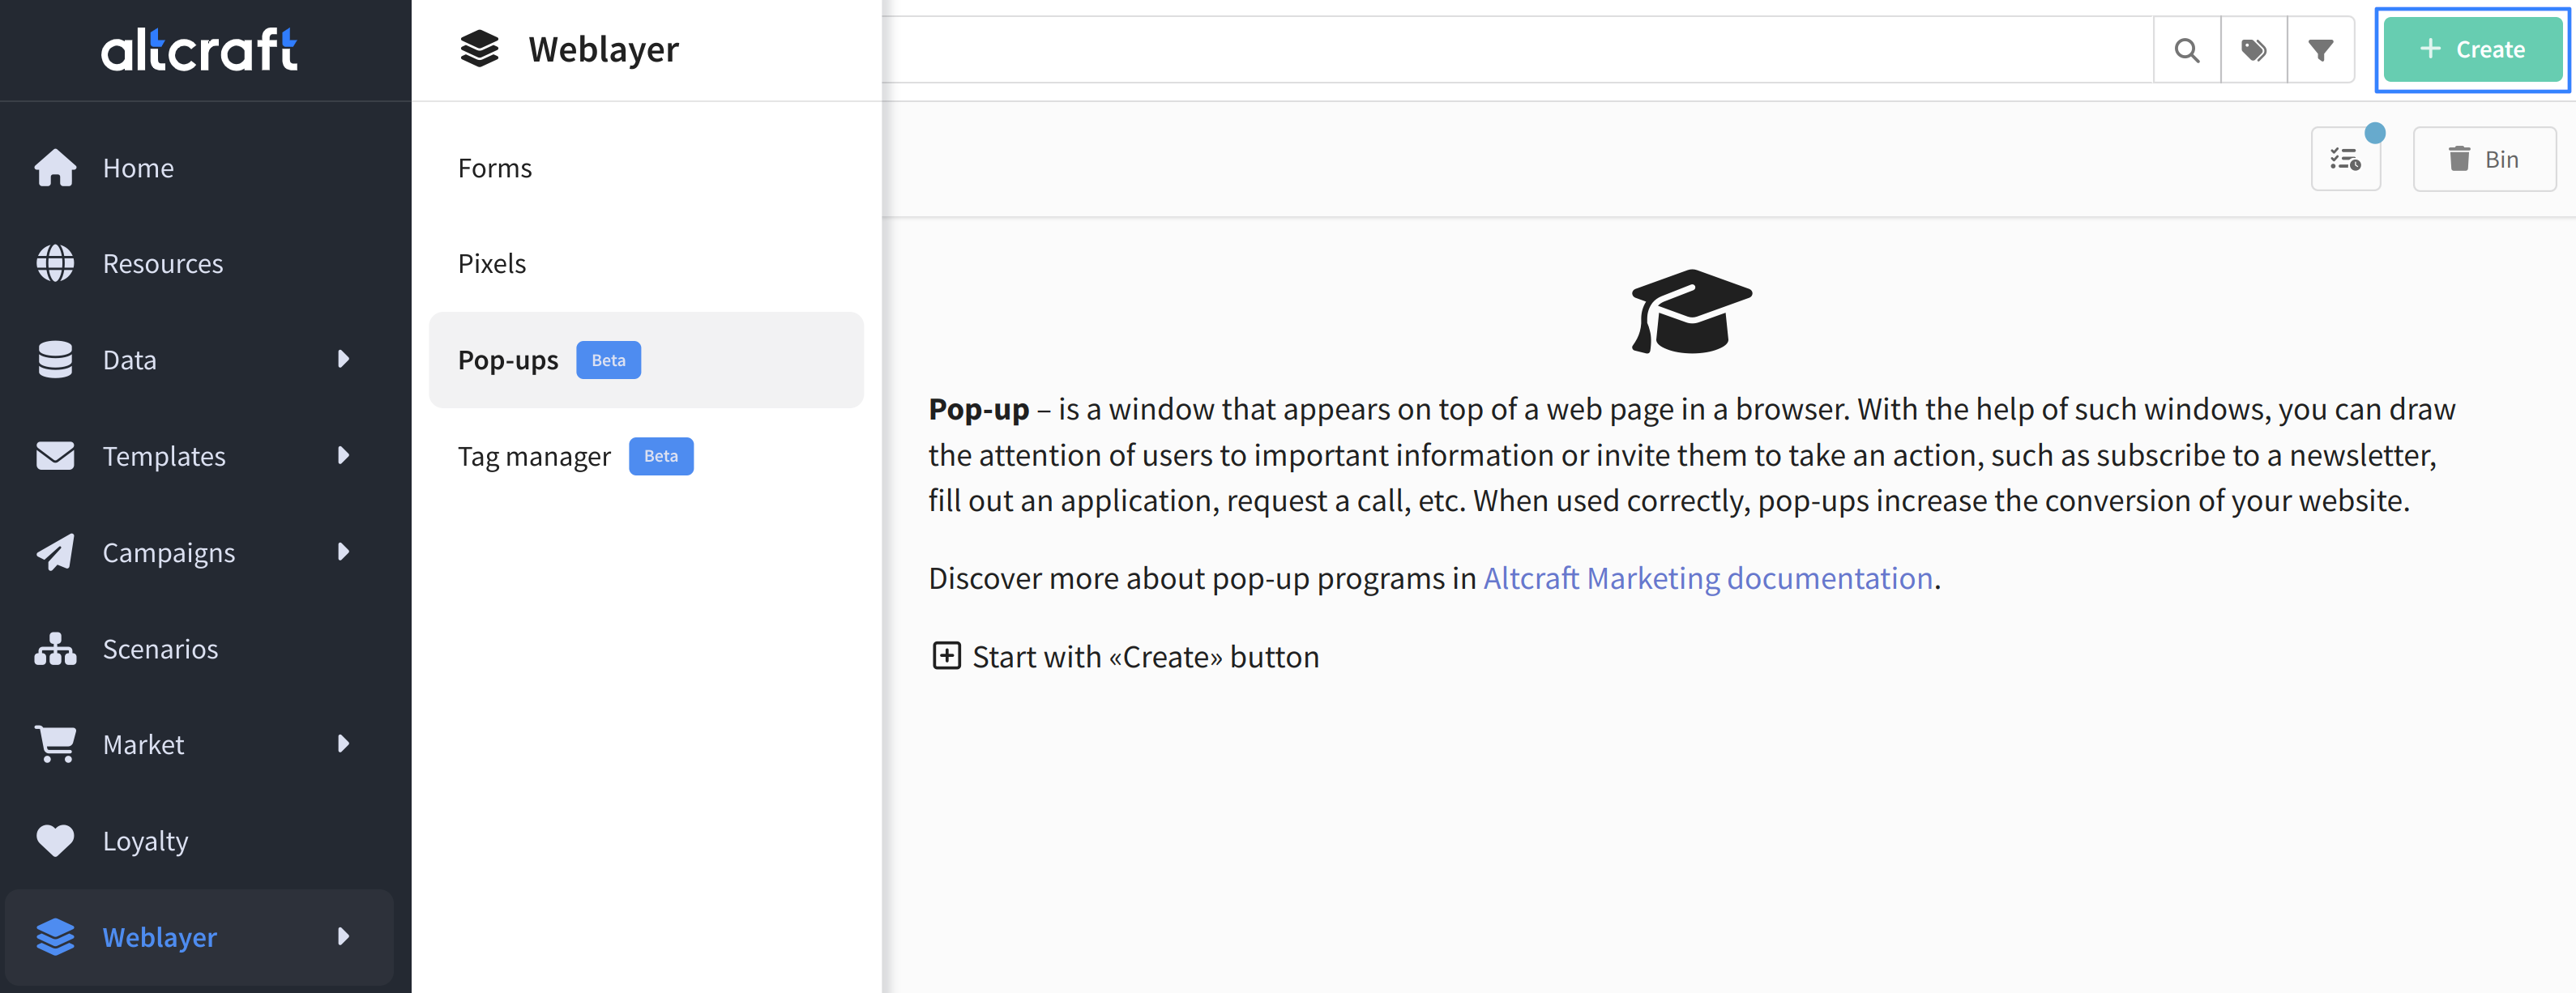
Go to Weblayer — Pop-ups. Create a new pop-up:
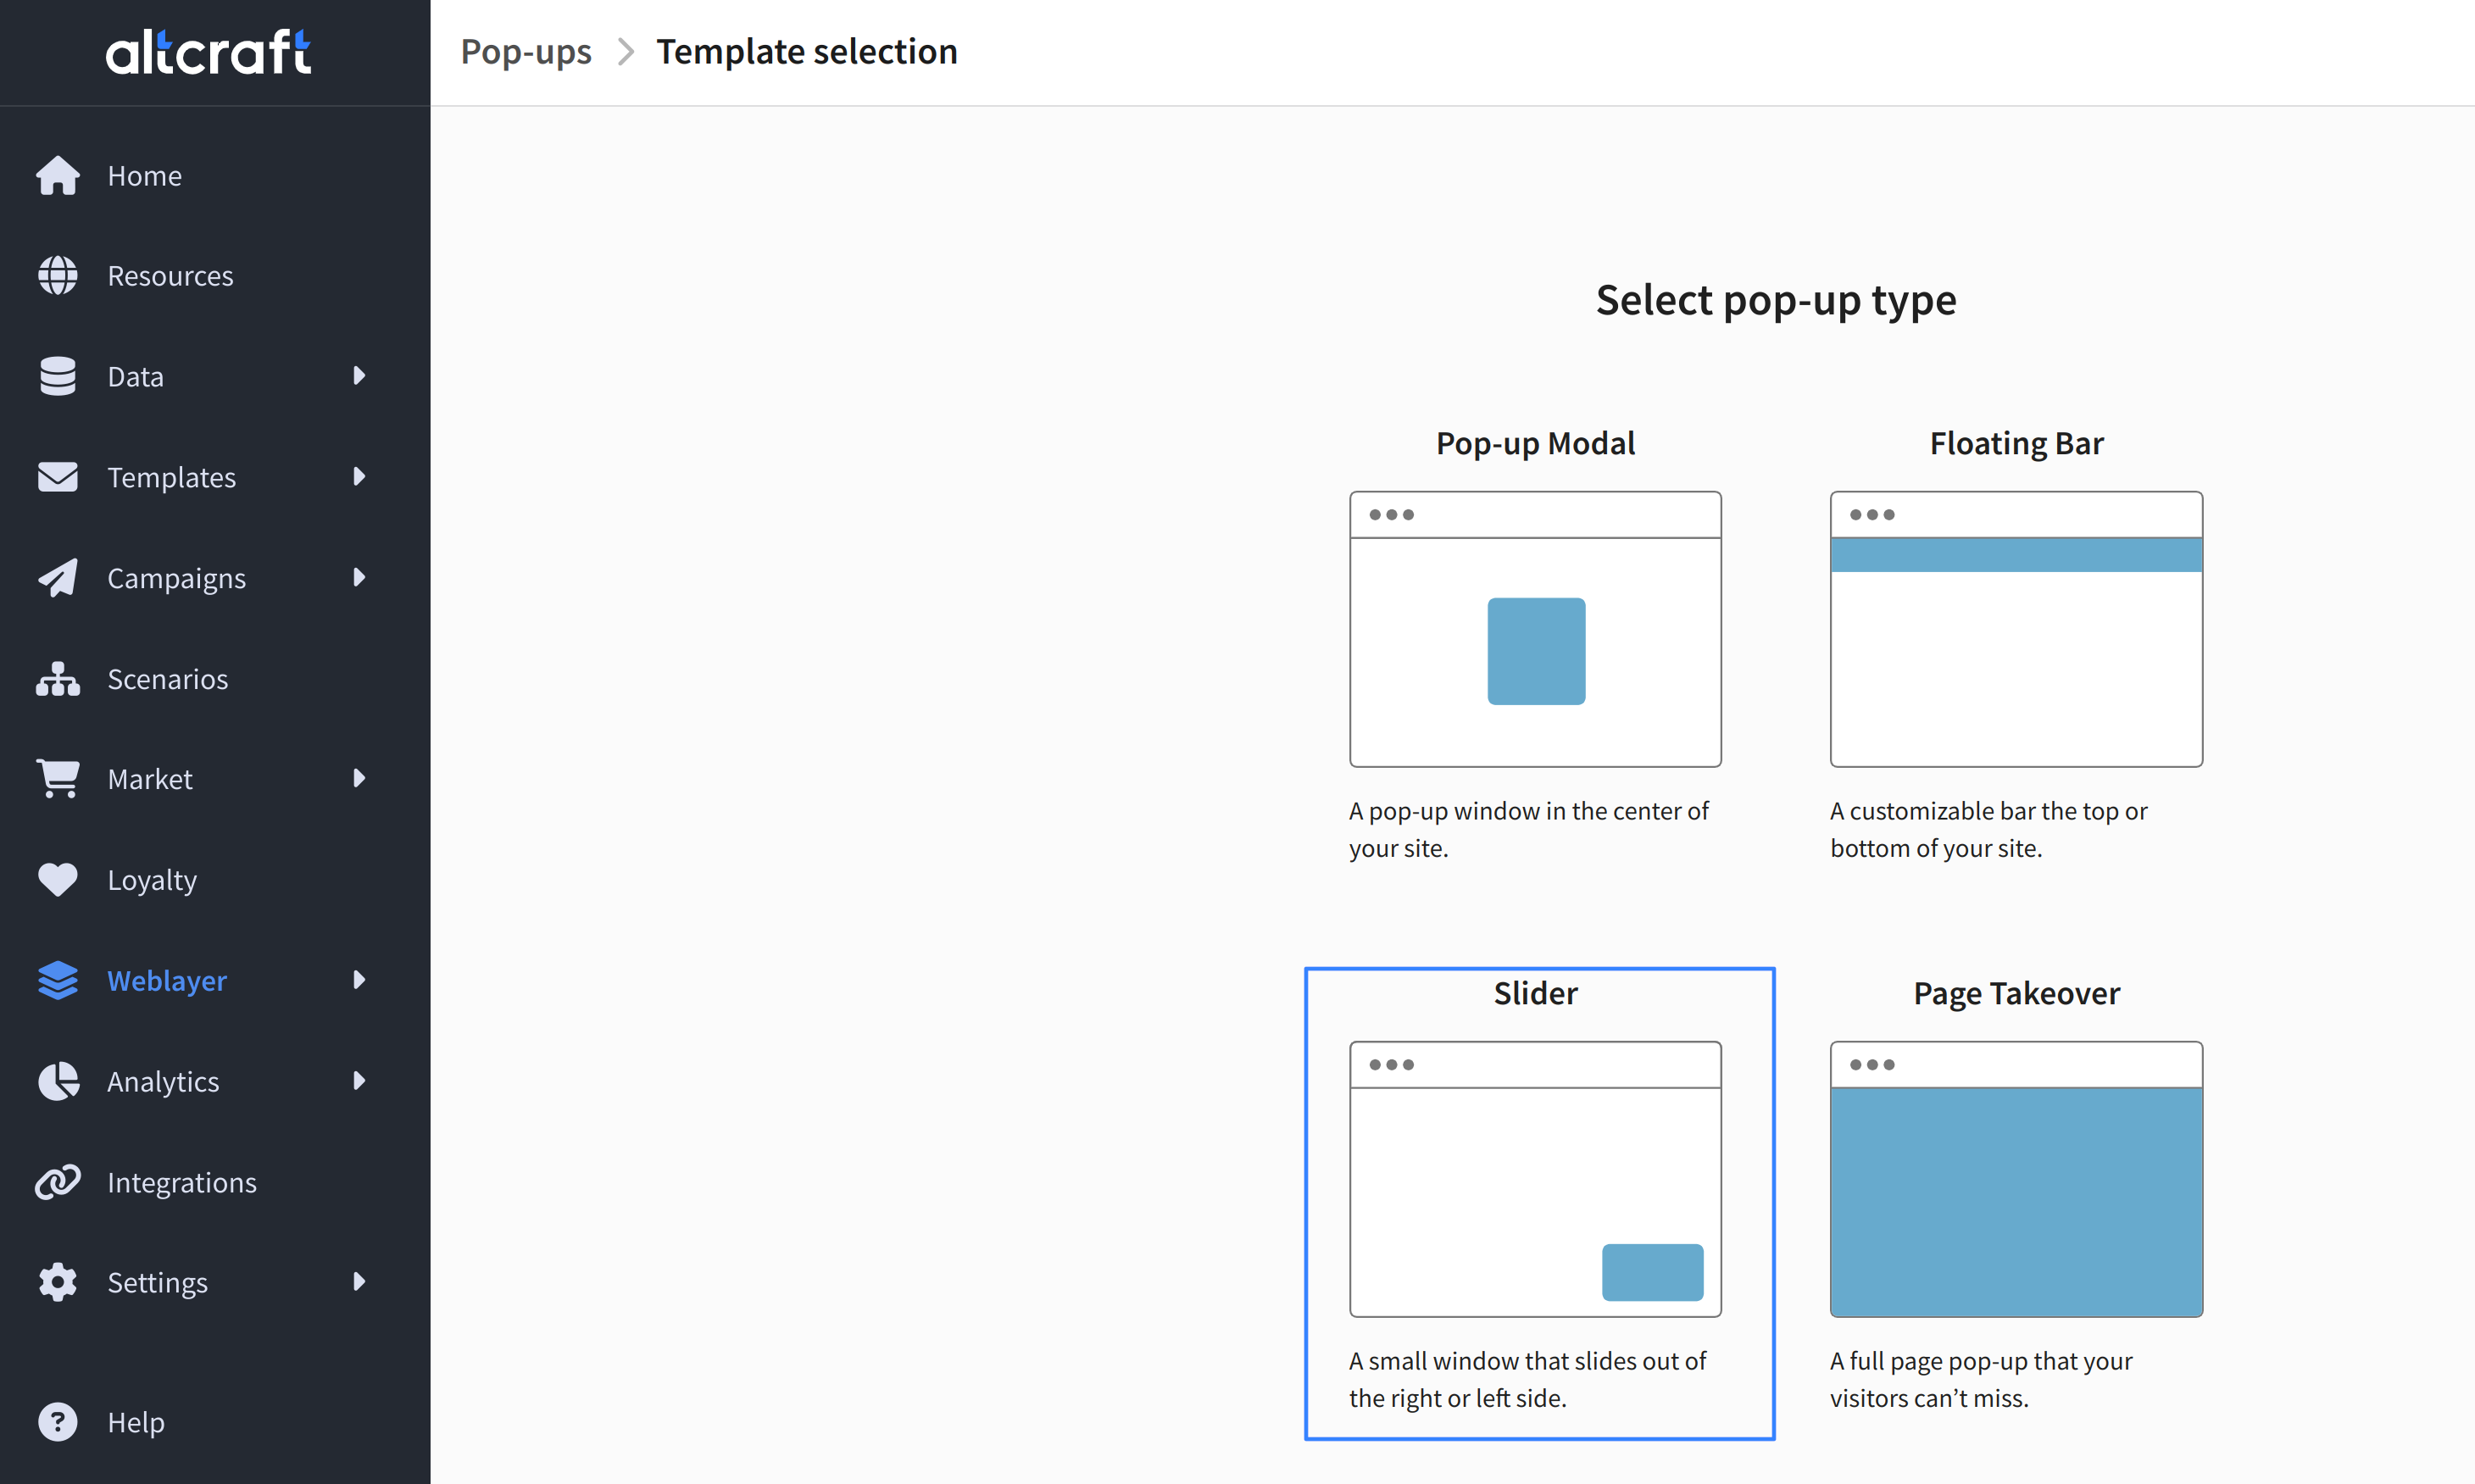
Select the Slider type:
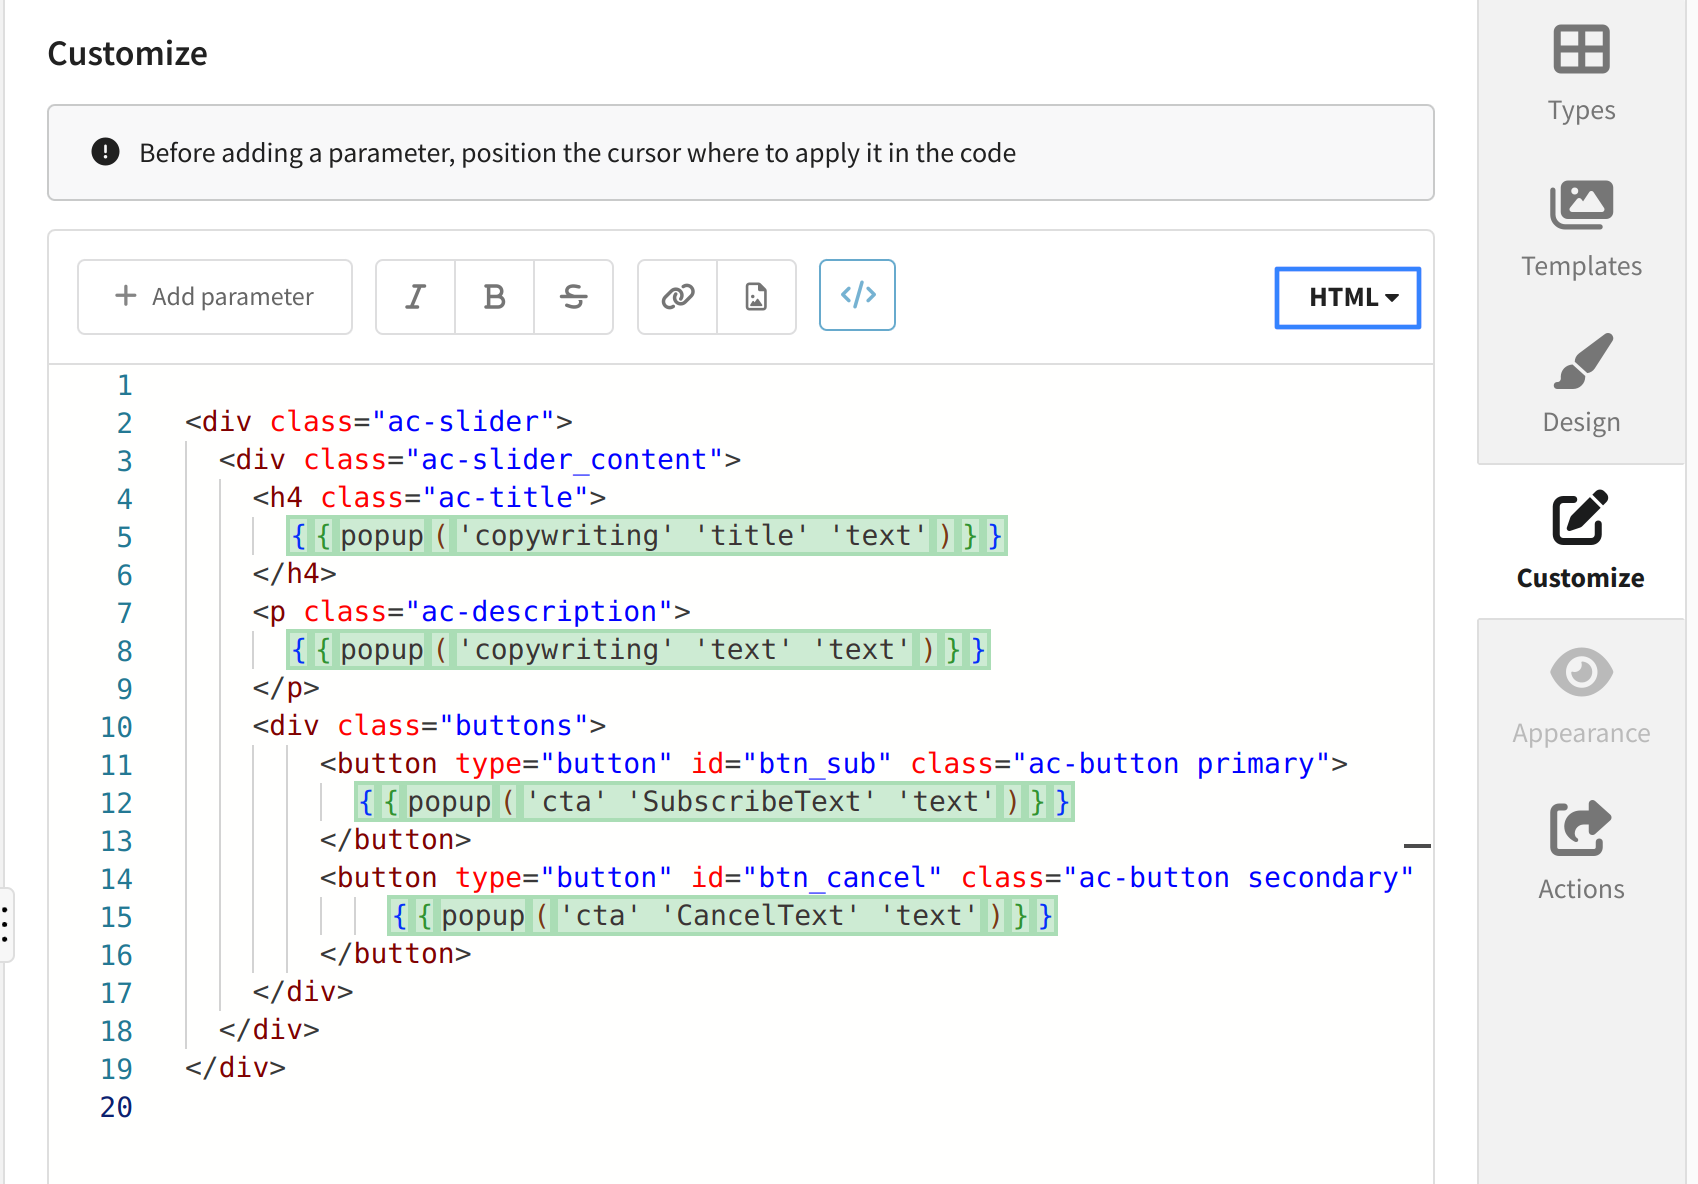
Select pop-up template. Then go to the "Customize" section of the menu that opens on the right side of the screen. Paste the following HTML code there:
<div class="ac-slider">
  <div class="ac-slider_content">
    <h4 class="ac-title">
      {{popup('copywriting' 'title' 'text')}}
    </h4>
    <p class="ac-description">
      {{popup('copywriting' 'text' 'text')}}
    </p>
    <div class="buttons">
        <button type="button" id="btn_sub" class="ac-button primary">
          {{popup('cta' 'SubscribeText' 'text')}}
        </button>
        <button type="button" id="btn_cancel" class="ac-button secondary" data-tracking-event="close">
            {{popup('cta' 'CancelText' 'text')}}
        </button>
    </div>
  </div>
</div>
As a result, the body of the pop-up should look like this:
Switch to the CSC styles tab and add the following styles at the end of the code for button placement:
.buttons {
    display: flex;
    gap: 8px;
}

.buttons .ac-button {
    flex: 1;
}
This will place the buttons side by side and stretch them to the same width.
Change the format to JS and add code that will initialize the push subscription when the subscribe button is clicked:
const popupContainer = document.querySelector('[data-ac-popup-container]');

if (popupContainer) {
    const popupHost = popupContainer.shadowRoot || document;
    const subscribeBtn = popupHost.getElementById('btn_sub');

    if (subscribeBtn) {
      subscribeBtn.addEventListener('click', () => {
          // Search for a profile by email. It will also be written to the profile if no matches are found.
          // new AKPush().initSubscription({ email: 'example@email.com' });
          new AKPush().initSubscription();
          popupContainer.style.display = 'none';
      });
    }
}
Now you can customize:
- The title and description — the Copywriting section
- The button text ("Subscribe" / "Cancel") — the Design — Action section
You can learn more about the layout and customization of pop-ups in the code editor in this article.
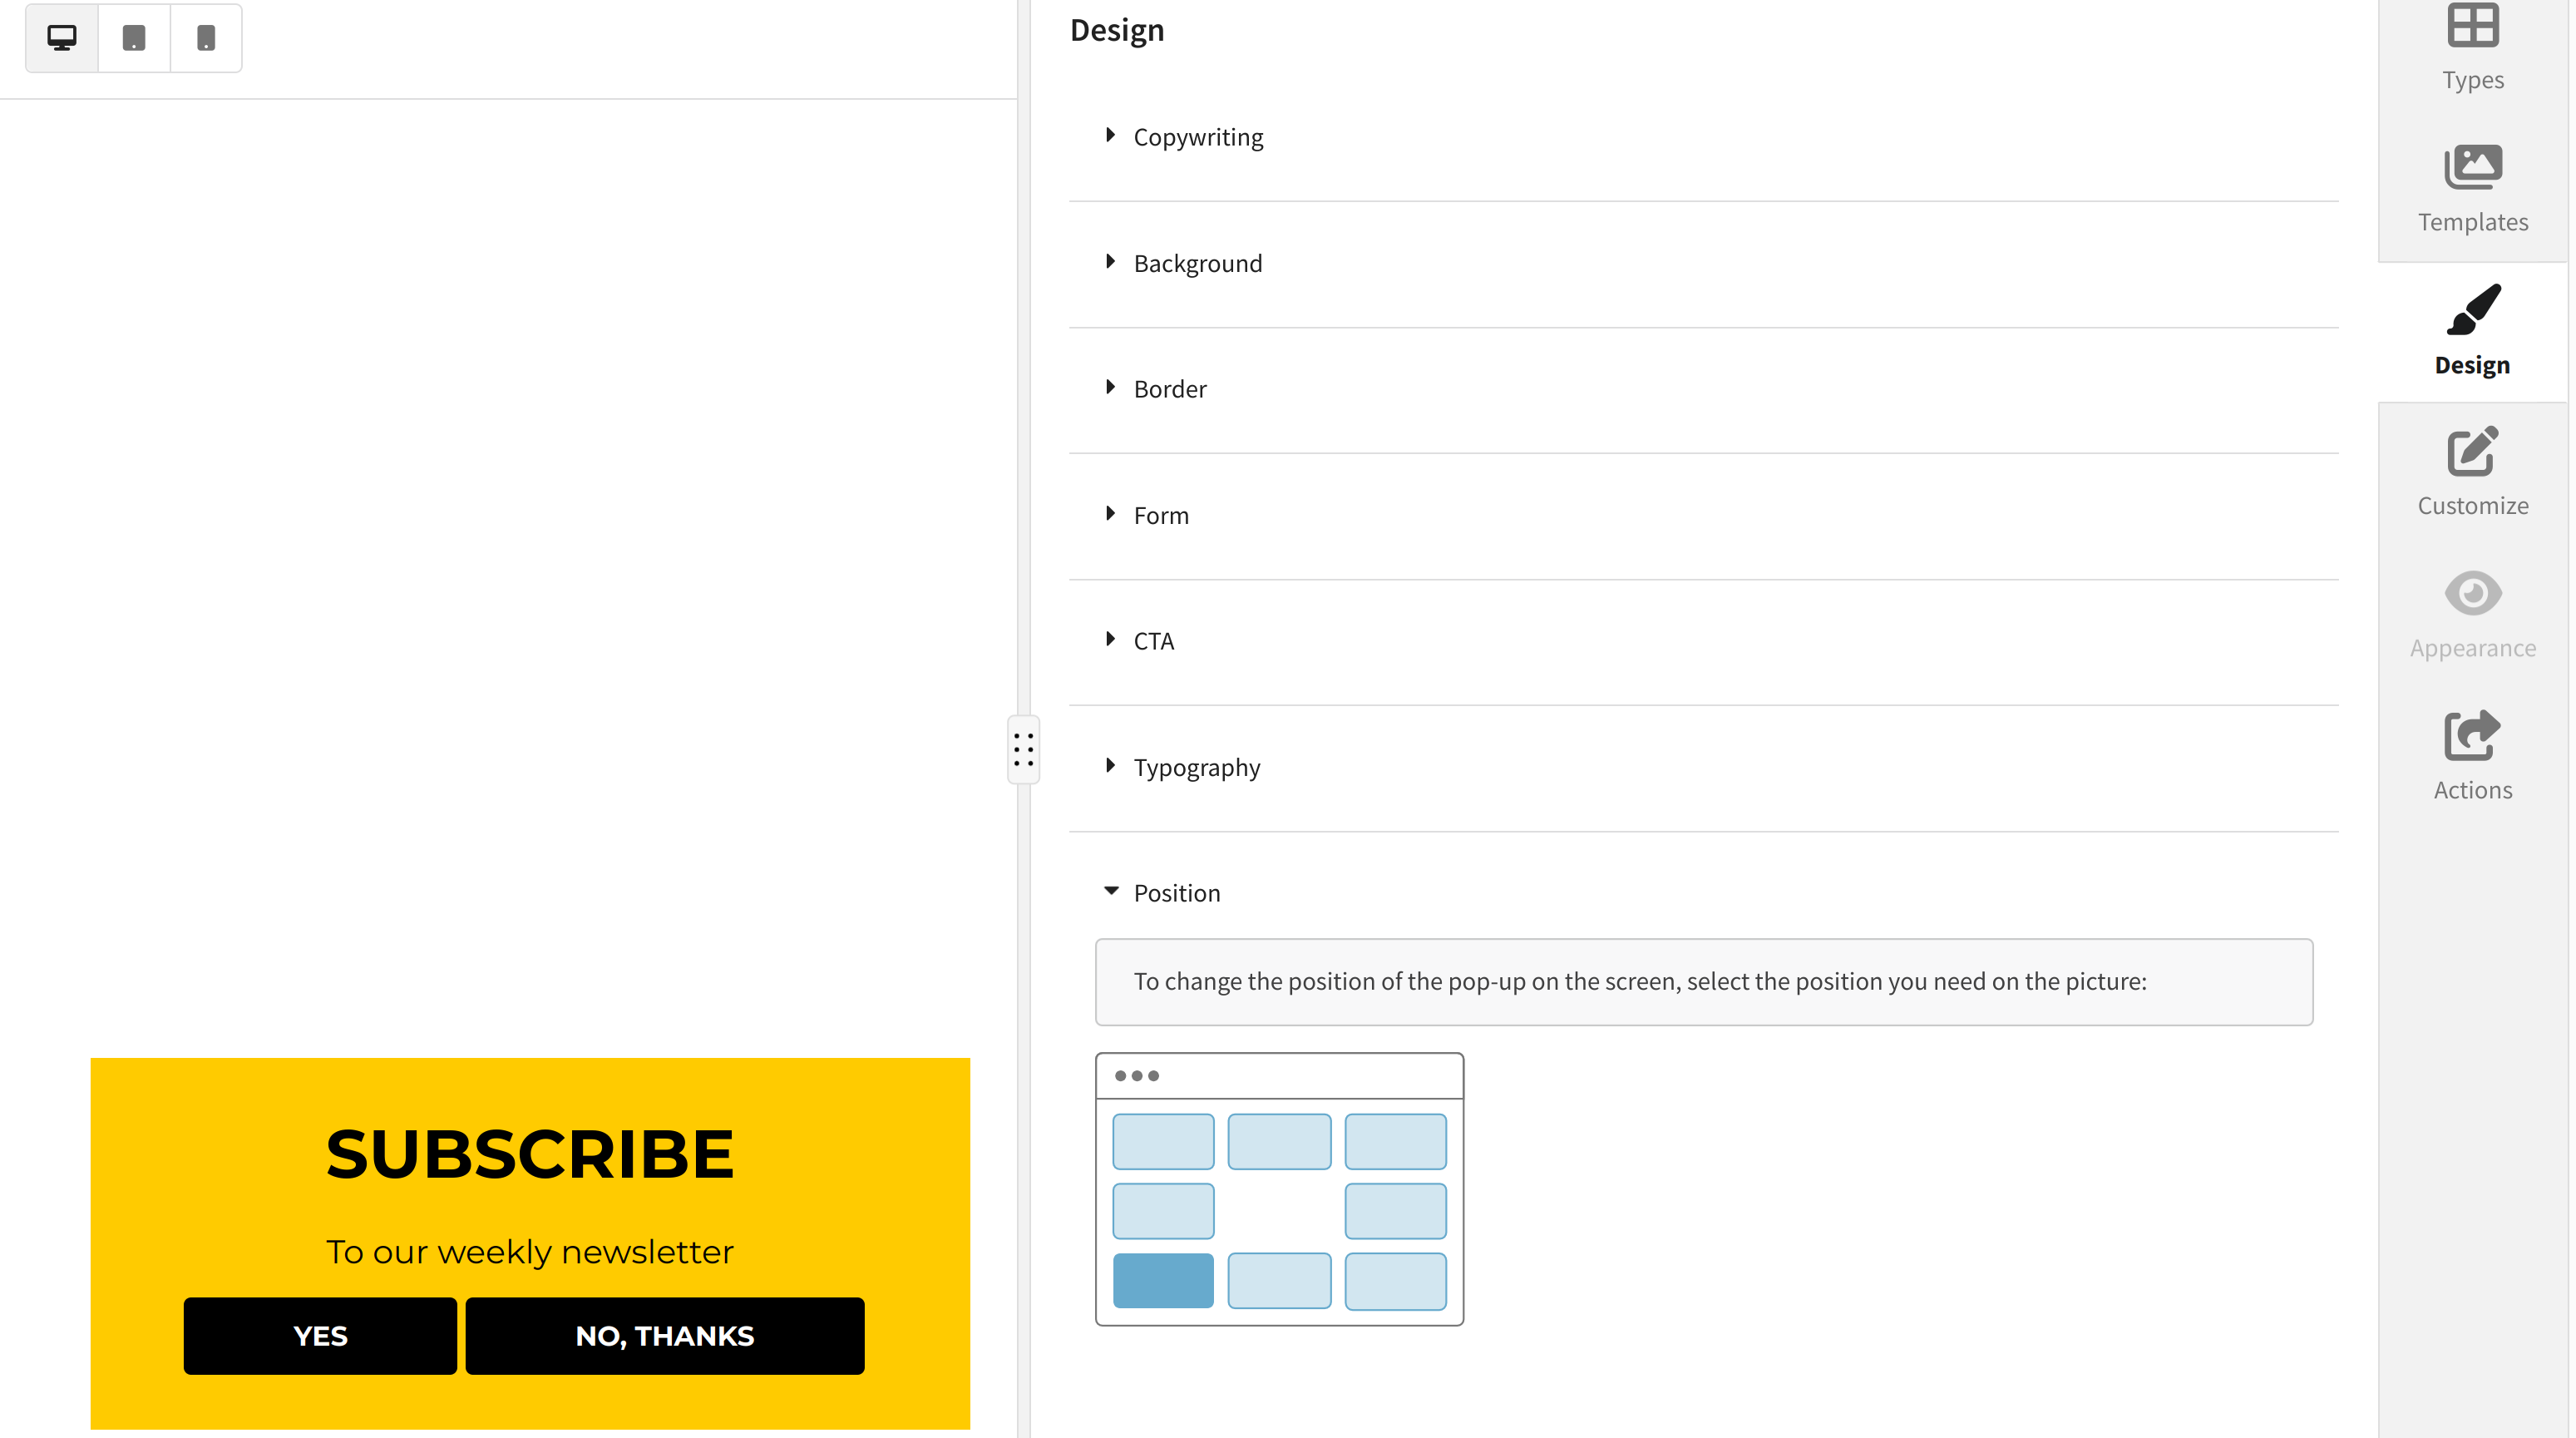
In the Design section, you can adjust the display of elements, their color, the text of inscriptions, and the position of the window on the screen:
When all changes to the pop-up have been made, specify its name and then click Apply and Publish. In the list of pop-ups, check if it is active:

Setting up the Tag Manager
If you haven't worked with Tag Manager or customized the container before, you can read the instructions on how to customize these elements there.
Variable creation
Go to Weblayer — Tag Manager menu. Open the container that you use for the site:
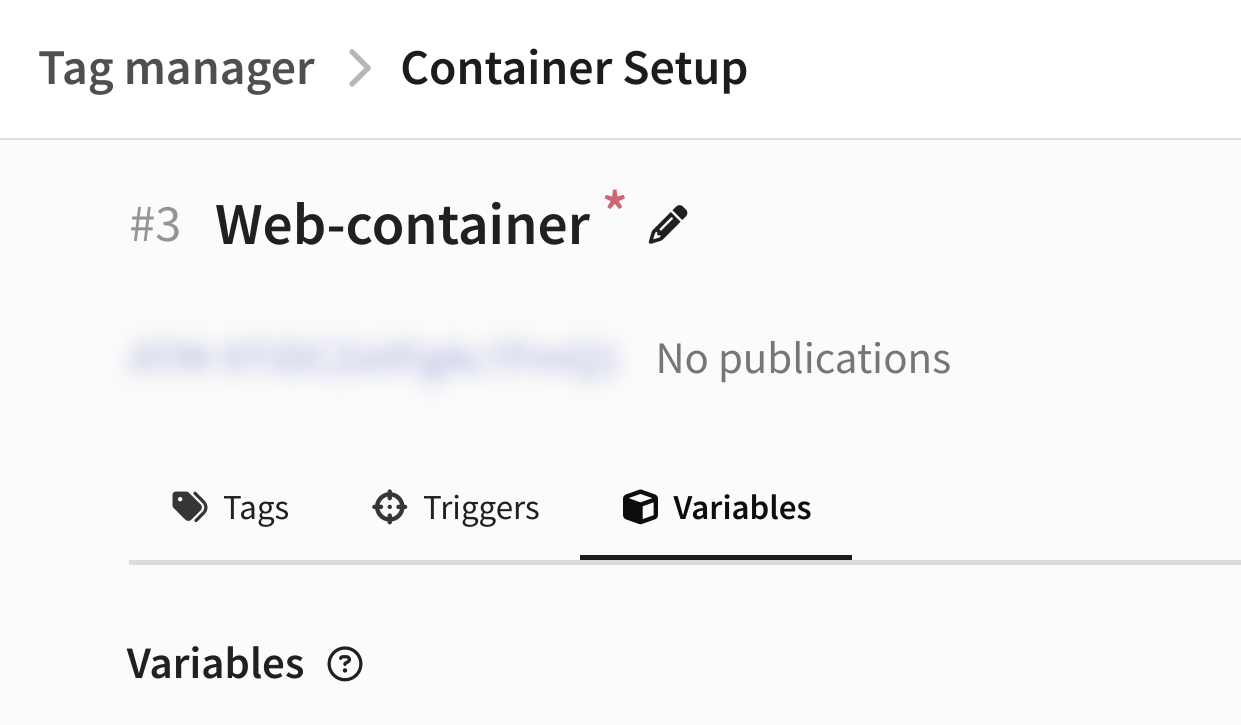
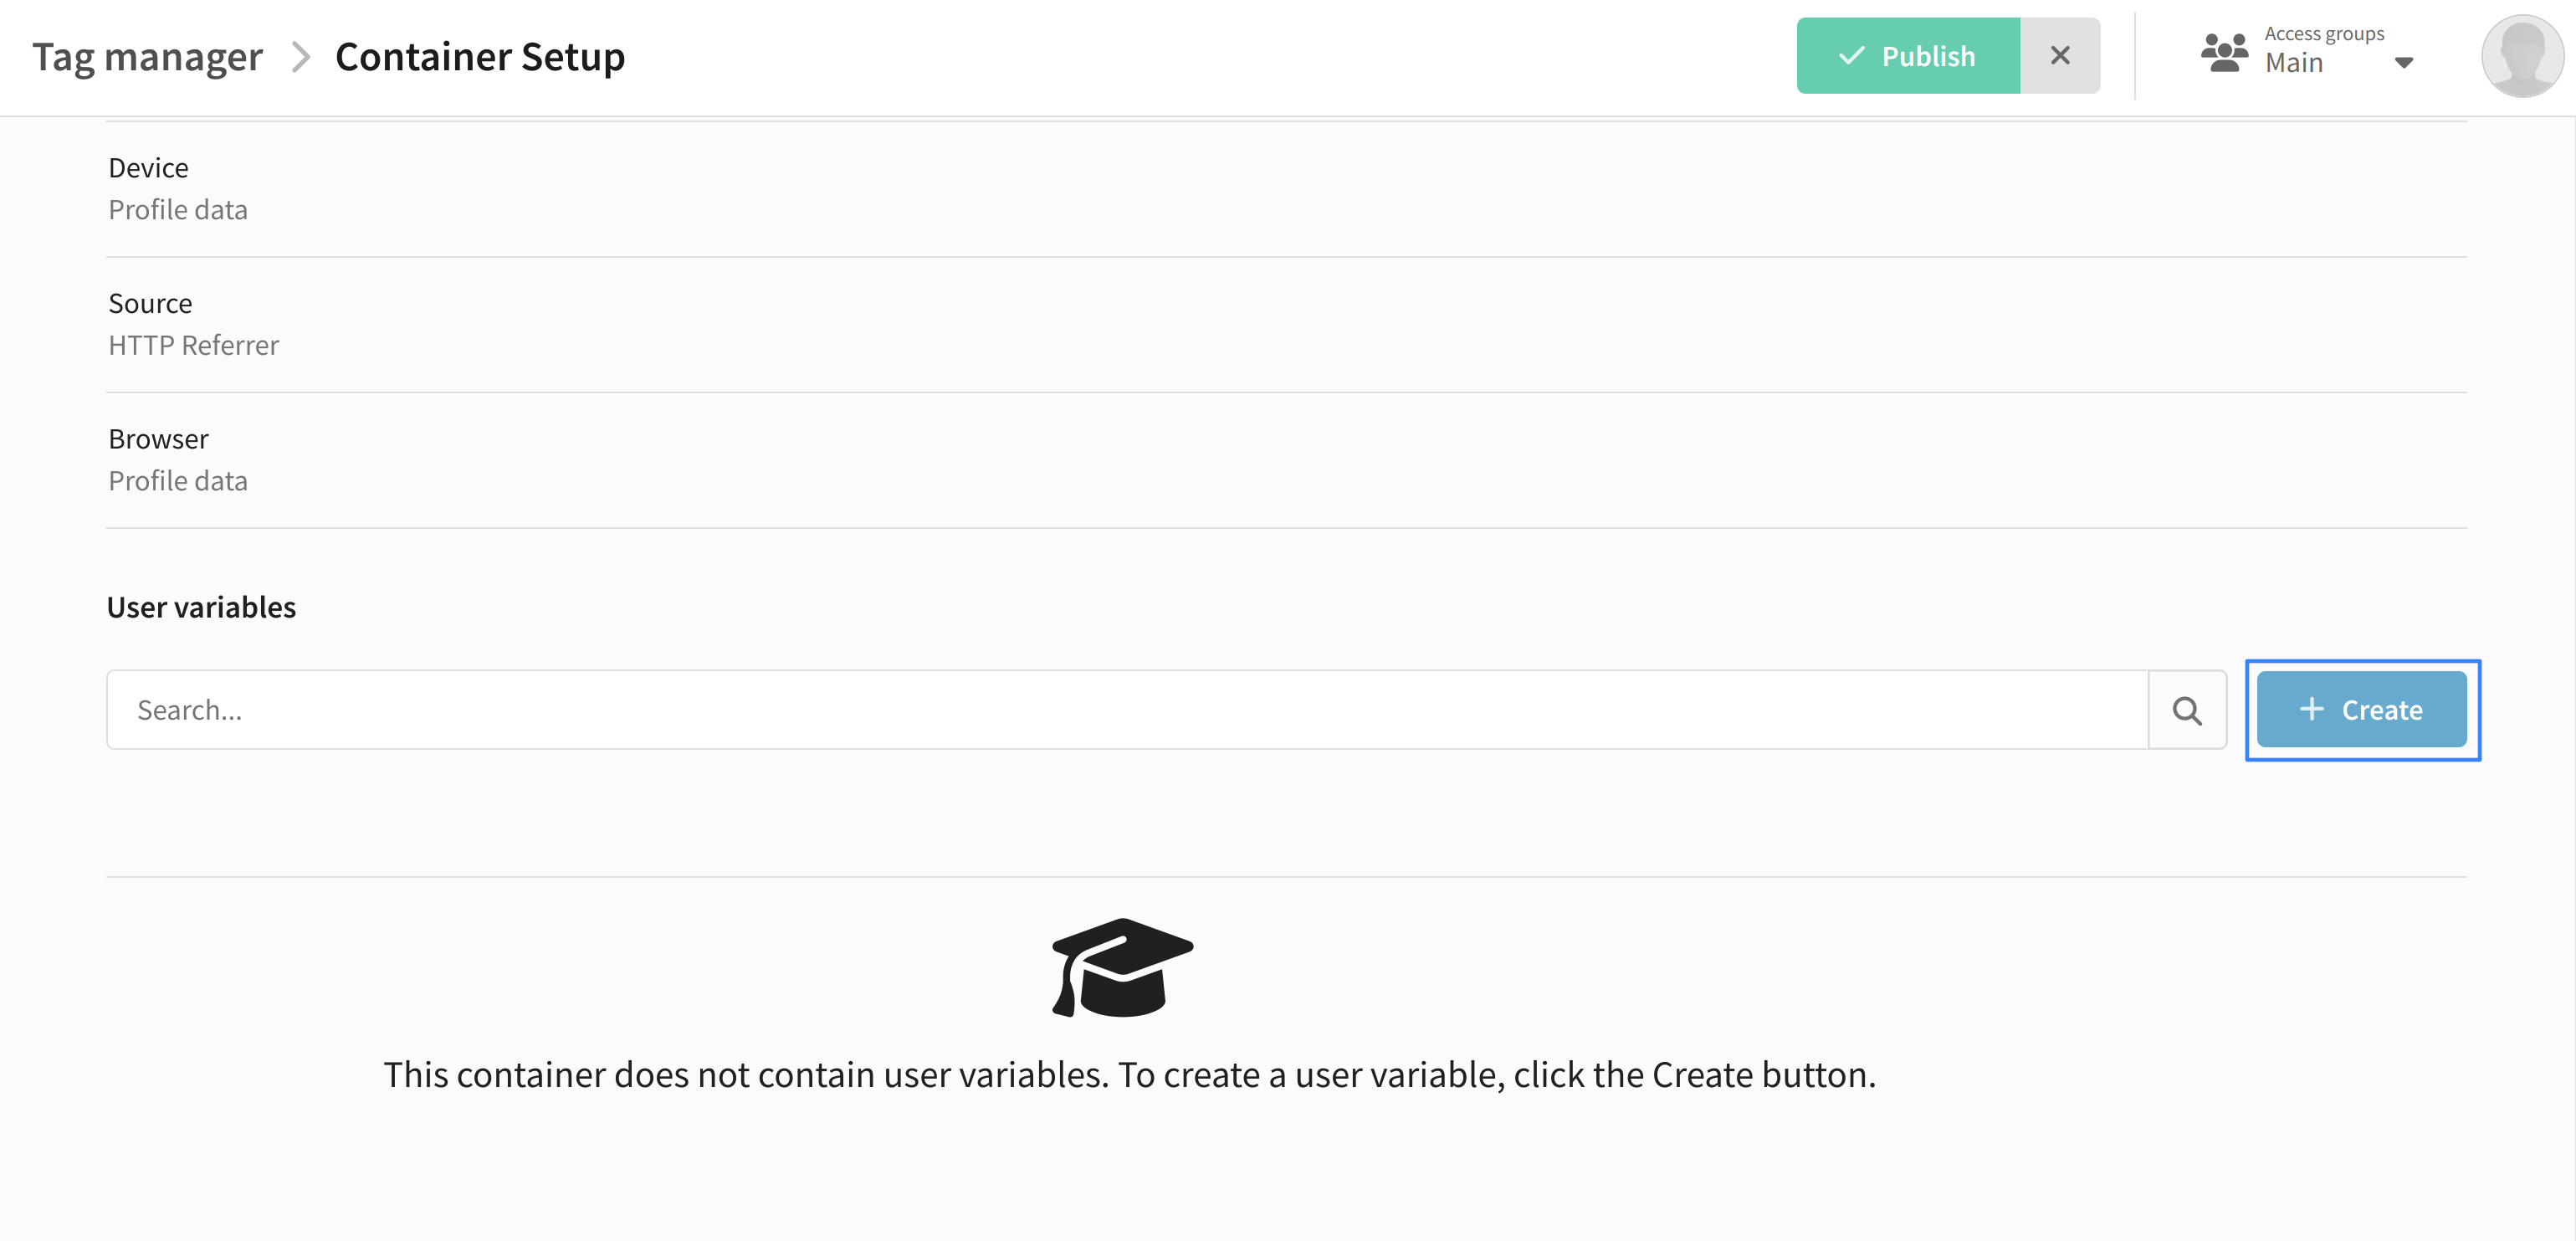
Select Variables and at the very bottom of the page, create a custom variable:
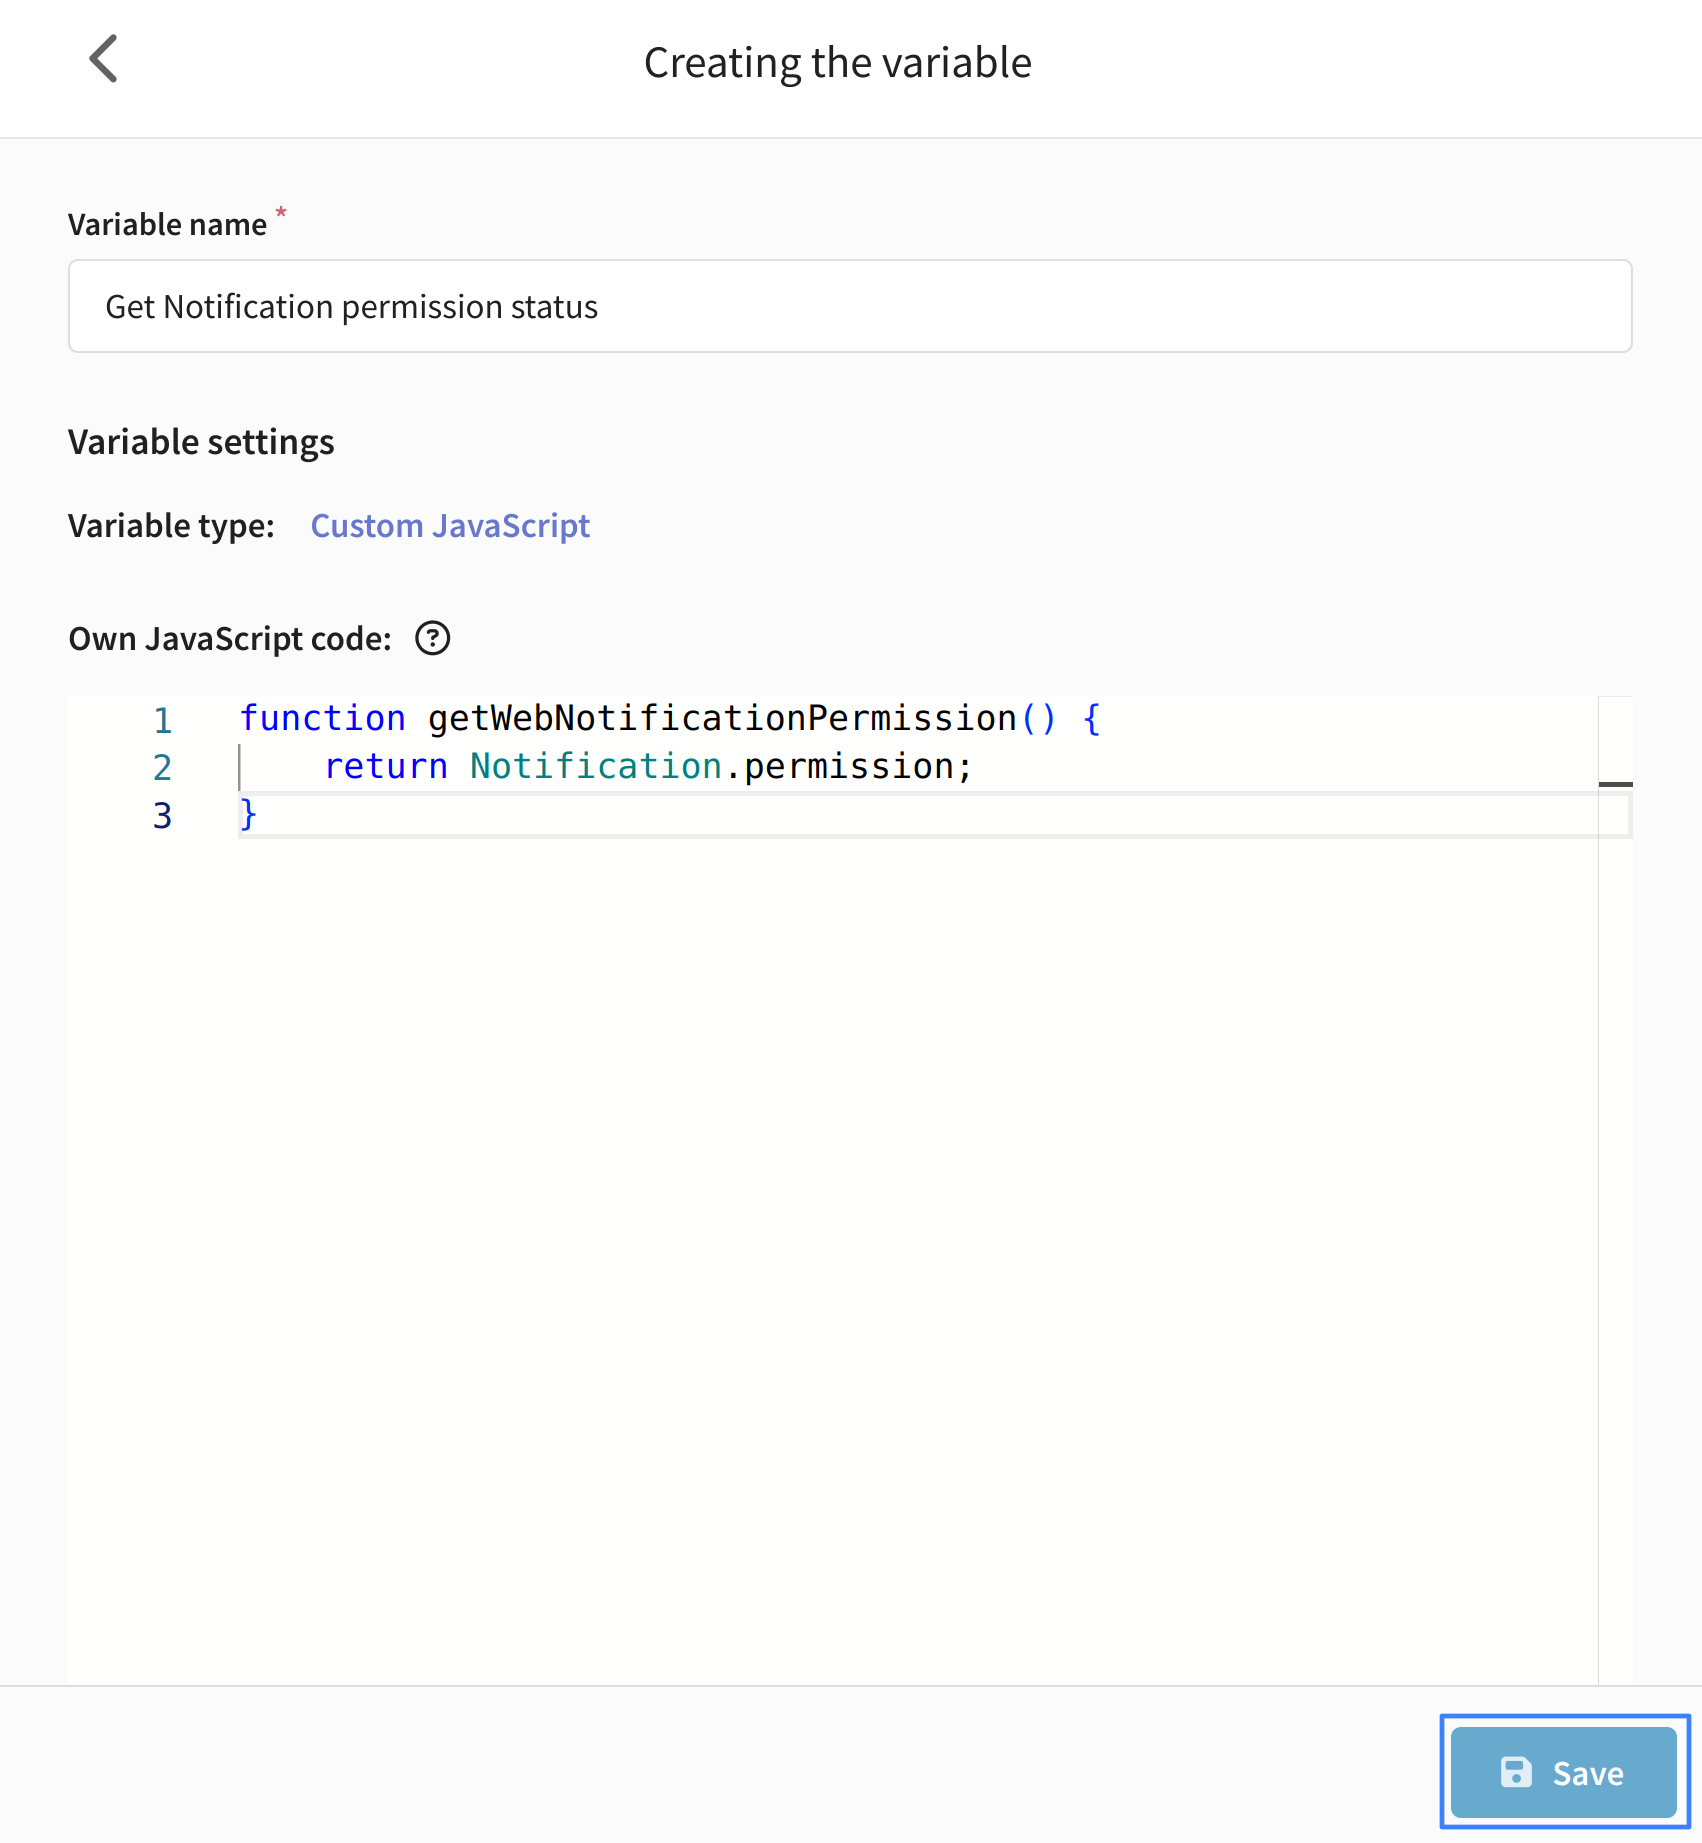
Specify the variable name, for example "Get Notification permission status", then select the type Custom JavaScript. In the input field, paste the following code:
function getWebNotificationPermission() {
    return Notification.permission;
}
Save the created variable:
Tag creation
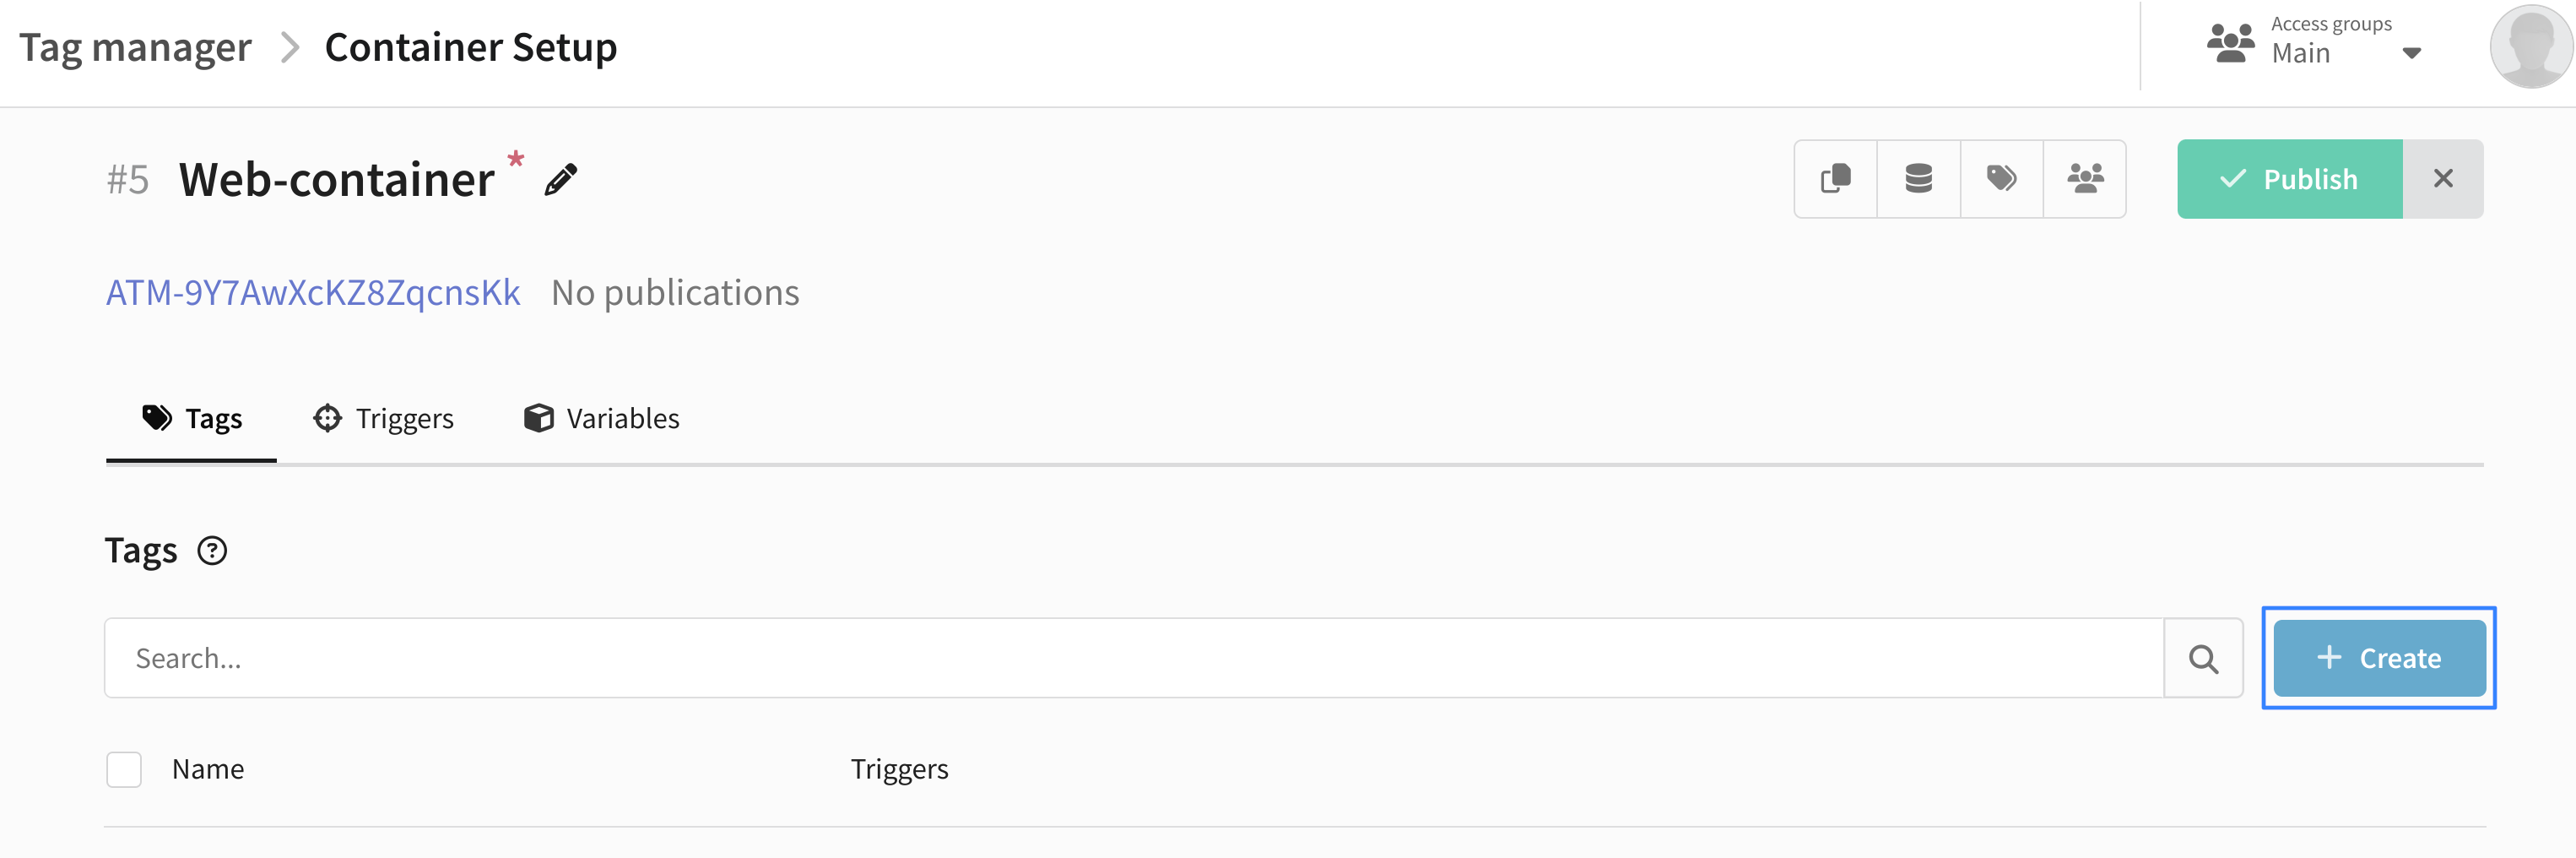
Go to Tags and create a new tag:
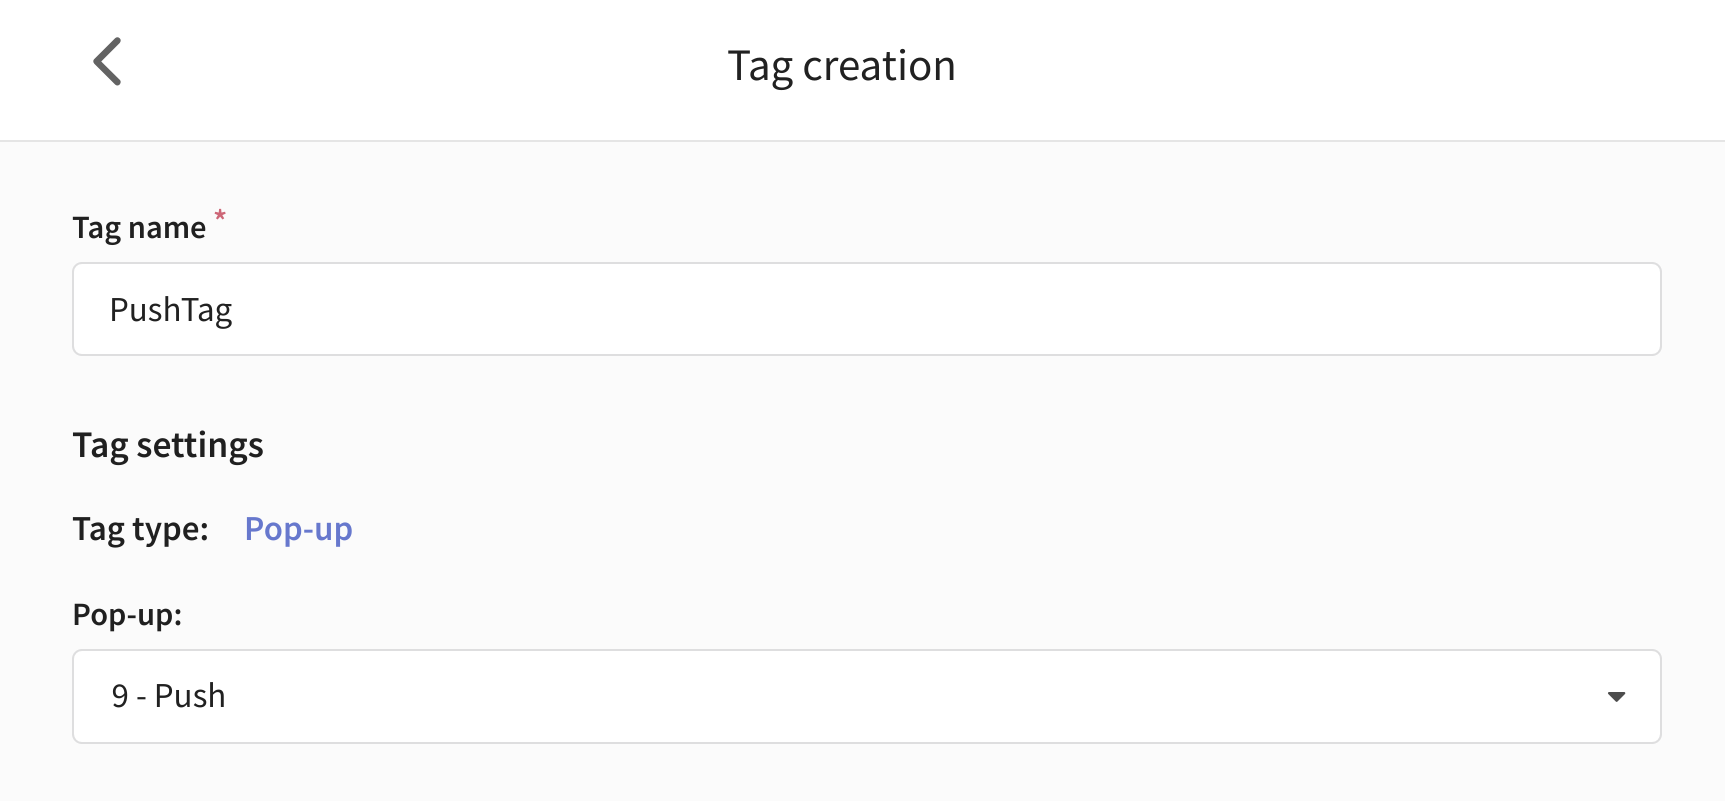
Name it, specify the type Pop-up and select the pop-up you created in the previous step:
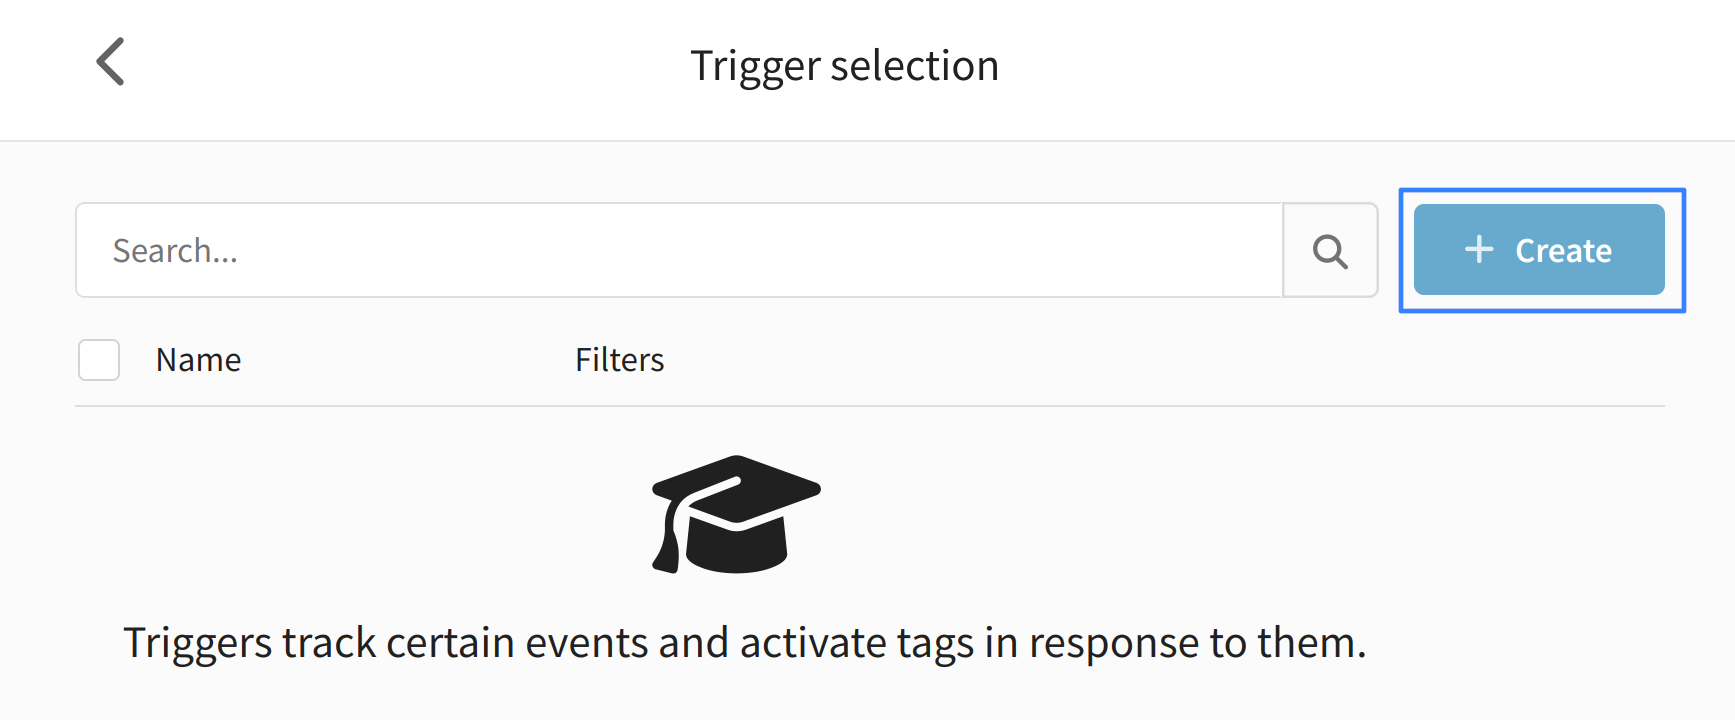
Customize the activation settings and limits if necessary. Then select triggers. If you have not already created triggers, you can create a new one directly from this window:
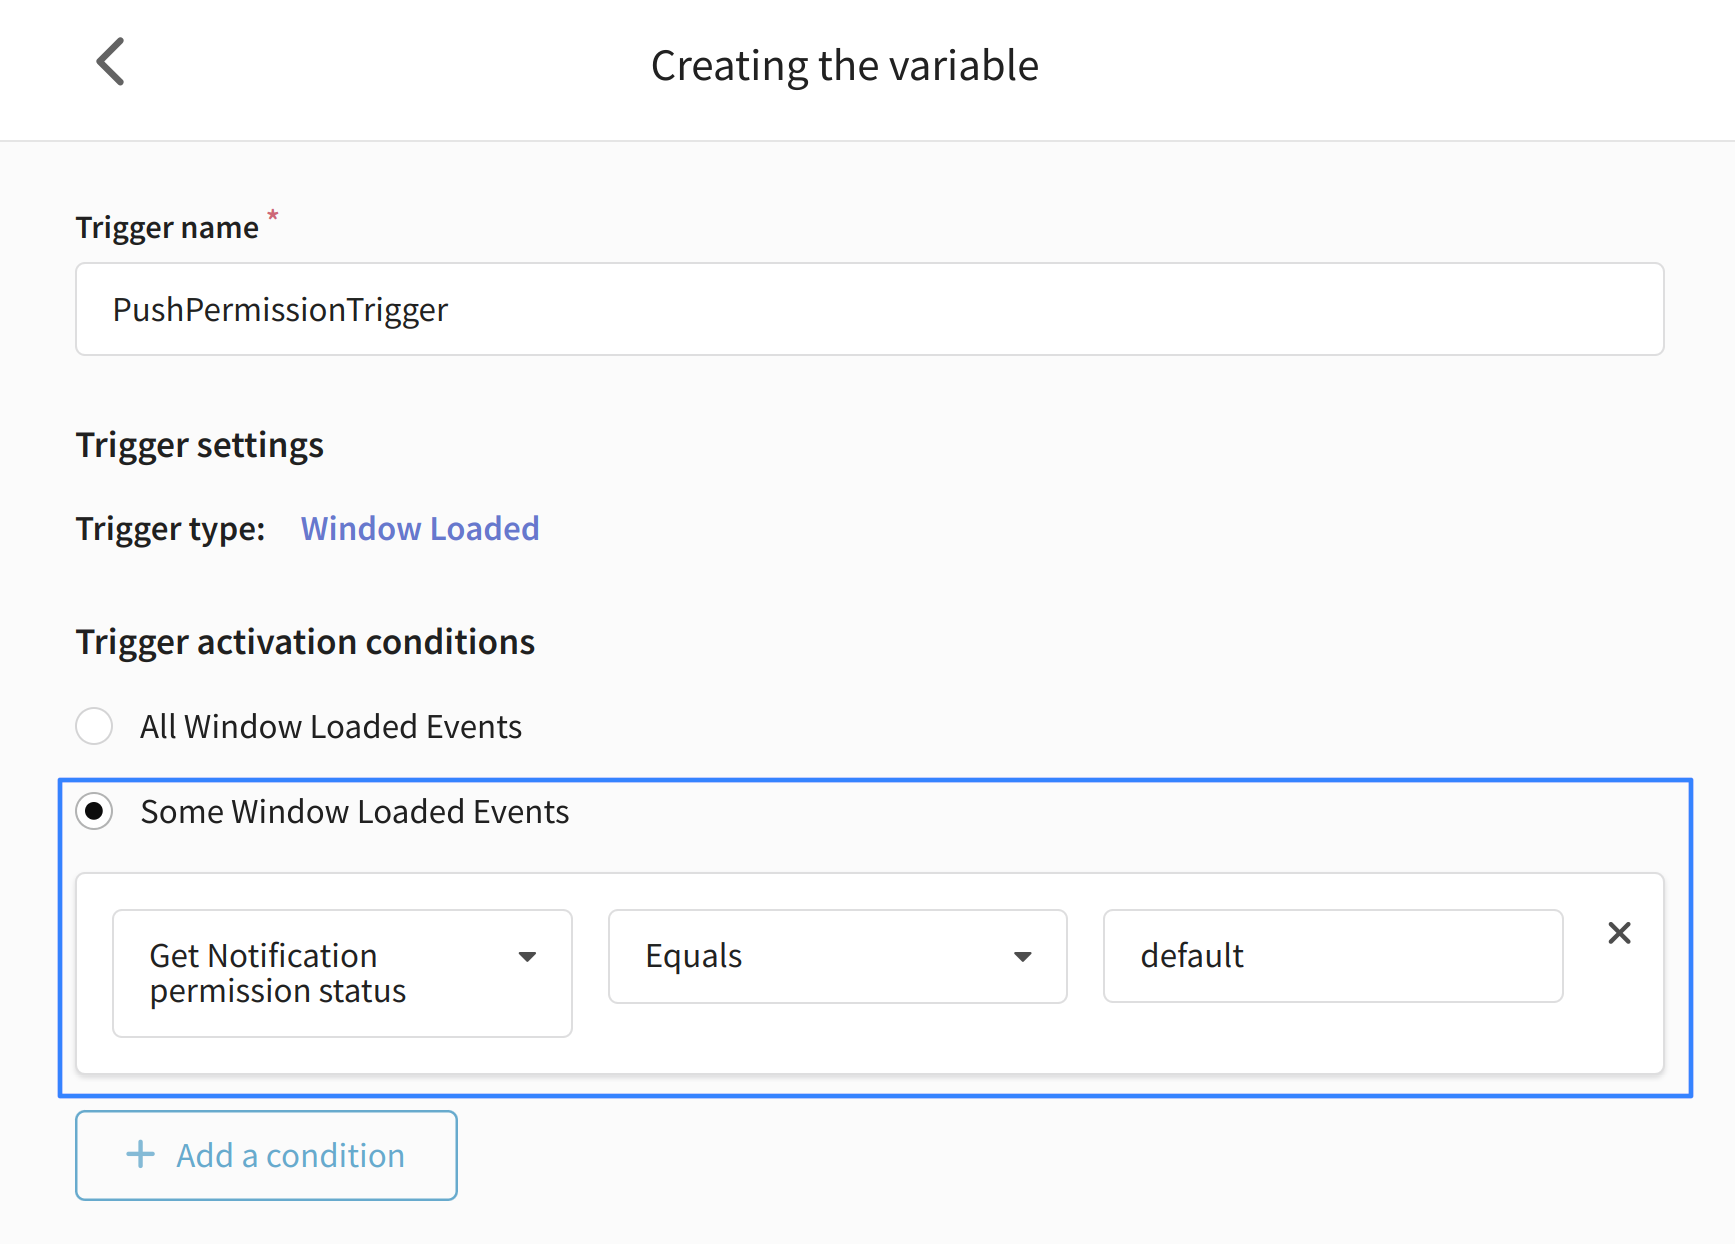
You can customize the trigger yourself for any action you need. In our example we use the "Window loaded" type.
In the activation conditions specify Some events and the variable created earlier. It is responsible for the permission status for showing notifications. The variable will be set to default in cases where the browser has not yet requested permission to display notifications from the user. In such situations the pop-up will be triggered:
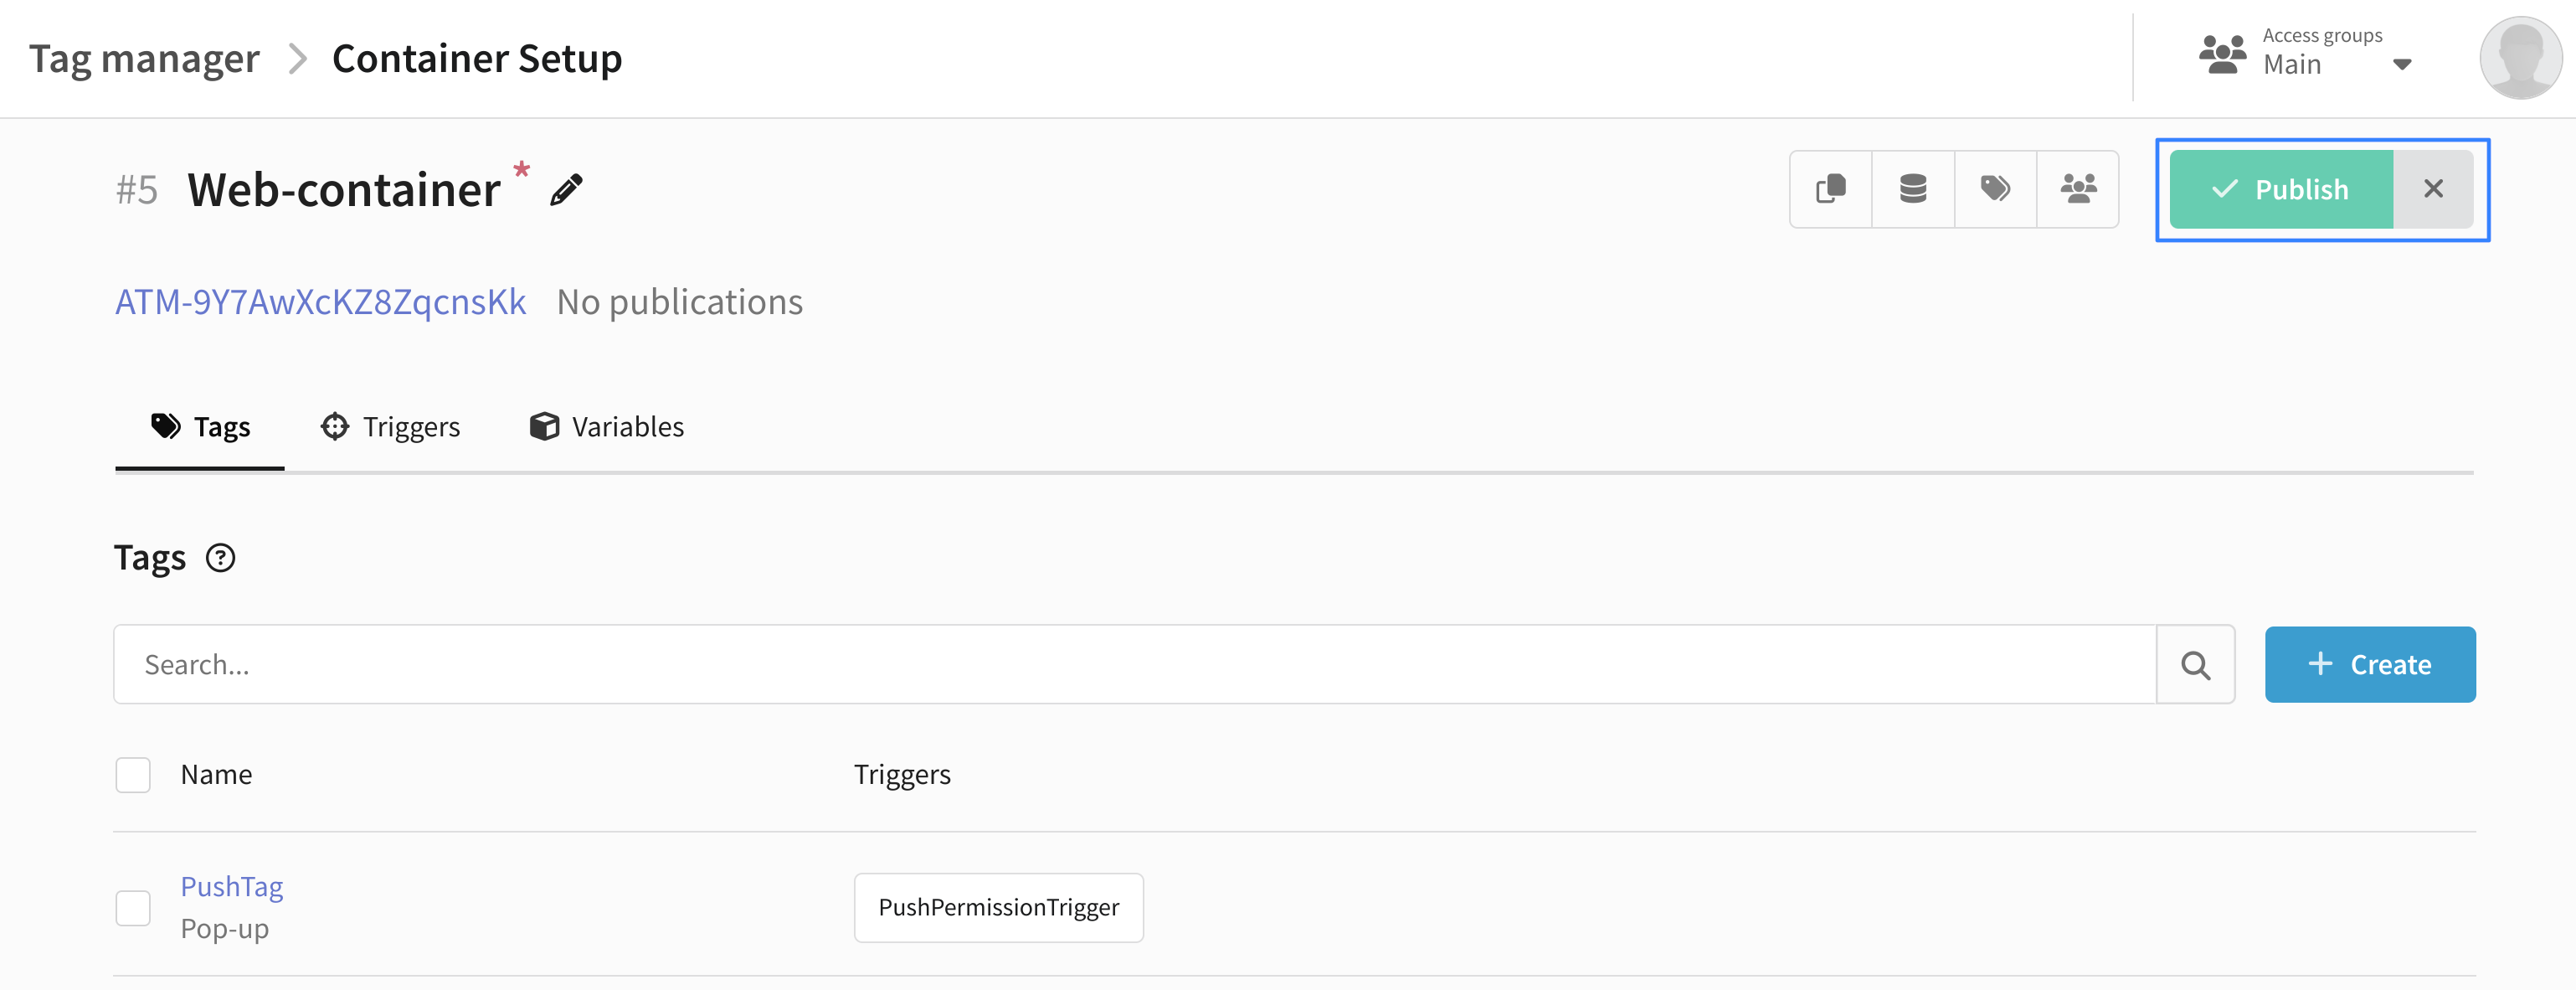
Name the trigger and save it. Select it as the trigger to show your pop-up and save the tag. When the tag is saved and all changes to the container have been made, click Publish:
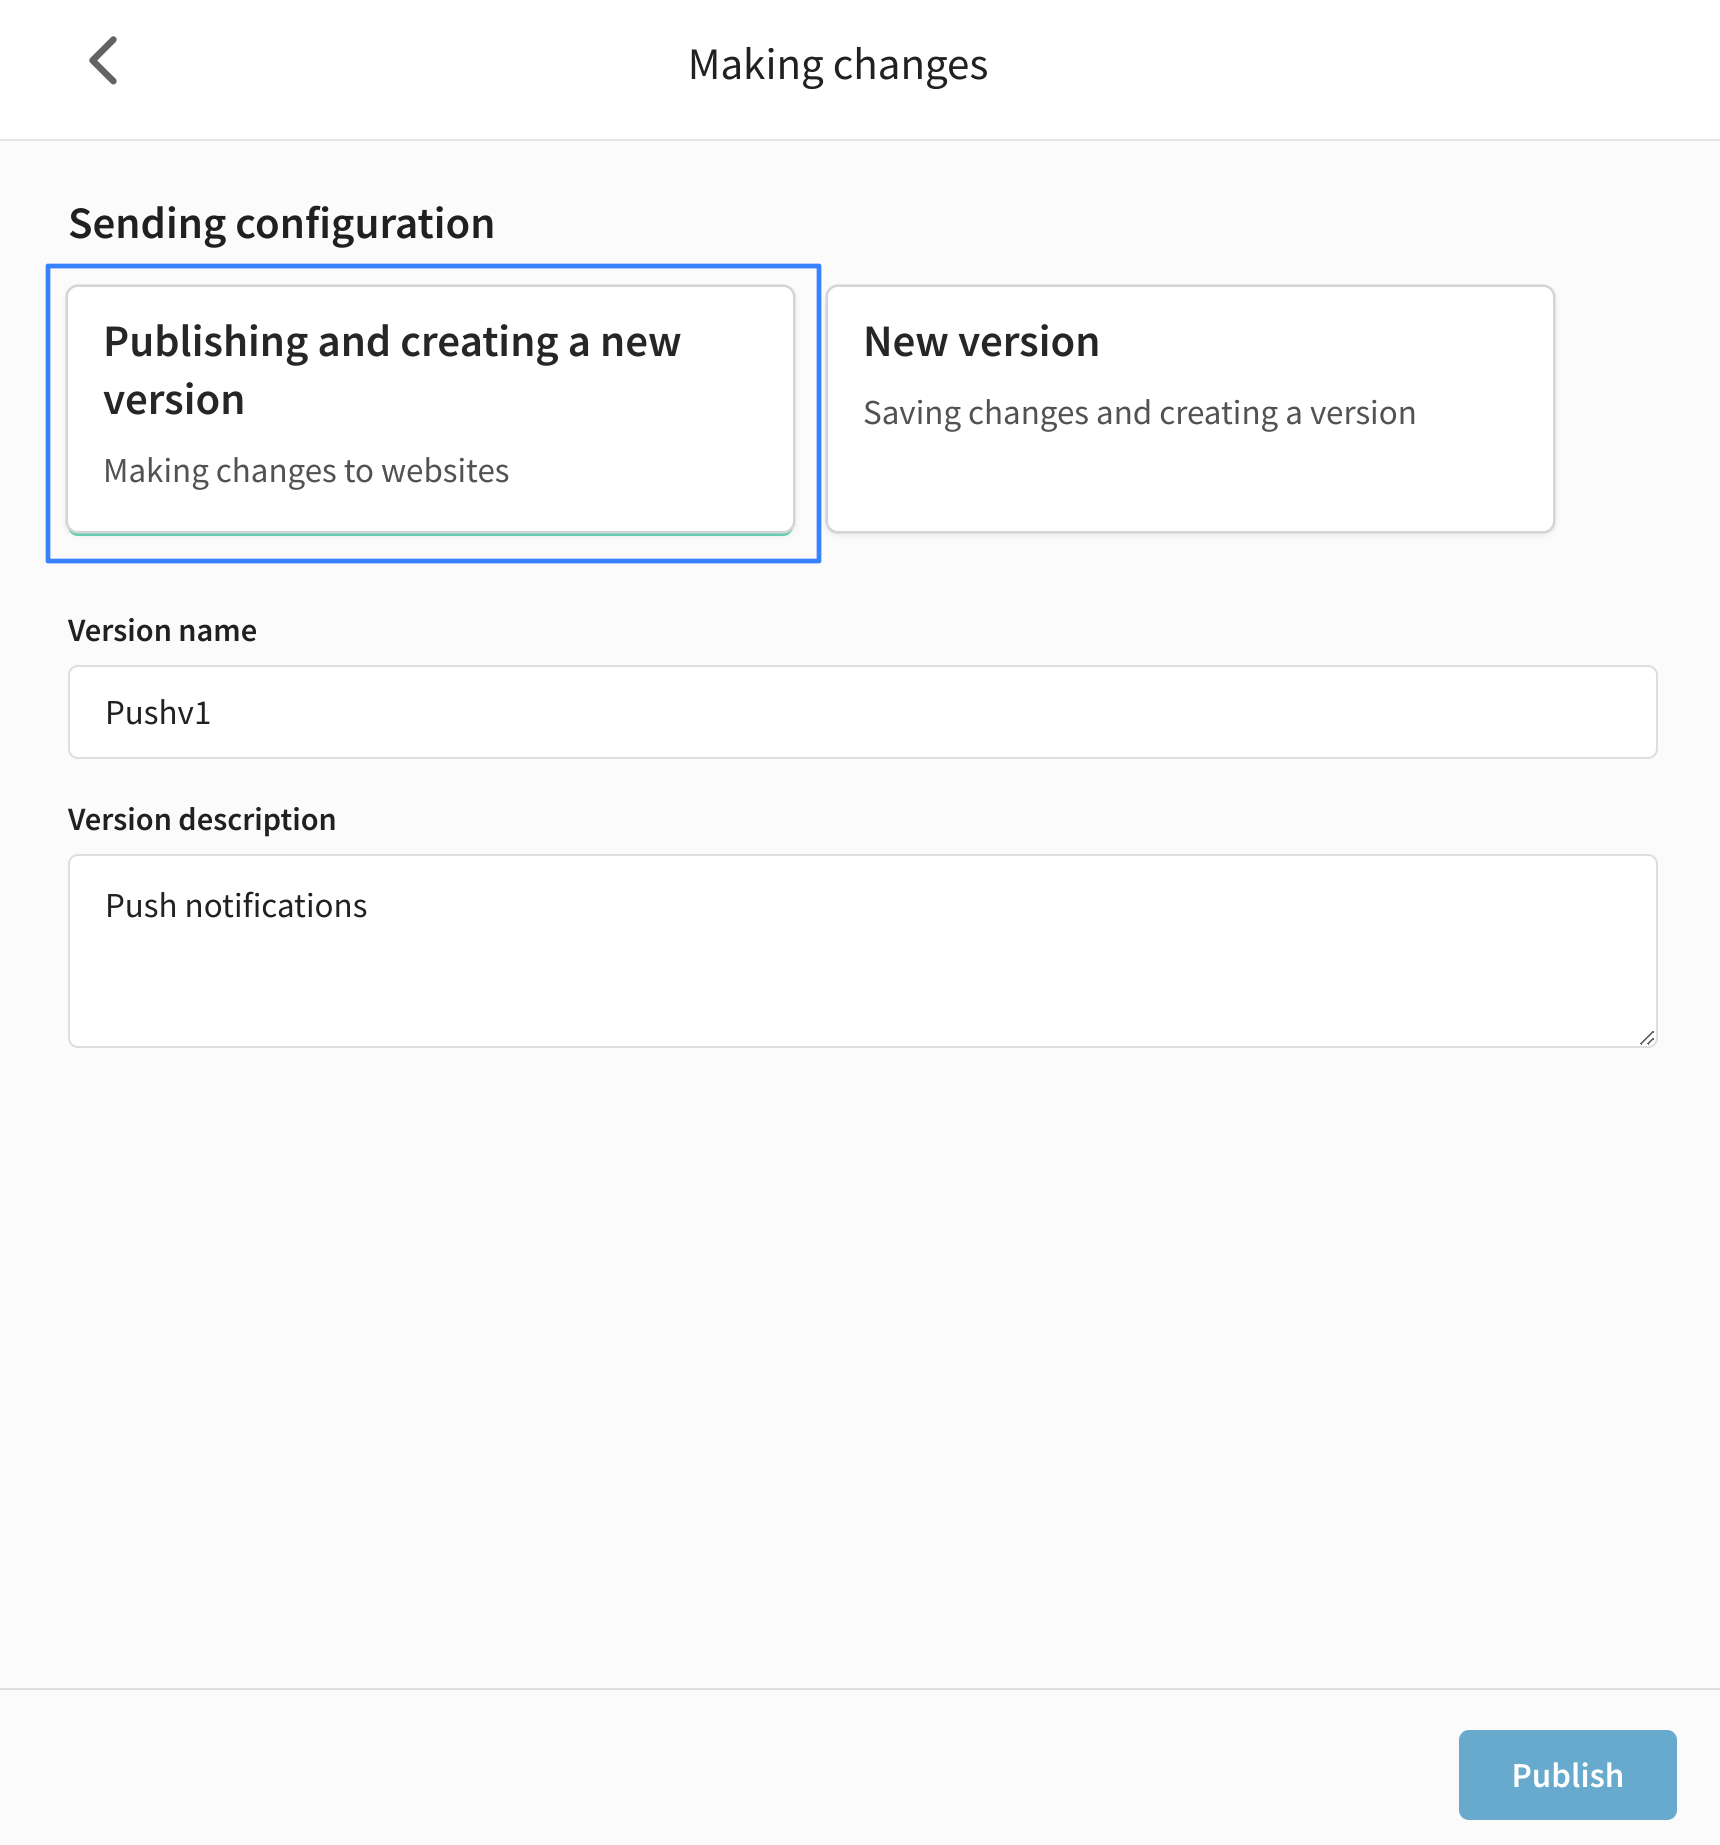
Select the "Publishing and creating a new version" option, provide a title and description for the version and publish it:
The work of the pop-up window has been configured. Now when a user gets to the page, the window with an offer to subscribe to push notifications will be shown.