How to create a product manually
 | In this guide, you will learn how to create a product or SKU manually in the Altcraft market. To get started, go to the "Products" section and click "Create" in the upper panel. |
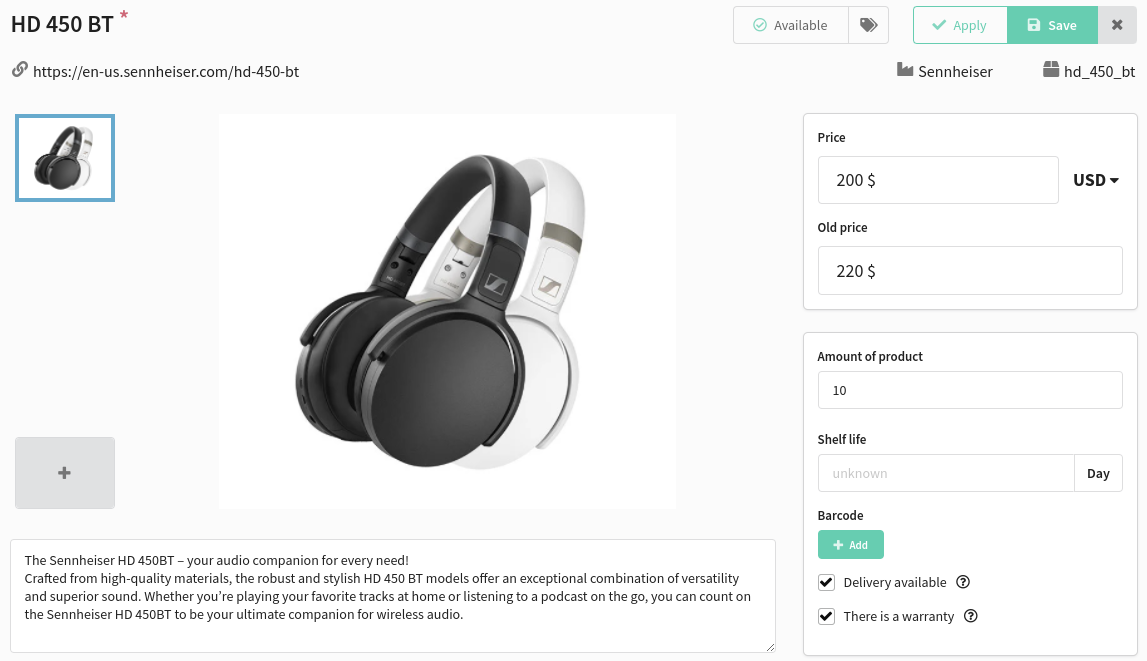
Basic product information
When creating a new product you must specify its name and additional id. The latter can consist only of numbers and Latin letters. It can contain up to 20 characters.
Other fields are optional:
- product link — the URL of a product page on the store's website
- product images
- description
- available/unavailable — in stock or out of stock
- tags for quick search
- manufacture 's name
- price (select currency) — the current price of a product
- old price
- amount of product available for sale
- shelf life or service life (in days)
- barcode from the manufacturer in one of the formats (EAN-13, EAN-8, UPC-A, UPC-E), it is possible to add multiple barcodes.
- delivery — the possibility of courier delivery (for all regions to which the store delivers).
- warranty — whether or not the product has an official manufacturer's warranty
Custom fields
Fill in the custom product fields. For example, you can specify important characteristics of a product such as colour, size, amount, material, weight, model, etc.

You can create custom fields in "Settings".
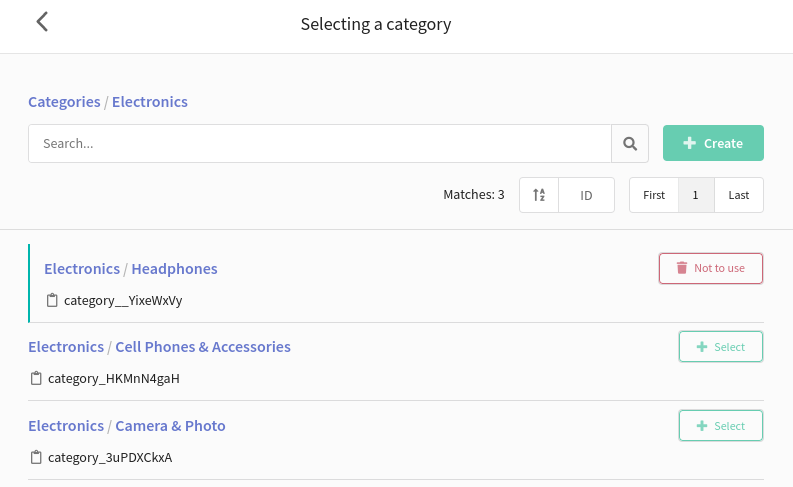
Categories
Specify categories for a product by clicking " Select":

You can create categories in the market settings. Click "Create" to quickly jump to this section.
If you have already created the necessary categories, click "Select" to add a product there:
Regions
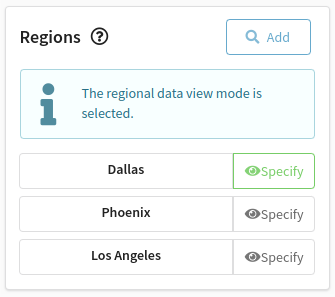
Add regions where your product is available:
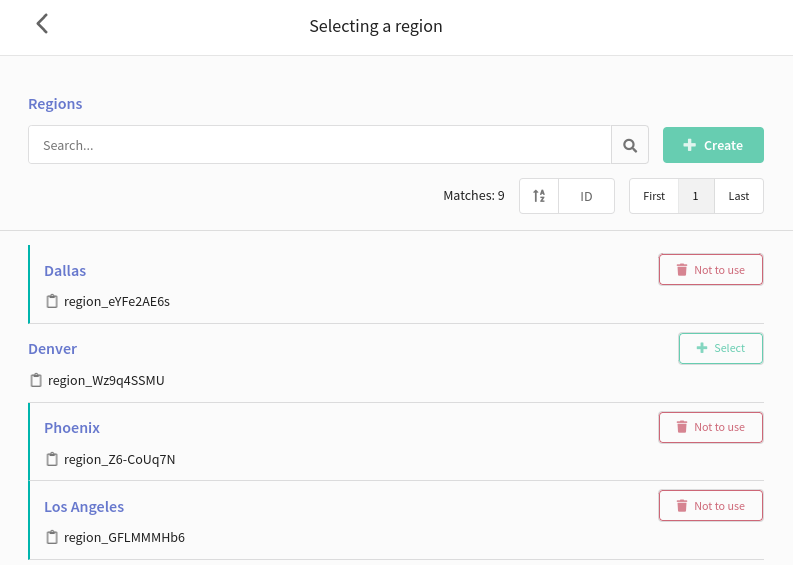
You can change product parameters depending on the region. If you do not deliver your product to some region, change the "Delivery is available" parameter for it.
Click "Specify" to edit product information for a certain region — you will switch to the regional data view mode:
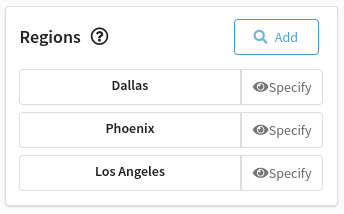
In this mode, you can change the following product information:
- availability in the selected region;
- price;
- old price;
- delivery to the selected region;
- additional fields.
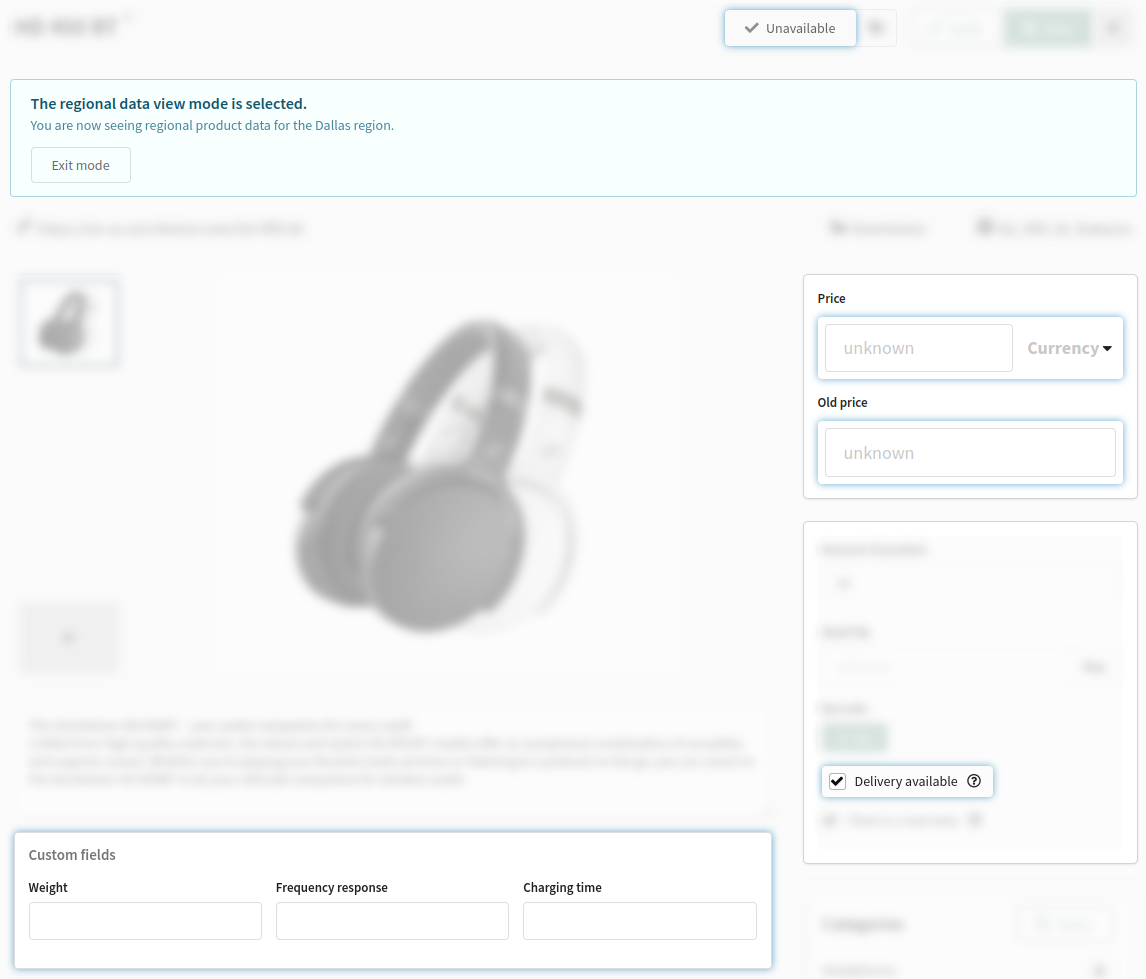
After filling in the regional data, click "Specify" next to a region to save changes:
SKU
A stock keeping unit (SKU) is a product modifier that is attached to a group of products that differs from the rest by some characteristics (colour, size, weight, model, configuration, etc.). Each product has a unique SKU.
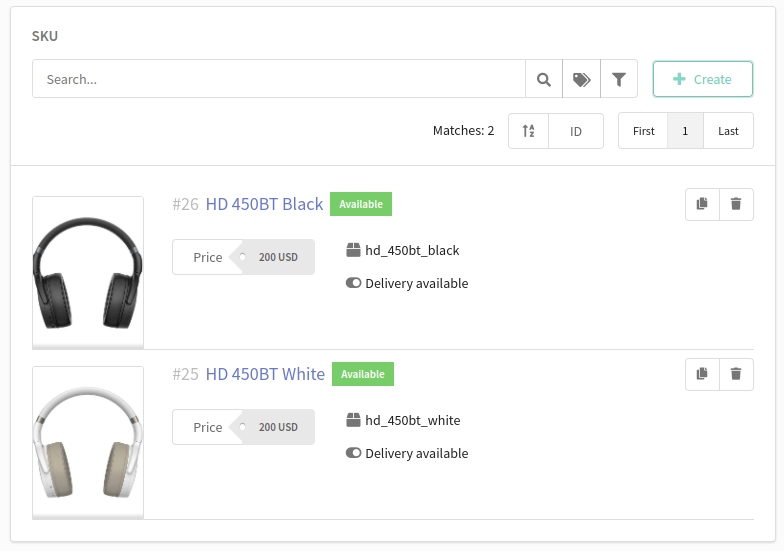
The process of creating a SKU is similar to creating a product:
- enter a name and an additional identifier;
- fill in a product card (link, image, manufacturer, price, delivery, warranty, and so on);
- add a SKU to a specific product category;
- add regions and specify regional data for each of them;
- fill in the custom fields.
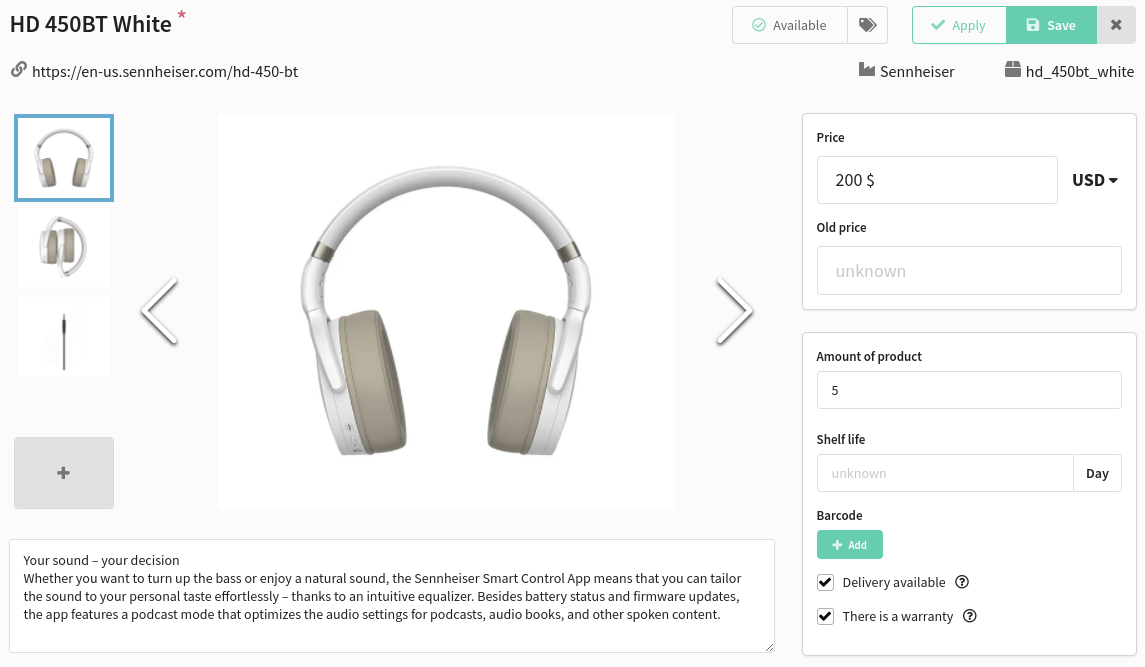
Then save a product. Now you can use this product or its SKU when creating an order.