Creating a loyalty program from scratch
This article outlines the basic workflow for creating Loyalty Program in Altcraft Platform.
Goal — create your first loyalty program, accrue points to a member, and understand the logic of the module.
Step-by-step guide: Loyalty program — Points — Members — Promotion — Testing
Step 1. Create a loyalty program
A loyalty program is a customer reward system for target actions. It stores points, configures tiers, and defines rules for accruing and redeeming them.
1. Go to | 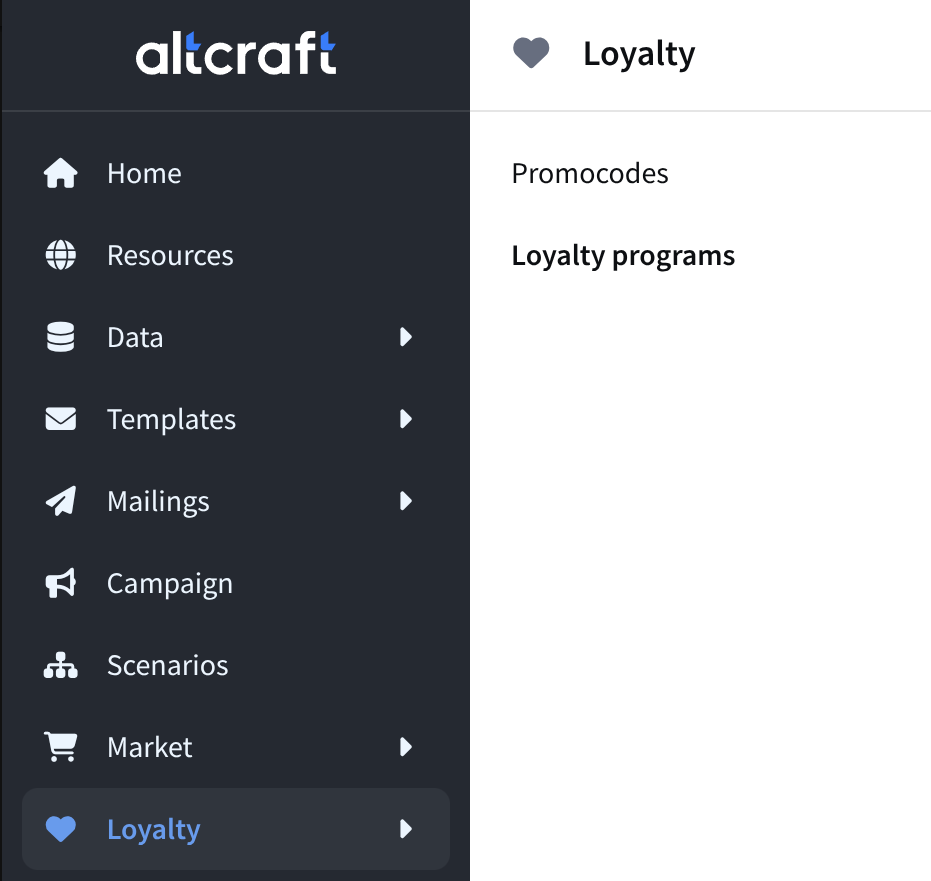 |
2. Enter:
And select a Database* | 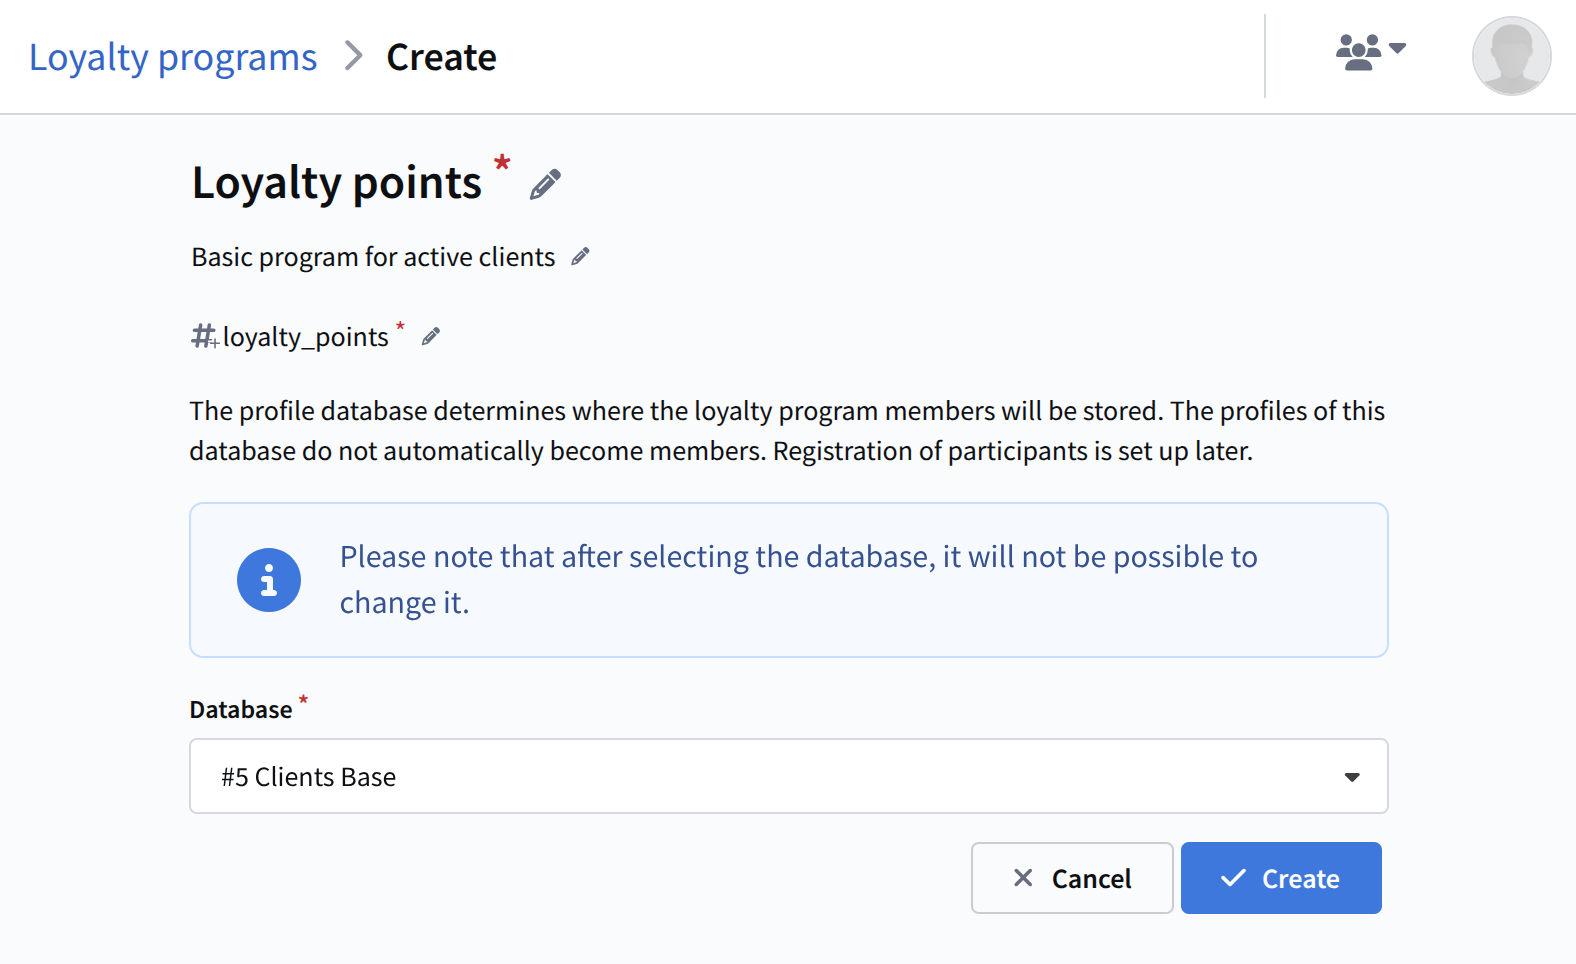 |
-
External identifier — an internal code for the program, used for integrations. For example, you can specify
my_first_loyalty. -
Database — the source from which members will be taken.
After selection, the database cannot be changed, and only one active loyalty program can exist in a single database.
4. Click 
The loyalty program is created, and you will automatically be taken to its settings.
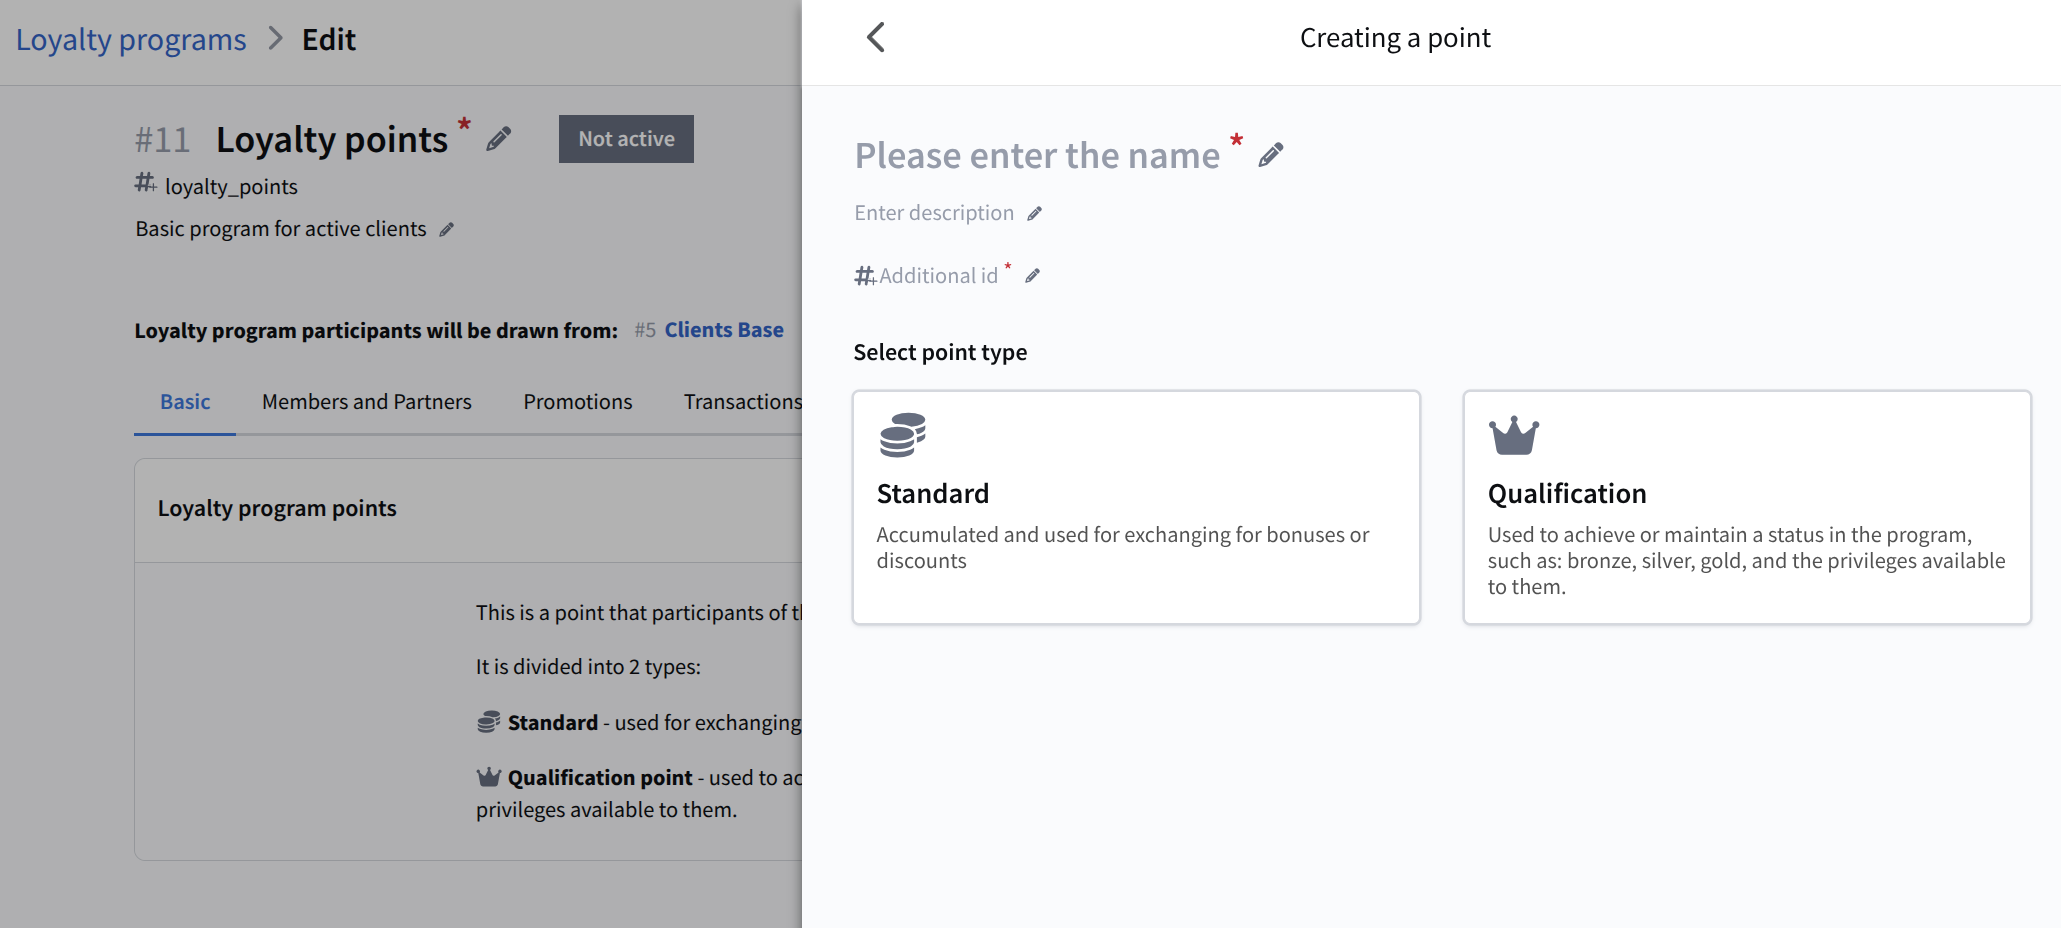
Step 2. Create points
Points are the internal currency of the program, awarded for purchases and other target actions, and can be spent to receive benefits.
1. In the program settings, open the Basic tab | 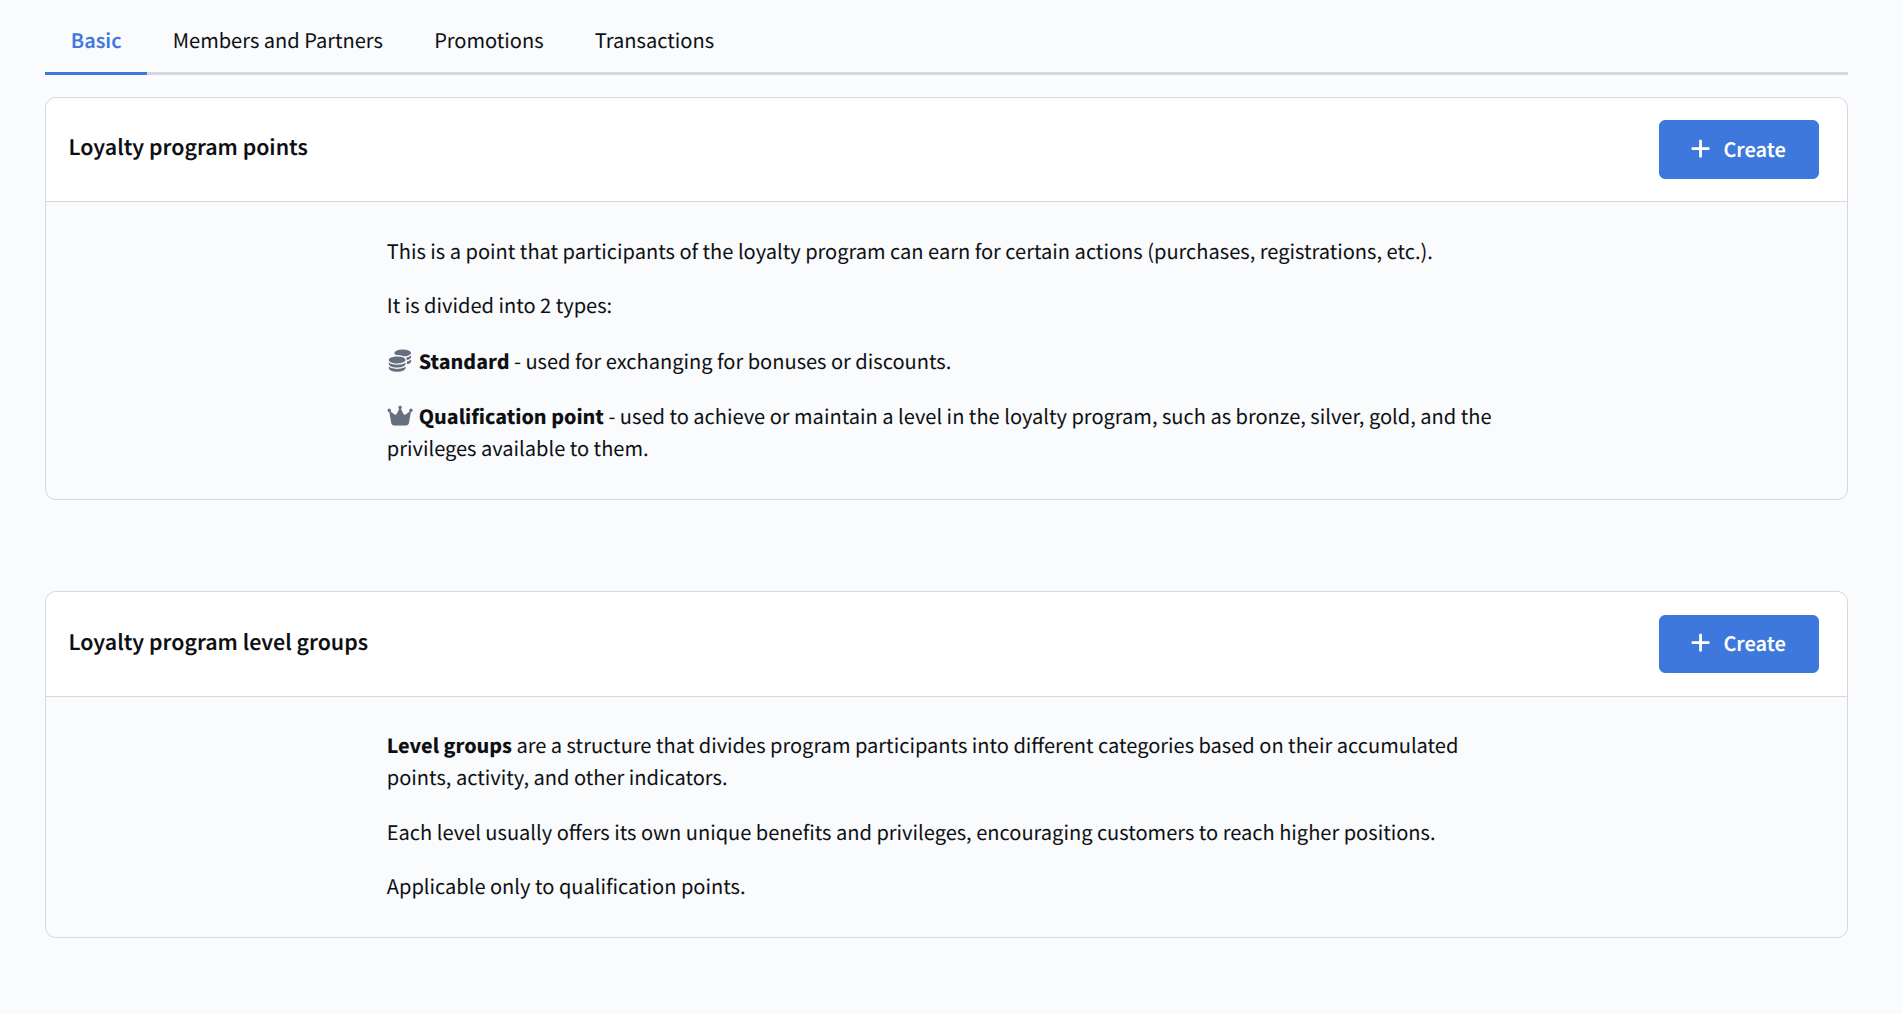 |
2. In the Loyalty program points block, click 
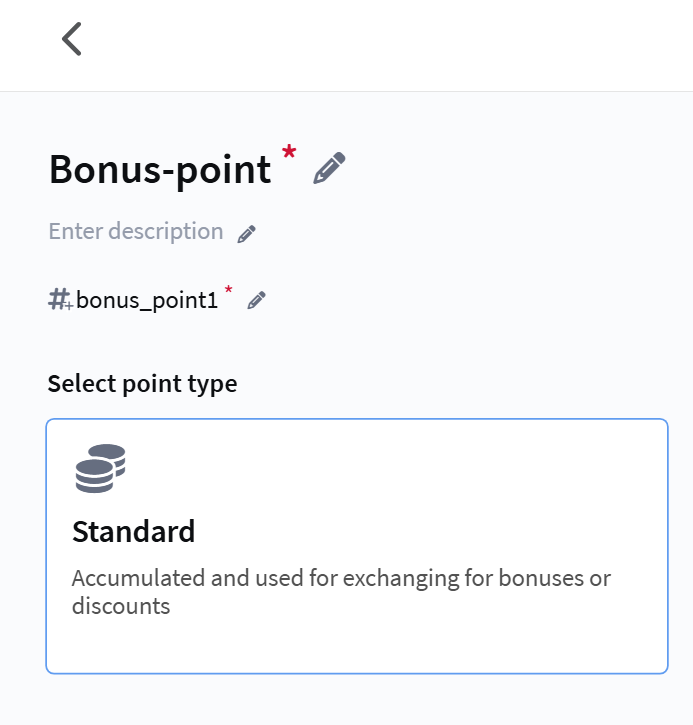
Standard points
1. Select the Standard points type
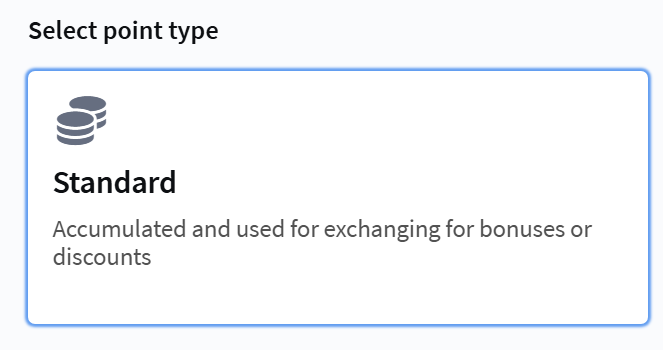
Standard points — the primary type for accrual and redemption.
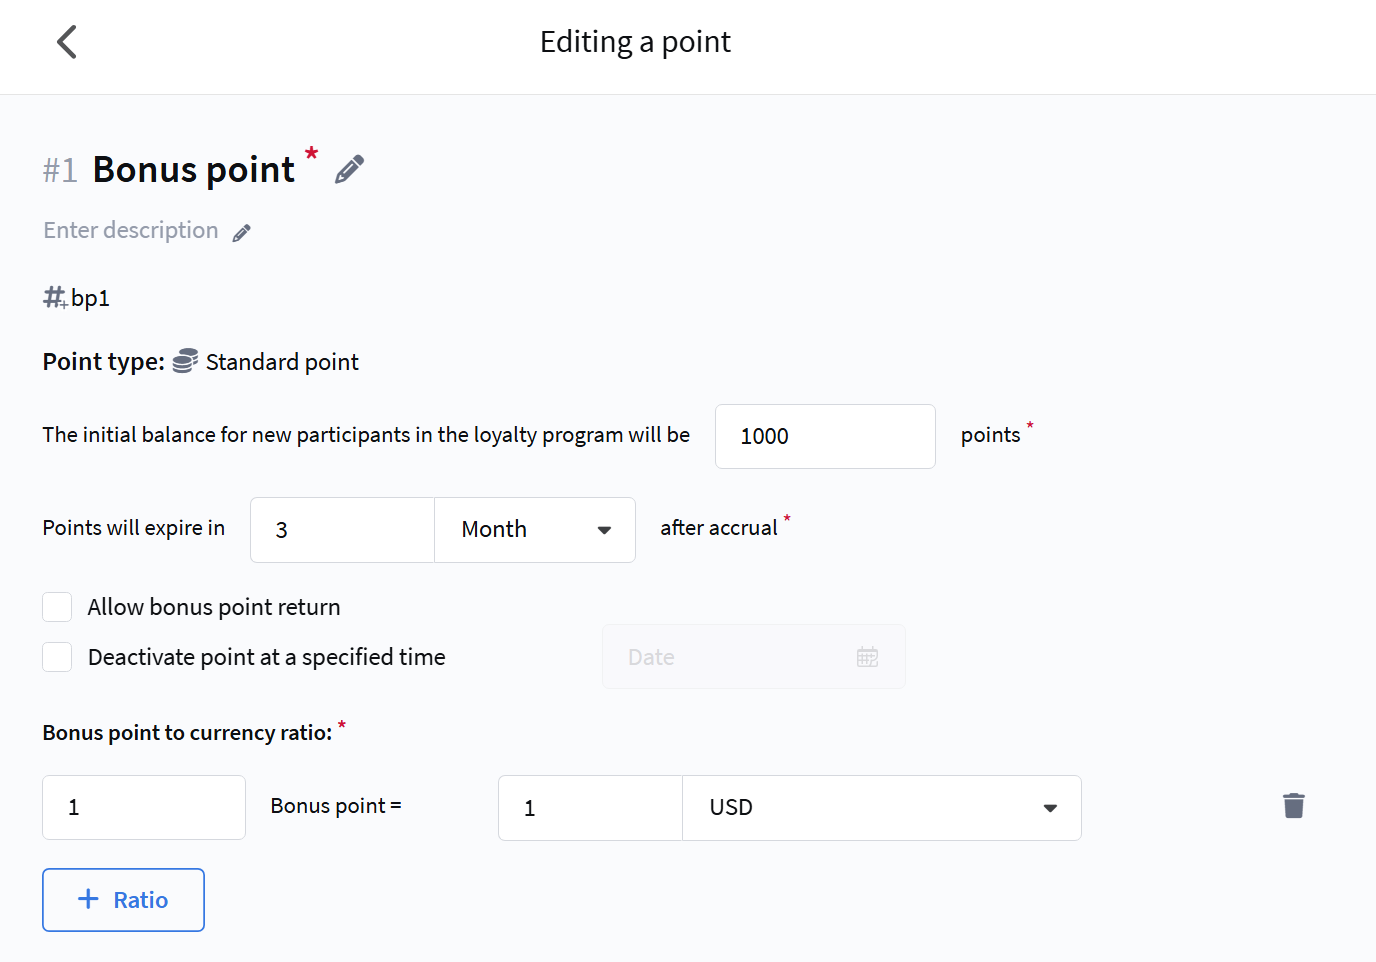
2. Configure the point settings:
|  |
3. Configure:
|  |
4. Click 
Standard points are ready to use.
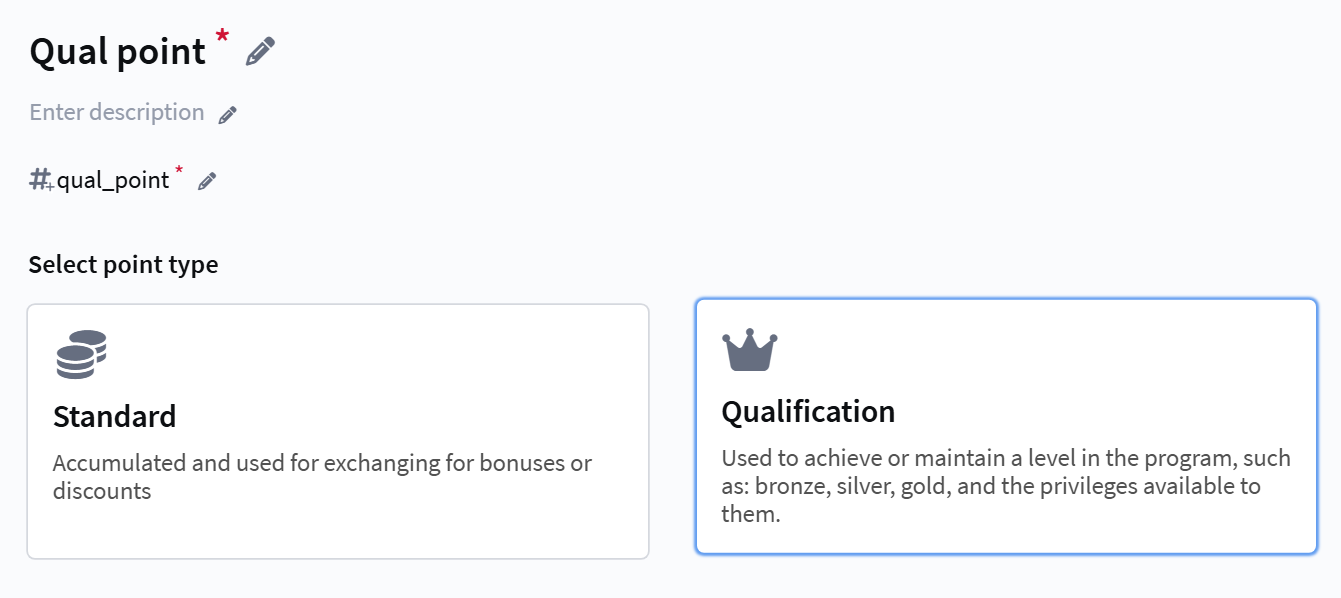
Qualification points
Qualification points are used to evaluate customer activity and determine their tier in the loyalty program (bronze, silver, gold, etc.).
1. Select the Qualification points type

2. Configure the point settings:
|  |
3. Set the bonus to currency ratio: | 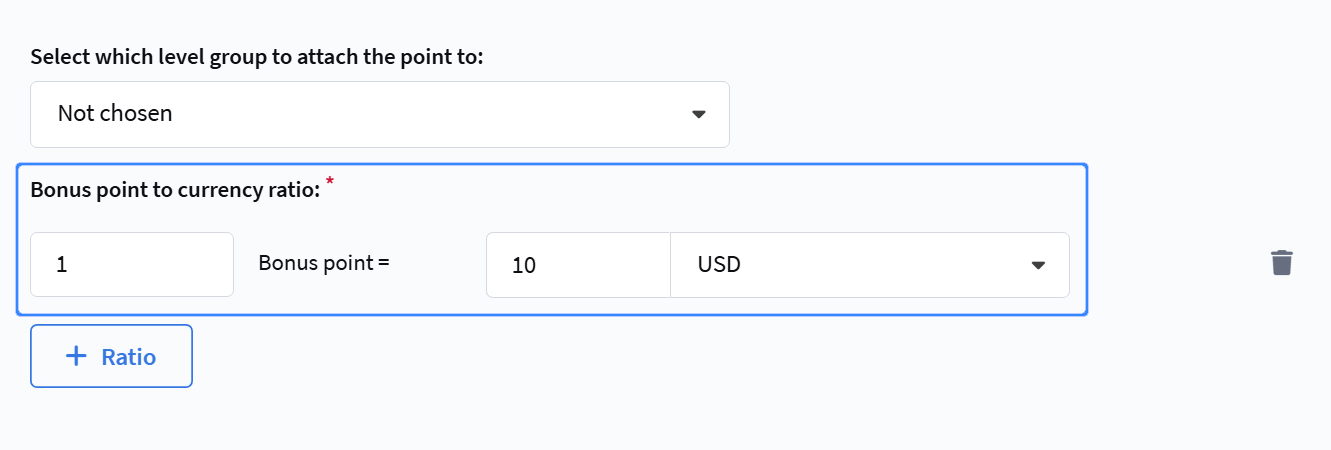 |
4. Click
Qualification points are created. To use them, you need to create a tier group and tiers.
Loyalty levels group
A loyalty tier group is a set of statuses (e.g., "Bronze", "Silver", "Gold") that members receive as they accumulate qualification points.
1. Below the points list, find the Loyalty tier groups block and click | 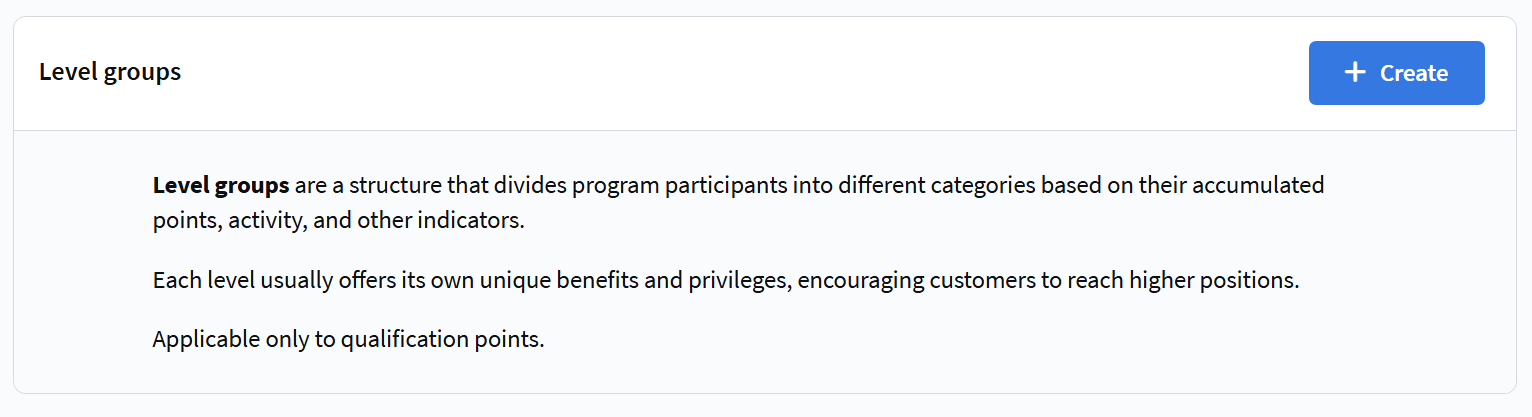 |
2. Enter a Name and select a Tier group model | 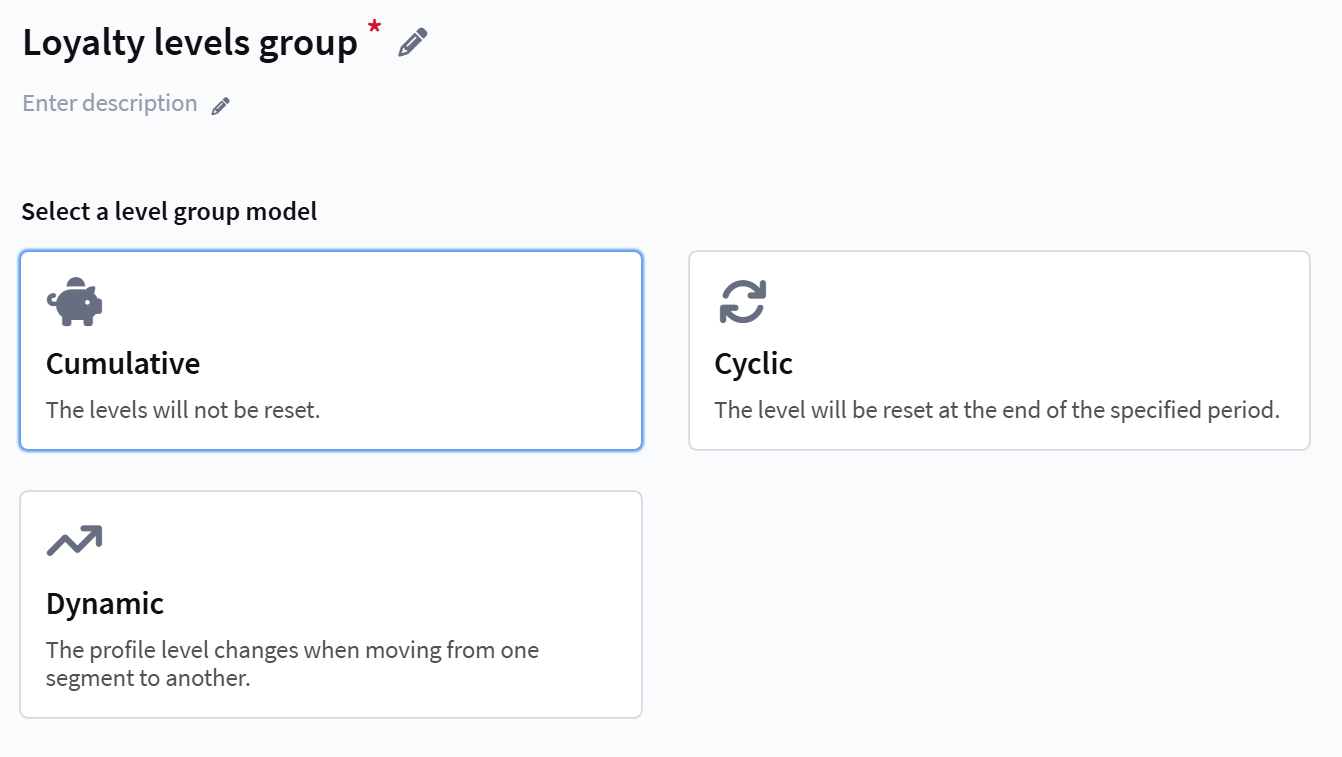 |
3. Link the previously created Qualification points. | 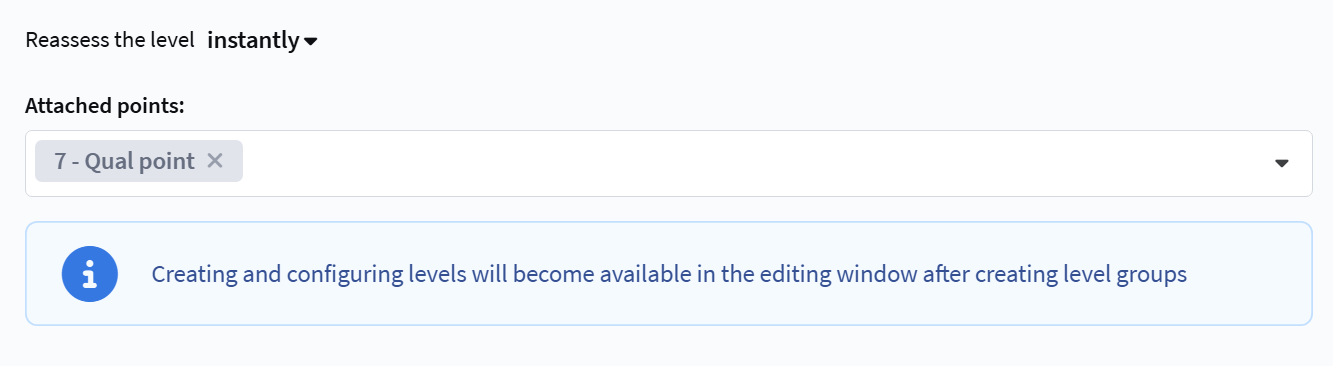 |
4. Click
The tier group is created. Now you need to add tiers to it.
Create loyalty tiers
1. Click on the created group to open its settings

2. In the Manage tiers section, click
3. Create the first tier: - Name — for example, "Basic" - External identifier — for example, | 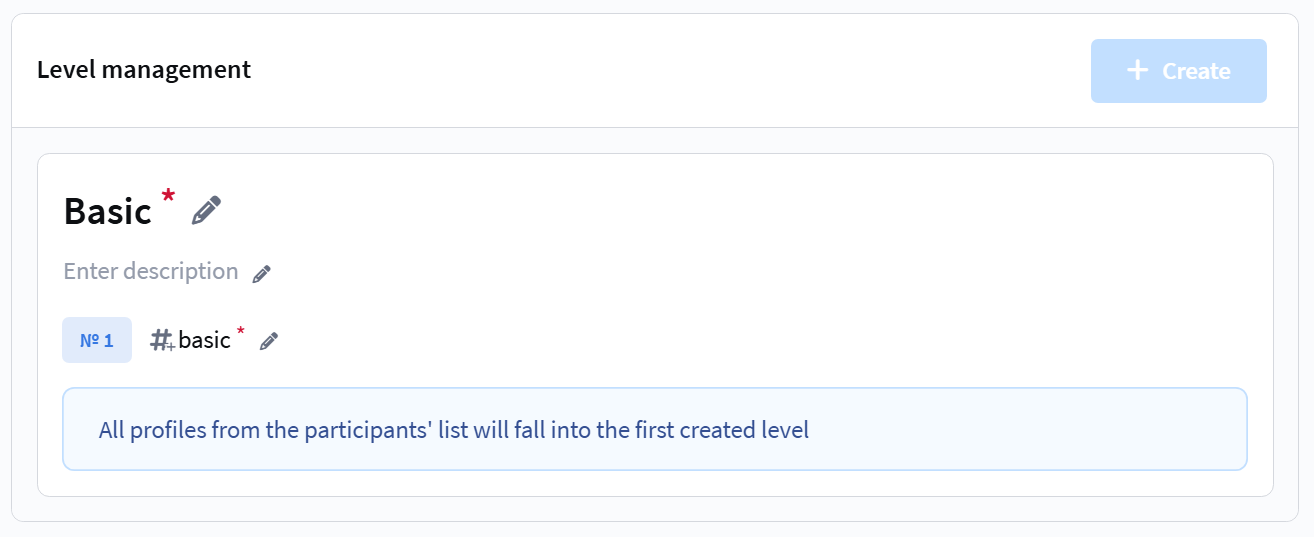 |
All program members automatically fall into the first tier.
To save a tier, click anywhere outside the tier card.

5. Create the required number of tiers. For each, specify:
| 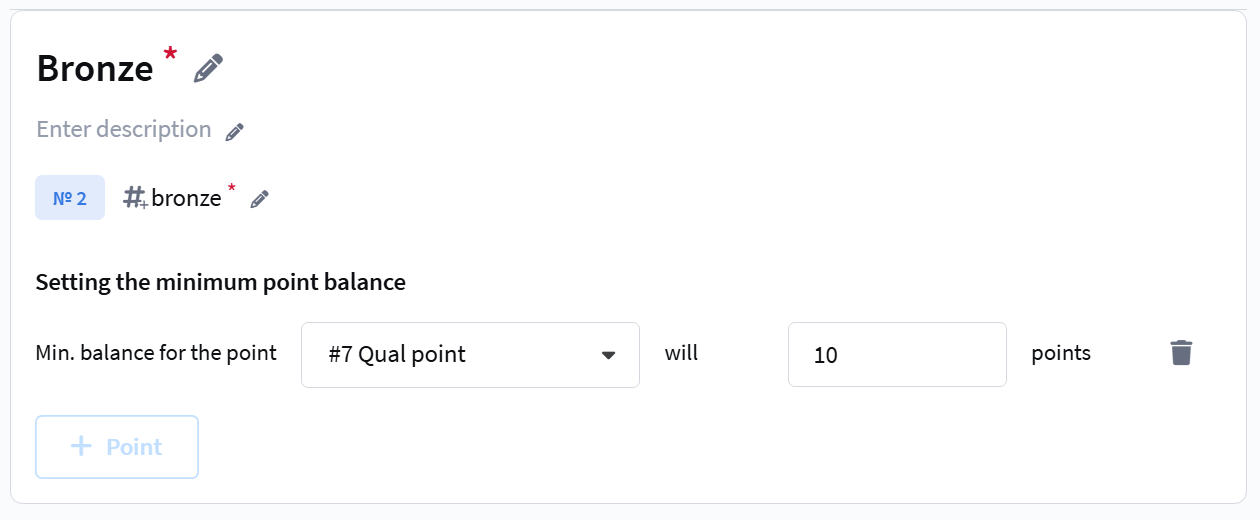 |
Minimum balance — the minimum amount of selected points in a profile's account required to reach the specified loyalty tier.
6. After creating all tiers, click 
Members move to the next tier automatically when they reach the specified minimum balance of qualification points. You can accrue these points through points promotions — just like bonus points.
Step 3. Add members
Members are the customers who will participate in the loyalty program.
1. Go to the Members and partners tab | 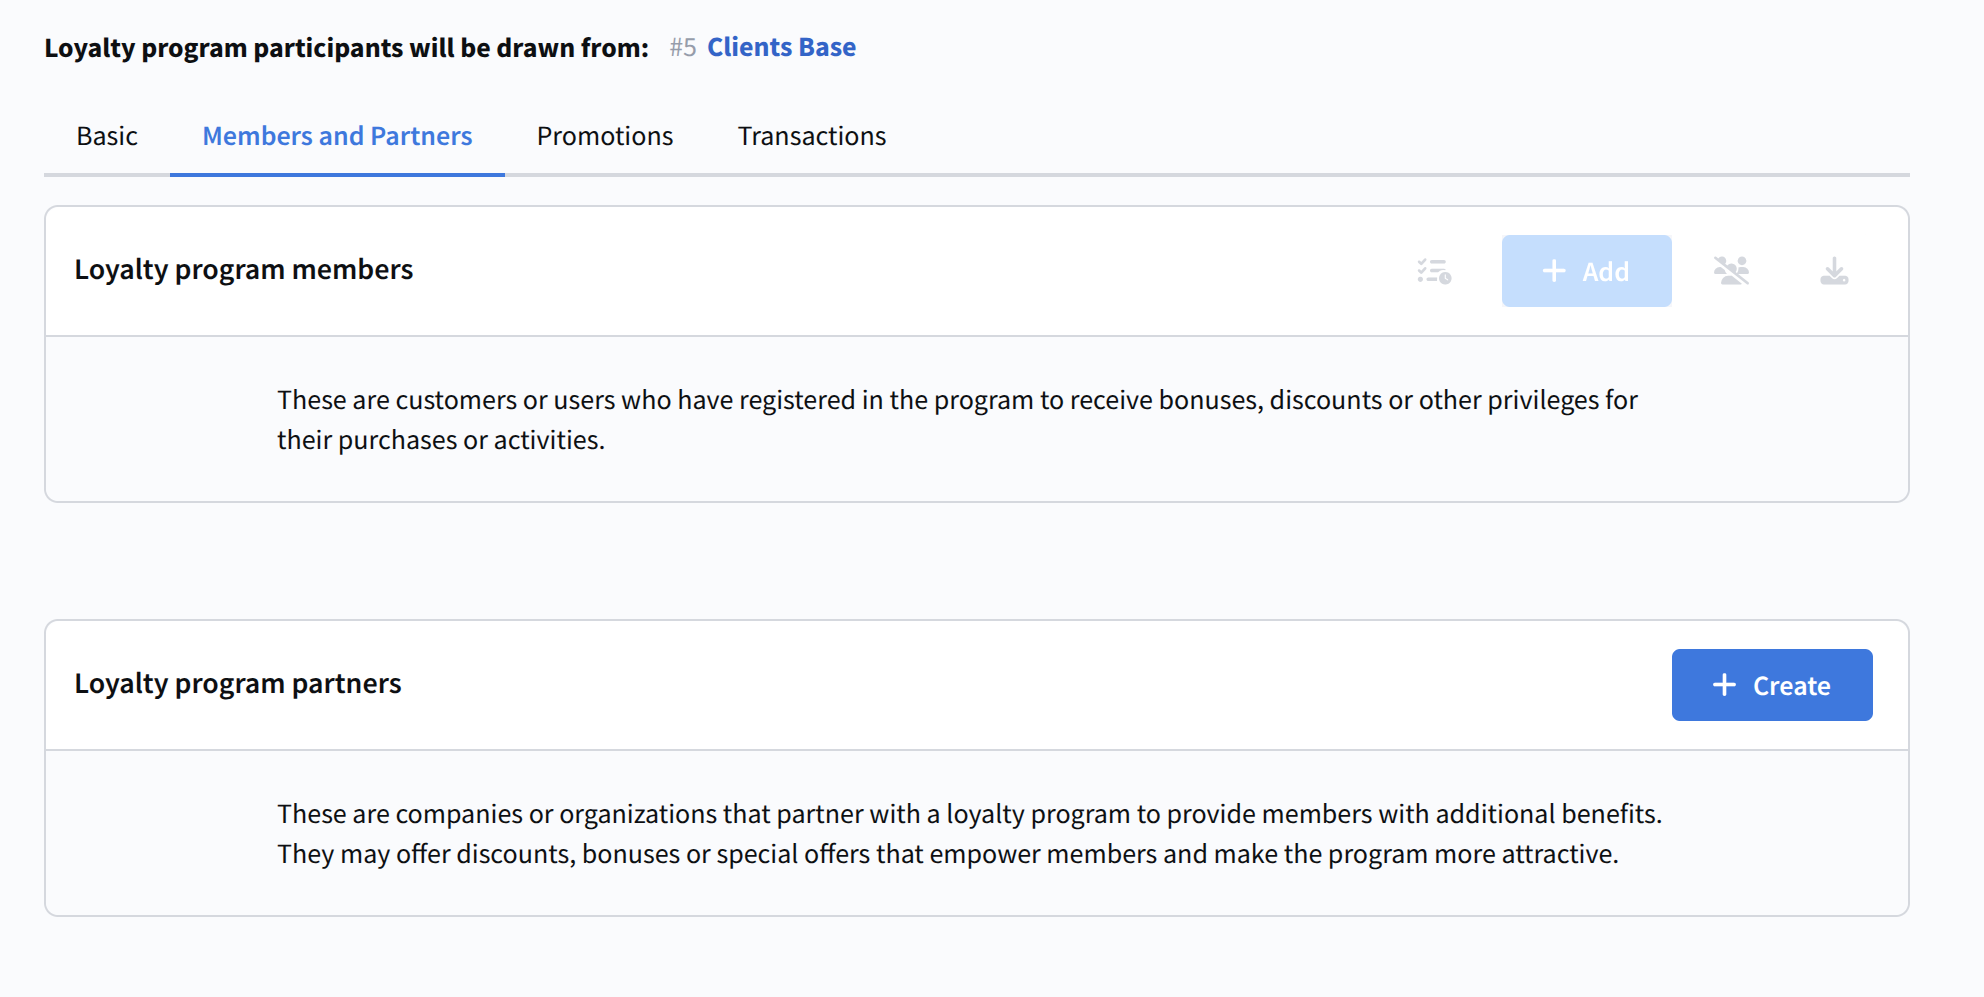 |
2. In the Loyalty program members block, click + Add | 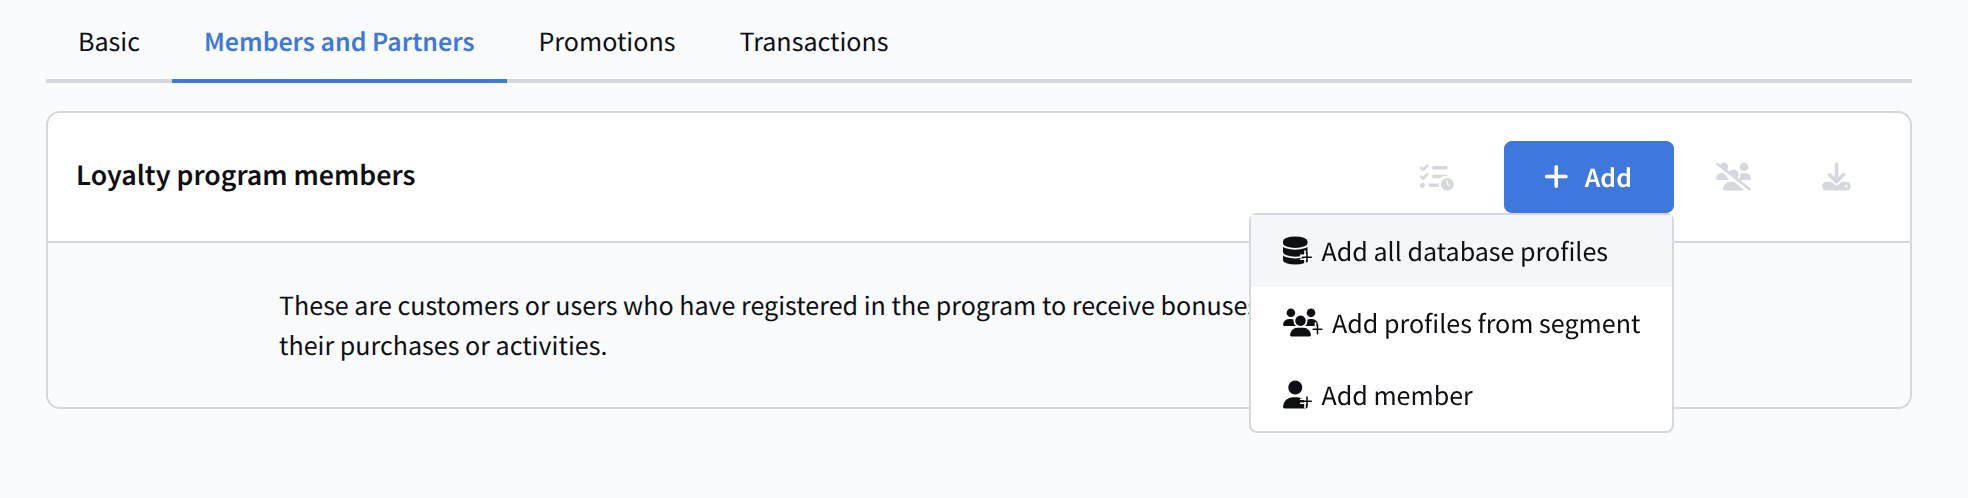 |
3. Select "Add all database profiles" | 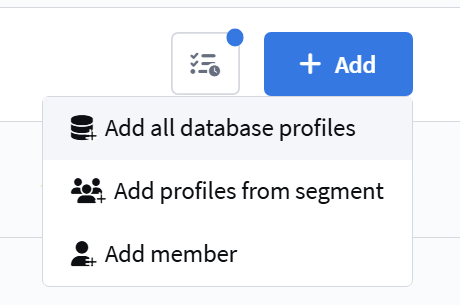 |
All customers from the selected database are added to the program.
Step 4. Create a promotion
A promotion is a rule by which participants earn points. The platform offers two types of promotions: "Trigger" and "Discount and points".
For more details on promotions, see the article "Creating and configuring a loyalty program".
Trigger promotion
A trigger promotion defines rules for accruing and redeeming points that are not automatically applied to orders. They are used in scenarios, via API, or other integrations.
You can learn more about trigger promotions in this article
1. Go to the Promotions — Trigger promotions tab and click

2. Specify:
|  |
3. Configure Points accrual rules:
| 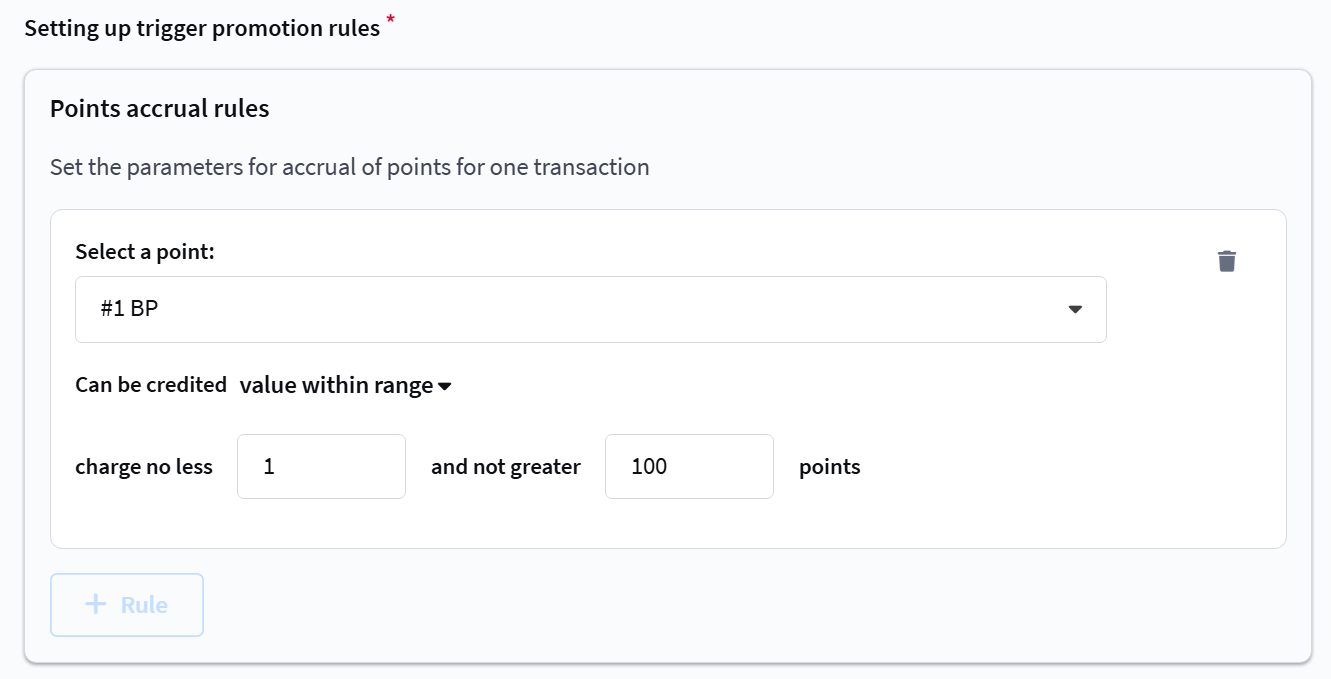 |
Similarly, configure the Points redemption rules.
Instead of a range, you can specify a fixed value — useful if a specific action should award a fixed number of points.
4. Click  and
and 
The trigger promotion is created.
Discount and Points promotion
Points promotions manage a participant's loyalty balance. They accrue or deduct points, both standard and qualification, when specified conditions are met, such as purchasing products, reaching an order total, participating in a promotion, or using points for payment.
1. Go to the Promotions — Discount and points promotions tab | 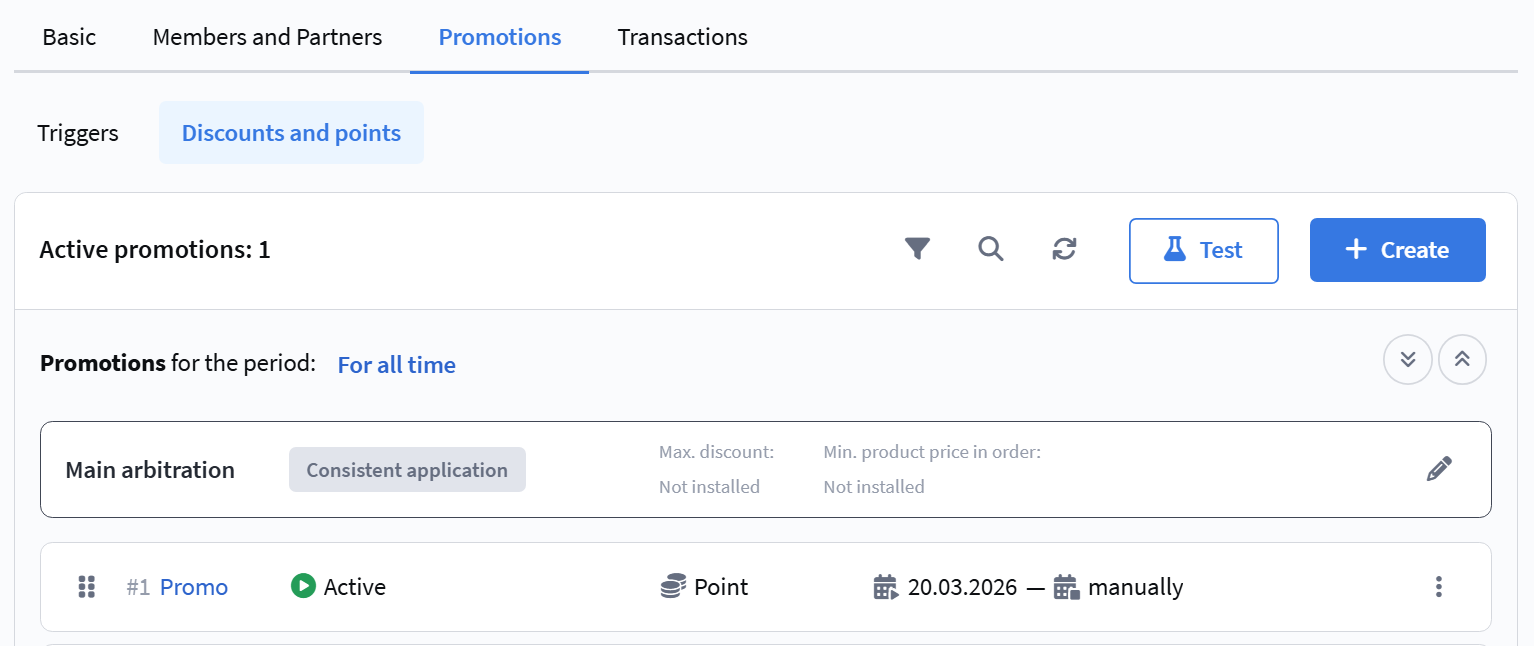 |
2. Click | 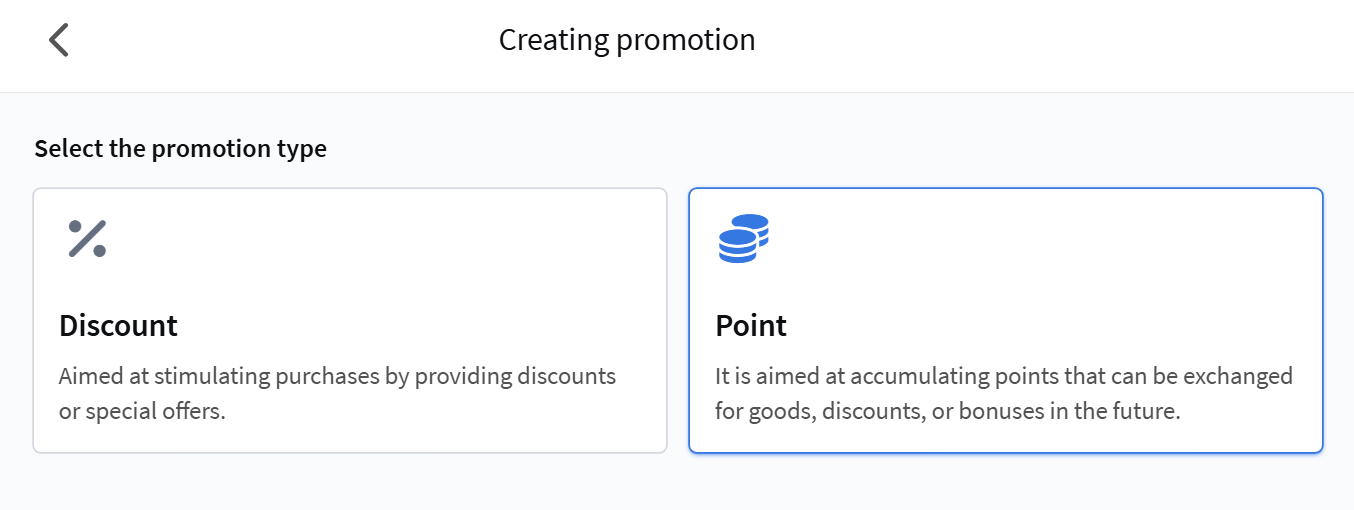 |
A points promotion manages the accrual or redemption of points. In this guide, we are creating a promotion for accruing points. For more details on promotion types and their application, see the article "How the loyalty program works".
3. Fill in the basic settings:
Go to Products and orders | 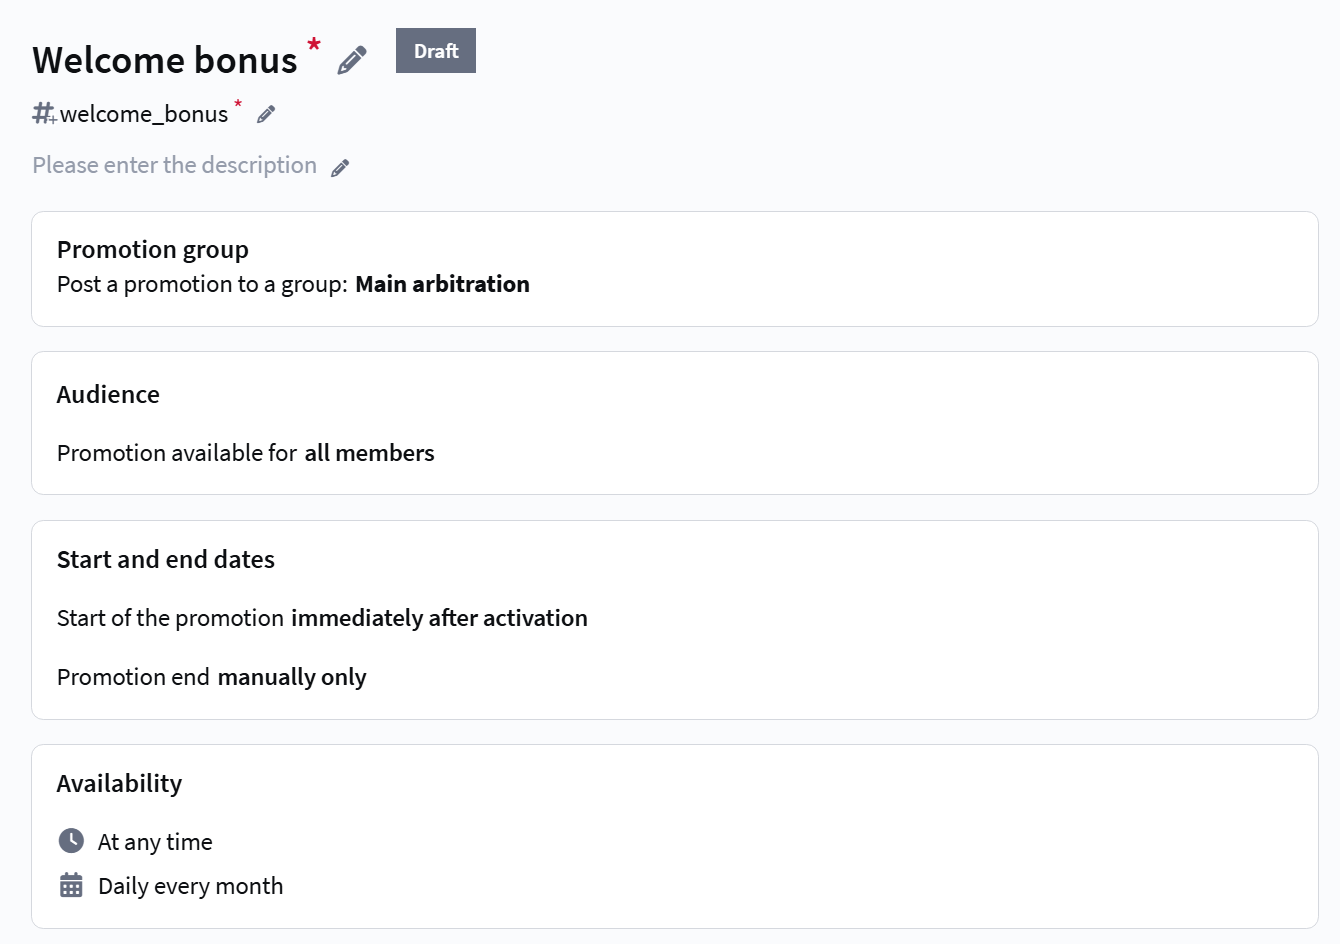 |
4. In the Products or Orders block, click + Conditions to add a rule.
Conditions for accrual can be configured at both the product level and the entire order level. Choose the block that matches your goal. The configuration mechanics are identical in both cases.
In the pop-up window, select the benefit Accrue points.
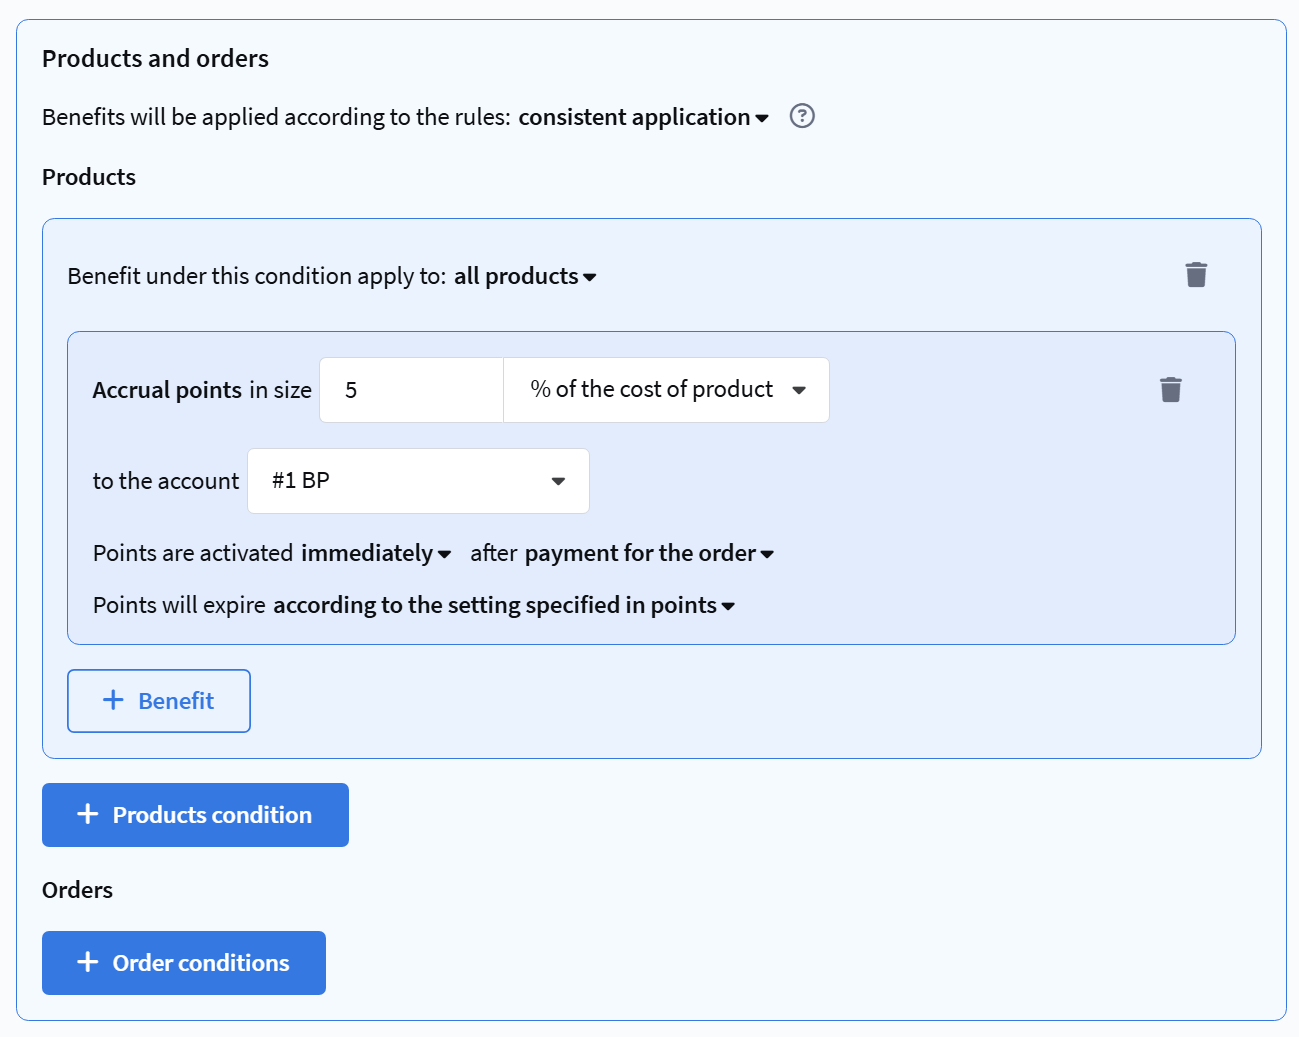
5. Configure accrual: - Accrue — specify a % of the order/product price - To ... account — select the created point type | 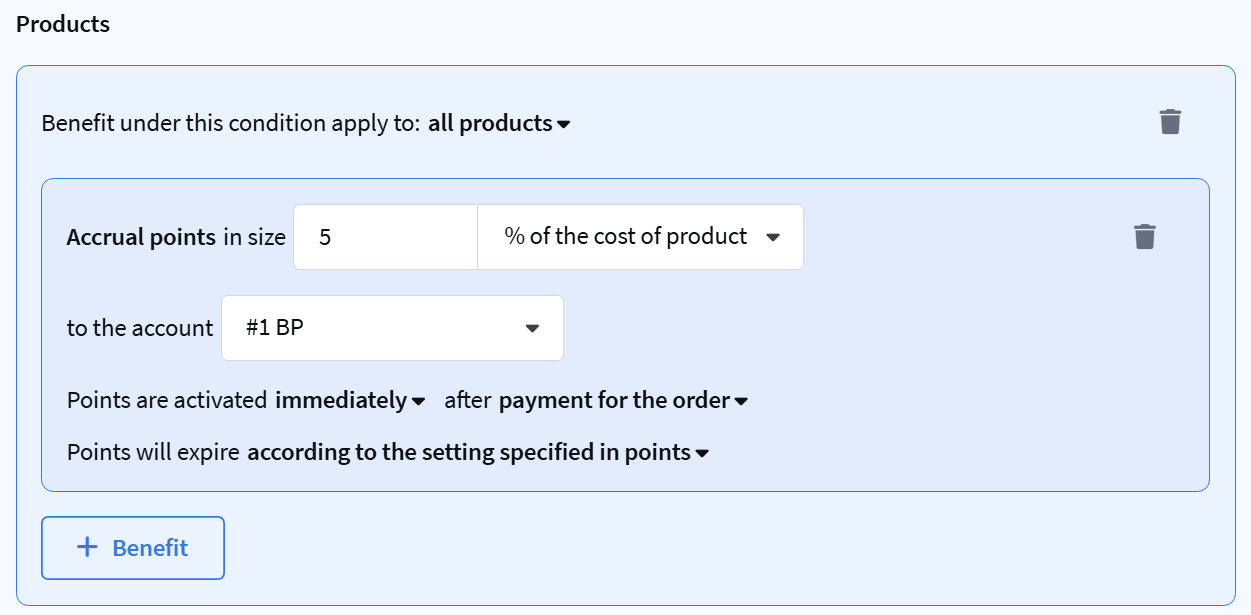 |
6. Click and
The promotion is created.
Step 5. Apply changes
All changes to promotions must be applied to take effect.
1. At the top of the promotions page, find the yellow notification | 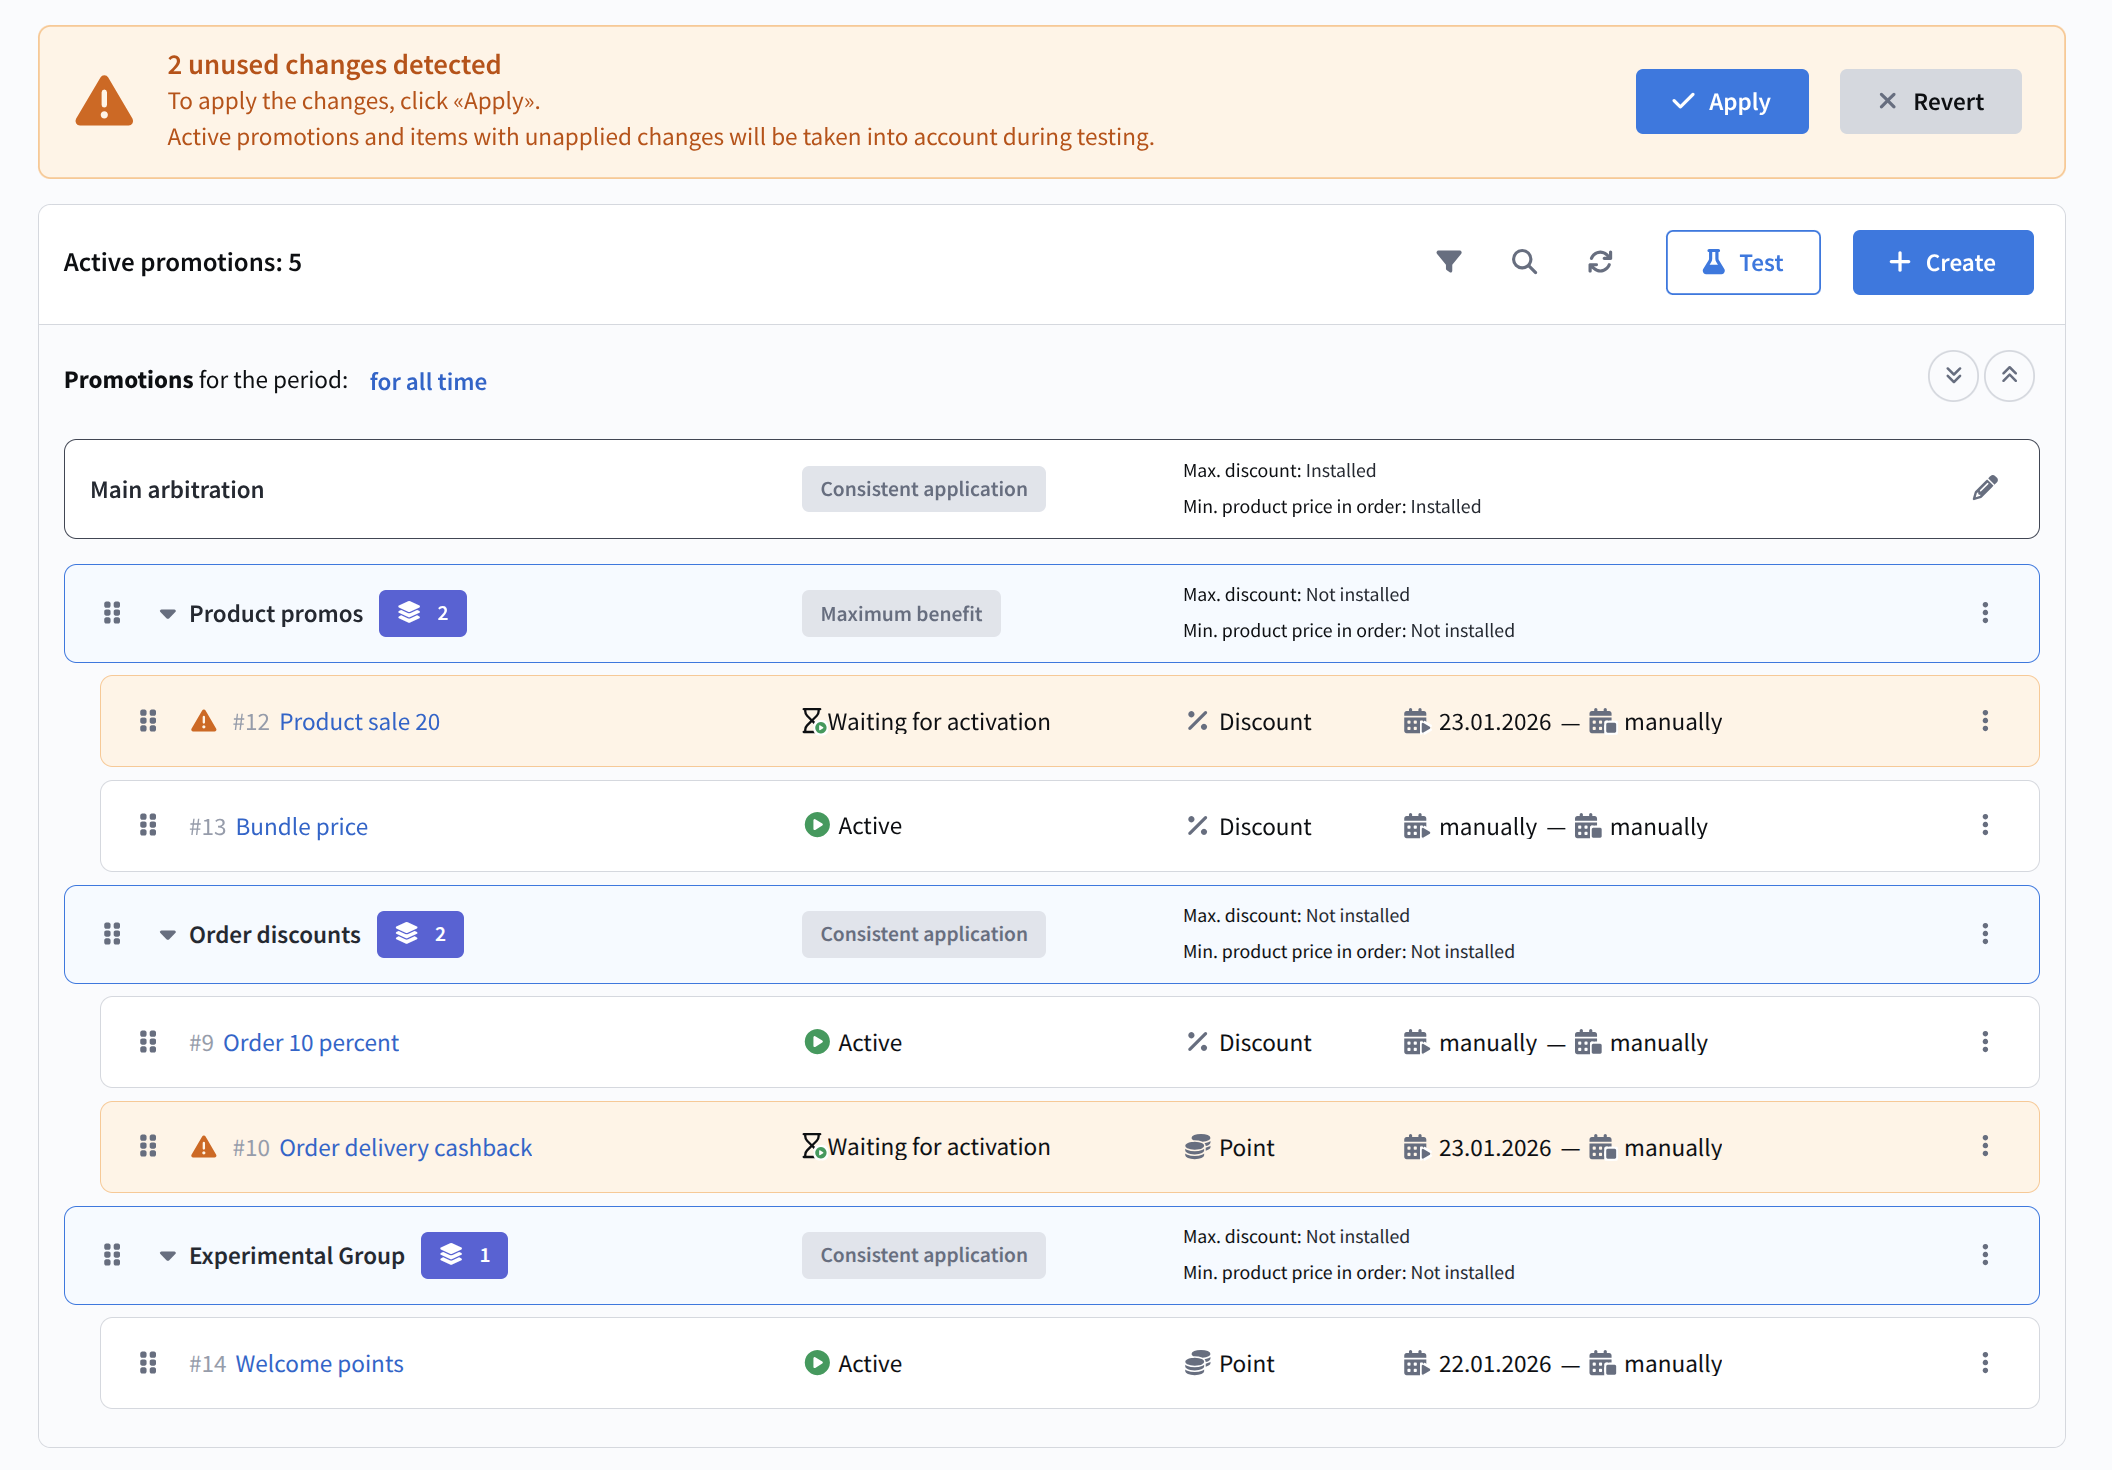 |
2. Click the Apply button
Now the promotion is active.
Step 6. Test changes
Before waiting for real orders, you can test the promotion in test mode.
1. Click the "Test" button (next to the | |
2. In the Loyalty program member block, click "Select" and choose any profile from the list | 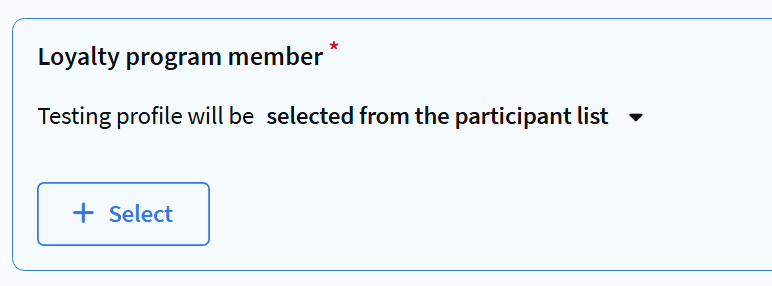 |
3. In the Products for promotion block, create a test order. | 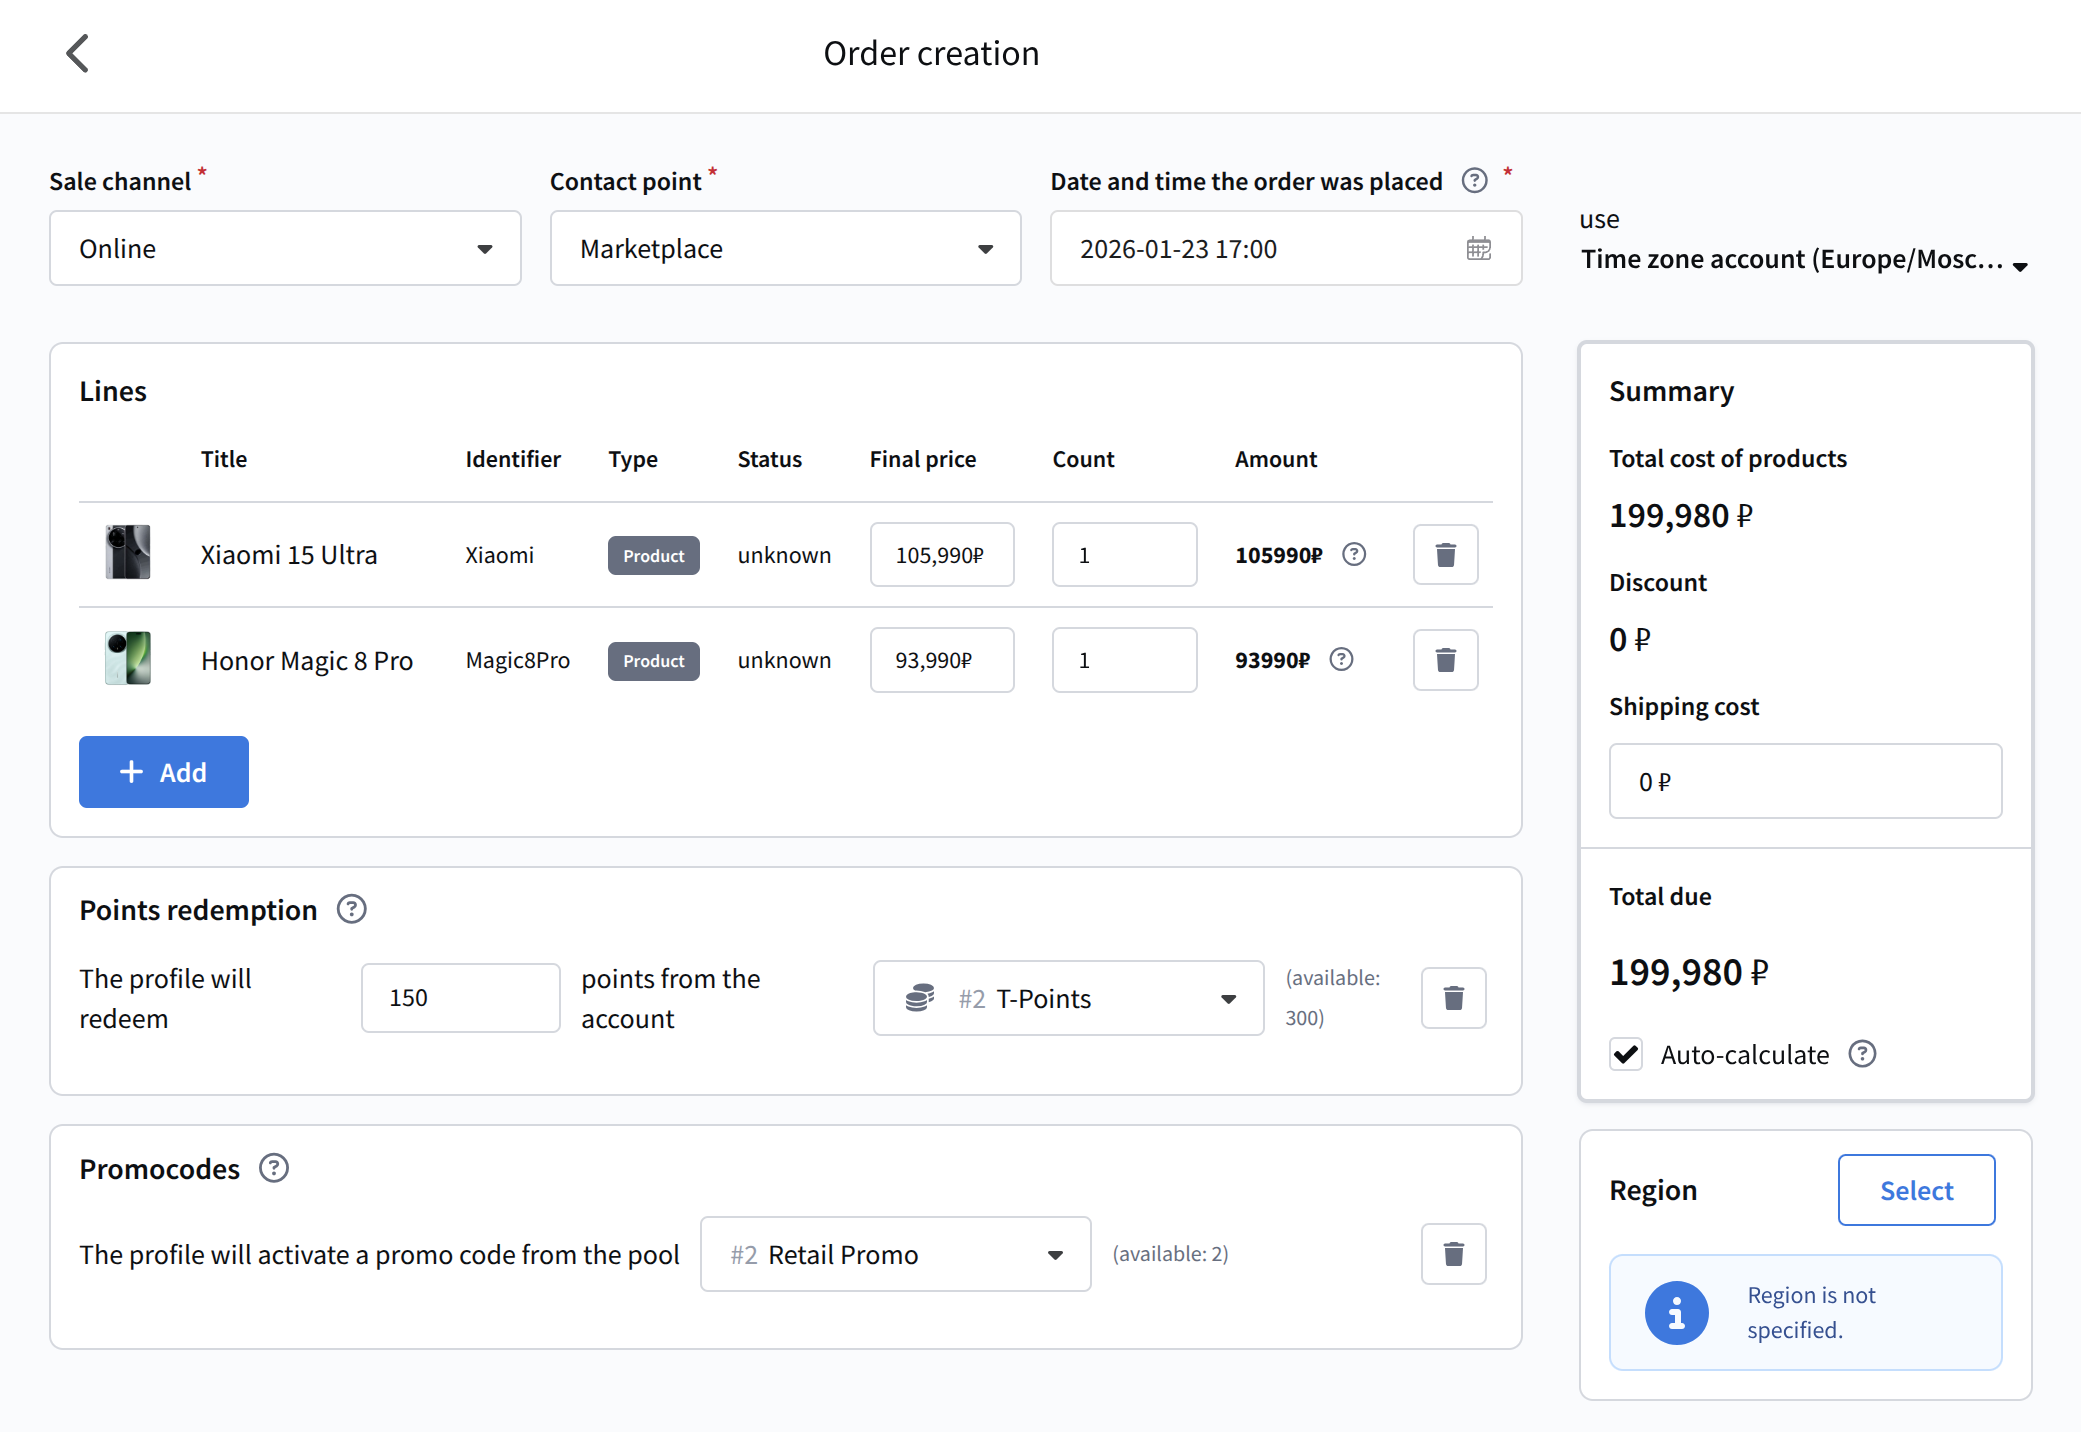 |
4. Click Test
Test mode works for all types of promotions: accrual, redemption, discounts. For more details on testing functionality and result analysis, see the article "Loyalty programs".
5. Go to the Points tab | 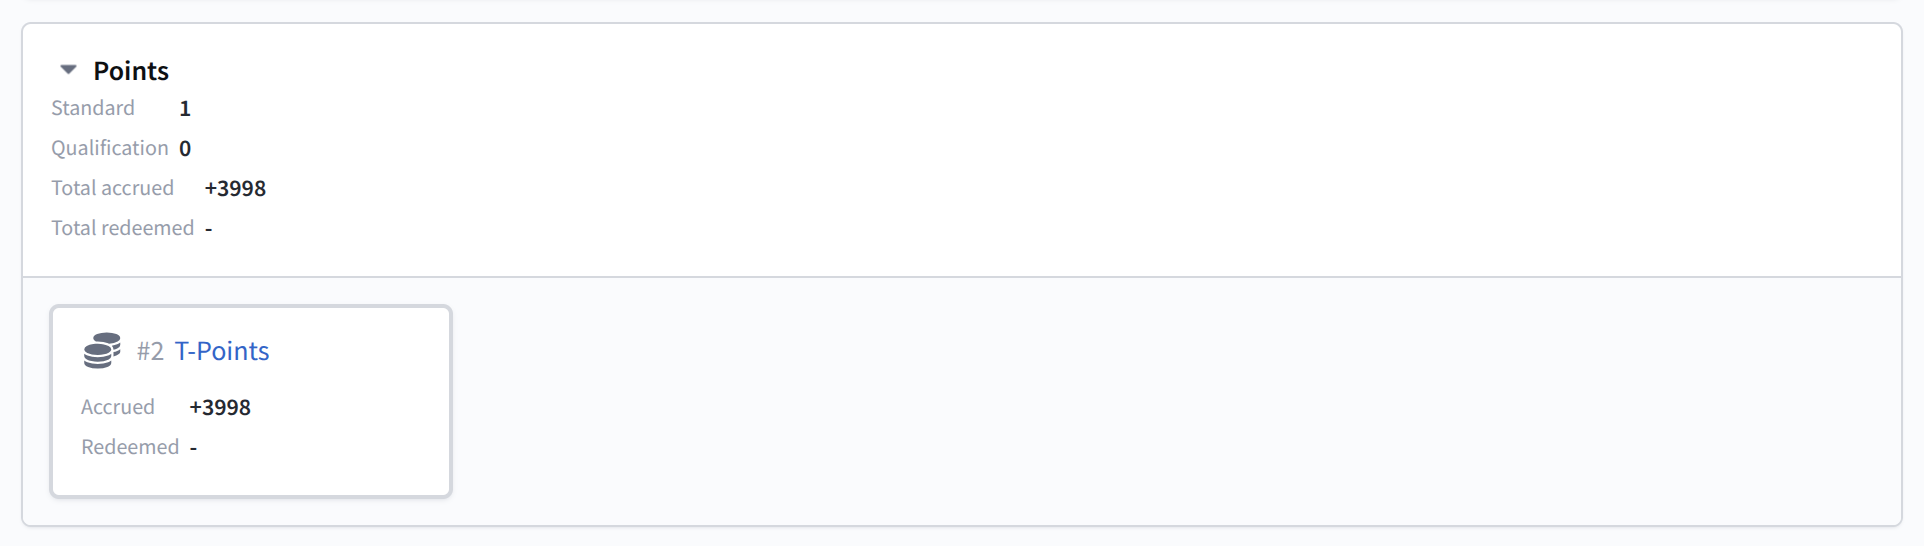 |
The Points tab displays test transactions. This means the promotion is configured correctly.