Apple Safari
To send Web Push to the Safari browser, you must first set up an Apple Push Notification Service project. |
All actions are performed on a macOS device. An Apple Developer account is required for setup.
Step 1. Register Website Push ID
Go to the Certificates, Identifiers & Profiles page and log in to your Apple developer account. | 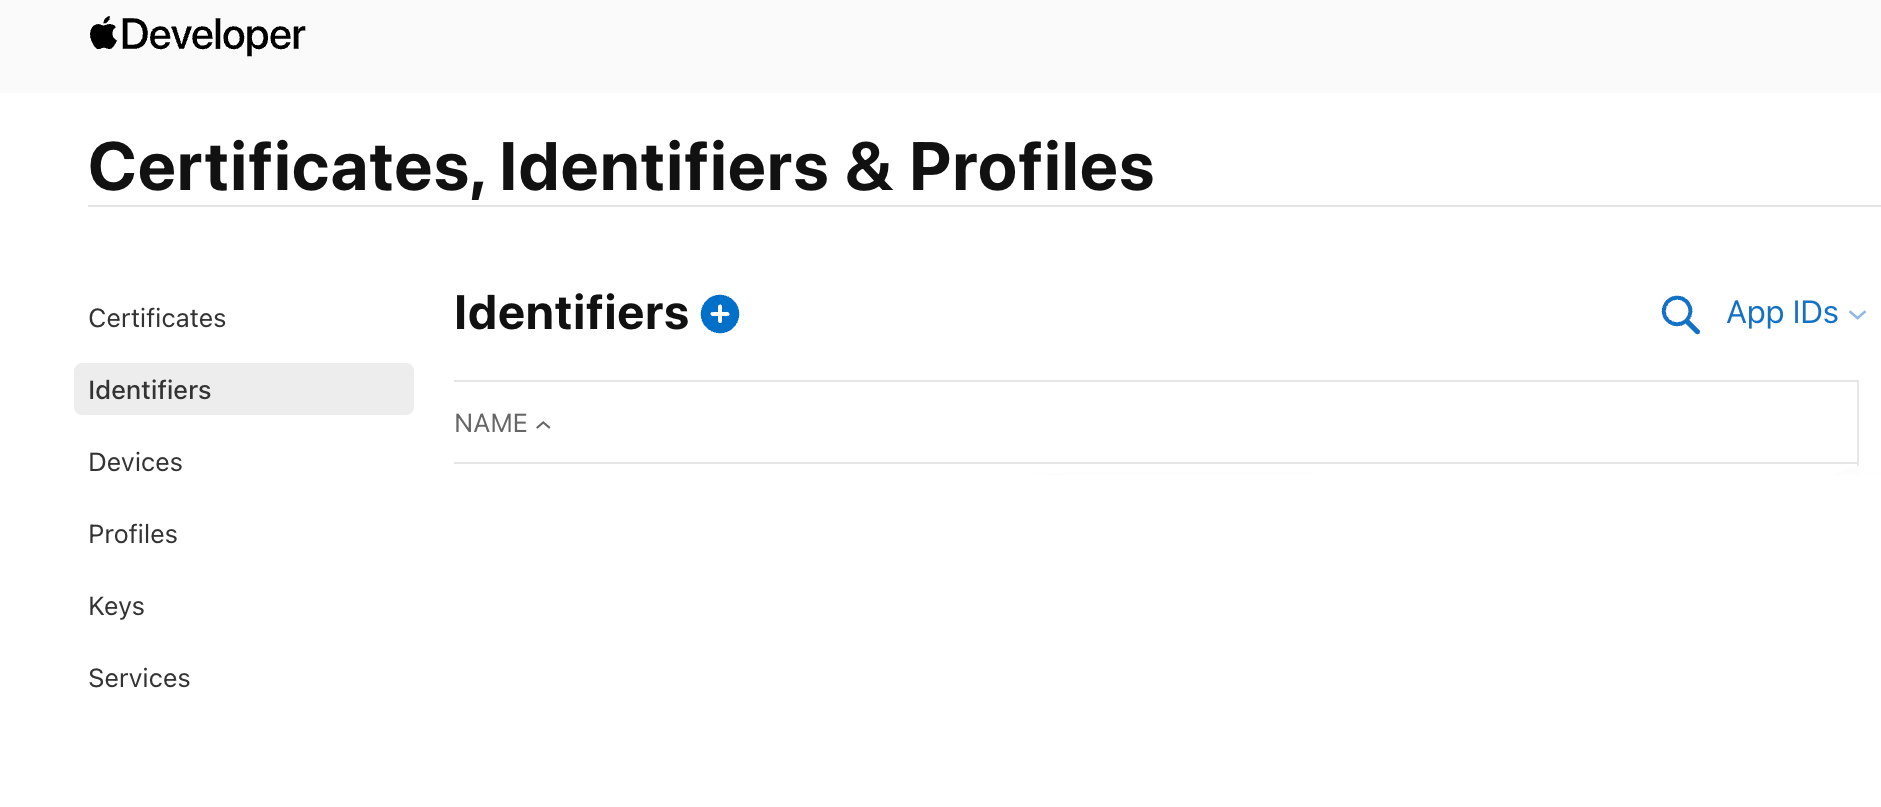 |
In the window that opens, select Website Push IDs. Click Continue. | 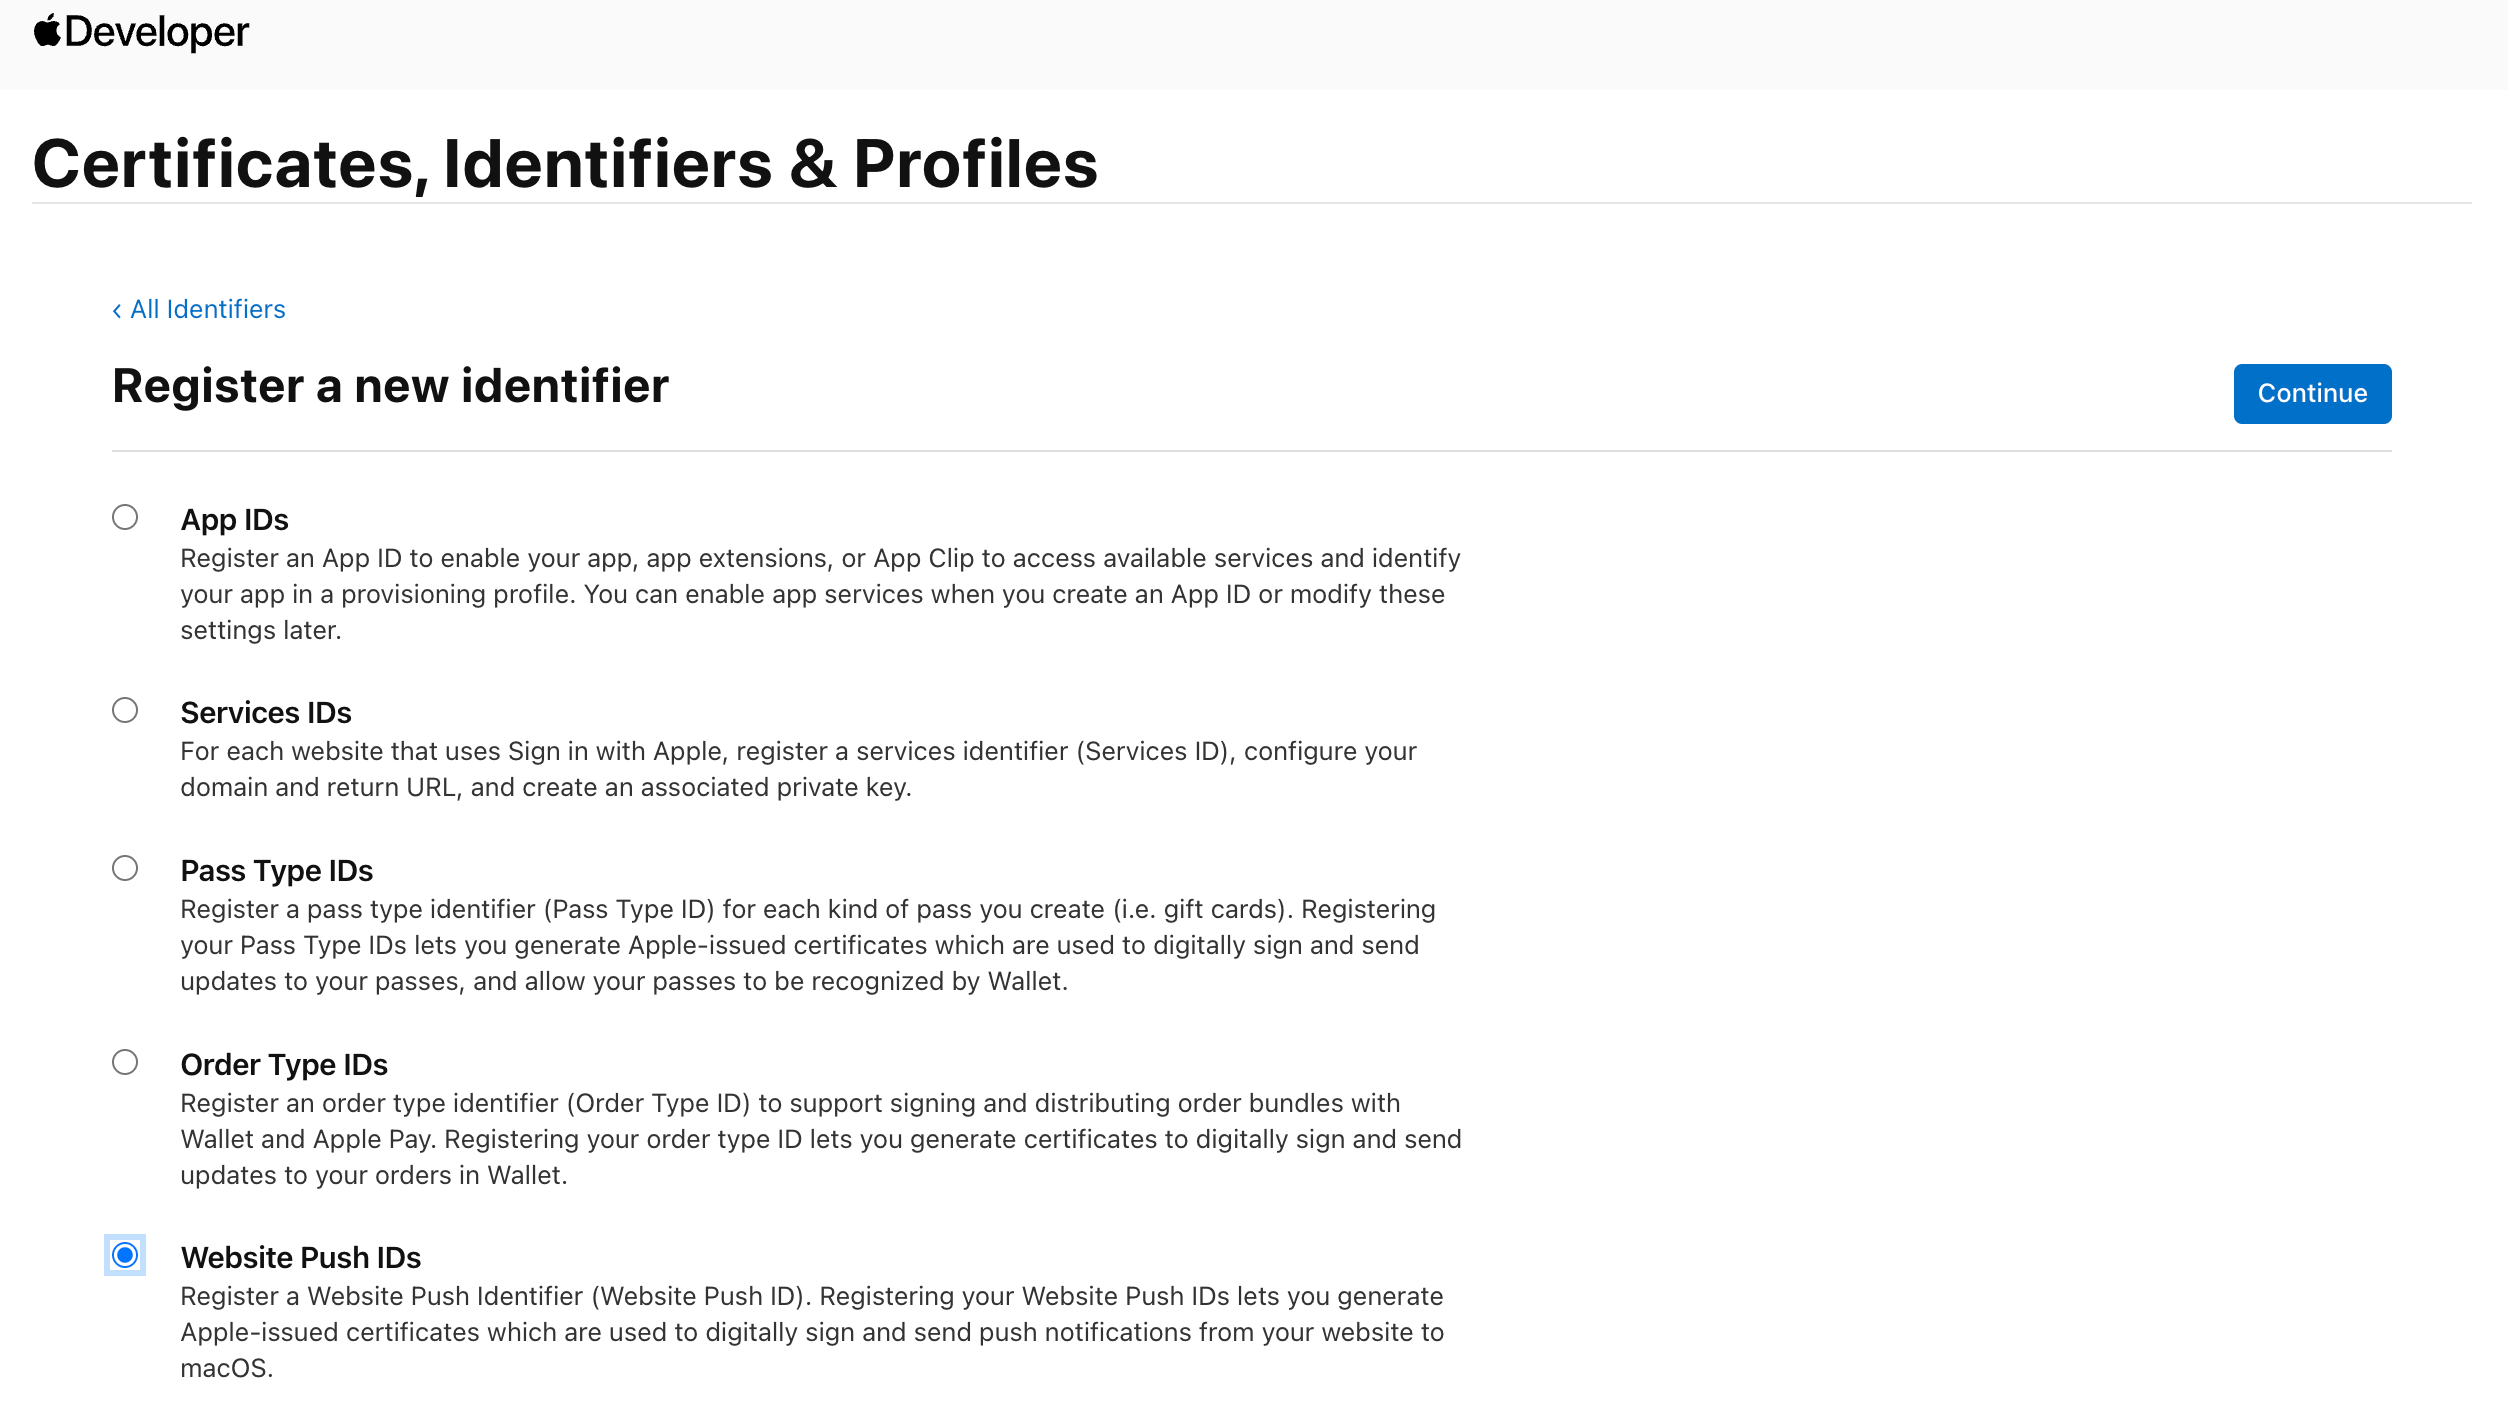 |
Enter the Description and Identifier. | 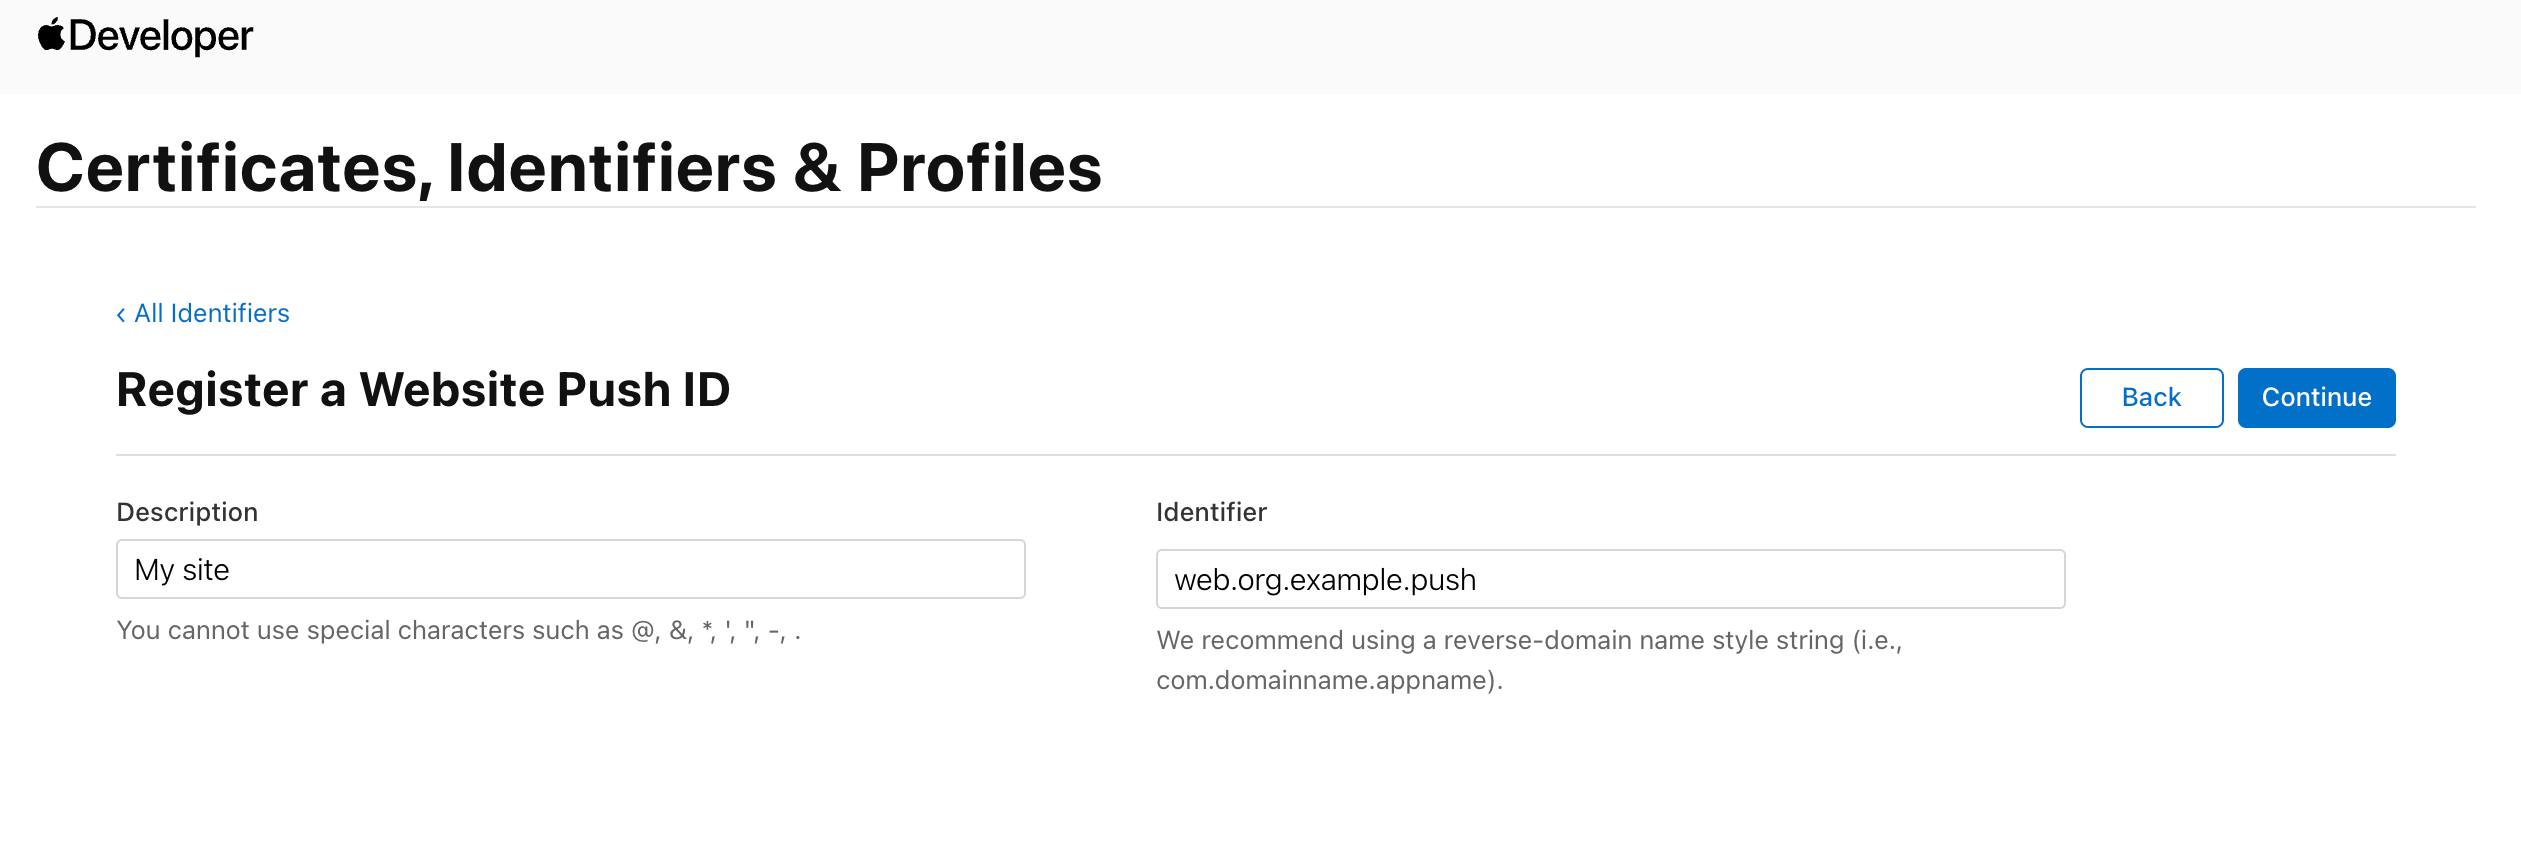 |
Register the Website Push ID by clicking Register. | 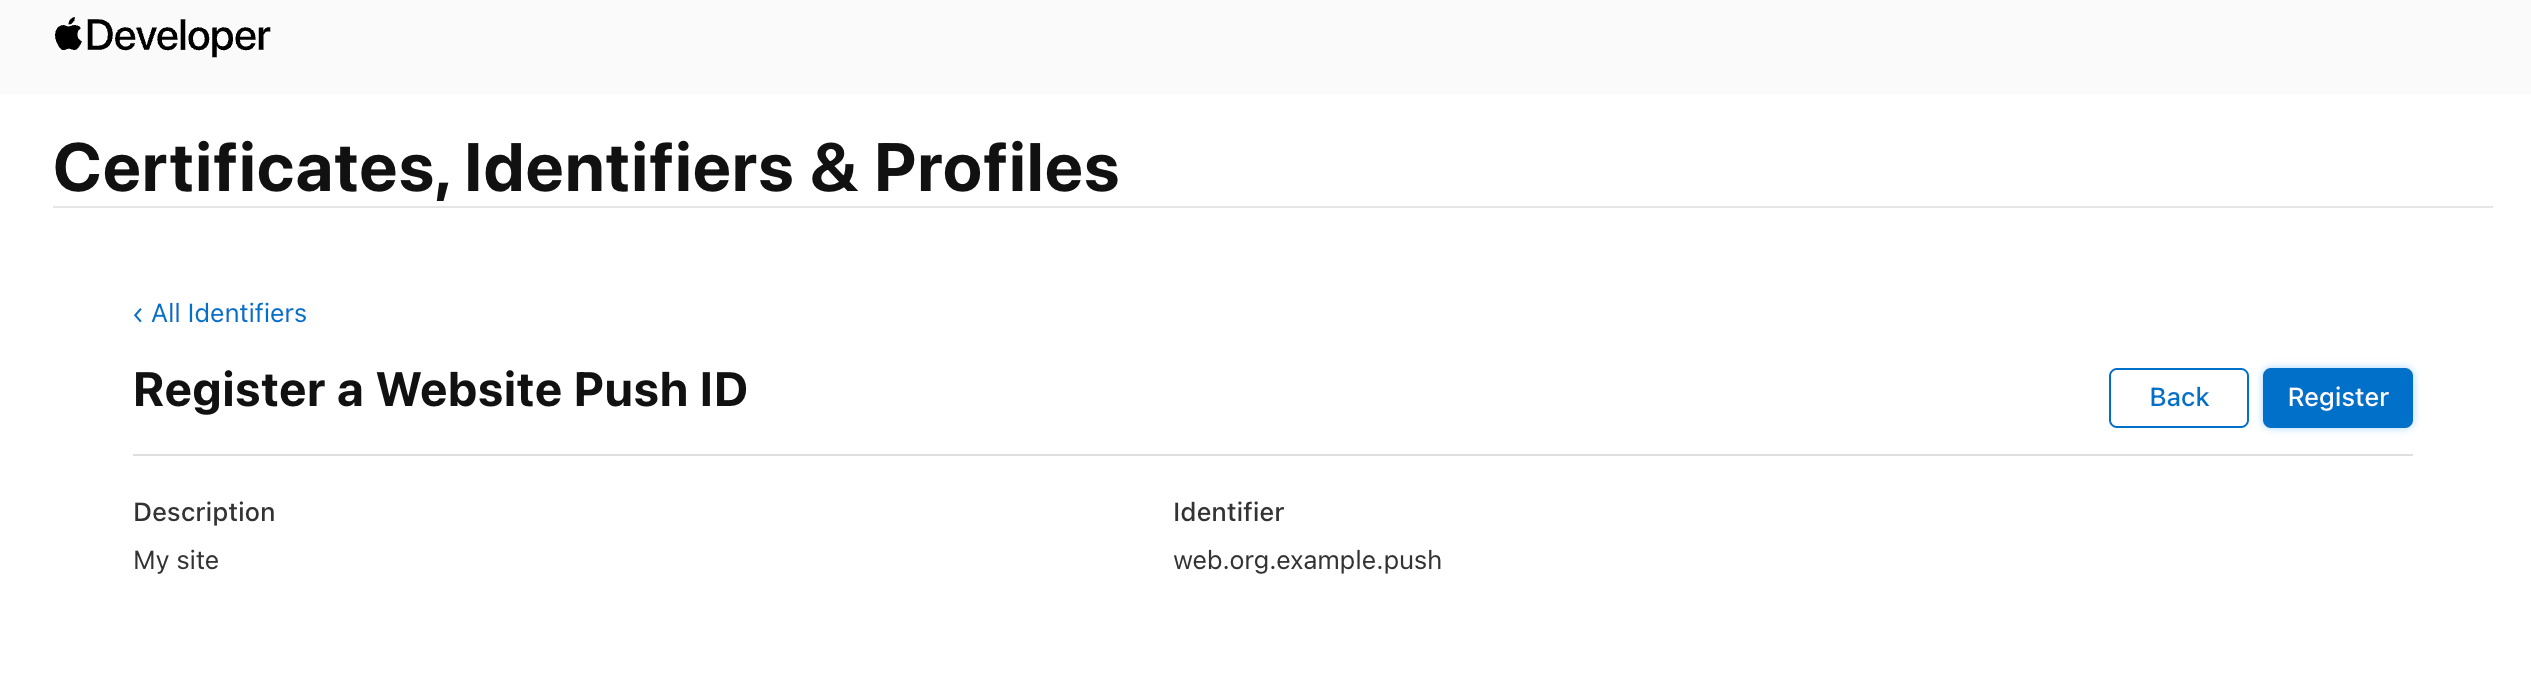 |
The Website Push ID is created and registered. To view information about the identifier on the Identifiers tab, open the drop-down list in the upper right corner and select Website Push IDs. | 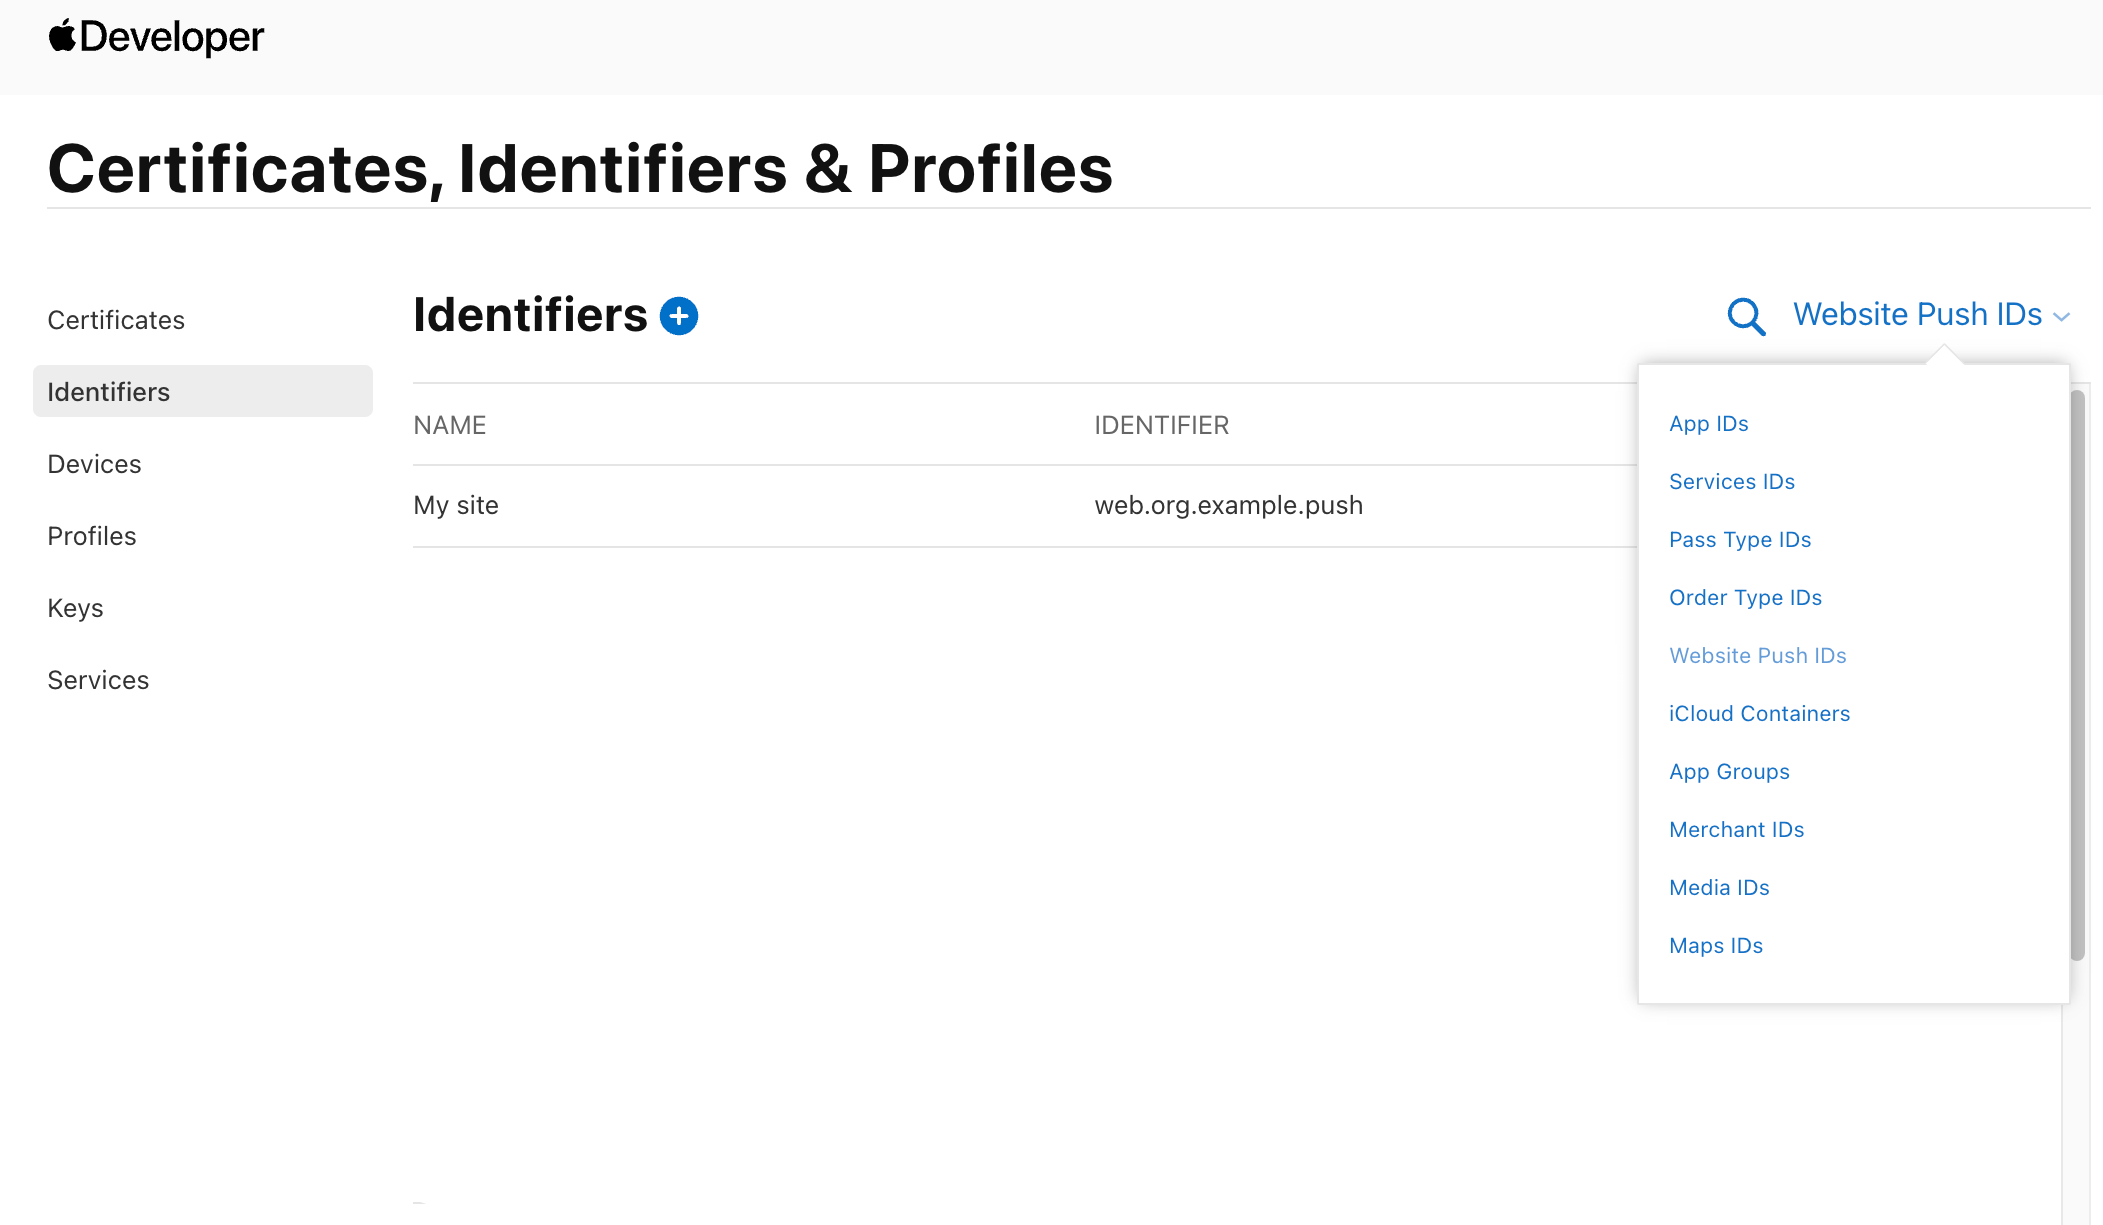 |
Step 2. Creating a Certificate
Find the created Website Push ID in the list and click on it. Note the Identifier field — this value will be required when setting up the resource in the Altcraft Platform. | 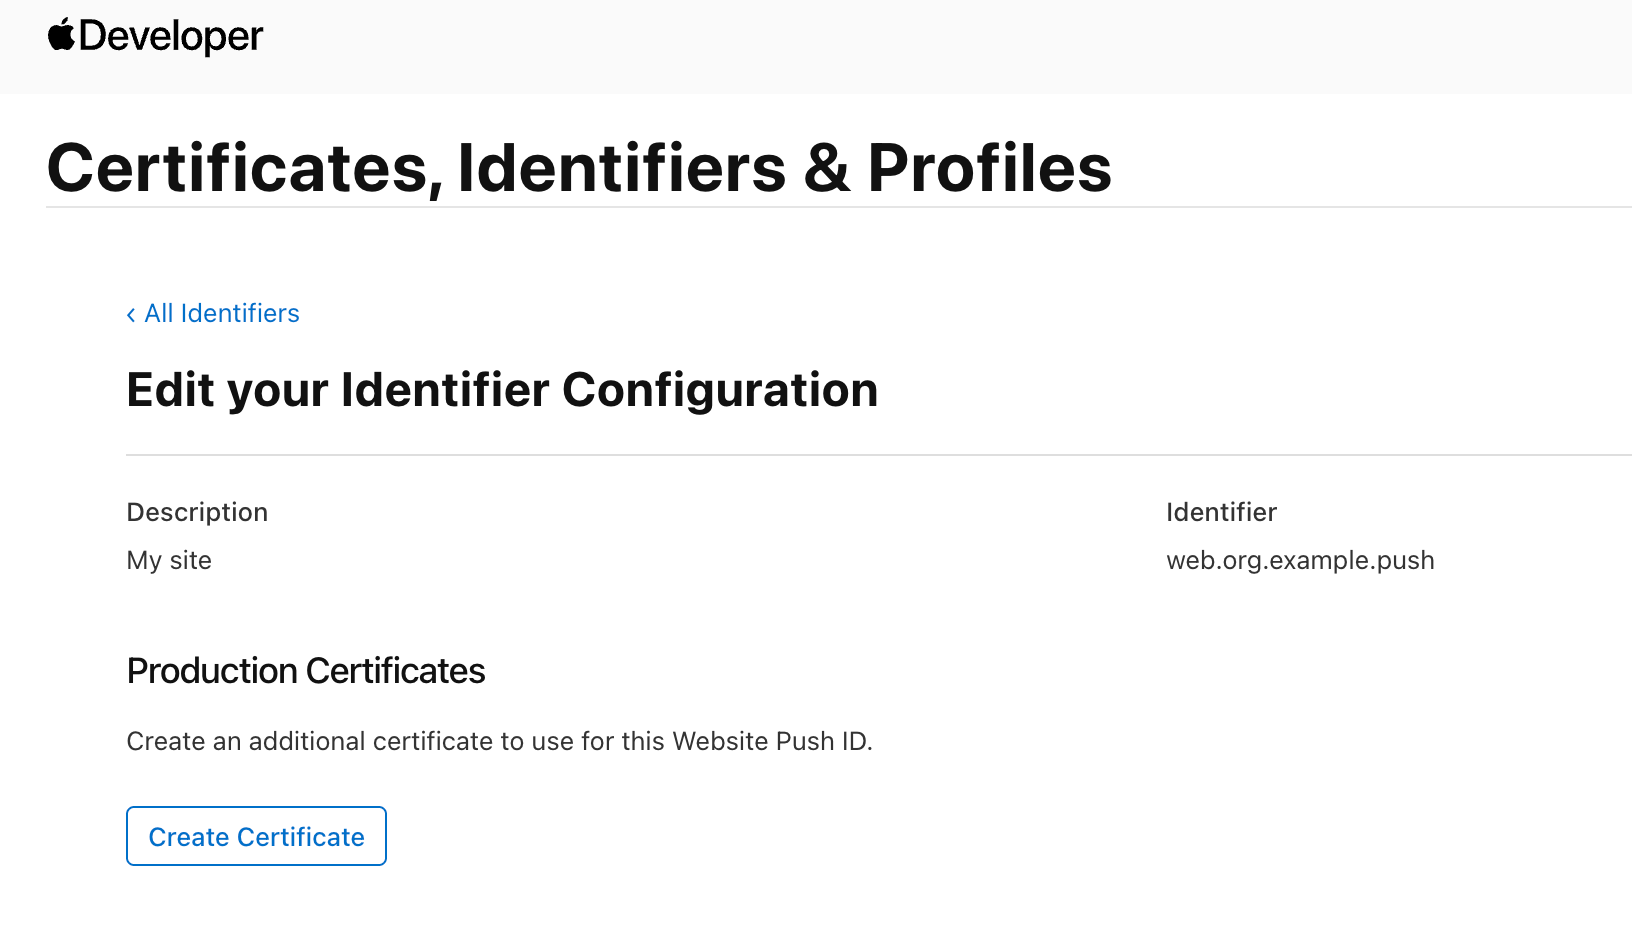 |
To generate a certificate, you need a Certificate Signing Request (CSR) file with the | 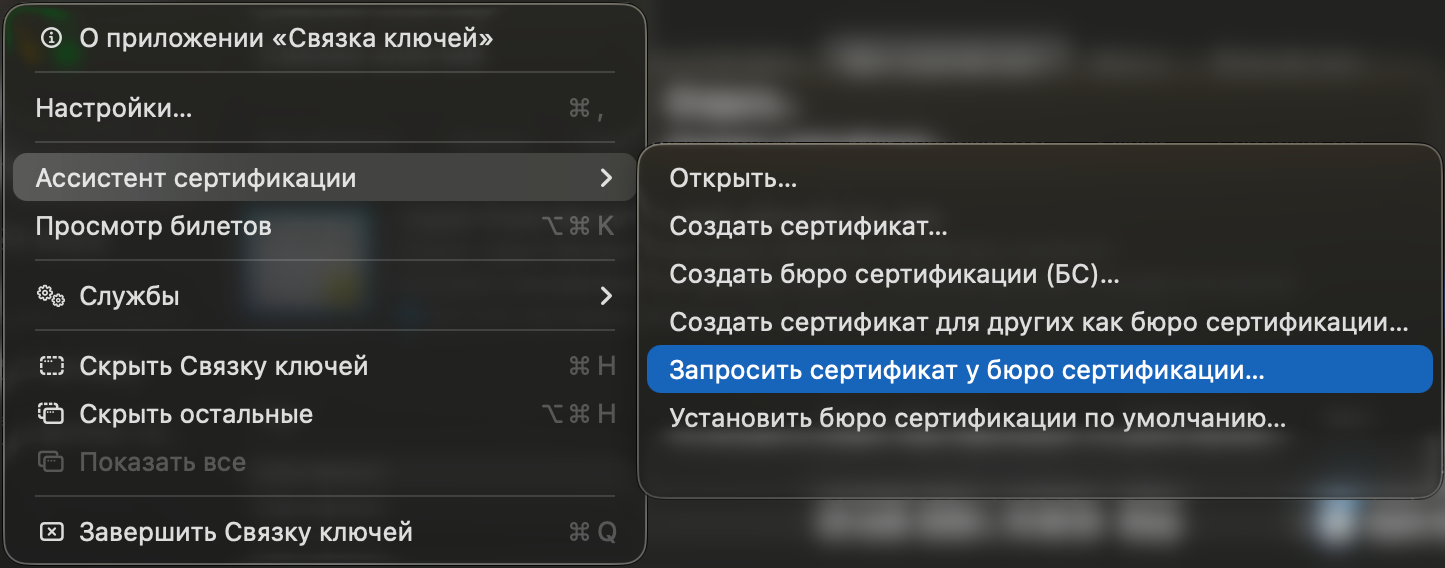 |
Fill in the certificate information and be sure to select the Saved to disk option. Click Continue — the application will prompt you to save the CSR file to the device. | 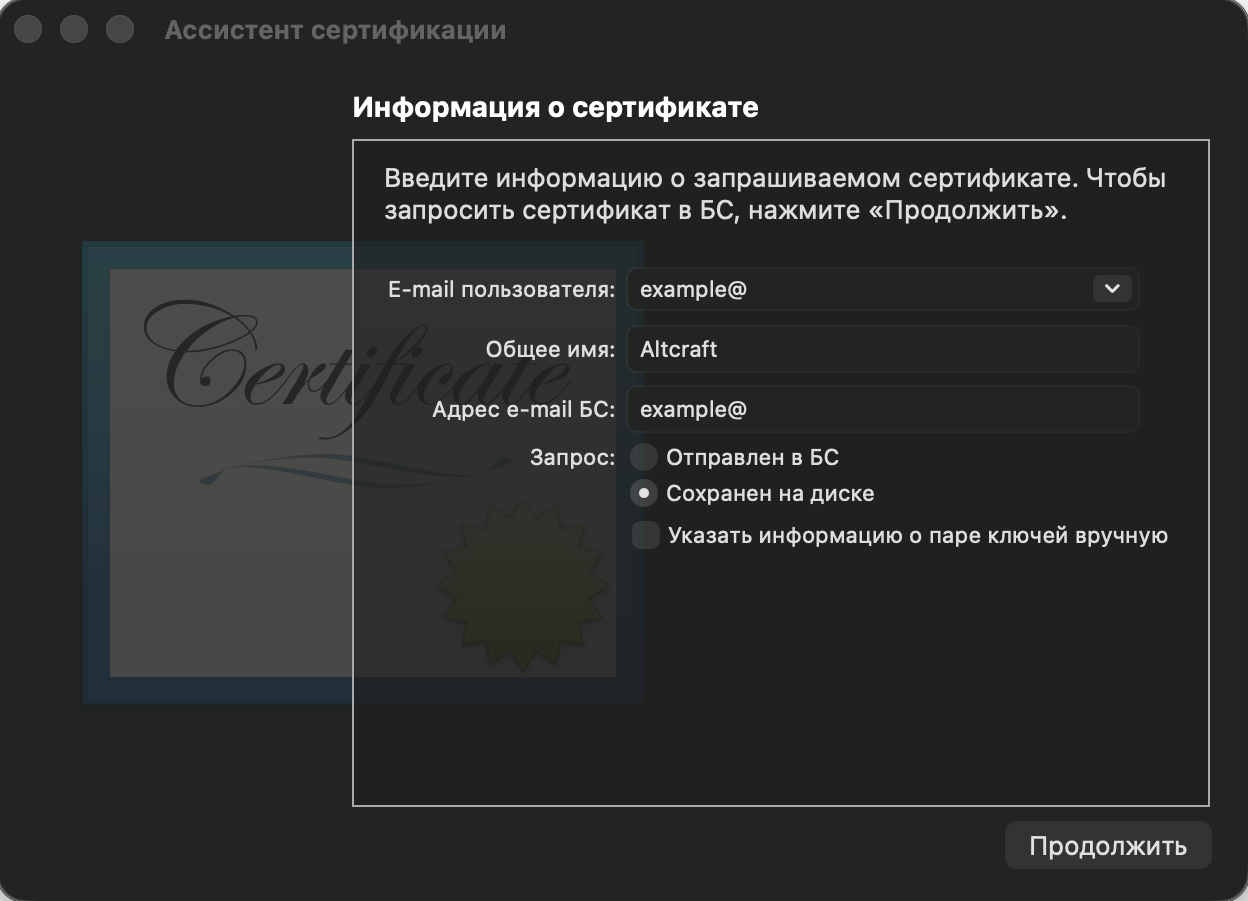 |
Return to the Apple Developer website, upload the created CSR file, and click Continue. | 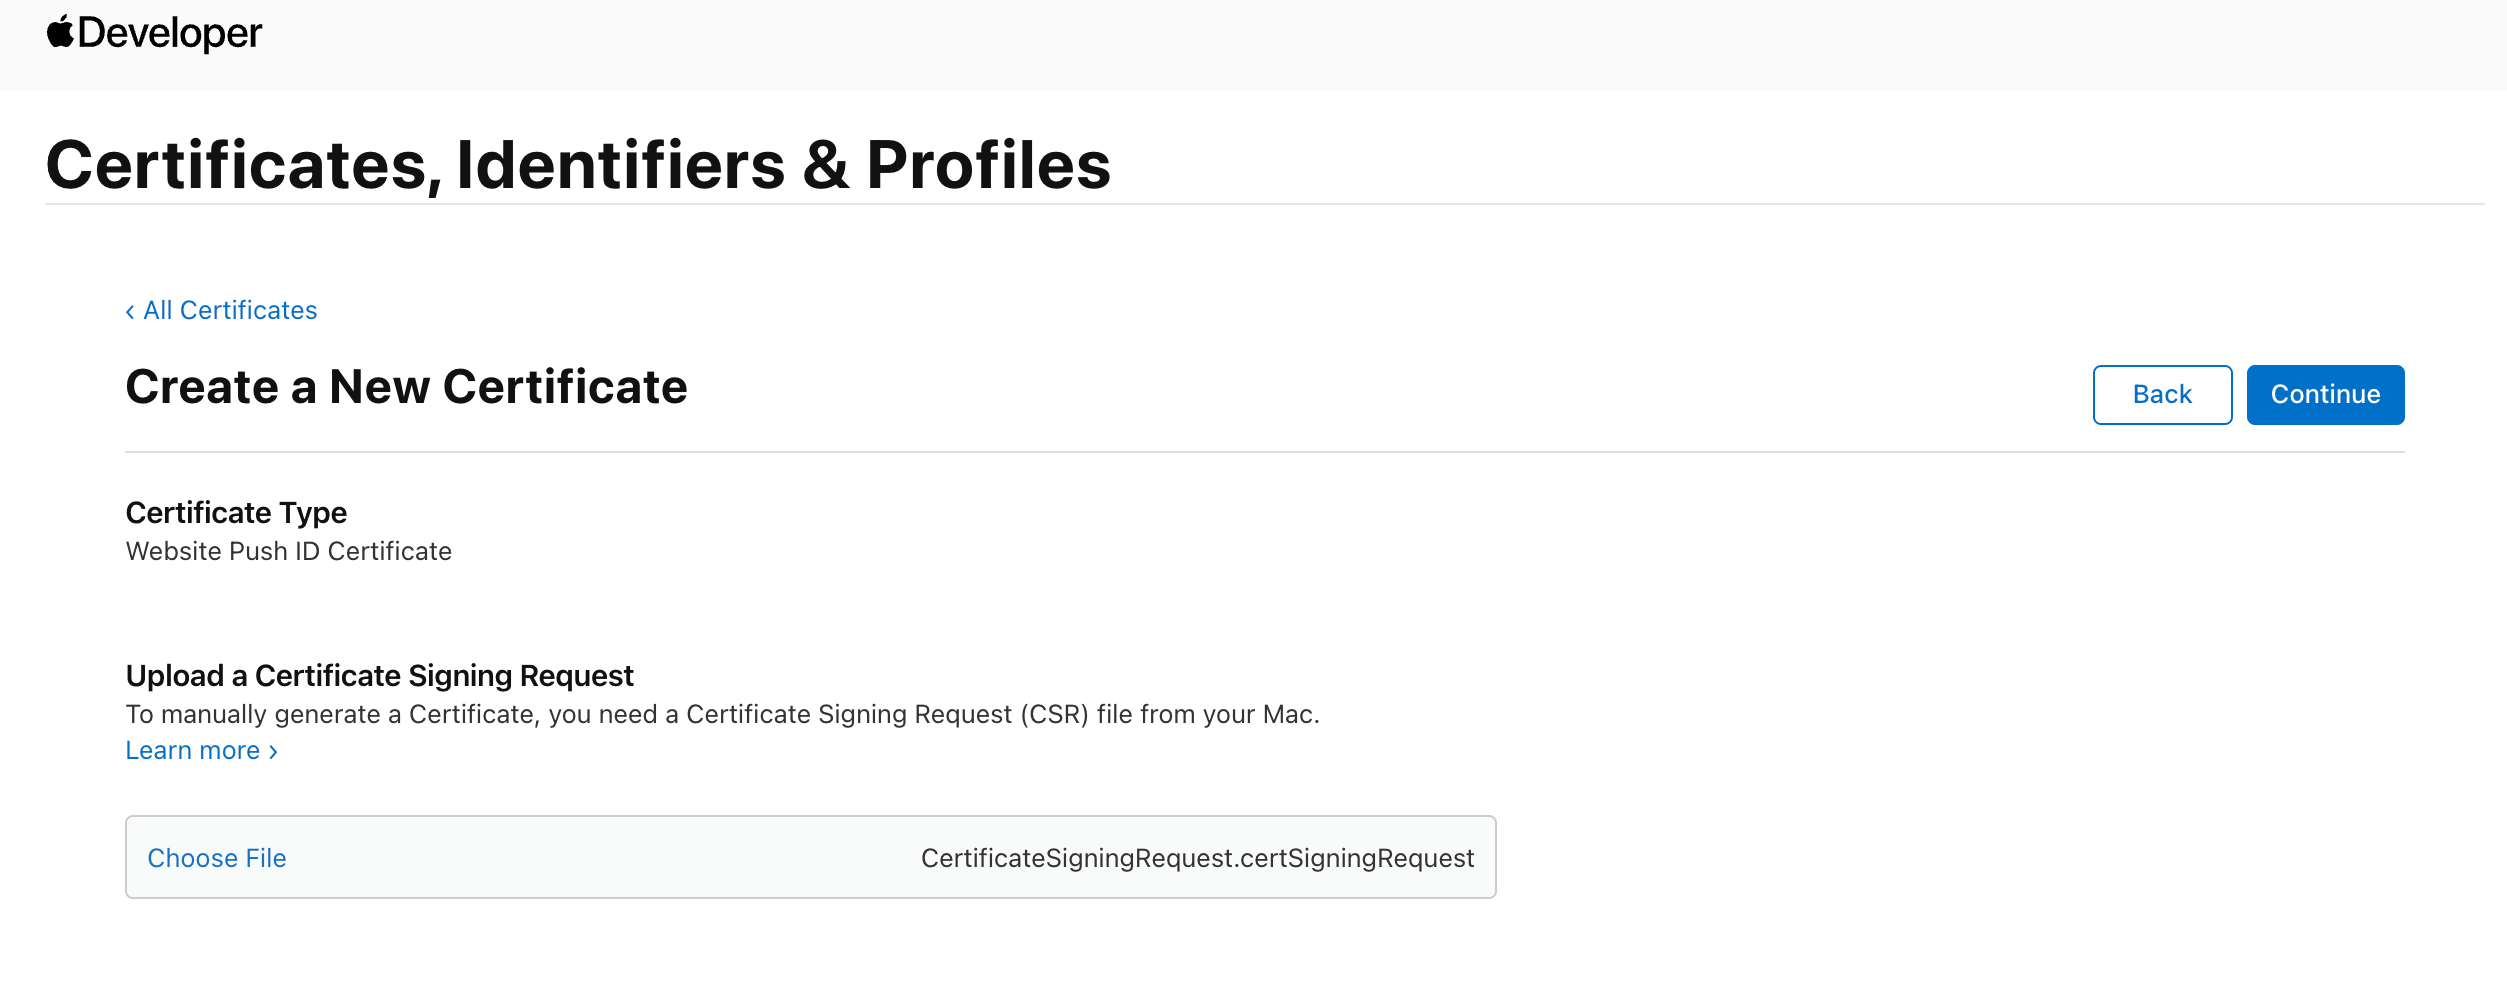 |
Step 3. Saving the Push Certificate
Click Download to download the certificate in | 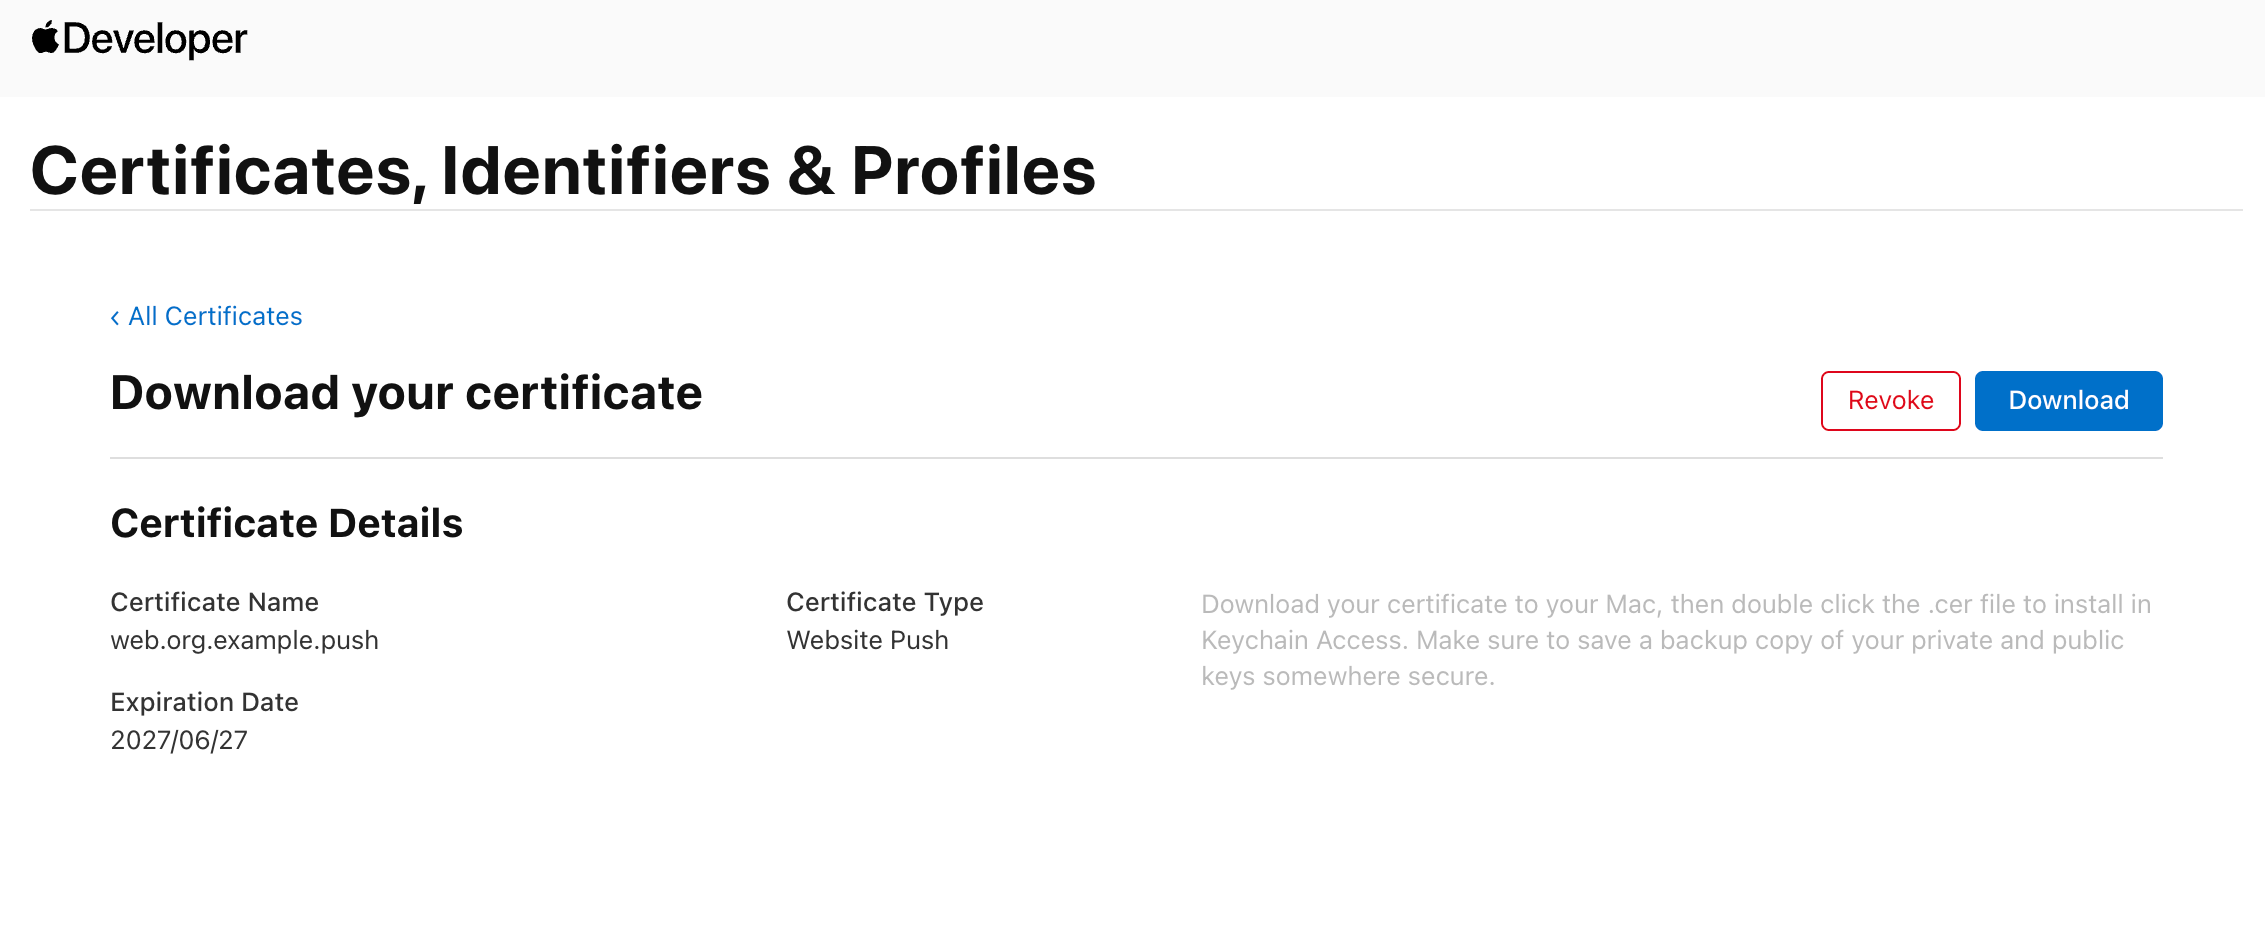 |
Find the downloaded file and double-click it to open the certificate in Keychain Access. Go to its properties. | 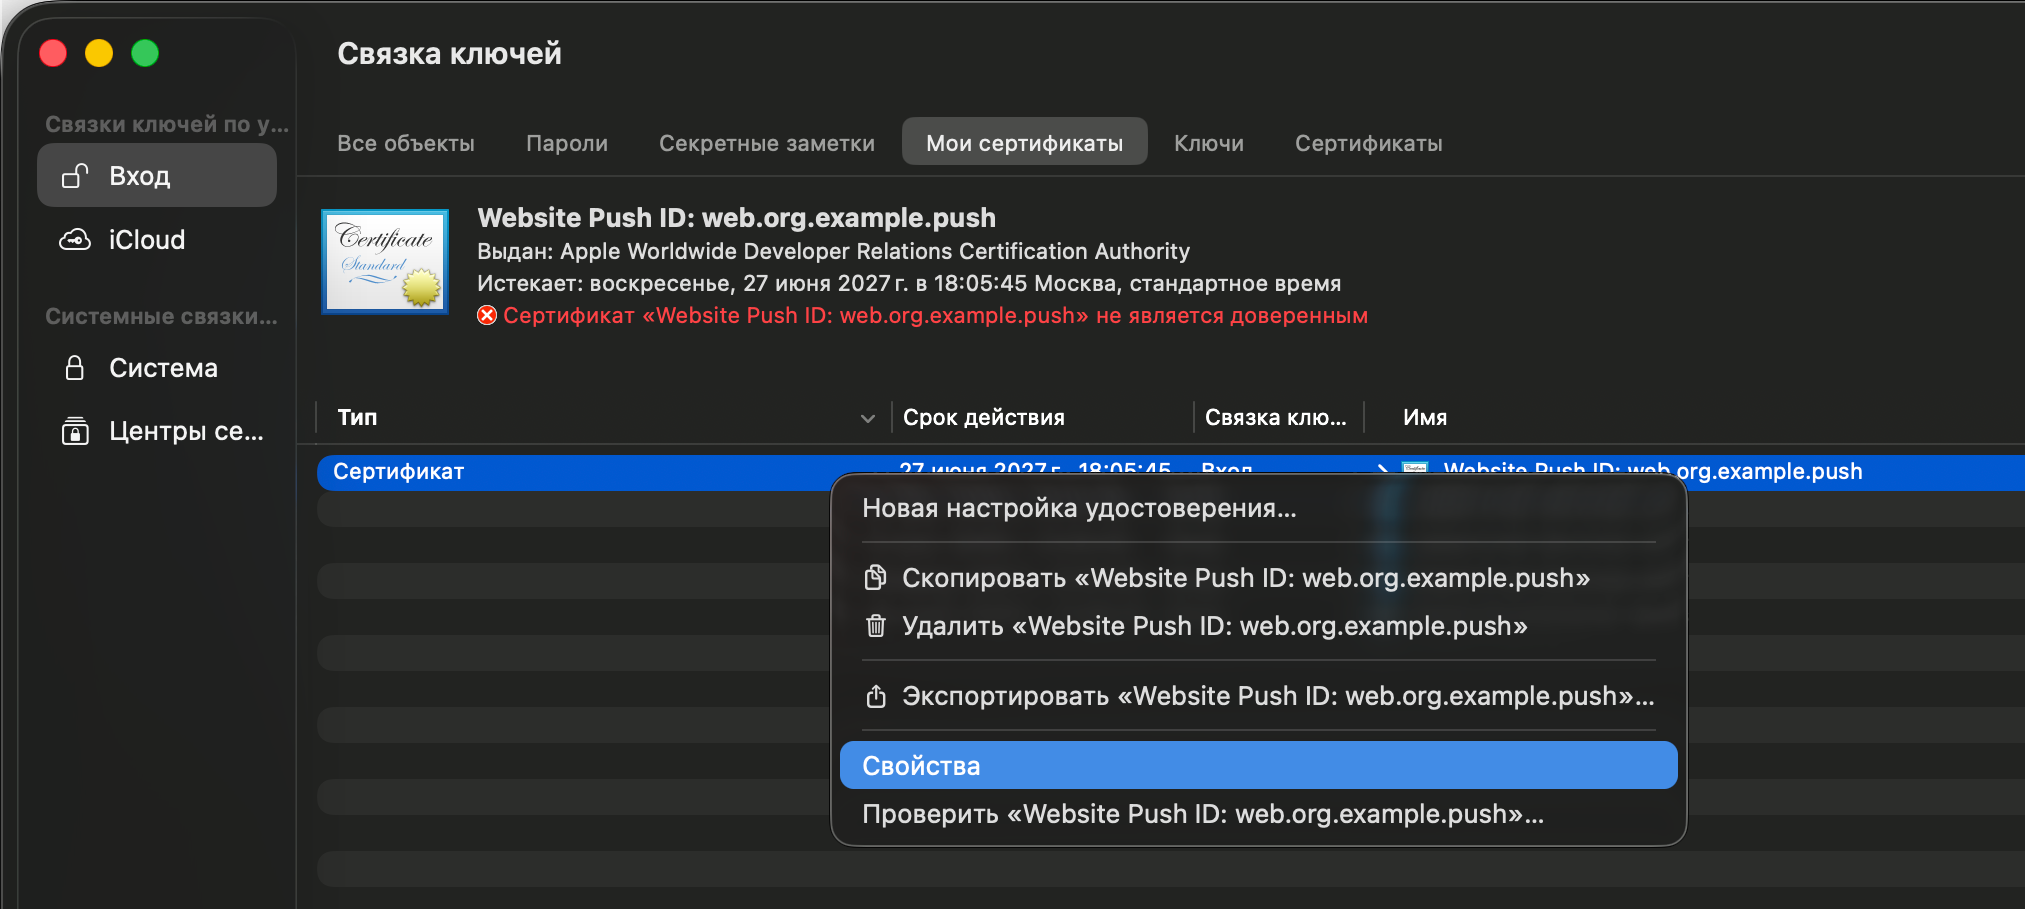 |
Set the trust level for each parameter to Always Trust. | 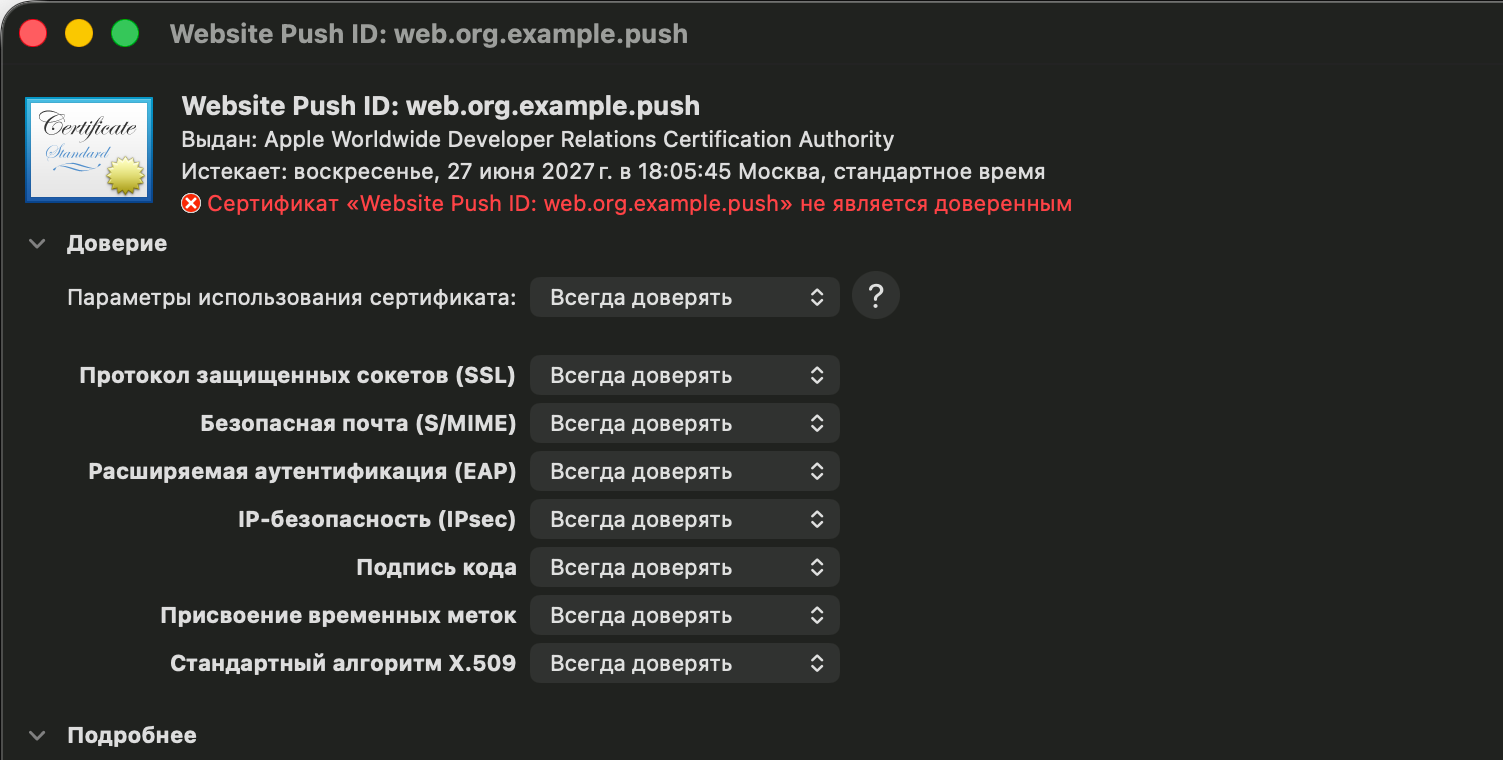 |
Right-click the certificate and select Export to save it in | 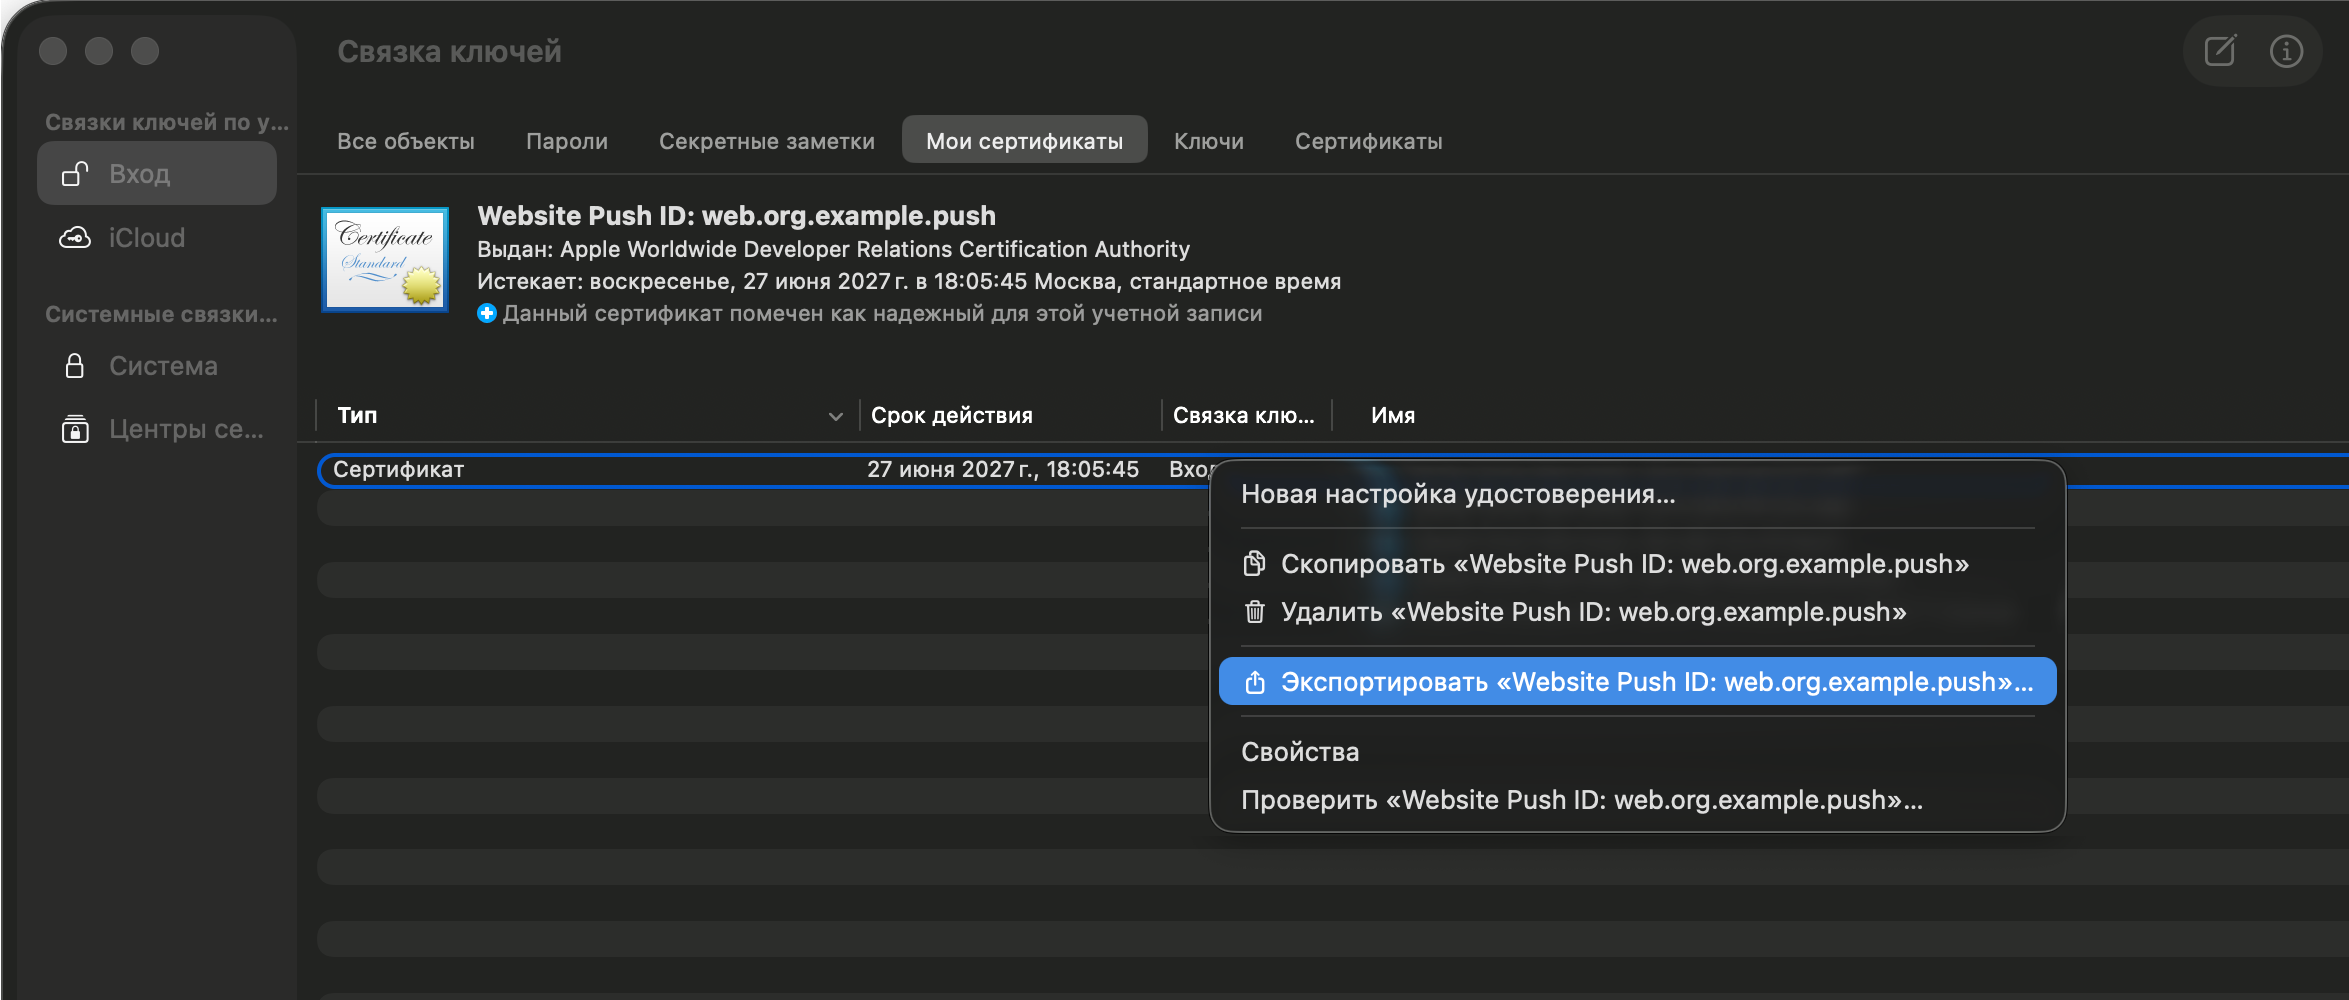 |
Step 4. Setting Up in the Altcraft Platform
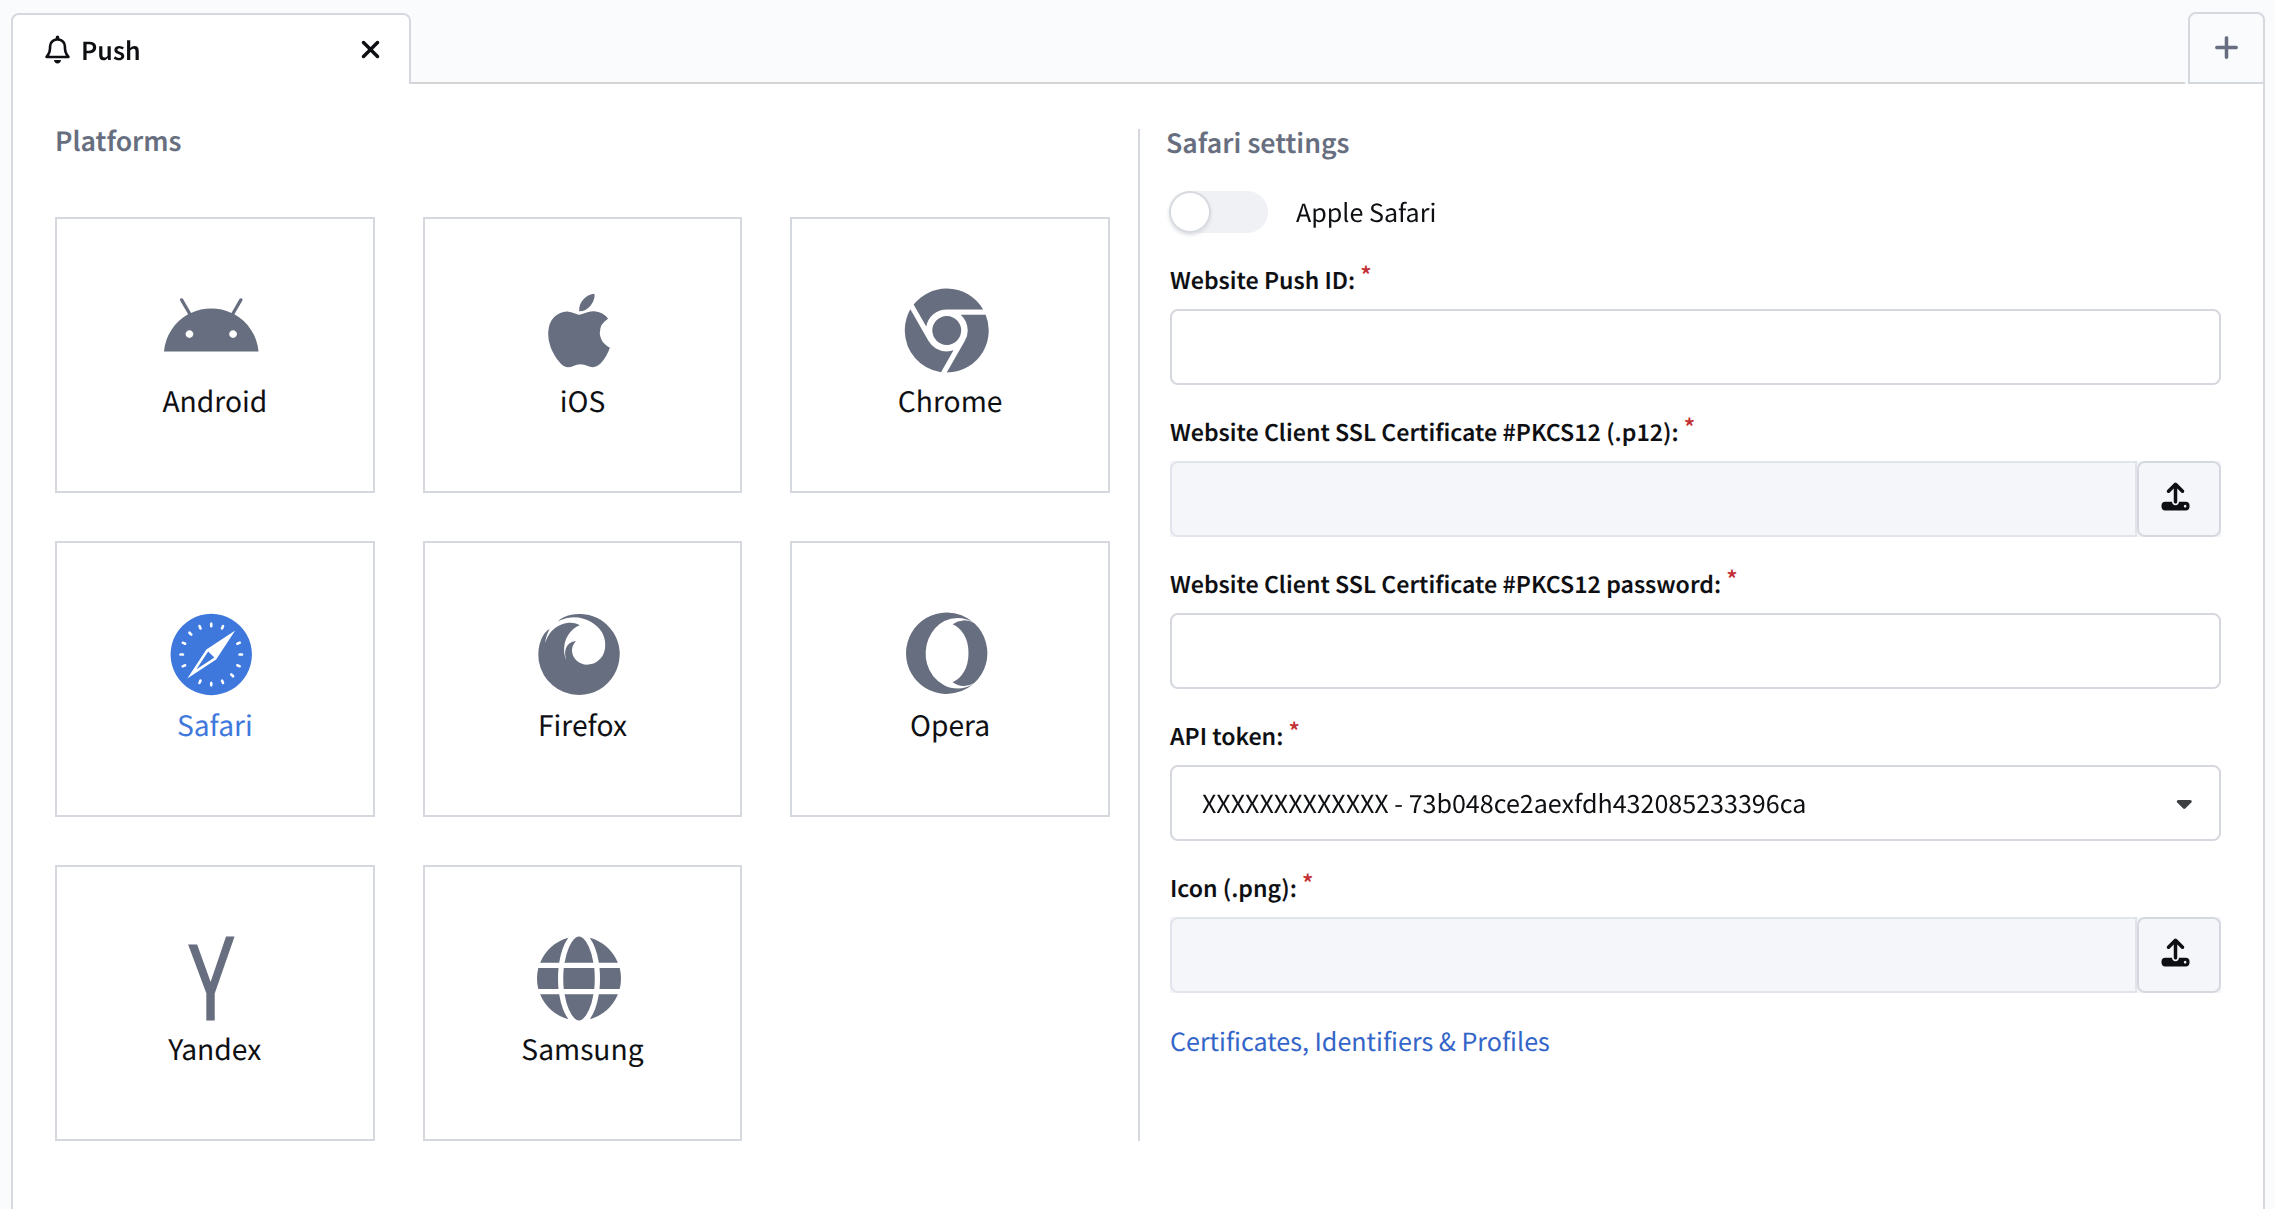
Return to the Altcraft Platform and open the resource settings. Go to the push channel settings. | 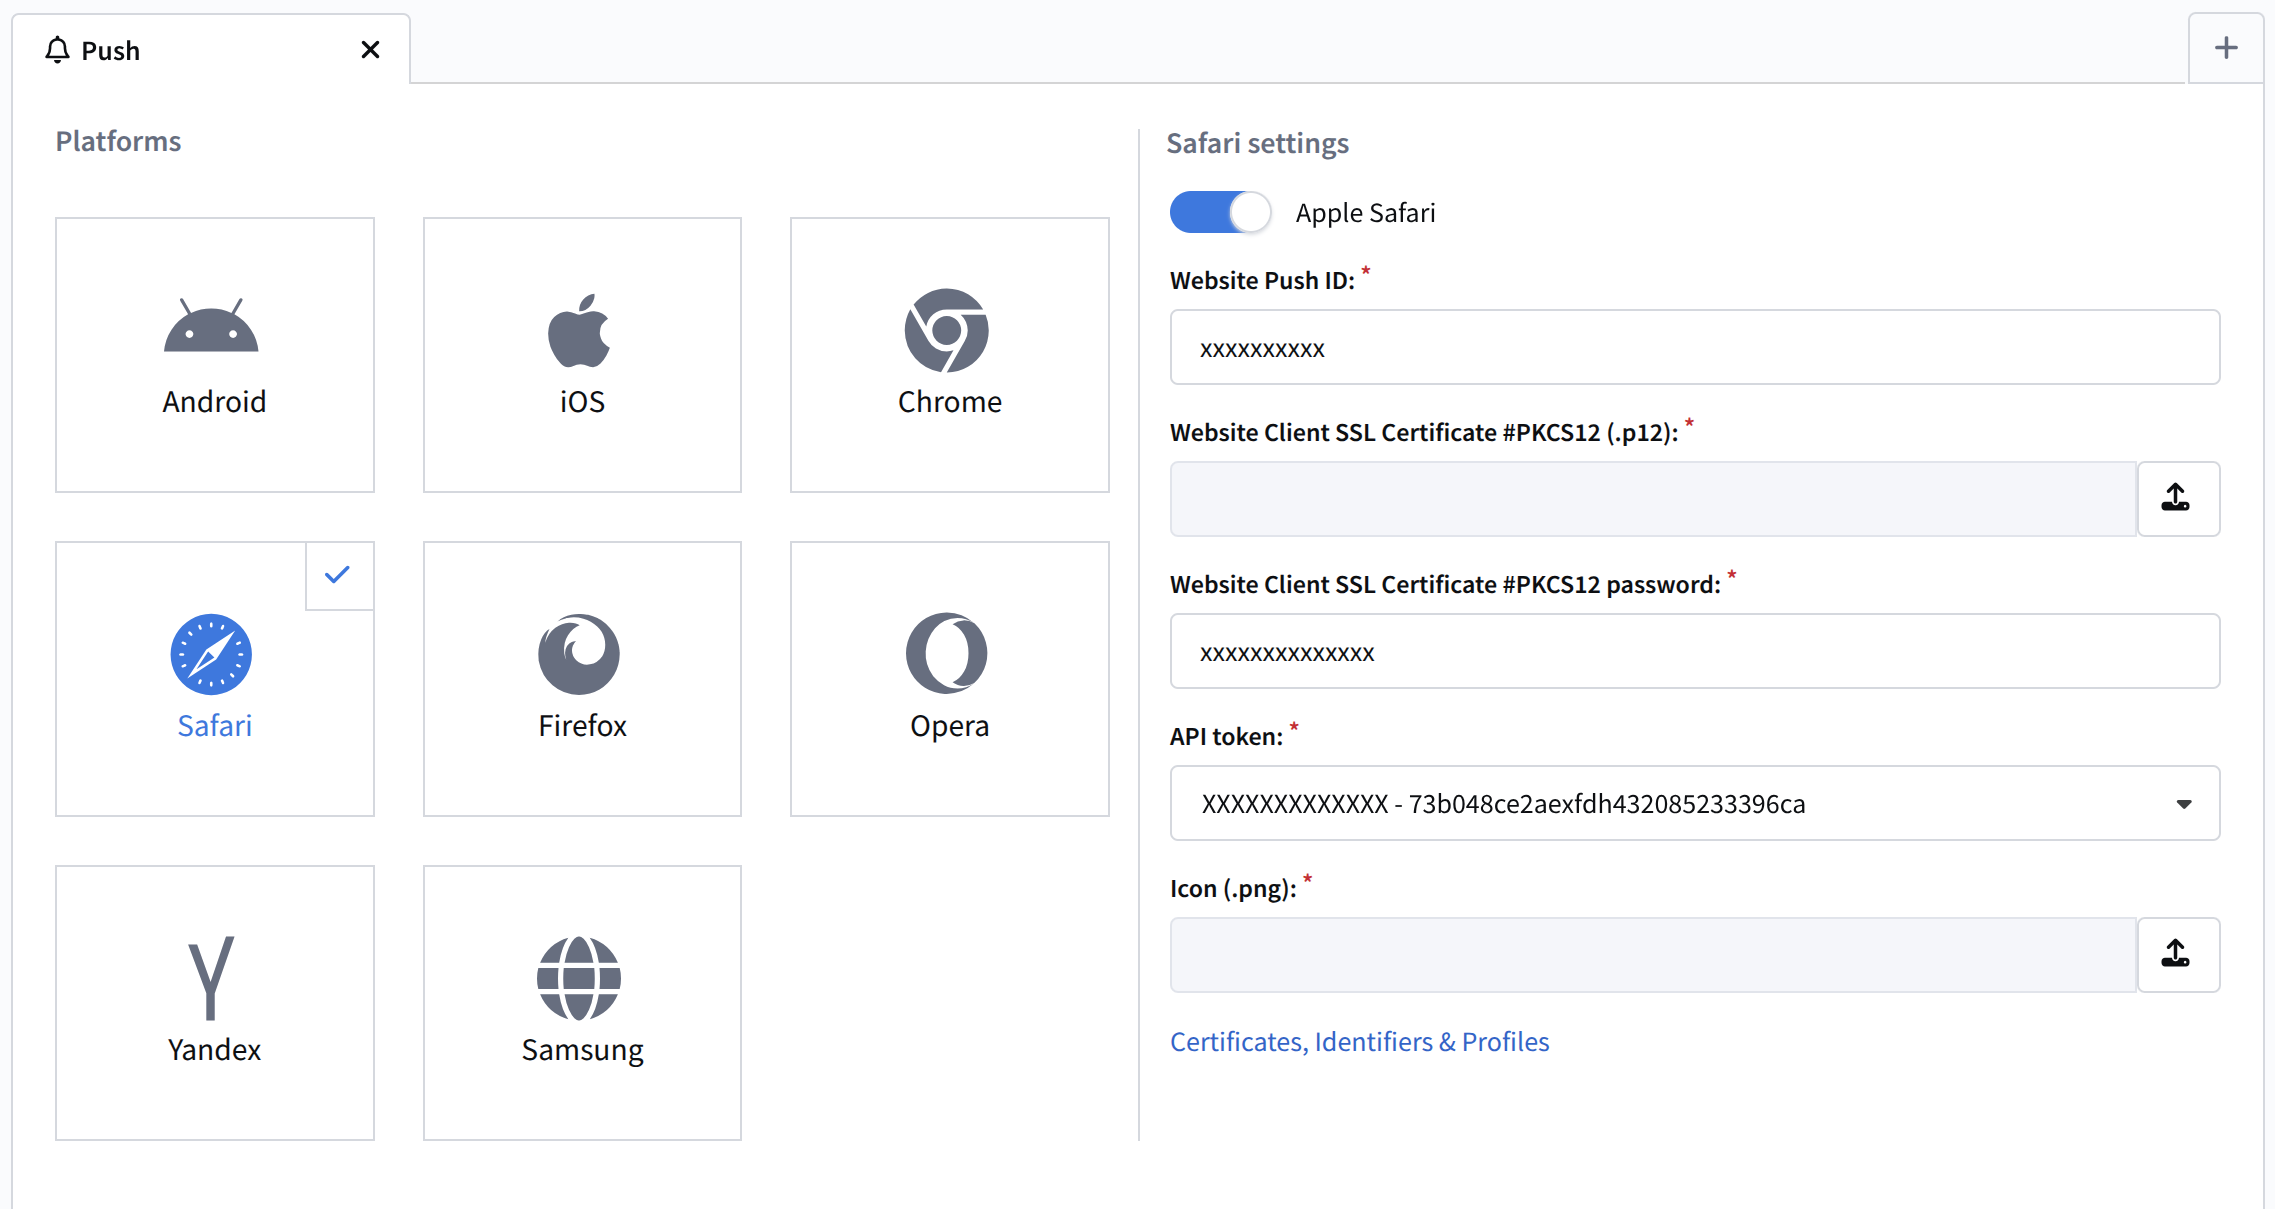 |
Fill in the fields:
|  |
Save the resource or apply changes using the buttons in the upper right corner of the screen. Only after that, go to the Installation tab. |  |
The resource and provider configuration for sending push notifications to PWA applications is done in the same way. For more details, see the article PWA Push.