Altcraft action hooks
Overview
Action Hooks is a mechanism for notifying external systems of platform events. These can range from system actions related to message delivery or importing subscriber profiles, to customer actions tracked by Altcraft platform pixels on your site or application.
Action Hooks can work with all databases or any specific one. Captured events can be transmitted batch in JSON format over HTTP or sent to the broker queue asynchronously.
Configurable by master user user for a specific database or for all databases at once.
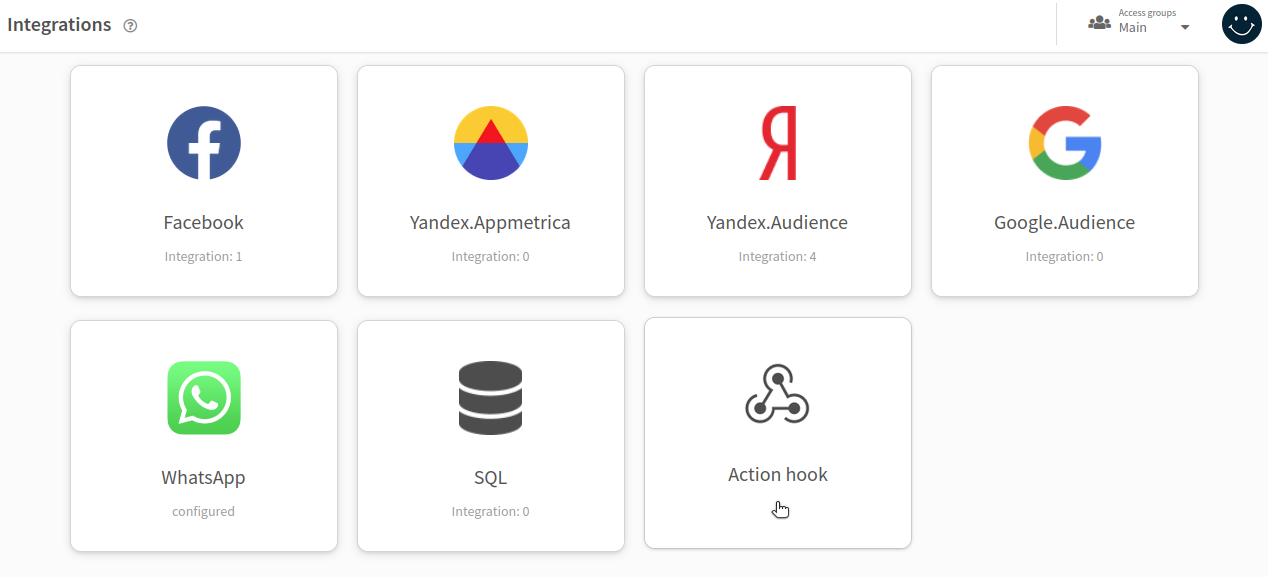
From the main menu, select Integrations → Event Capture to get started:
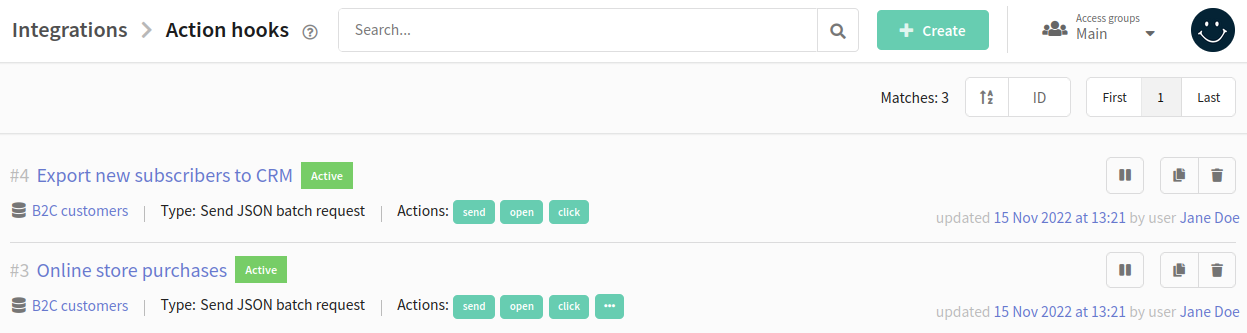
You can activate or stop existing action hooks, clone or delete them using the context menu. If you want to edit a hook, click on its title. To add a new one, click + Create at the top of the page:
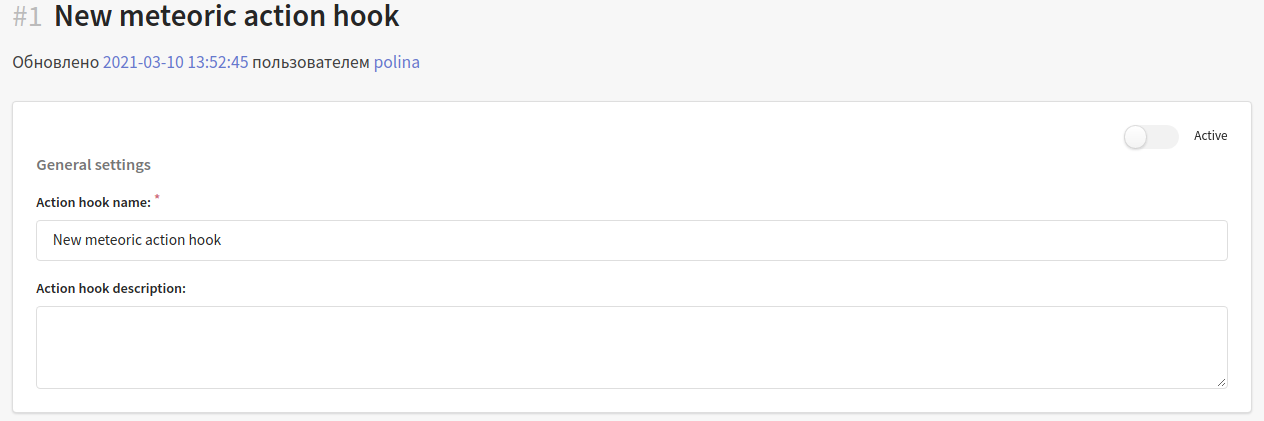
Action hook general settings
In General settings enter a name for the new hook. Here you will also find a switch to activate the event capturing process:
Capturing options
Action hook can work with all Profile Databases at once or with one specific one. In the Capture Settings block, select the desired option from the Database drop-down menu:

In the Actions field, select from the drop-down menu the events to be sent to external systems. Event types, their designations in the menu and in the hook request, and descriptions can be found in this article.
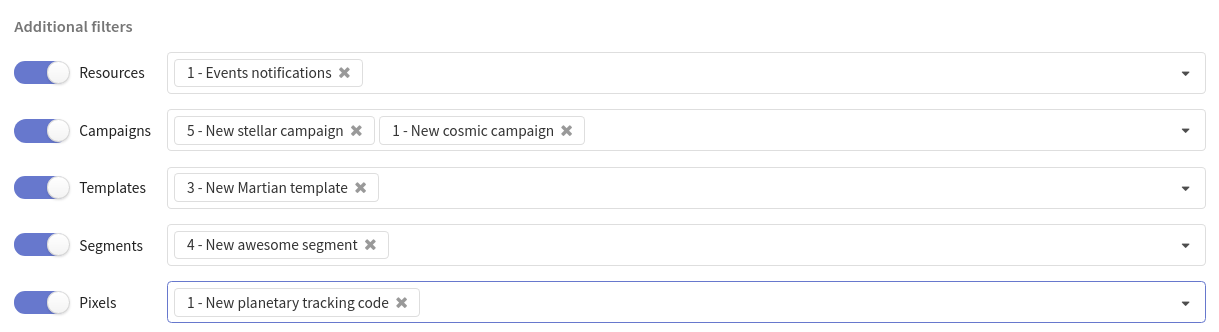
By default, Action hook logs all events of the types you select. You can limit the events to get a narrower selection in the Additional Filters: block.
Resources - events related to communications within certain resources will be captured.
Mailing - events from specific marketing mailings will be captured.
Templates - events from mailings using specific templates will be captured.
Segments - events related to subscribers entering certain segments will be captured.
Pixels - actions of subscribers on external resources, registered by certain pixels, will be captured.
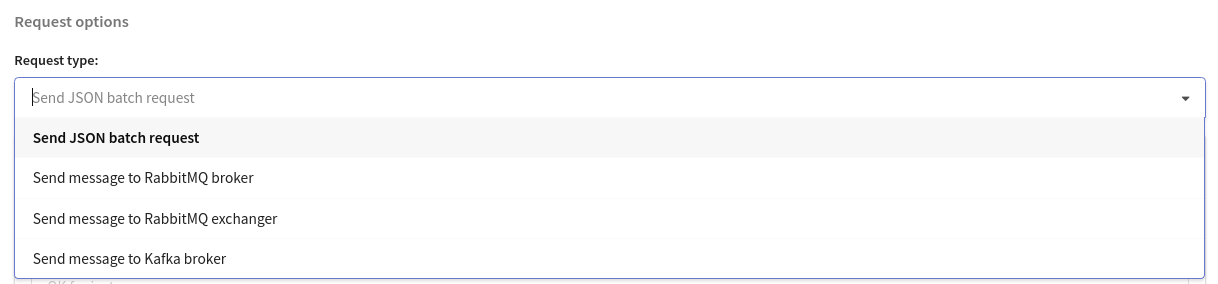
Request options
The following request types are available:
- Send a JSON batche request. Read more.
- Send a message to the RabbitMQ queue. Read More.
- Send a message to the RabbitMQ exchange. Read More.
- Send a message to Kafka broker. Read more.
Retry
If for some reason an error occurs during sending a message (e.g. network failure), the message will be sent again after a certain period of time. The number of repeated sends and their frequency are set in the system configuration file "main.json":
"HOOK_RETRY_TIMES": set maximum number of attempts (default 4)
"HOOK_RETRY_PERIOD_SEC": periods between attempts, in seconds (default 15)
Transmit additional event data in the capture
Client profile data in capture
Along with information about the captured event, you can pass values of standard and additional profile fields. The set of available additional fields depends on the selected database. Select from the drop-down list the profile fields you want to Add fields to custom_data:
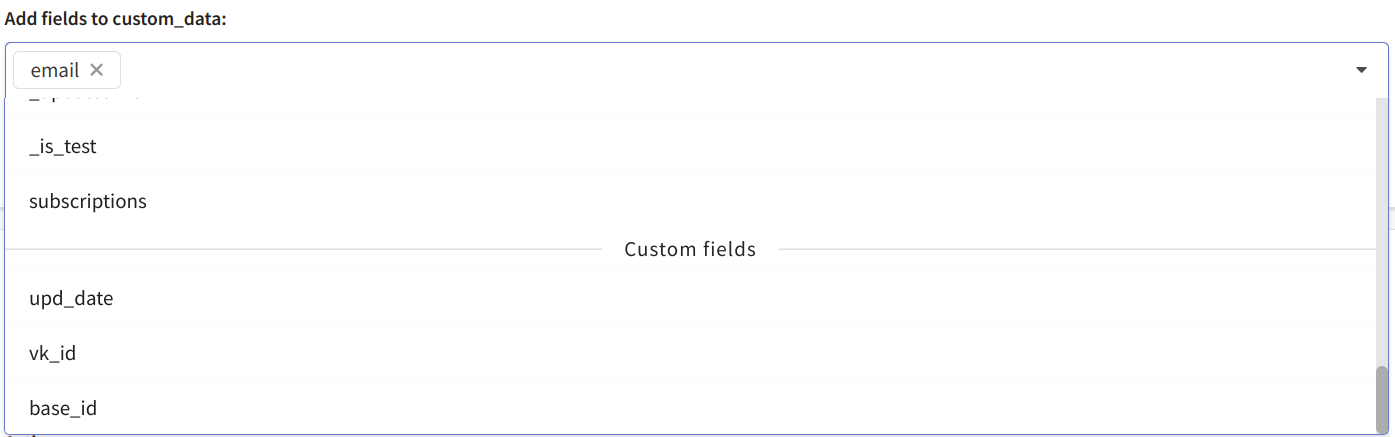
The template custom_data can be set below. The platform will use the value from this template in the capture if no data is passed in the custom_data field in the API request to start the trigger.
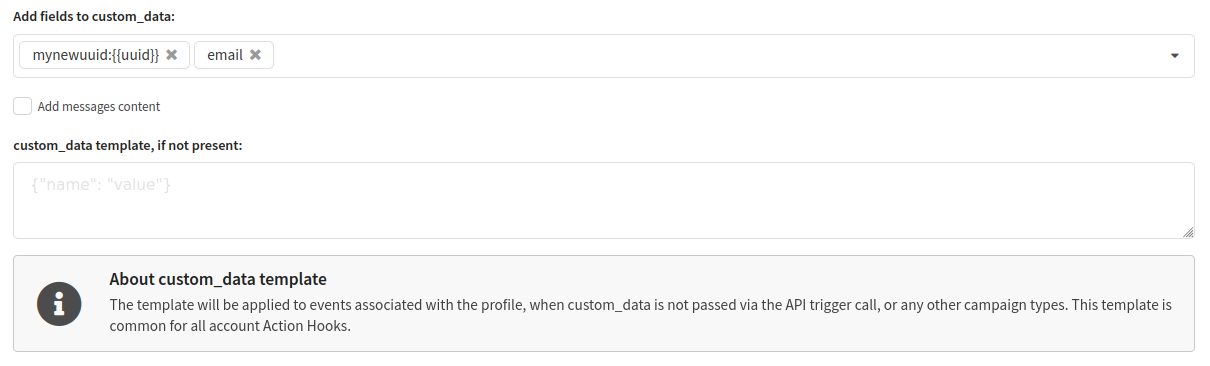
Additional data in the hook
In addition to profile data, you can transmit any data in mykey:myvalue format to the custom_data object. To do this, manually enter the key and value and then press Enter ↵.
Template options available:
| Parameter | Description |
|---|---|
{{uuid}} | Generates new UUIDv4 |
{{event_date}} | Event date in the format "2006-01-25T15:04:05.999999Z" |
{{event_date_ymd}} | Event date in the format "2006-01-25" |
{{event_date_rfc3339}} | Event date in the format RFC 3339 |
{{event_date_unix}} | Event date in unix time, in string |
{{event_date_unixnano}} | Event date in unix time (nanoseconds), in string |
{{campaign_name}} | Retrieves the mailing name if it is relevant to the event, otherwise empty |
{{campaign_subid}} | Retrieves the mailing SubID if it is relevant to the event, otherwise empty |
{{database_name}} | Retrieves the database name if it is relevant to the event, otherwise empty |
{{segment_name}} | Retrieves the segment name if it is relevant to the event, otherwise empty |
{{message_name}} | Retrieves the template name if it is relevant to the event, otherwise empty |
{{message_subject}} | Retrieves the template saubject if it is relevant to the event, otherwise empty |
{{resource_name}} | Retrieves the resource name if it is relevant to the event, otherwise empty |
For example, you add fields to custom_data:

The data will be transferred in this way:
"custom_data": {
        "cname": "Black Friday",
        "email": "test@example.com",
        "eventTime": "2021-03-17",
        "eventTimeUnix": "1615988820",
        "id": "dc876134-87a4-4437-aabb-d2fc8a3d4213",
    }
The custom_data field can contain any arbitrary data. Fields passed inside it do not have to exist in the profile database and are used only within the event itself. In the event, they appear in the following format:
"custom_data": {
    "test_field": "test"
}
It is important to note that fields in custom_data are not directly tied to the structure of the profile database. When configuring event capture, it may seem that these fields must exist in the database because they are included in the API request, but this is not required. The “Add fields to custom_data” function is used to append additional data—for example, to include values from a profile or other sources - even if those fields were not originally present in the request.
Message content in hook
In order to transmit the content of all messages along with events, activate the option Add messages content at the bottom of the page.

The content will be passed to the "content" field. The field structure for each channel is described in this article.
Please note that this will store all sent messages in storage for a fixed amount of time. This will require additional disk space. The default retention time is 72 hours; it is set by the global setting HOOK_CONTENT_CLEANUP_HOURS in the main.json file. After this time, events will be transmitted without any content associated with them.
Exporting Historical Events for a Period
This function allows you to export to an integration the data about events that have already occurred on the platform. It is useful for data recovery if event capturing was not configured in time or if a failure occurred.
The following event types are not available for historical export: campaign_launch, profile_merge, profile_split.
Export Setup
To start exporting historical events, enable and save the event capture with the desired settings. Then, in the control block, select the option Capture historical events for a period, specify the start and end dates, and click Start:

The period for exporting historical events is limited: the minimum date is 01-01- 1970, and the maximum is the previous day. The current date cannot be selected.
To verify the export operation, use the testing tool — the system will generate an example event of the selected type.
Managing the Process
After starting the export, you can monitor progress and manage execution:
- Suspend — temporarily stop the export
- Resume — continue the export
- Abort — completely cancel the export

Execution Statuses
- In Progress —
The export of historical events for the selected period is in progress - Paused —
The export process of historical events has been paused - Completed —
The export of historical events for the period has been completed - Error —
An error occurred during the export of historical events
If you deactivate event capture during the export of historical events, the process will be paused until reactivation.