Subscription Manager
Description
Altcraft Subscription Manager is a page that allows subscribers to manage their profile data and subscriptions: unsubscribe, resume, or suspend them for a specific period (14, 30, 60, or 90 days). If your company already has a subscription manager in use, it can be integrated into the platform.
The built-in subscription manager only works with the subscription to which the message with the manager link was sent.
Subscription Manager Configuration
The subscription manager is automatically activated when a profile database is created. In the required field Subscription Manager Title, specify the name that users will see when entering the interface. In the adjacent field, select the interface language for the manager.
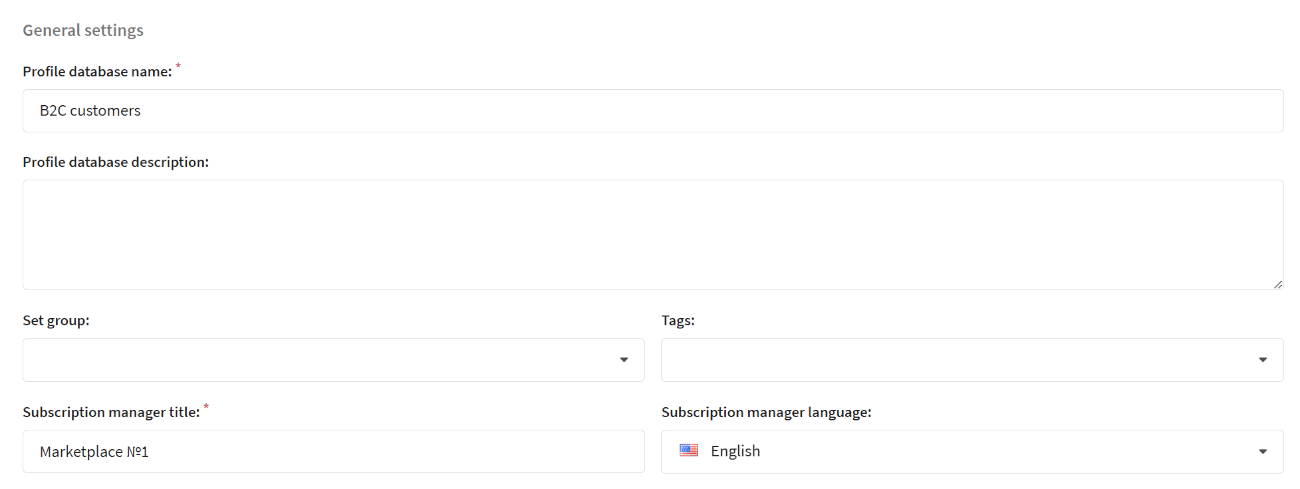
The language of the manager is set in the profile database settings and does not depend on the user's region or browser language. If English is selected, the interface will always display in English.
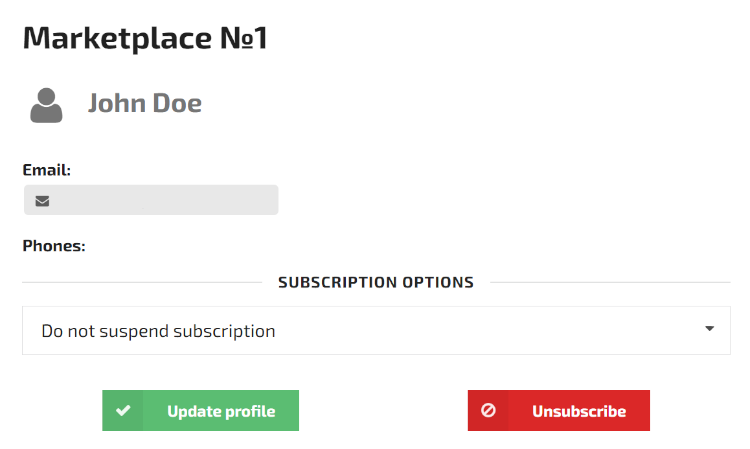
When users follow the link, they are directed to the built-in subscription manager page. By default, the manager interface displays the main recipient details: First Name, Last Name, Email, and Phone:
Configuration of Displayed Fields
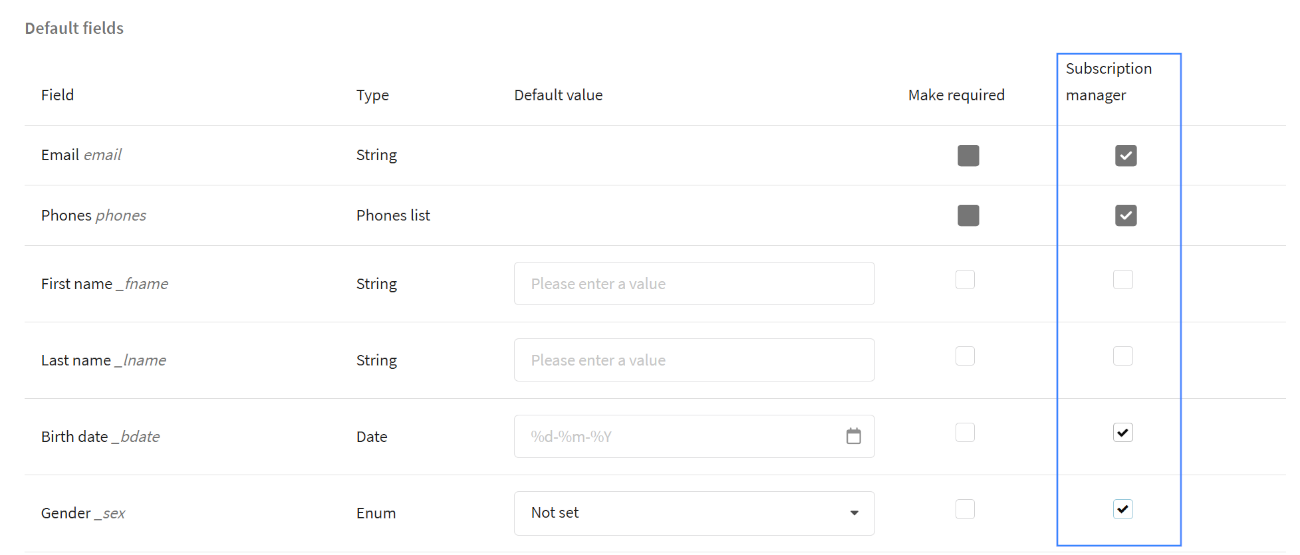
In the subscription manager, you can configure the visibility of profile fields. In addition to the required email and phone number, you can enable the display of standard or custom fields by simply ticking the corresponding options in the Subscription Manager column.
Any changes made by the user to the displayed fields in the subscription manager will automatically update the corresponding data in their profile. Make sure that modifying these fields does not cause any errors.
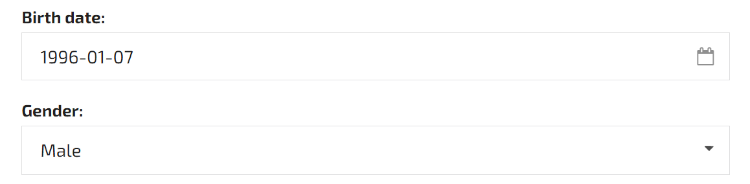
After saving changes, the selected fields will appear in the subscription manager:
Categories and Additional Settings
Subscription Categories
Categories help detail the type of content to which the user is subscribed. If a user unsubscribes from one category, they will continue to receive content from others.
Unlike the subscription to the resource, categories have only two statuses (Subscribed/Unsubscribed). The status can be manually changed in the profile or via API requests. To allow the subscriber to manage a category on their own, add it to the subscription manager:
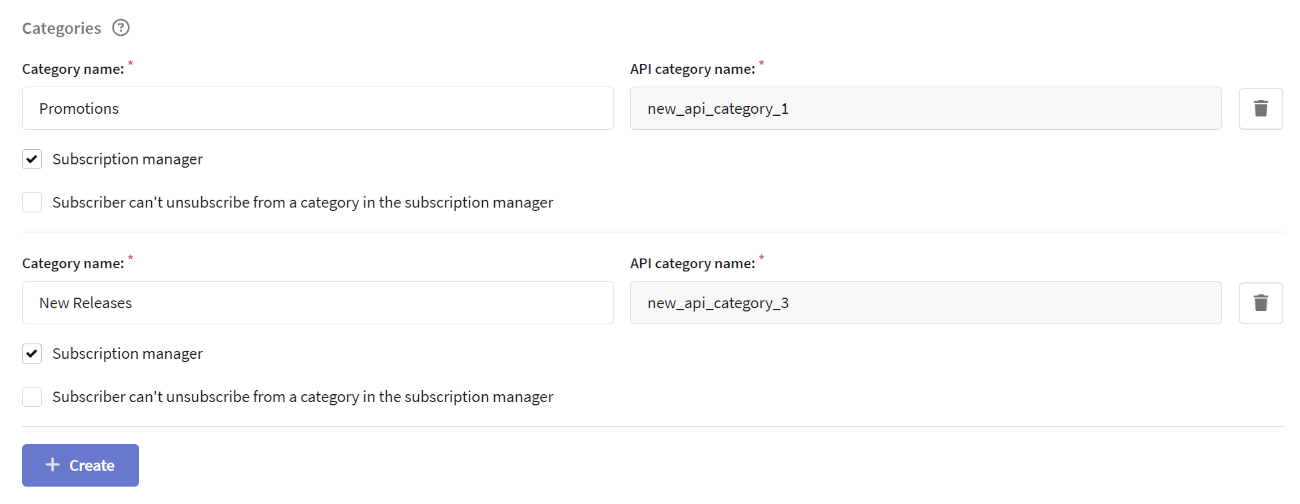
After saving changes, the selected categories will appear in the Categories section of the subscription manager:

Learn more about resource categories in the article.
Custom Fields
Each resource channel can include additional fields, similar to those used in the profile database. These fields help store extra information about the subscription.
Creating Custom Fields
-
Go to resource settings
-
Click Add Field and select its type:
-
Integer — positive and negative whole numbers. For example, you can specify order limits, bonus points, etc.
-
Float — positive and negative floating-point numbers. Examples: "Average Check", "Coefficient", etc.
-
String — text in any language, including numbers, special characters, and spaces. Unicode is used. Examples: "Order Comments", "Interests", etc.
-
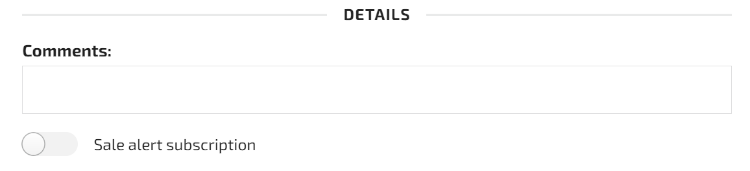
Boolean — a field that allows you to choose between two options: True or False (Yes or No). In the subscription manager, it appears as a slider. Examples: "Notify about sale start", "Receive exclusive offers", etc.
-
-
Select the fields that will be displayed in the subscription manager.
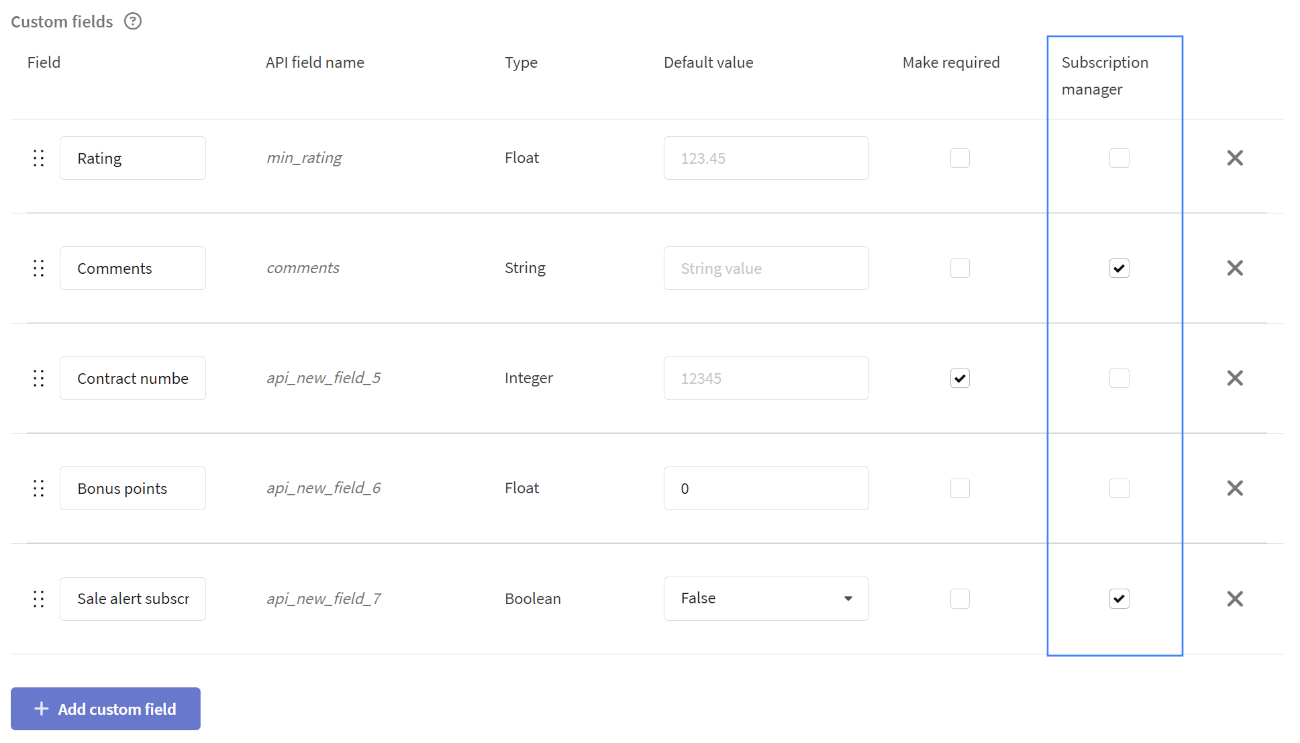
Recipients can modify the values of custom fields added to the subscription manager. Ensure that changing these fields does not lead to errors.
In the subscription manager, the selected fields will appear in the Details section:
Learn more about custom fields in the article.
Subscription Manager Integration
Adding a Link to the Message Template
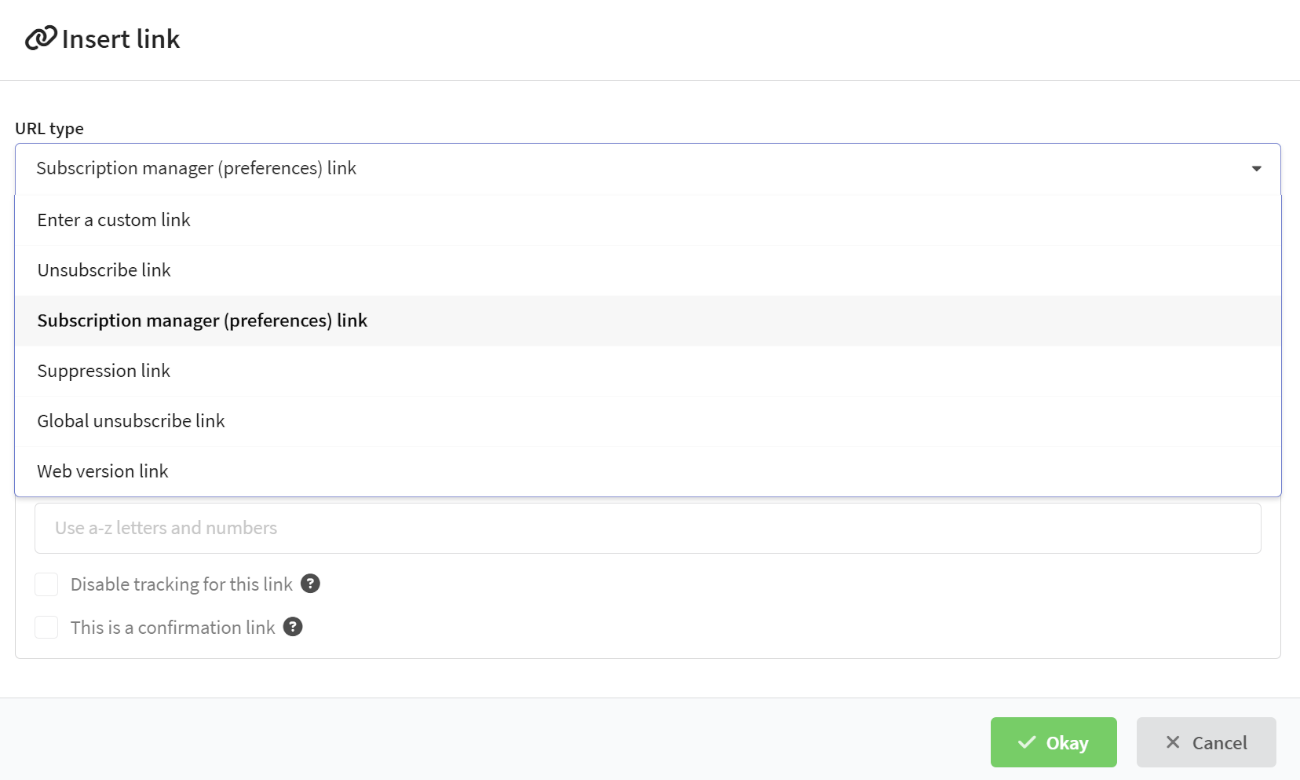
To add a link to the subscription manager:
- Open the template editor
- Select Insert Link
- Choose the URL type Subscription Manager (preferences) link
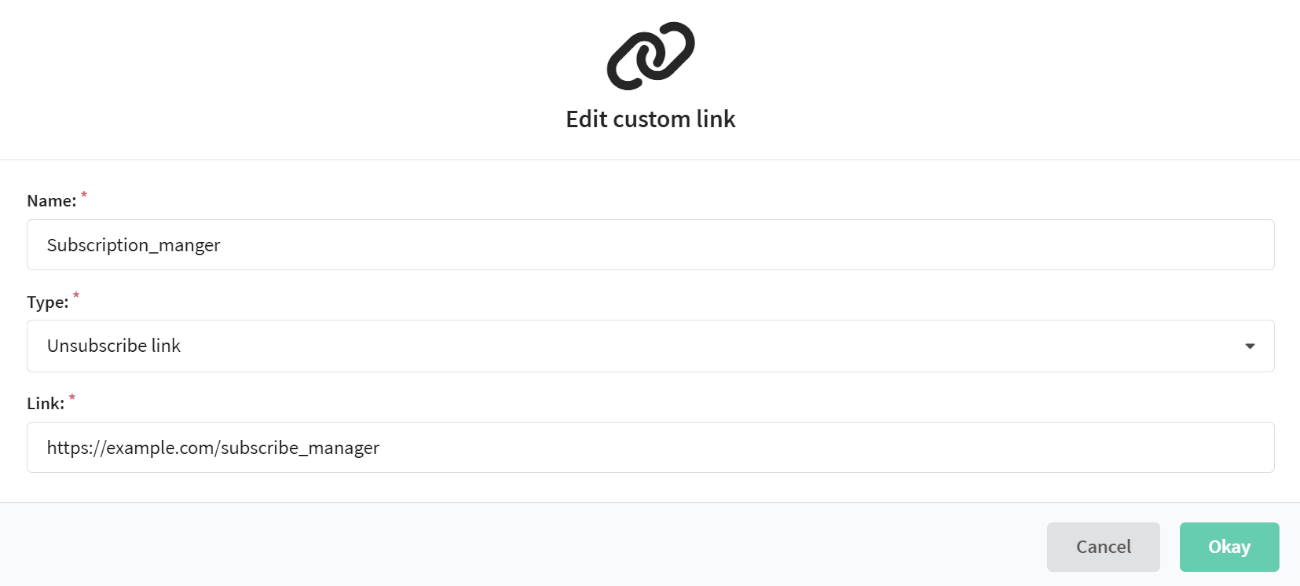
Using an Alternative Subscription Manager
To connect a third-party subscription manager:
- Create a custom unsubscribe link
- In the Link field, enter the URL of your subscription manager
Now, when using the unsubscribe link in the template, the recipient will be redirected to the subscription manager page.
In this case, clicking the subscription manager link will automatically unsubscribe the profile from the resource. To avoid this, the chosen manager needs to be configured. Please contact your platform administrator for assistance.