Quick Start
How to send your first email mailing
This article shows the basic workflow in Altcraft Platform. The goal is to send your first email and understand how the platform works.
Sequence of steps: Profile Database — Resource — Profile — Template — Mailing — Reports
If you have not yet configured a domain for use with the platform, first read the article Configuring your own from-domain. Without proper DNS records, emails may not be delivered or may end up in spam.
Step 1. Create a profile database
Profile Database is where customer data is stored. In the documentation, you may see terms like "customer", "subscriber", or "user", but in all cases this refers to a profile.
1. Go to Data — Profile Databases and click: | 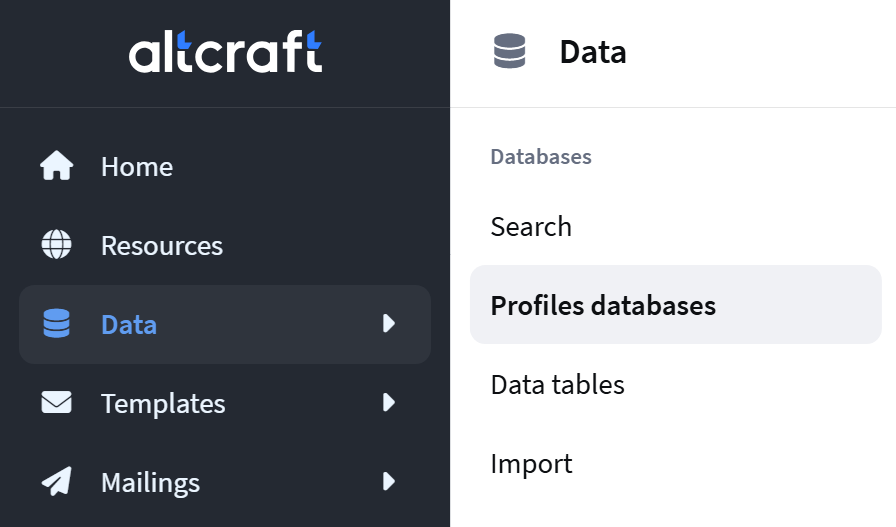 |

2. Enter the Profile Database Name |  |
3. Set the Subscription Manager Title
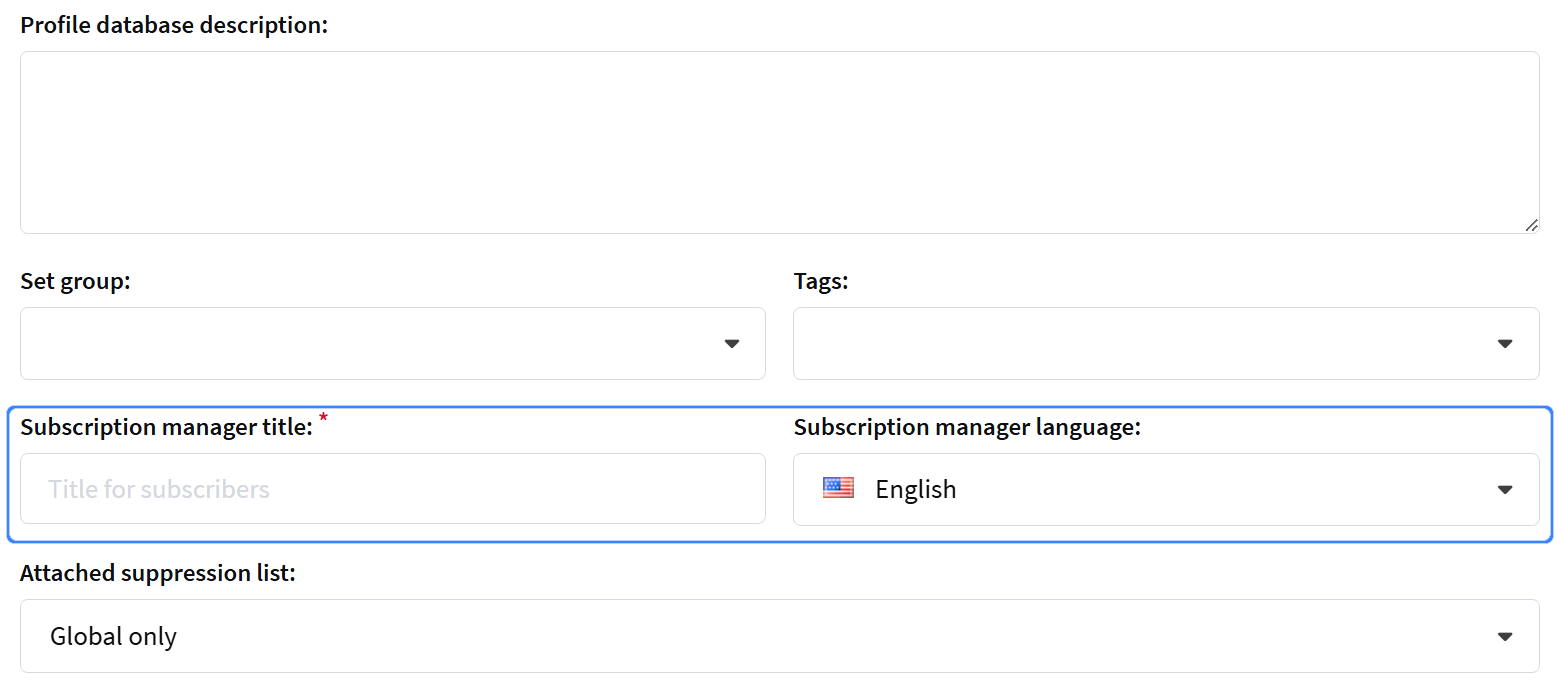
Subscription Manager Title — text on the subscription management page
(for example, your company name).
4. Save the database

For more details on working with profile databases, see this article.
Step 2. Create a resource
Resource is the source of communications: a website, service, brand, or project. Subscriptions are collected and messages are sent through a resource. You cannot create a mailing without a resource.
A resource must be linked to a profile database.
For email sending, DKIM must be configured for the sender domain. It is not provided automatically. Contact technical support chat to enable it.
1. Go to the Resources section |  |
2. Select a subscription channel. For your first mailing, we recommend using Email |  |
3. Enter the Resource Name 4. Select the previously created Profile Database 5. Enter the Website URL and Tracking Domain | 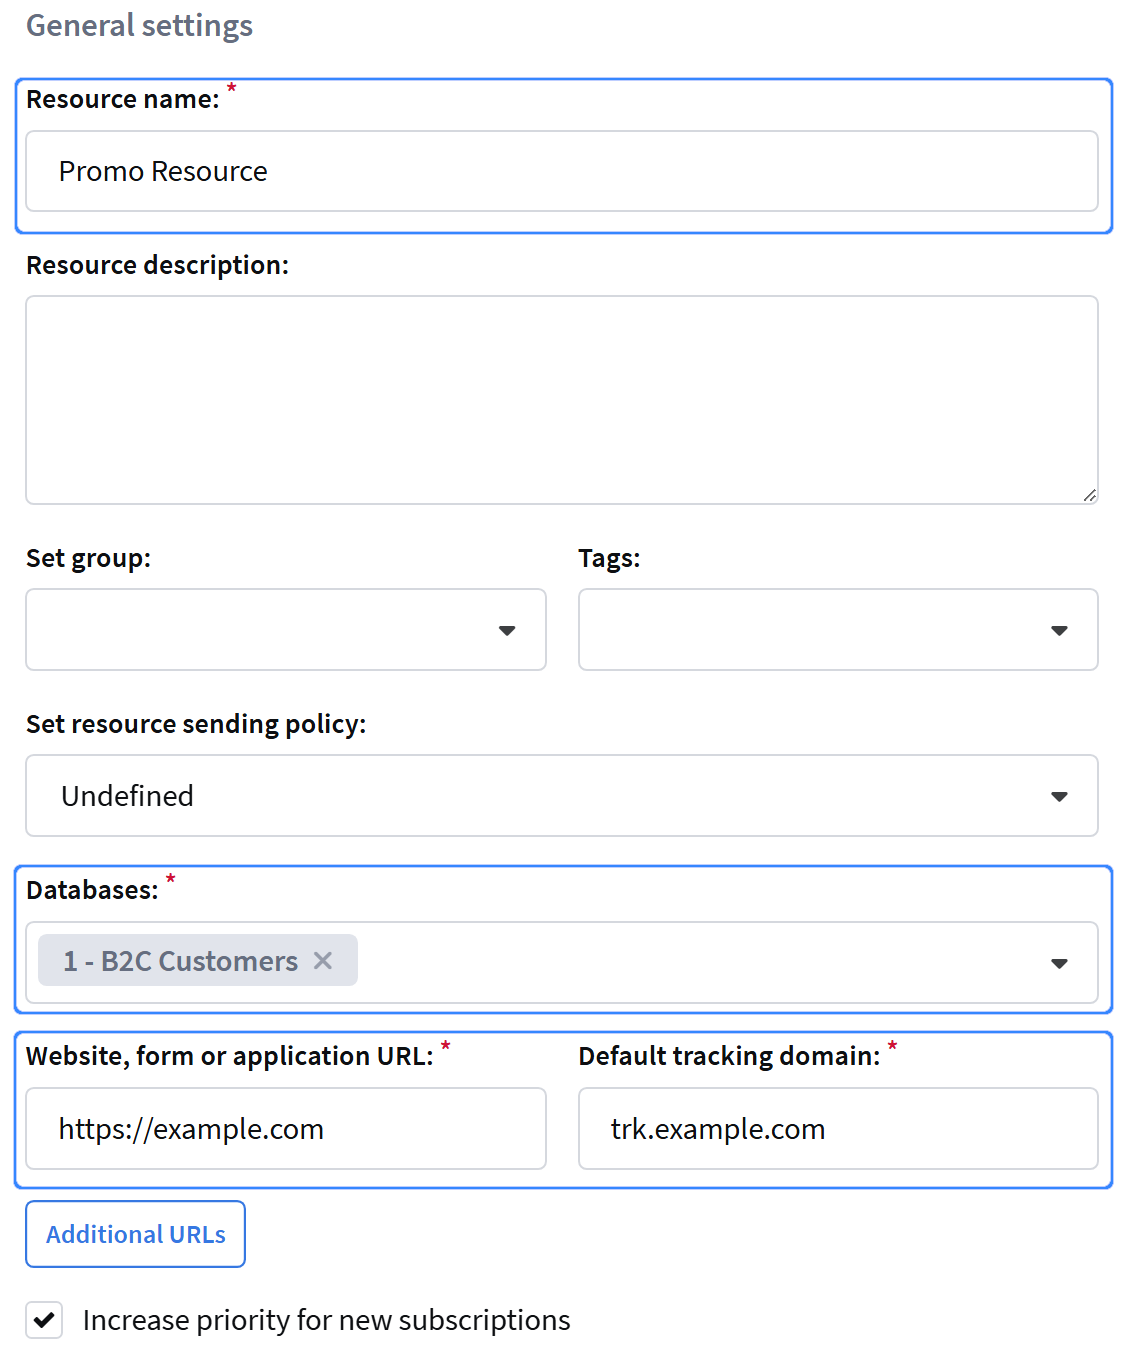 |
Website / form / application URL — the address where users submit their contacts. You can specify your company's main website
Tracking Domain — technical domain for tracking link clicks from emails. If the field is already filled, leave the value unchanged
6. Enter the Sender Name and Sender Email 7. Enter the List ID | 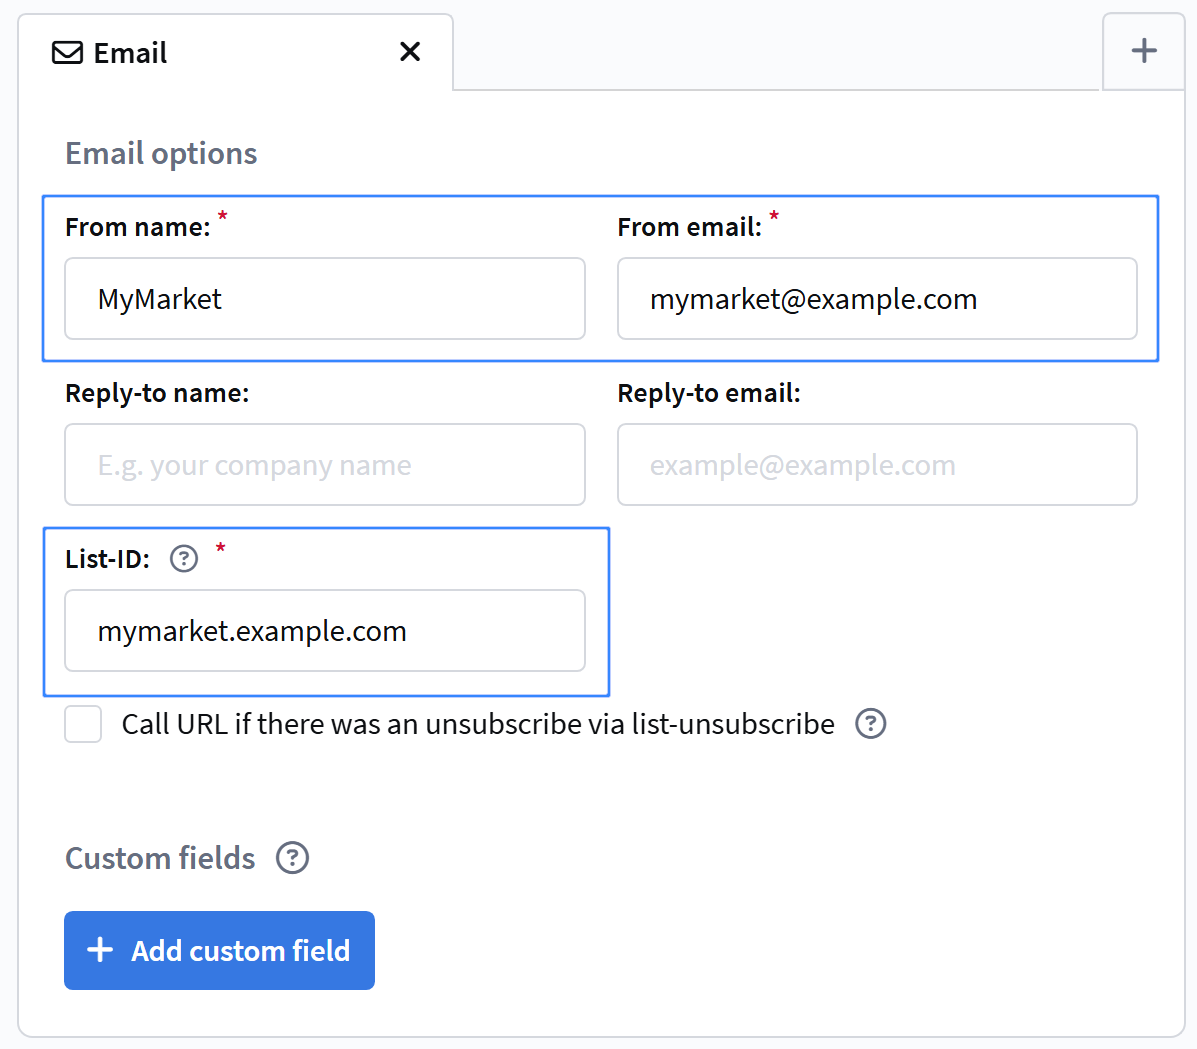 |
- Sender Name — the name shown in emails
- Sender Email — the sender address
- List ID — identifier of the subscription list within the resource. Specify any clear value you understand, you can use the sender email in format
example.domain.com
Sender Name and Sender Email are set at the resource level. When an email is sent, priority is determined as follows: if the message template specifies its own values, they override the resource settings. If the mailing has an explicit override for the template, it takes the highest priority. Priority order: mailing, template, resource.
8. Save the resource

For more details on working with resources, see this article.
Step 3. Add a profile
Create a profile to send the email to. To do this, go back to Data — Profile Databases.
1. Click Import customer profiles — Create profile manually
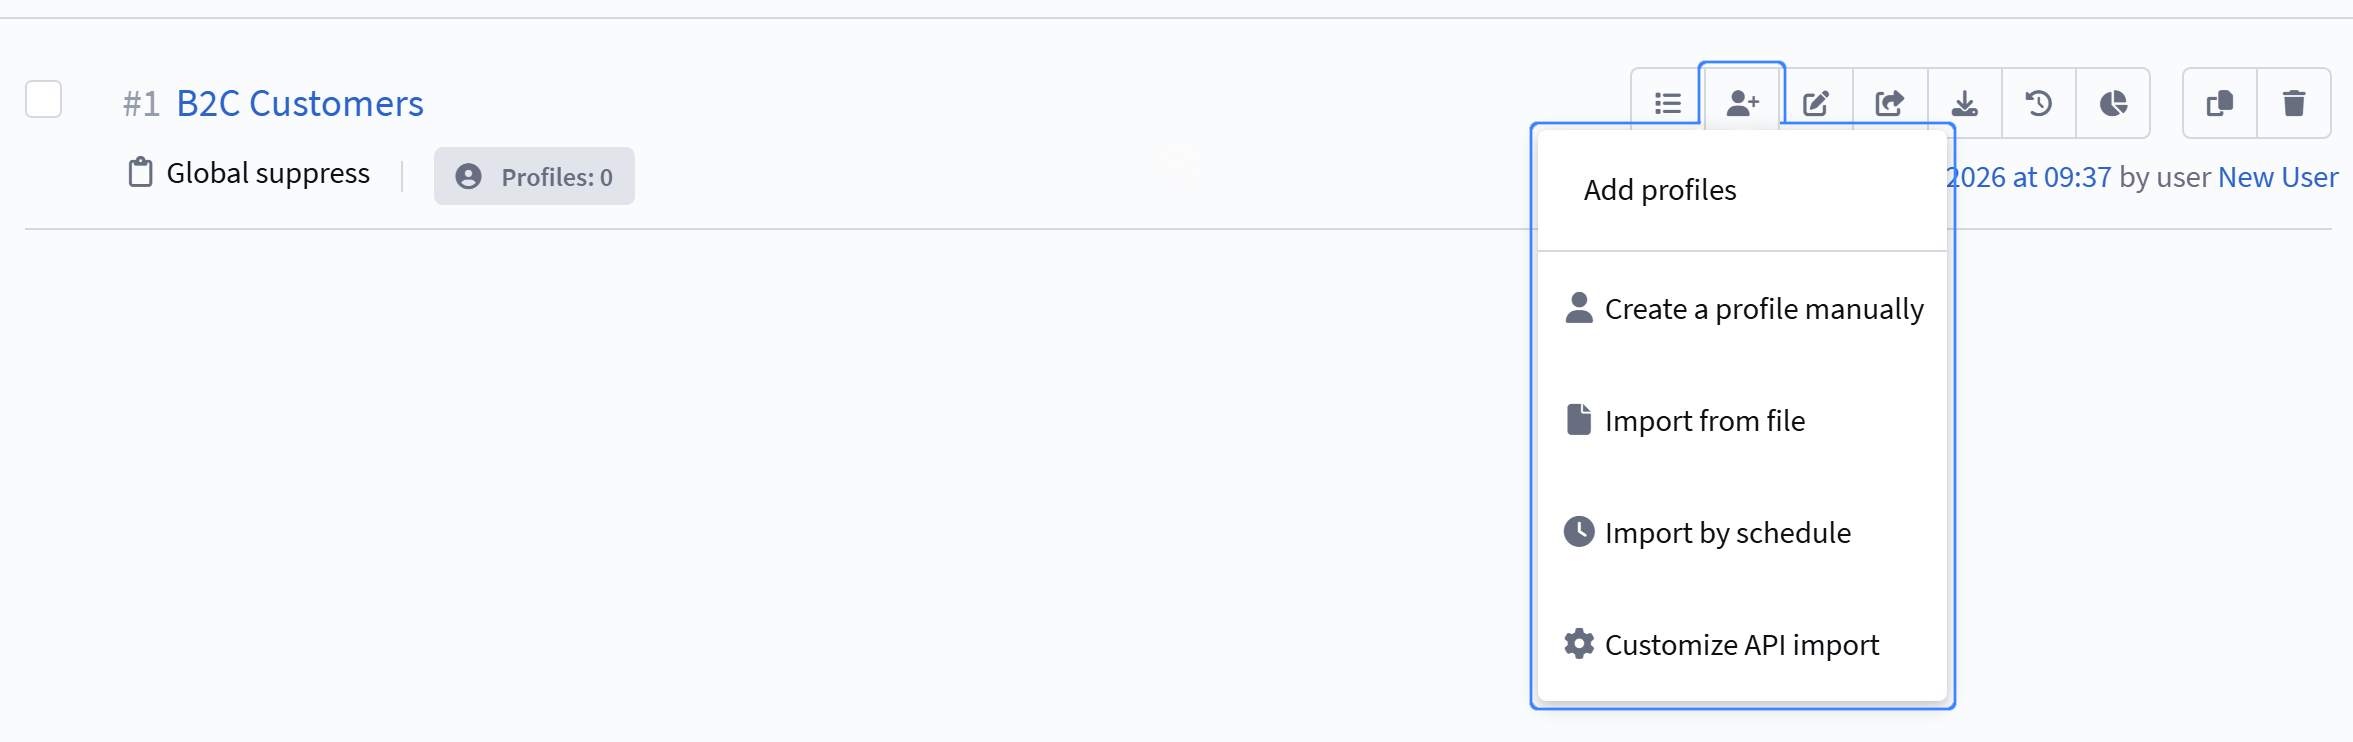
2. Enter the profile name and click Add subscription | 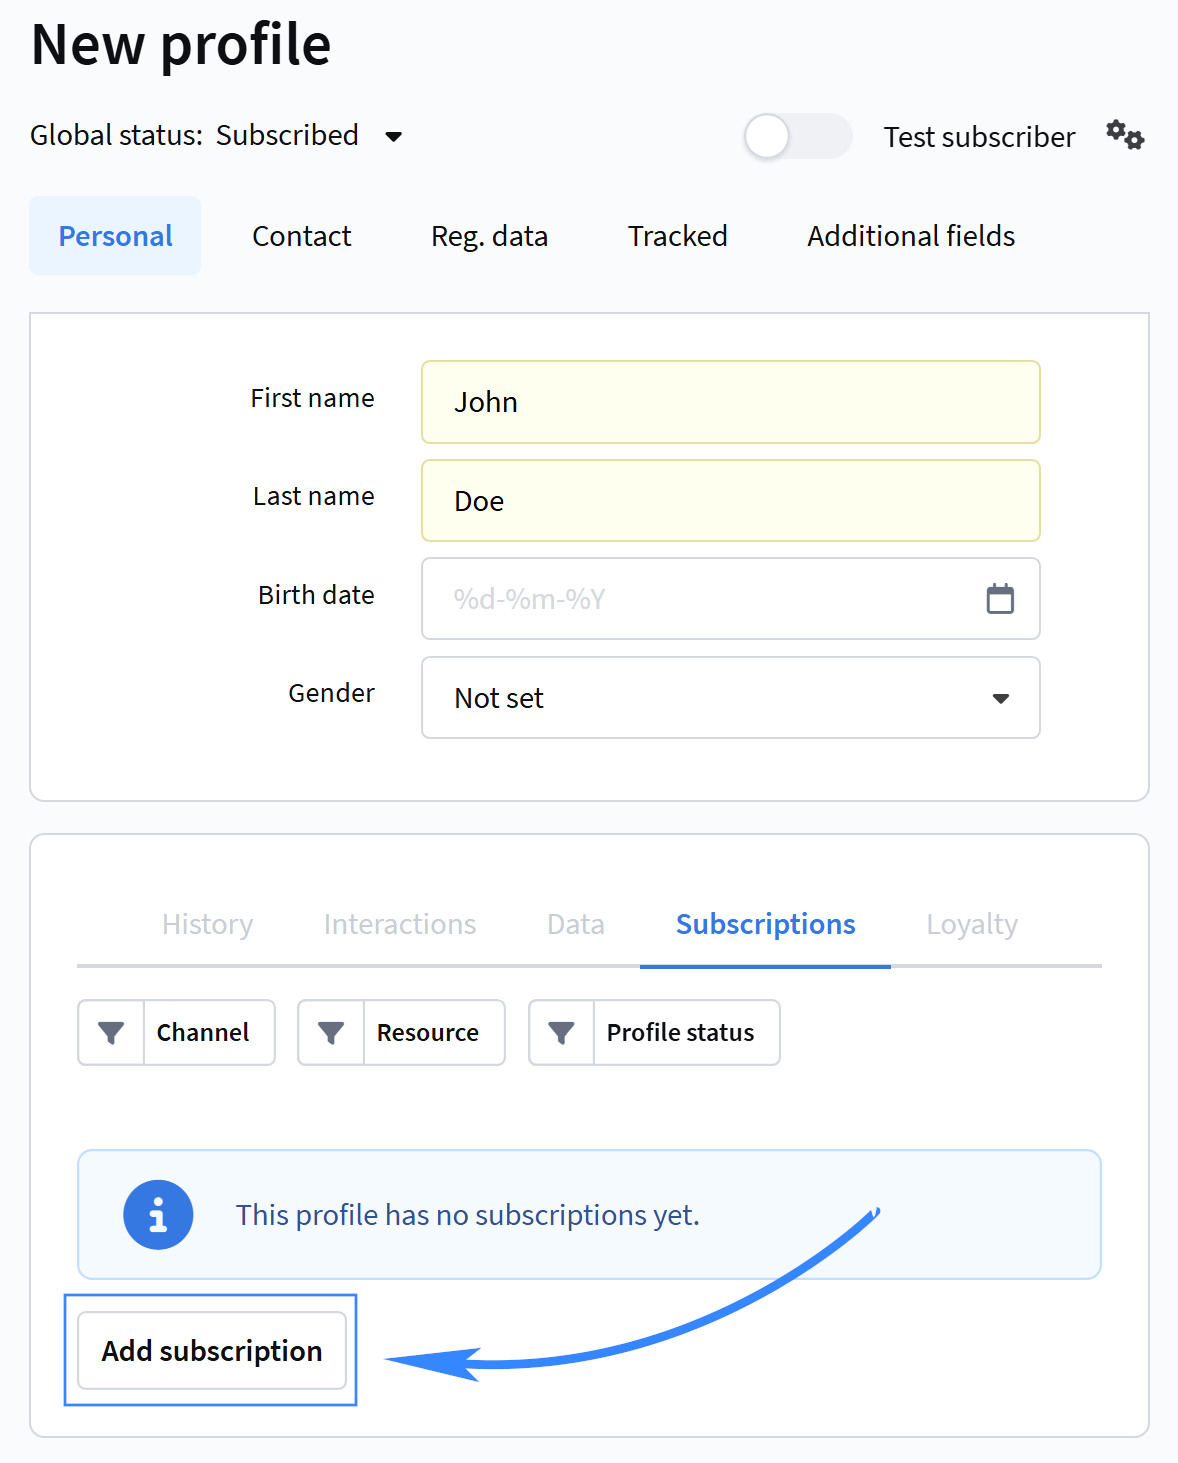 |
3. Select the created resource and the Email channel | 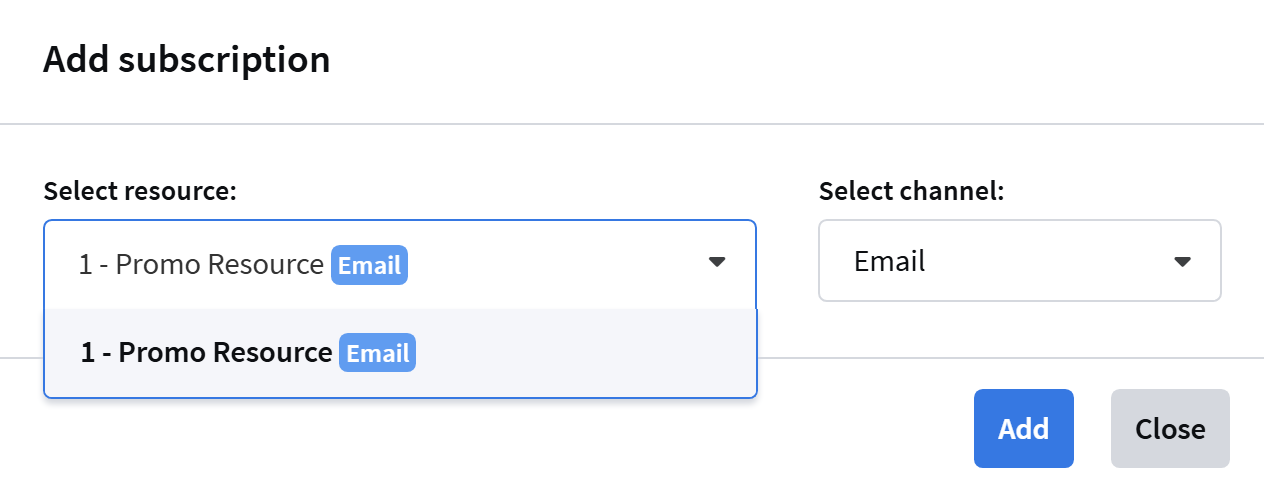 |
4. Enter the email address to send the message to | 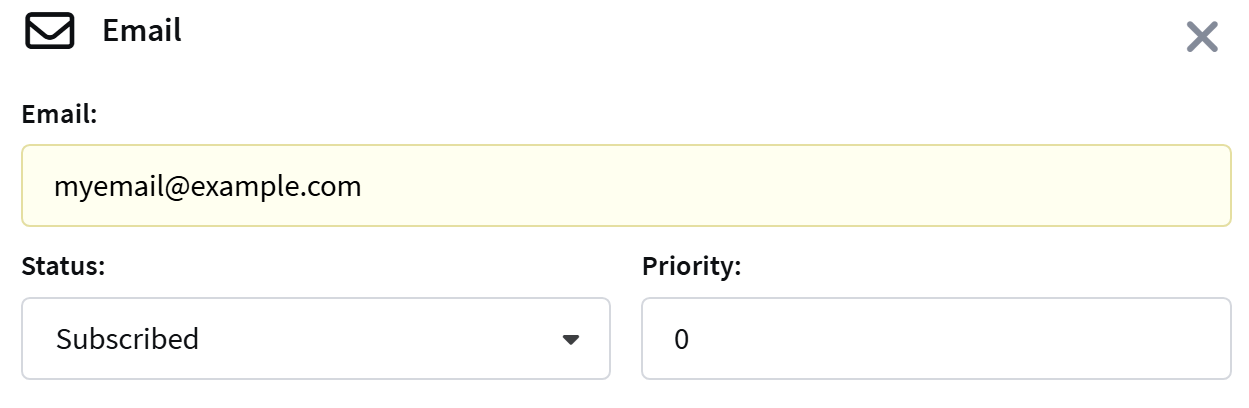 |
5. Save the profile

For more details on profiles, see this article.
Step 4. Create a message template
Template is the email content.
1. Go to Templates and click: | 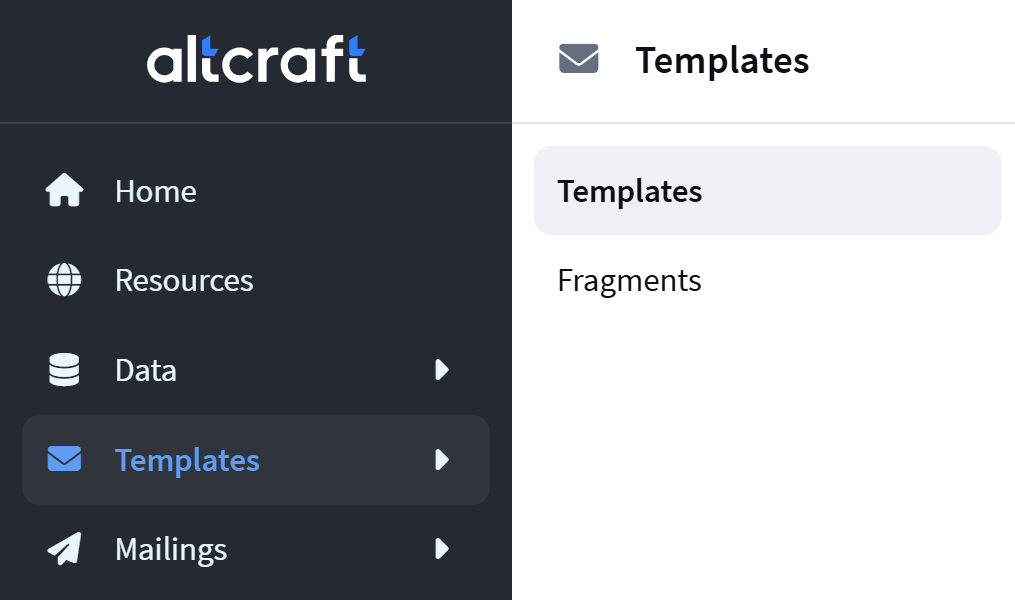 |
2. Select creation method Editor and channel Email
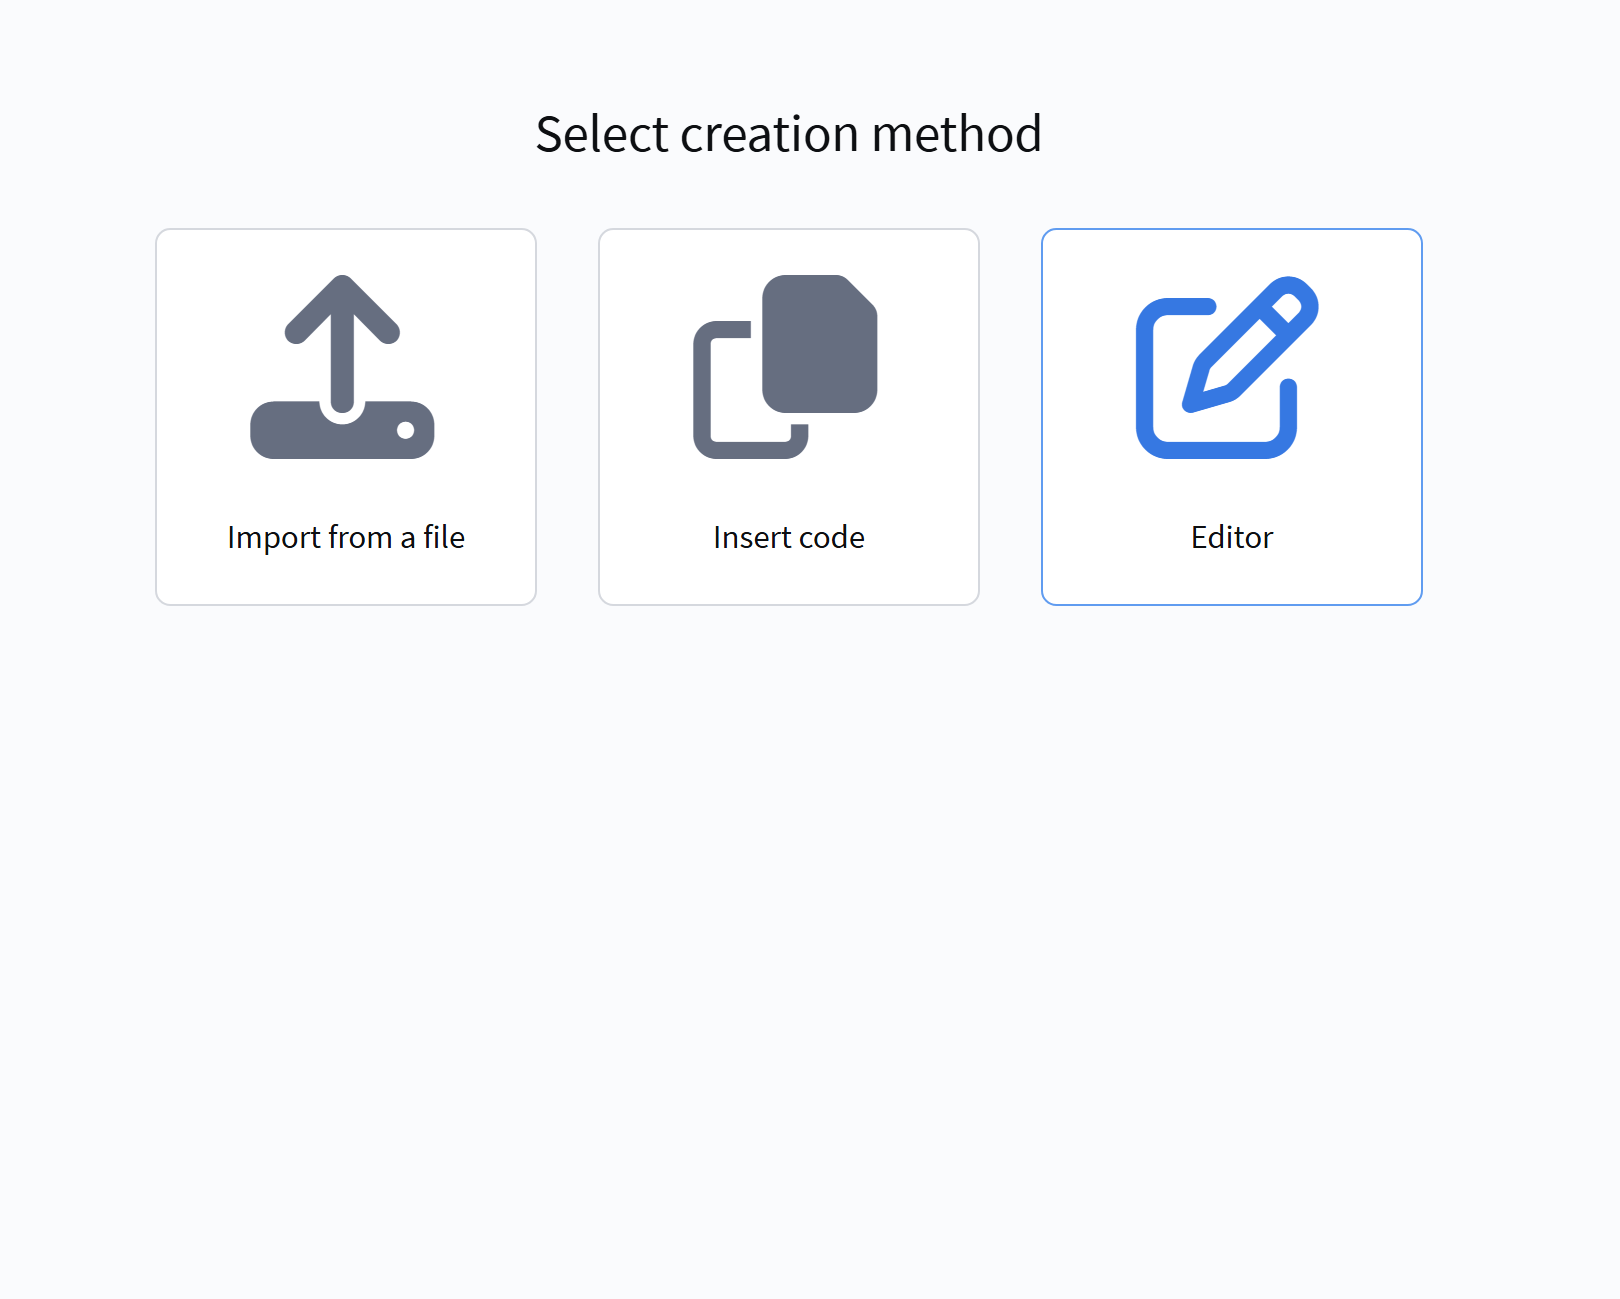 | 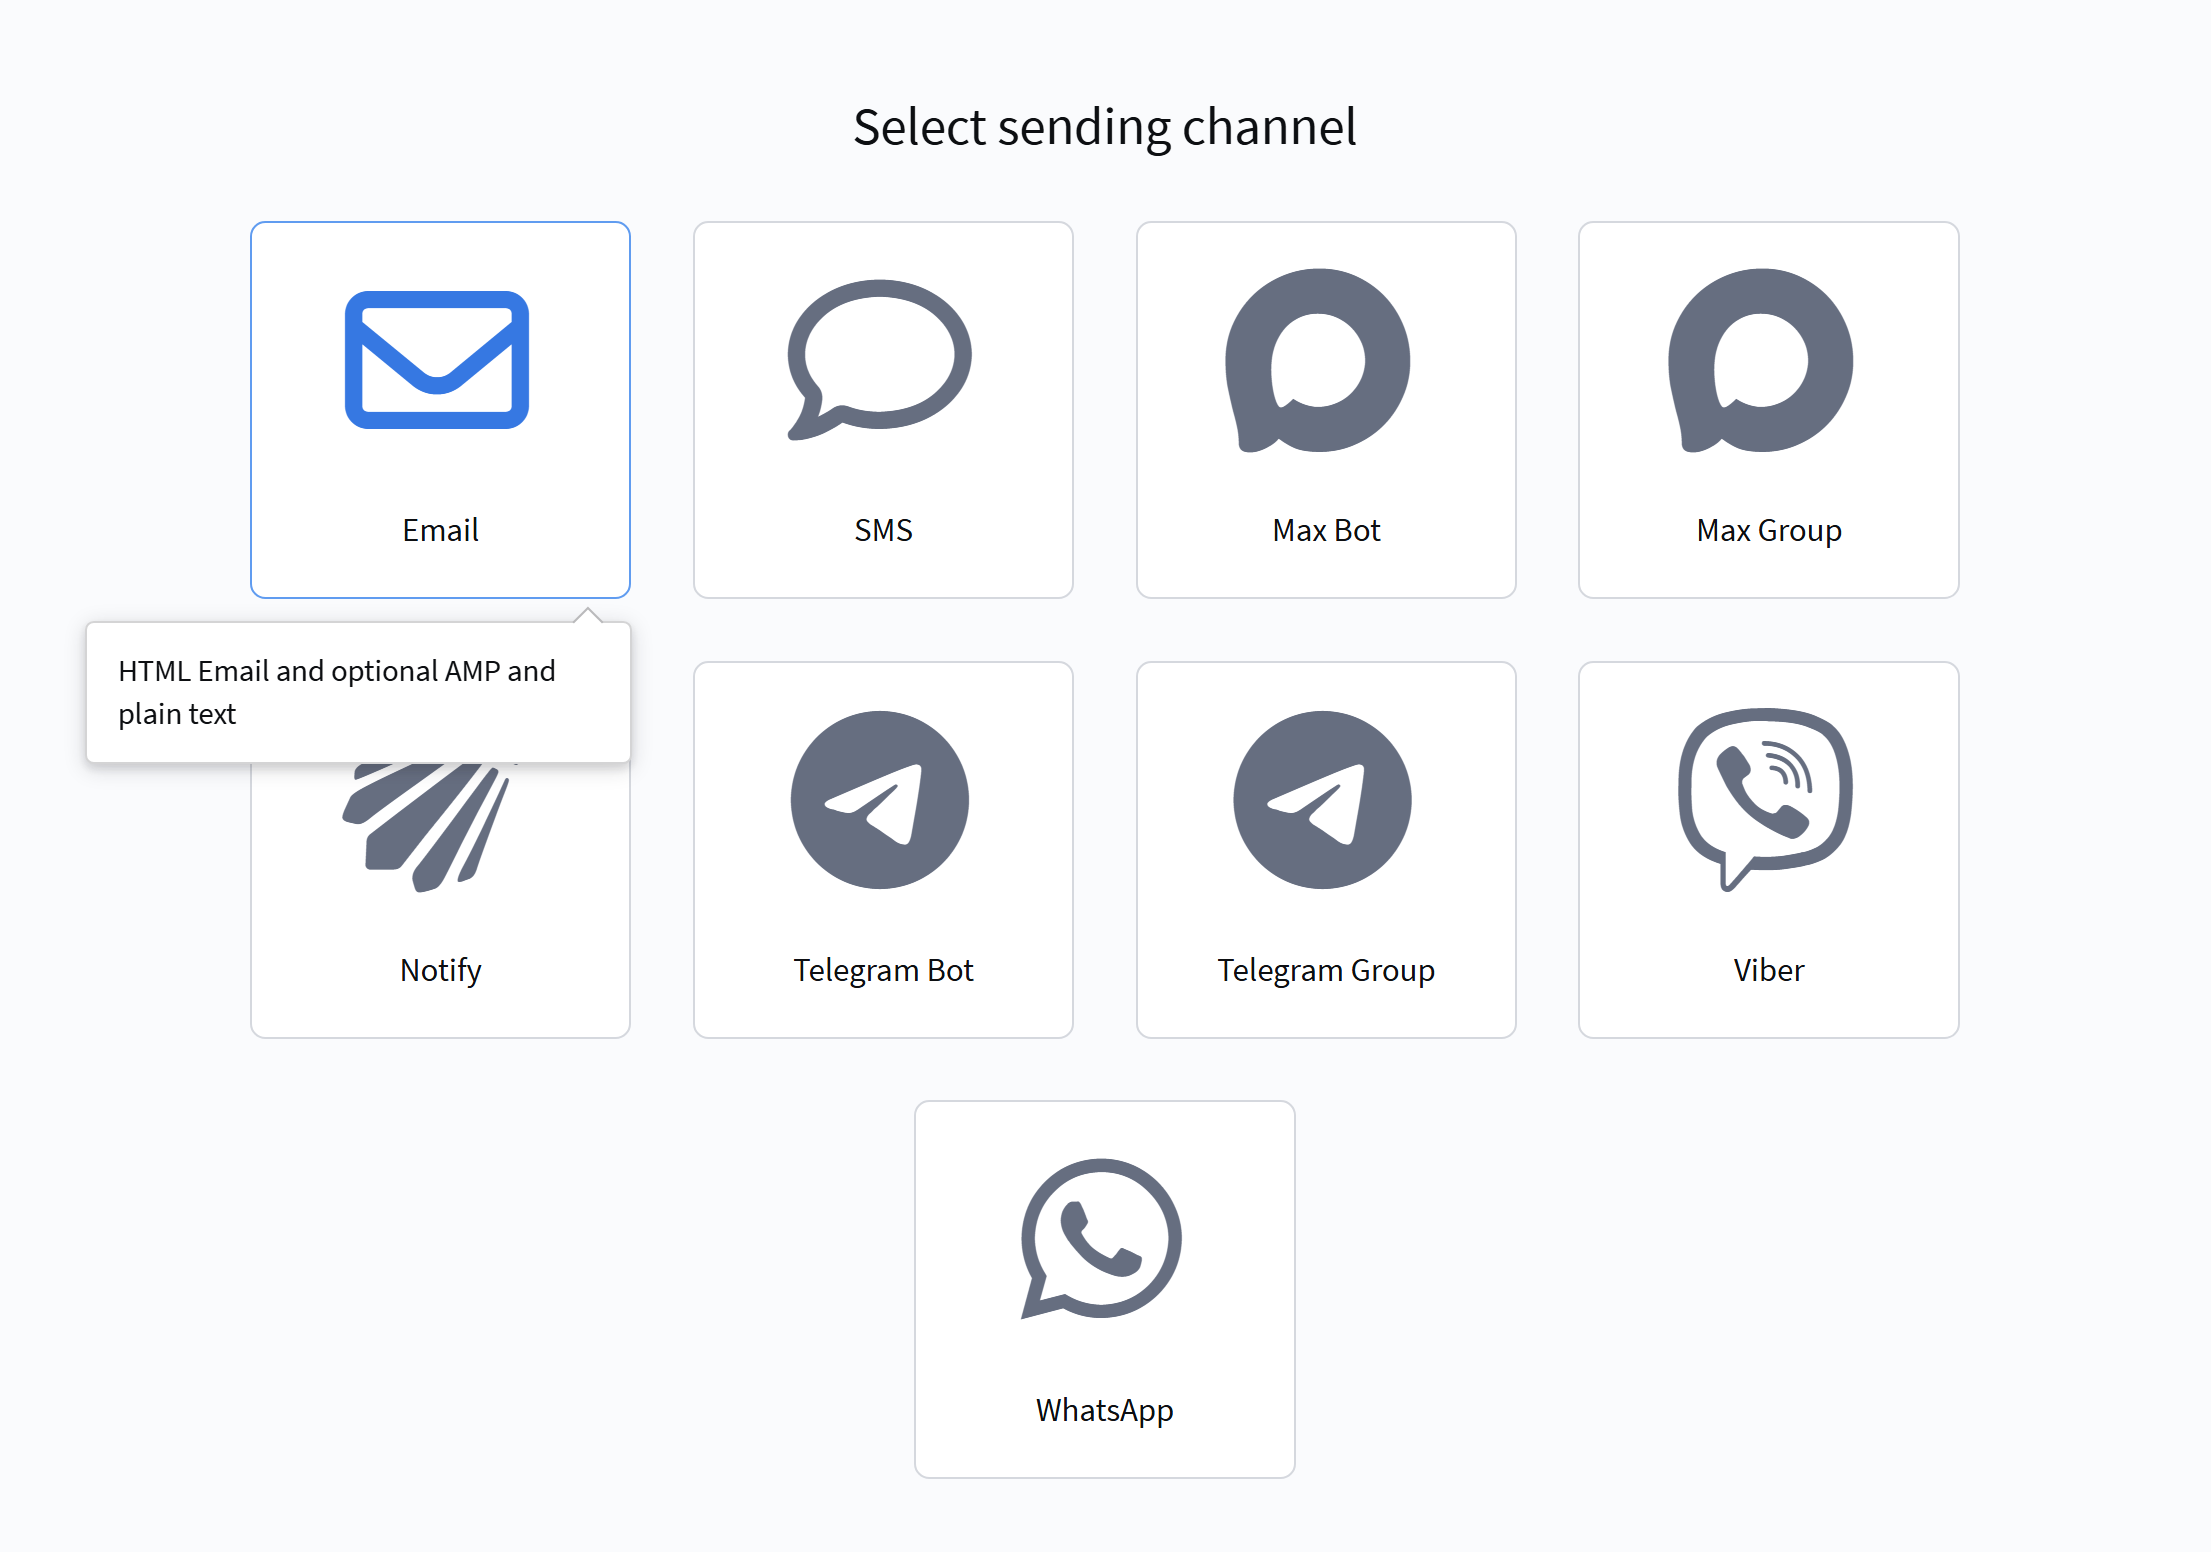 |
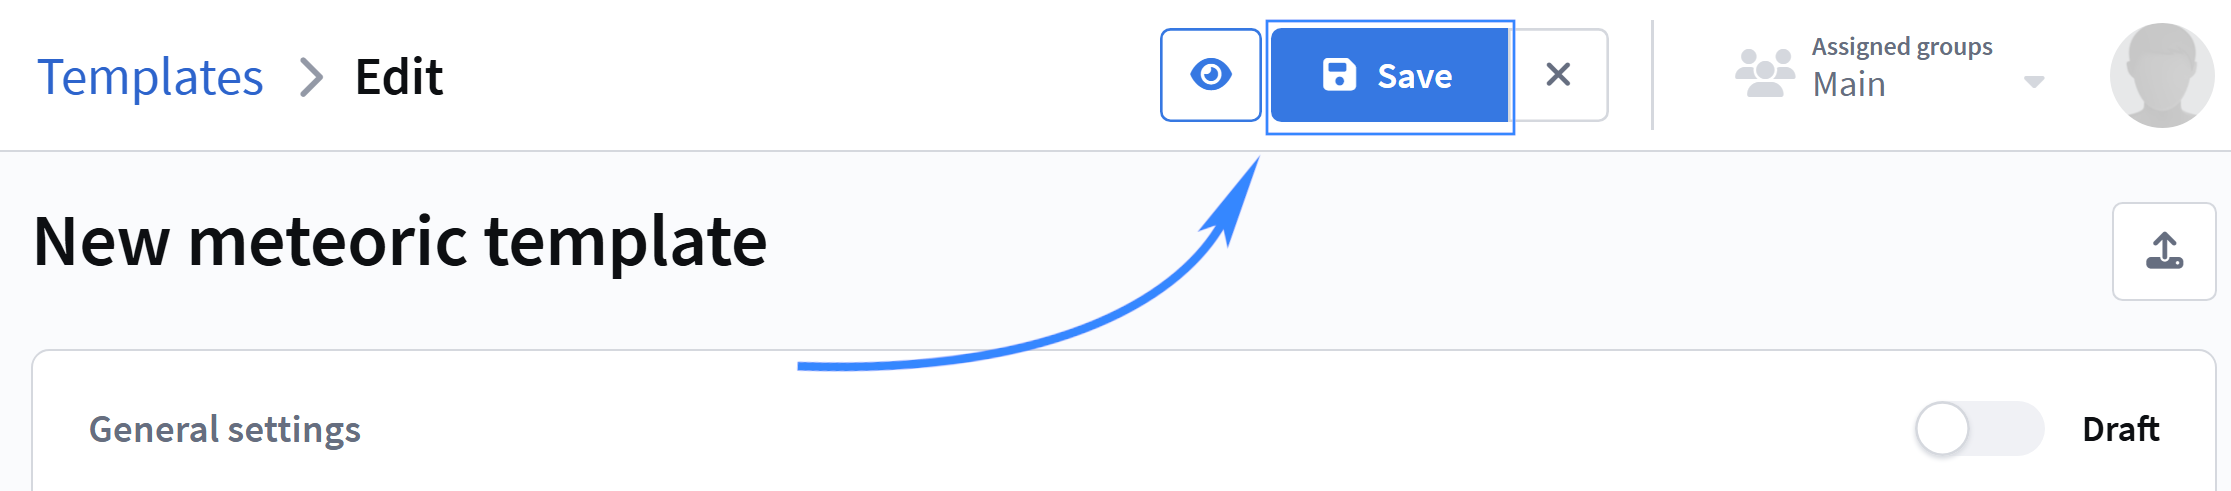
3. Open the Code Editor:
and save the template:
In this case, the default (placeholder) message template will be used. To configure or import your own templates, we recommend reading the Message Templates section.
Step 5. Create a mailing
1. Go to Mailings — Broadcasts and click: |  |
2. Enter the Mailing Name and select the Email channel | 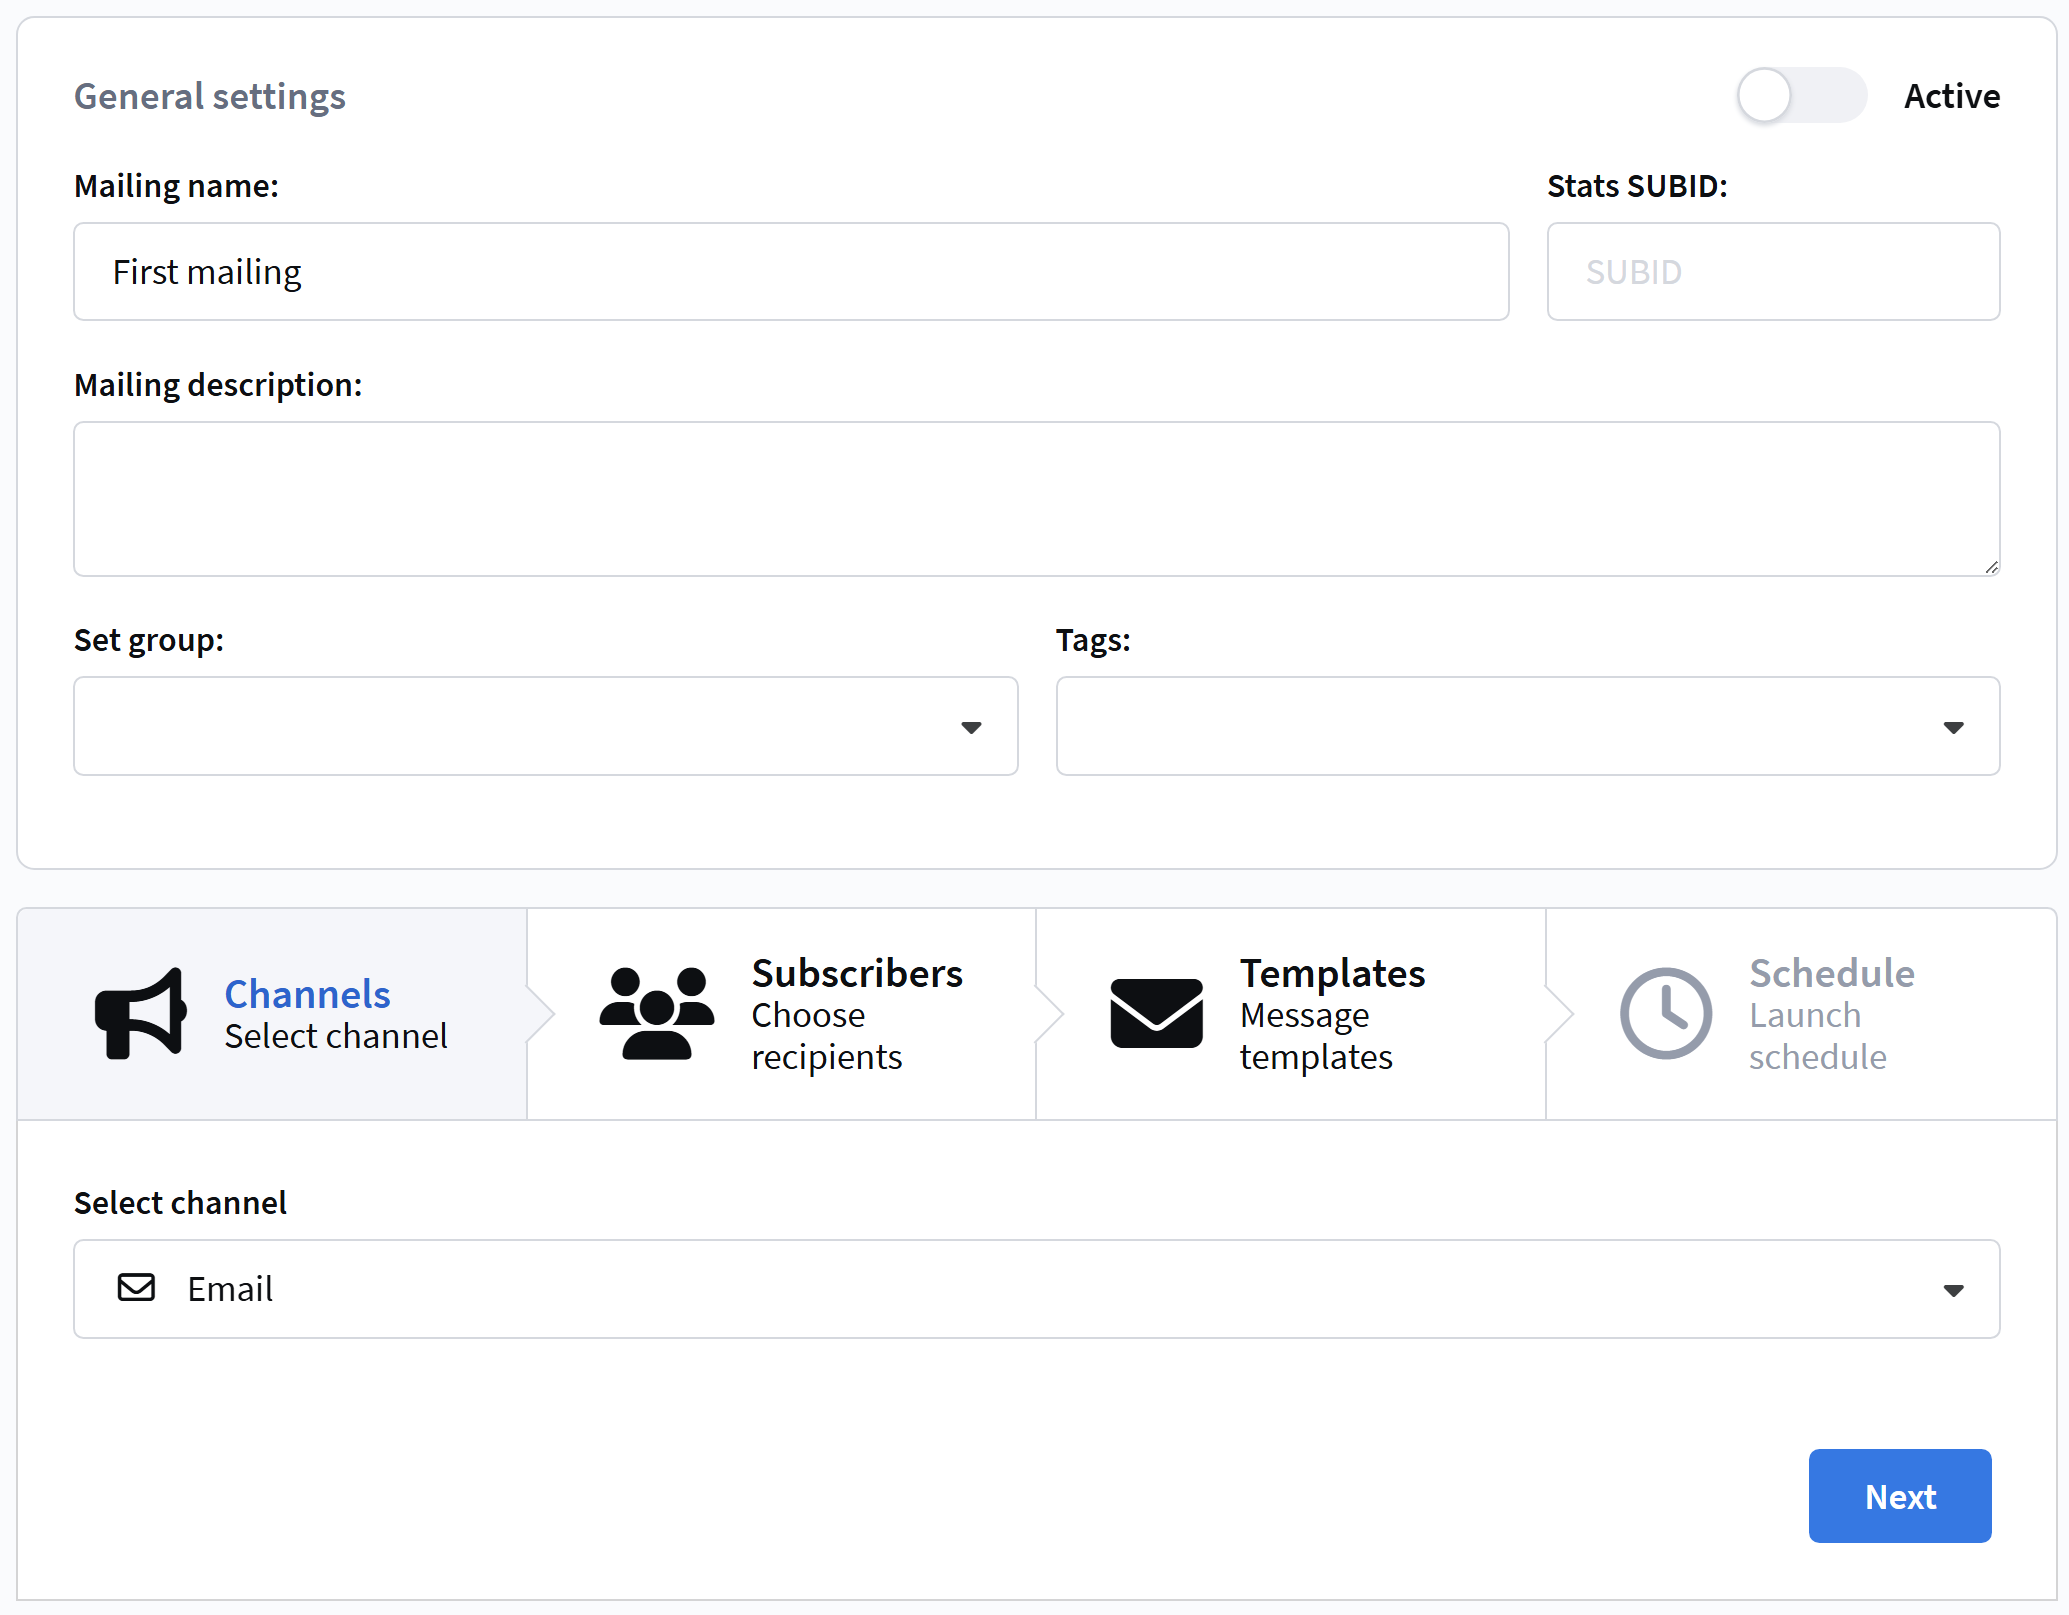 |
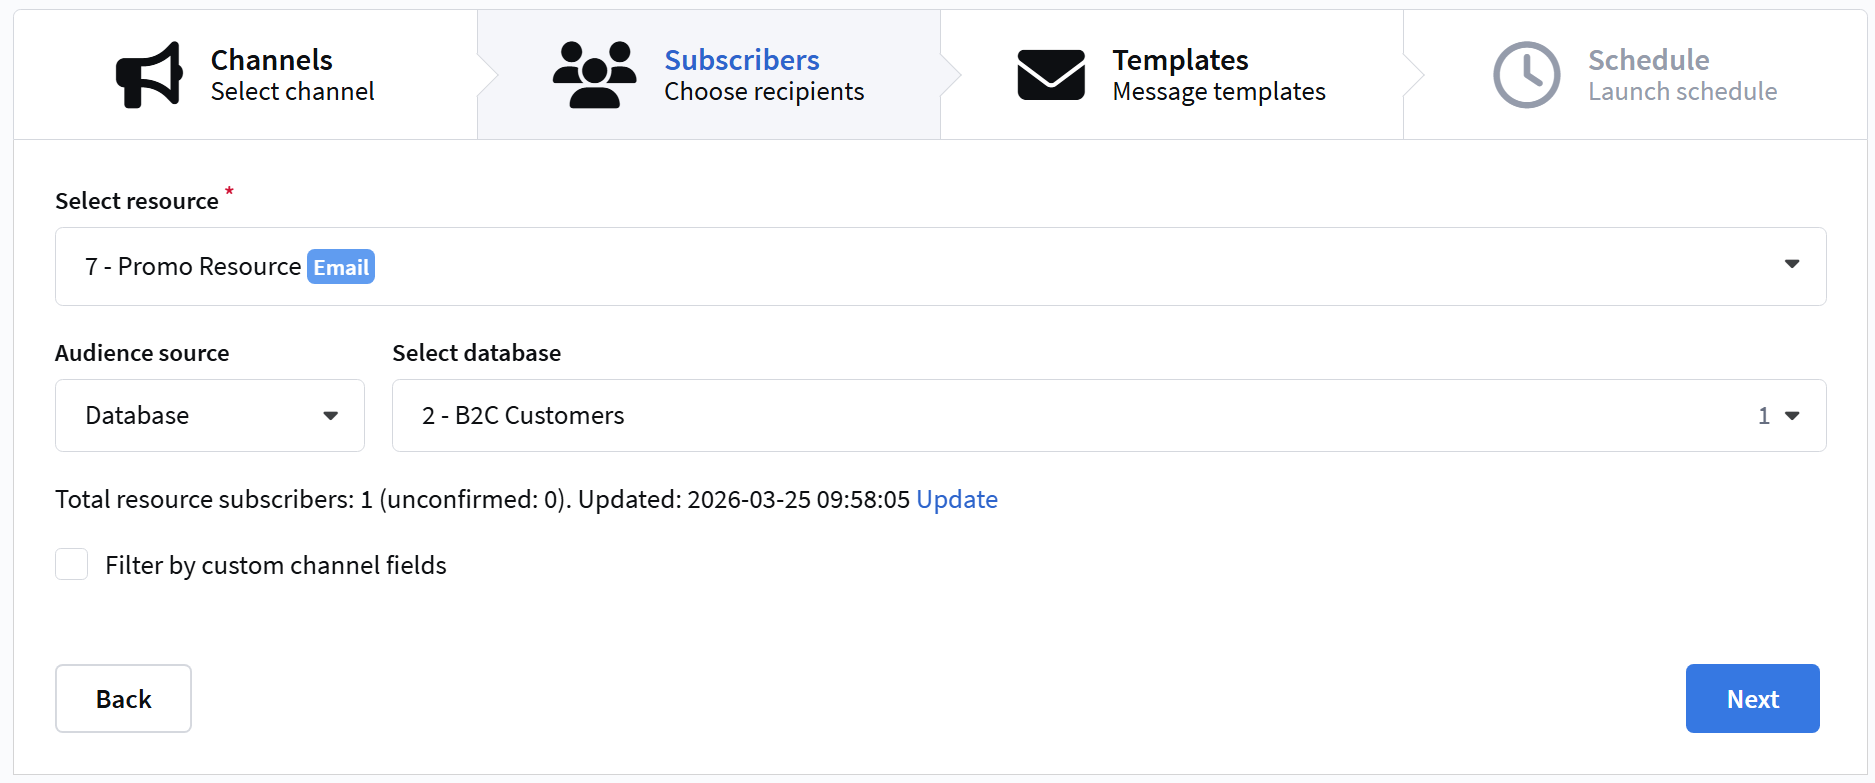
3. Configure recipients
Go to the Subscribers tab and specify:
- Resource — select the created resource
- Subscriber source — leave Database
- Profile Database — select the database created in step 1
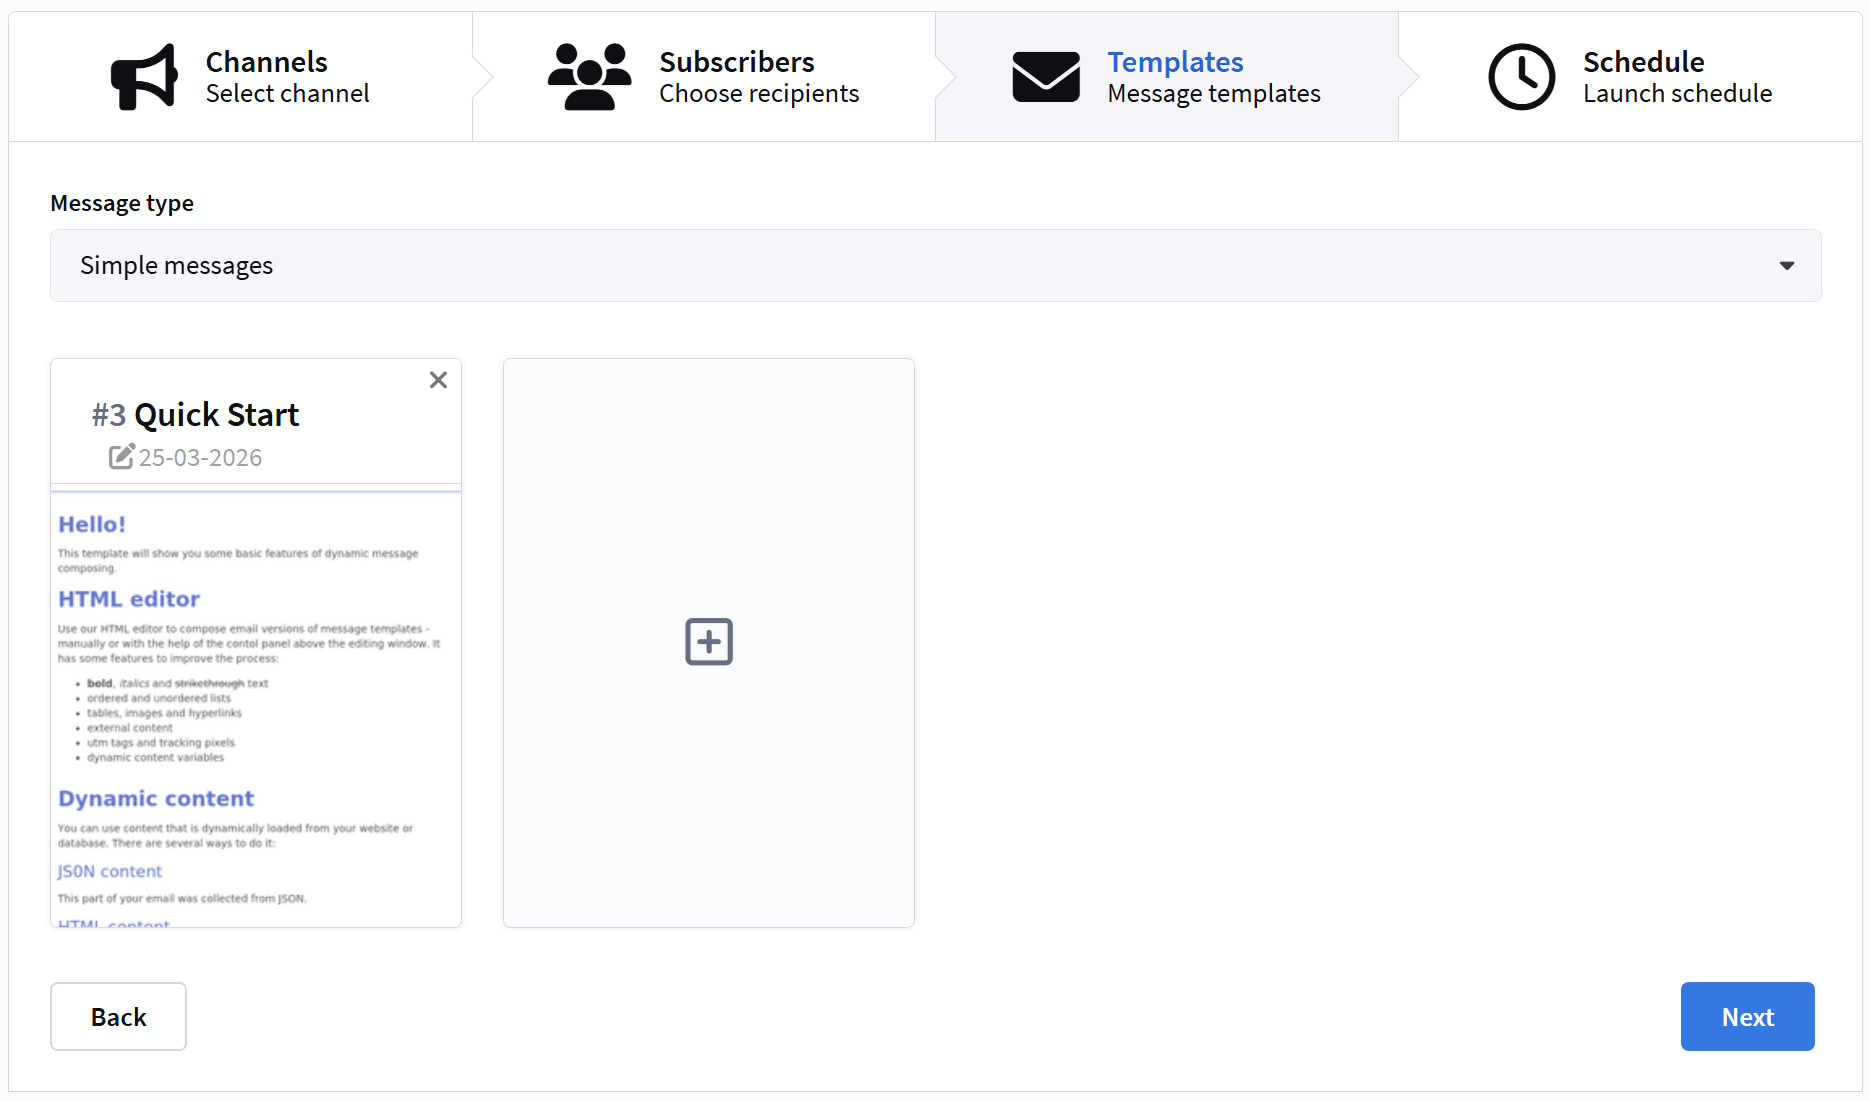
4. Select content
In the Templates tab, select the created Message Template.
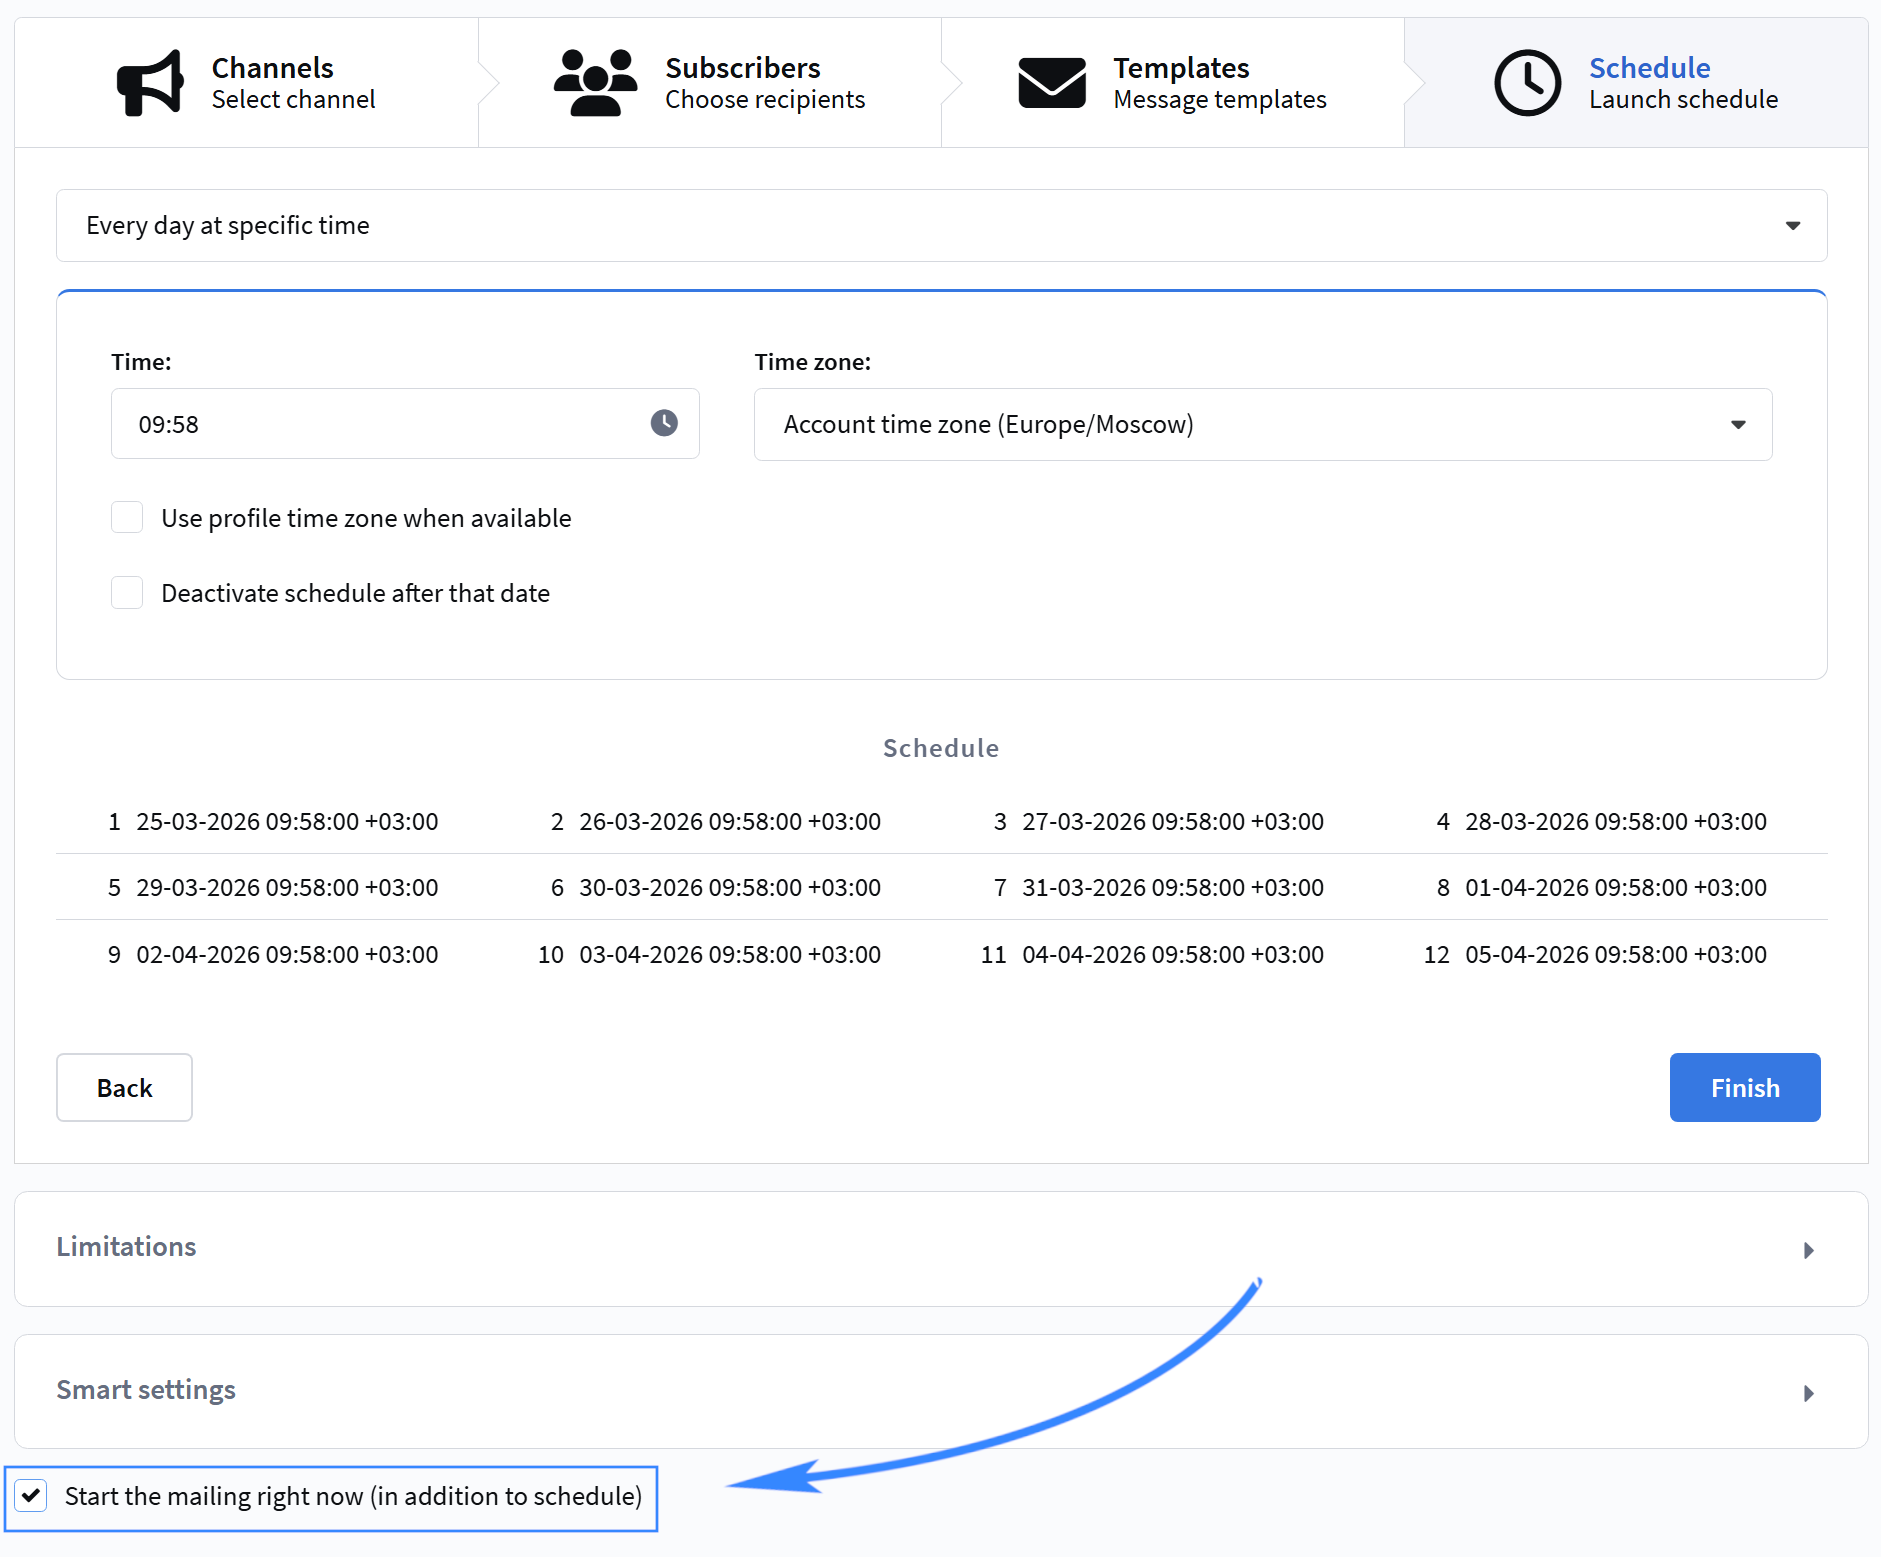
5. Set the sending time
Go to the Schedule tab:
- You can set a specific start time
- To send immediately after saving, enable Start mailing now (in addition to schedule)
6. Save and start
Activate the mailing and click Save. After saving, the mailing will start sending according to your settings.
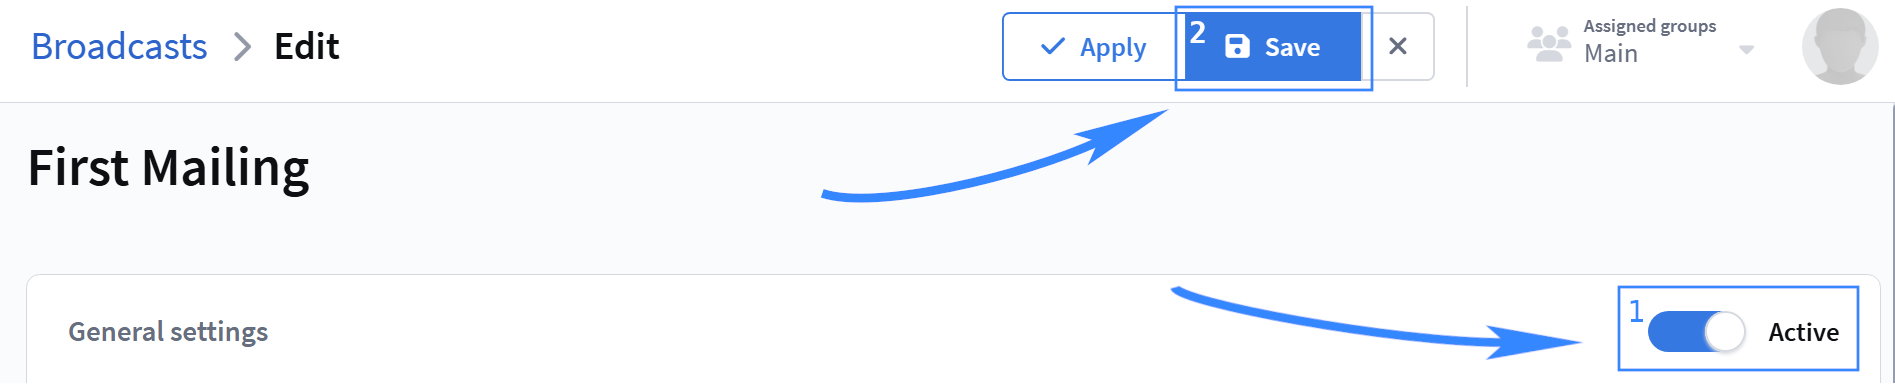
The email will be sent to the created test profile.
For more detailed information on sending email mailings, you can refer to this article.
Step 6. Check the result
You can check the results in two ways: in the analytics section or in the profile card.
Method 1. In the "Insights" section
1. Select the completed mailing and click 
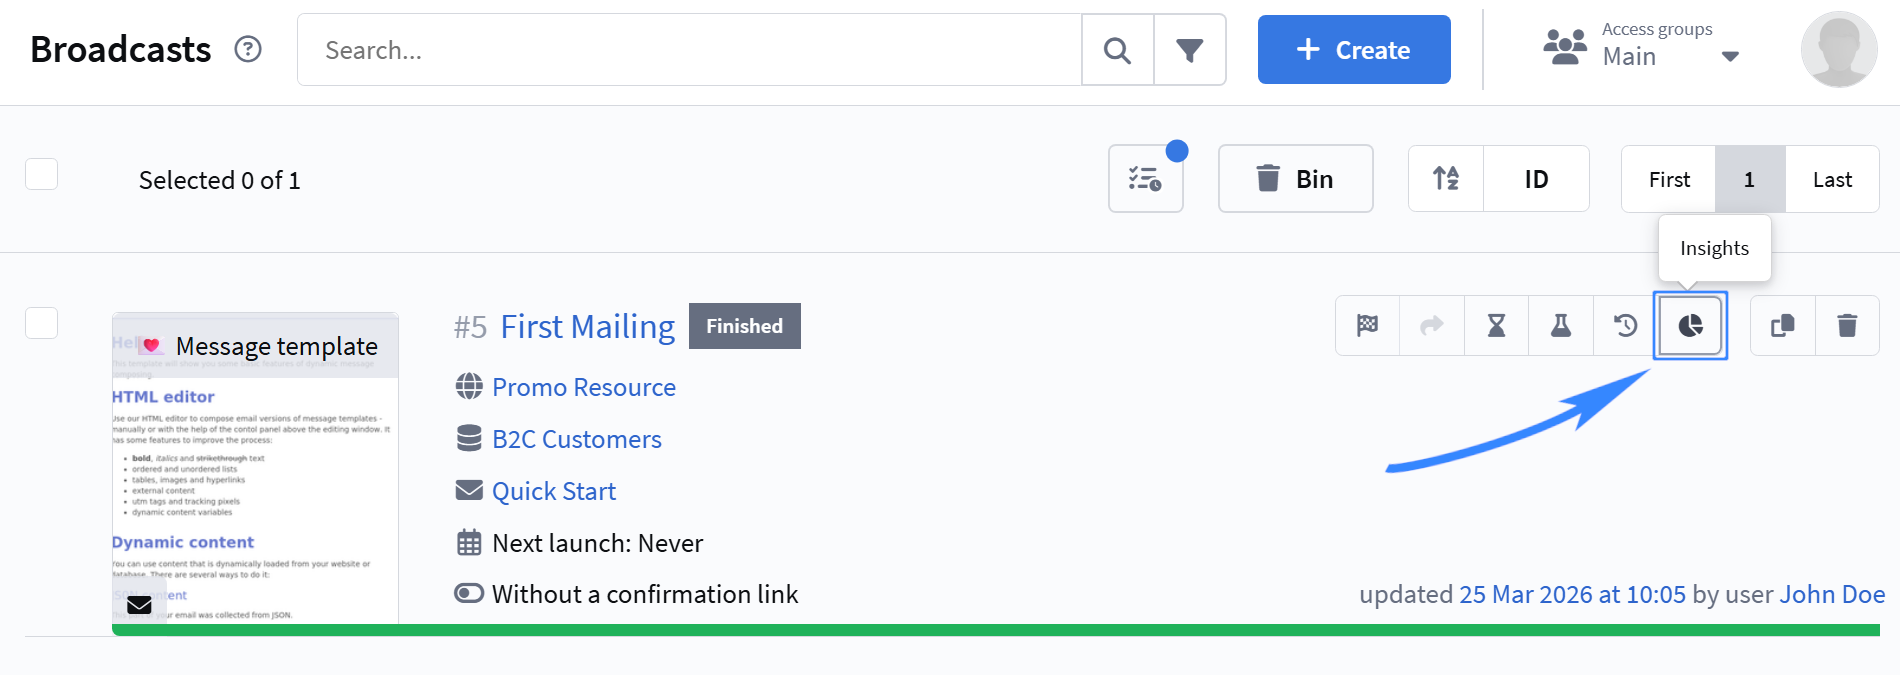
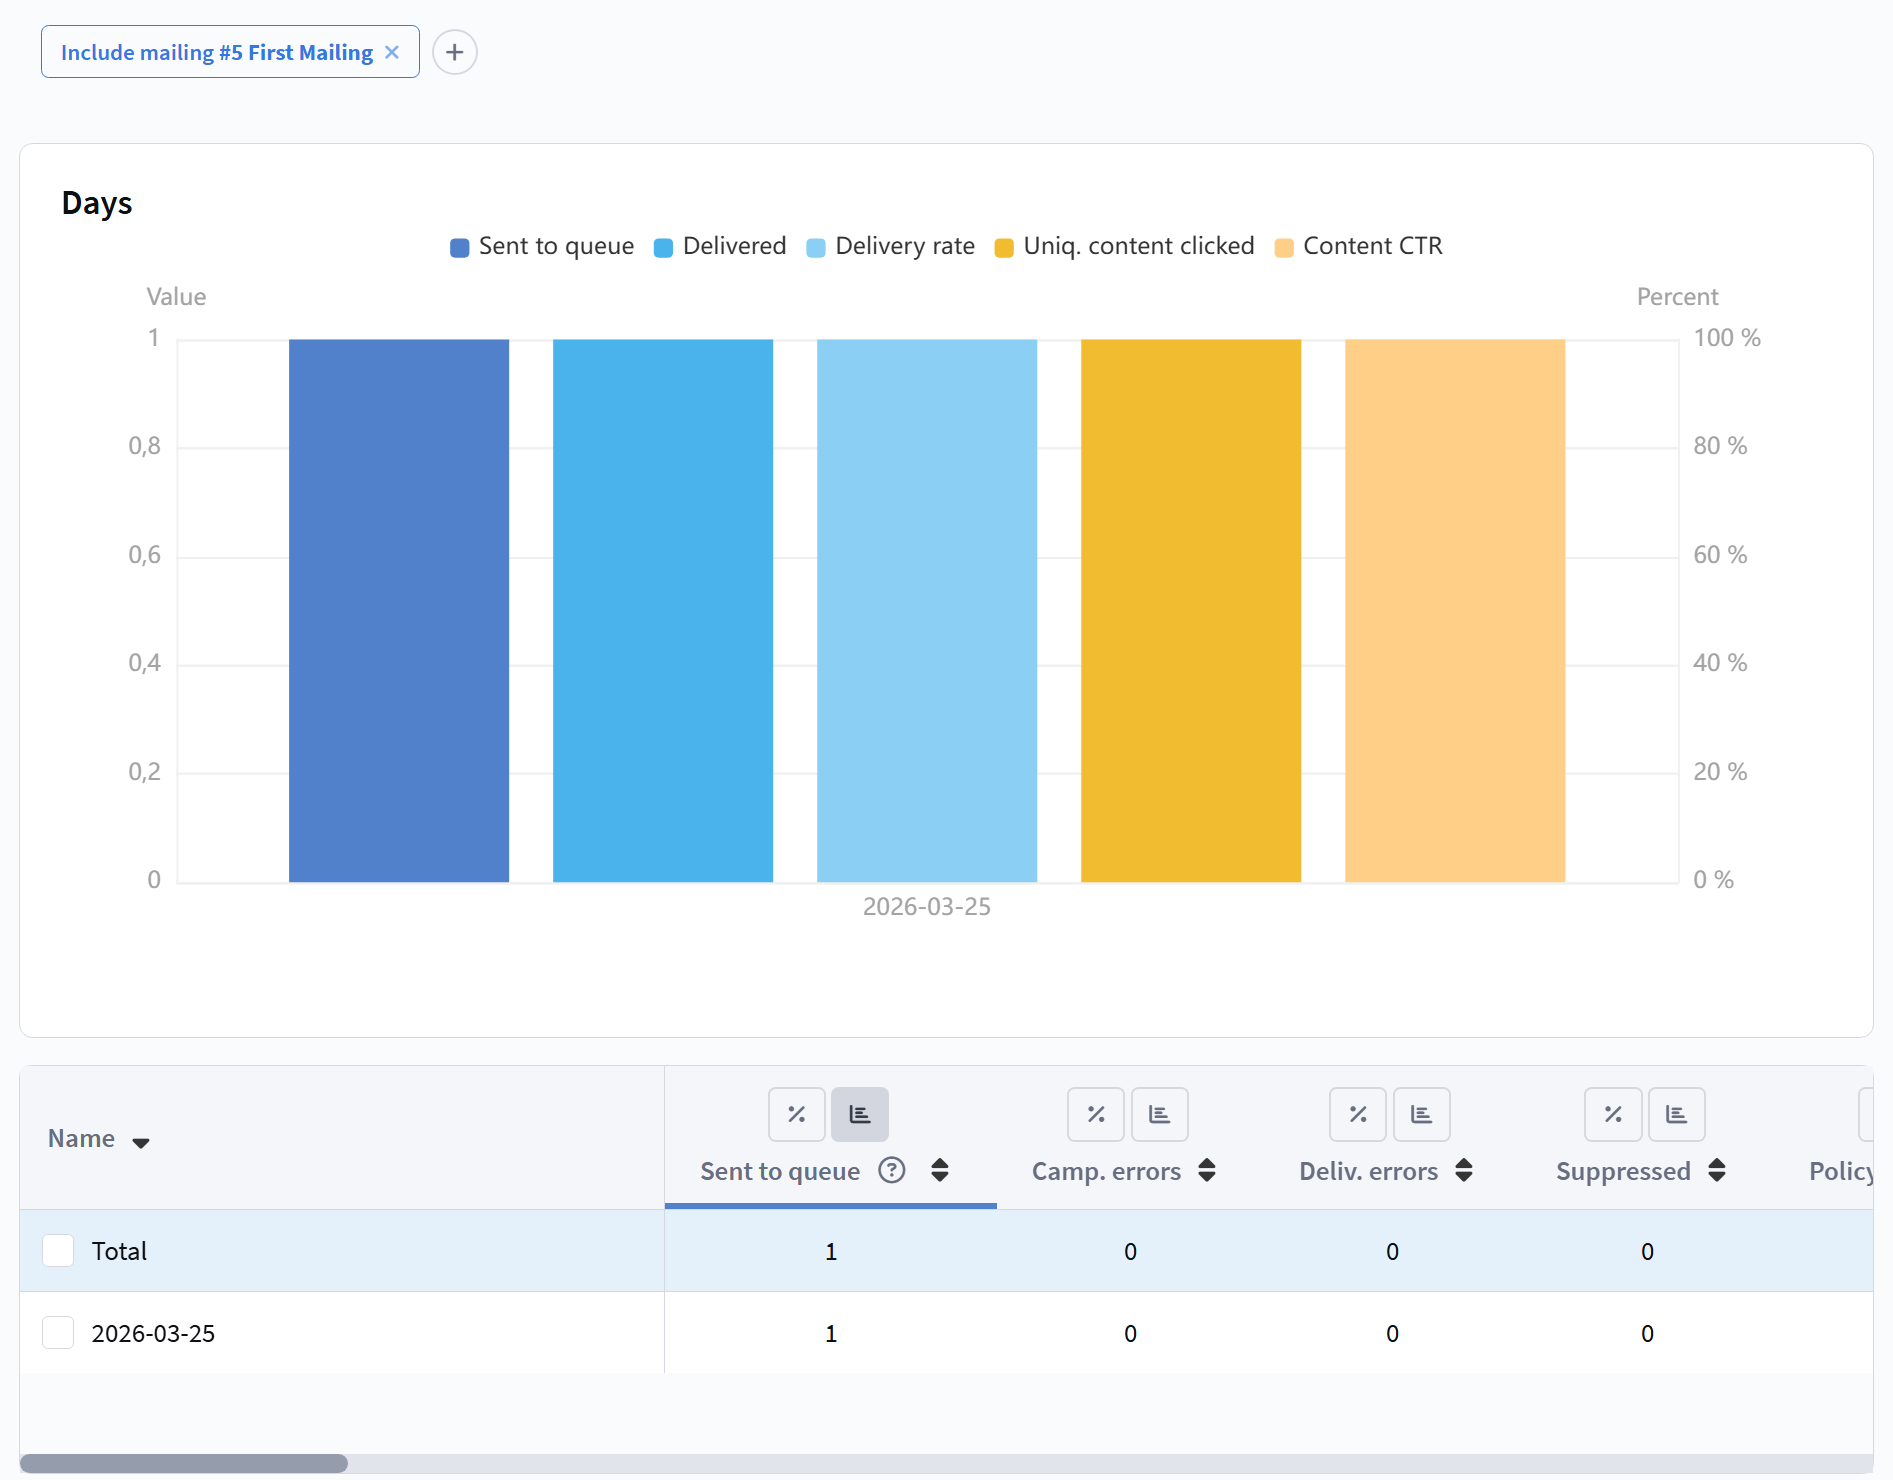
2. Review the statistics
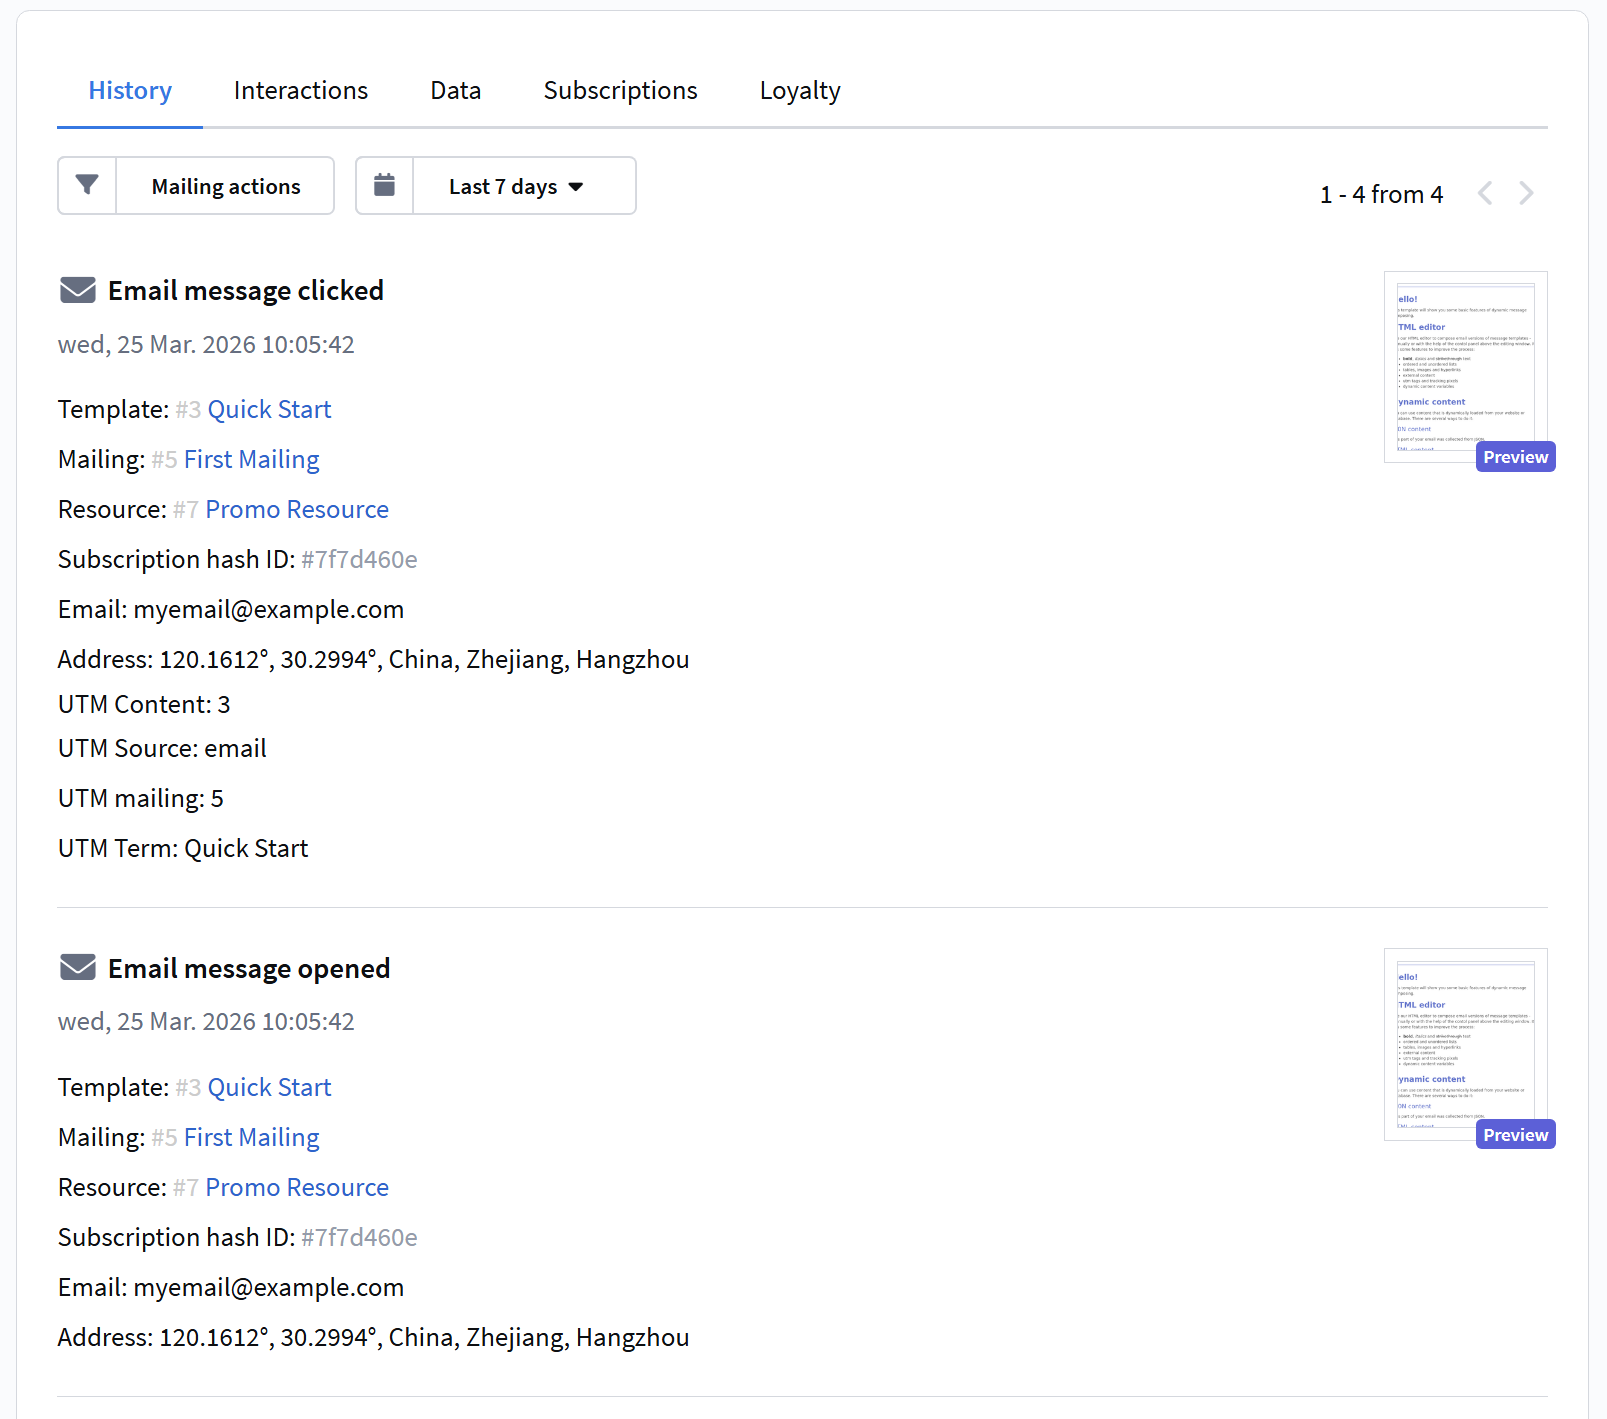
Method 2. In the profile
1. Go to | |
2. Open the created profile card and go to the History tab — it contains all information about the profile:
For more detailed information on reports, you can refer to this article.