Linking a pixel and the Tag manager
Tag manager is a convenient way to place tracking pixels on your site.
When you use pixels as a standalone tool, you have to make changes to the site's source code every time you create a new pixel. This can be avoided by using Tag manager.
You create a container, add a tag with the HTML code of the pixel and triggers that determine the conditions for firing the pixel. Next, you place the container code on the site pages. If in the future you want to make some changes to the operation of the pixels (create a new pixel or suspend the operation of an existing one), it will be enough to edit the tag in the platform interface.
This guide will help you link Tracking Pixels and Tag manager in the Altcraft system.
Step 1: Create a pixel
1. Go to the Pixels section and click Create.
2. Set up and save the pixel.
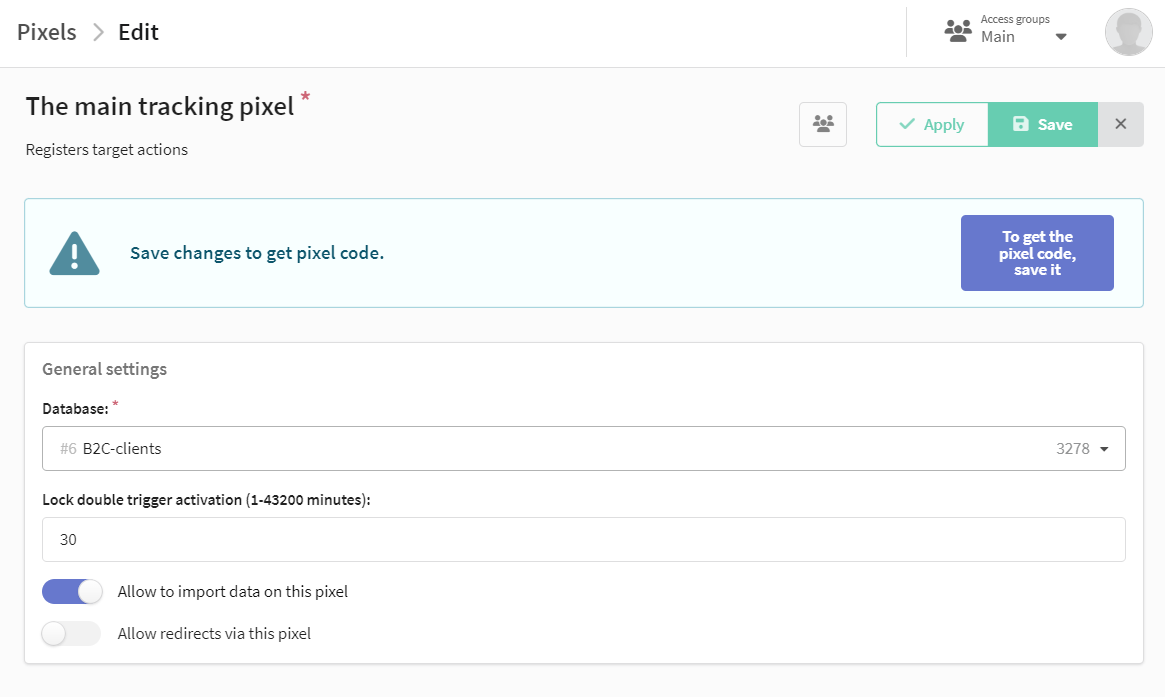
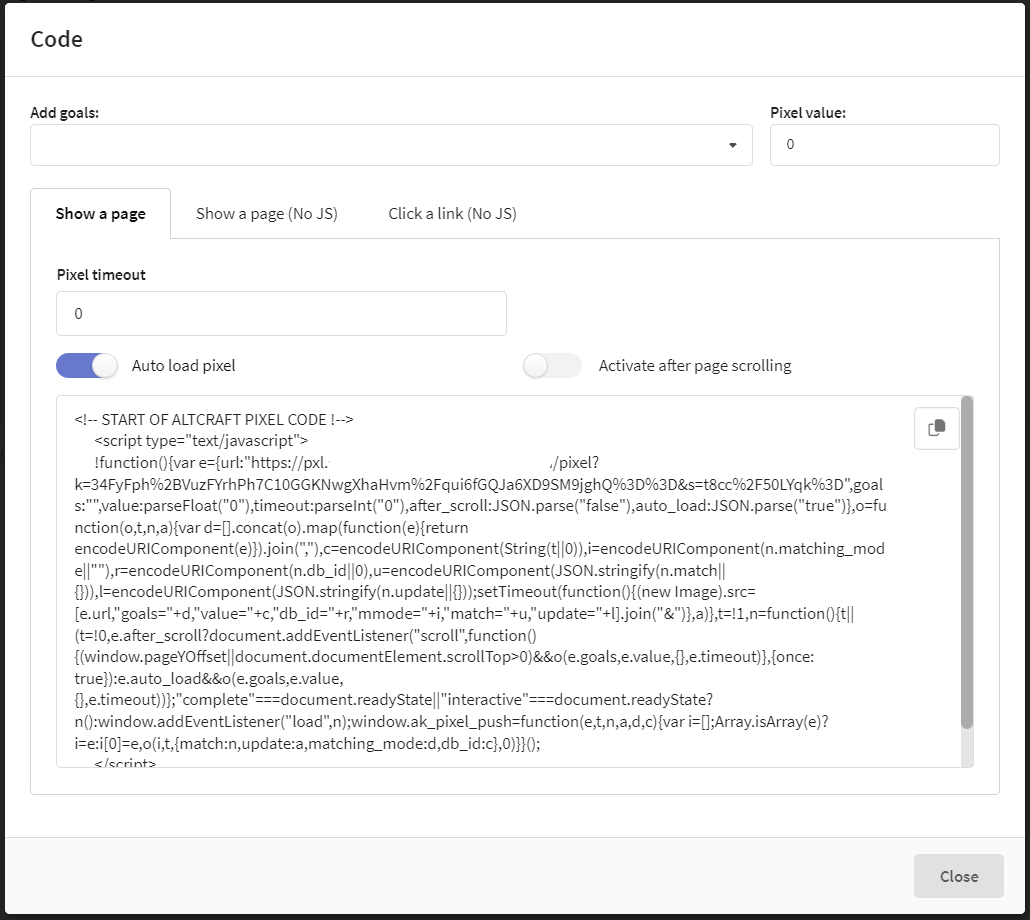
3. Click Get pixel code, add goals and copy the code.
You can find more information about creating and configuring a pixel in this article.
Step 2: Create a tag in a container
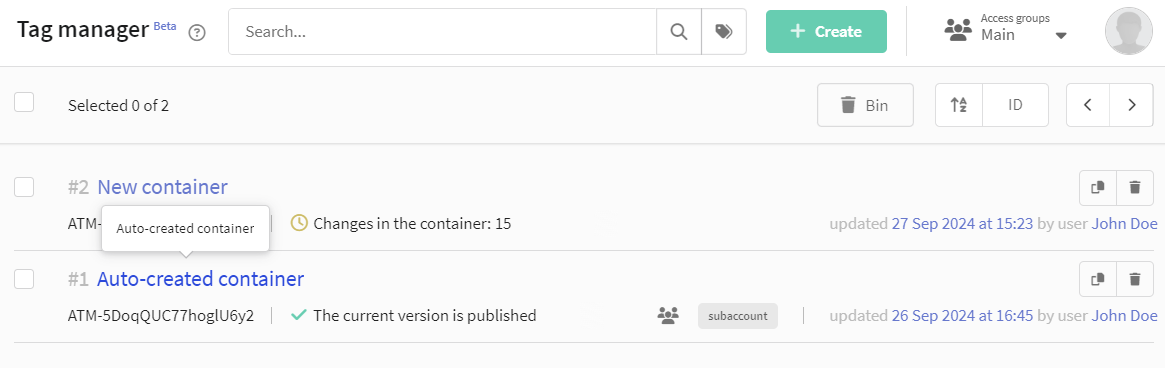
1. Go to Weblayer —> Tag manager.
2. Open the container:
3. On the Tags tab, click + Create.
4. Enter a name of a tag.
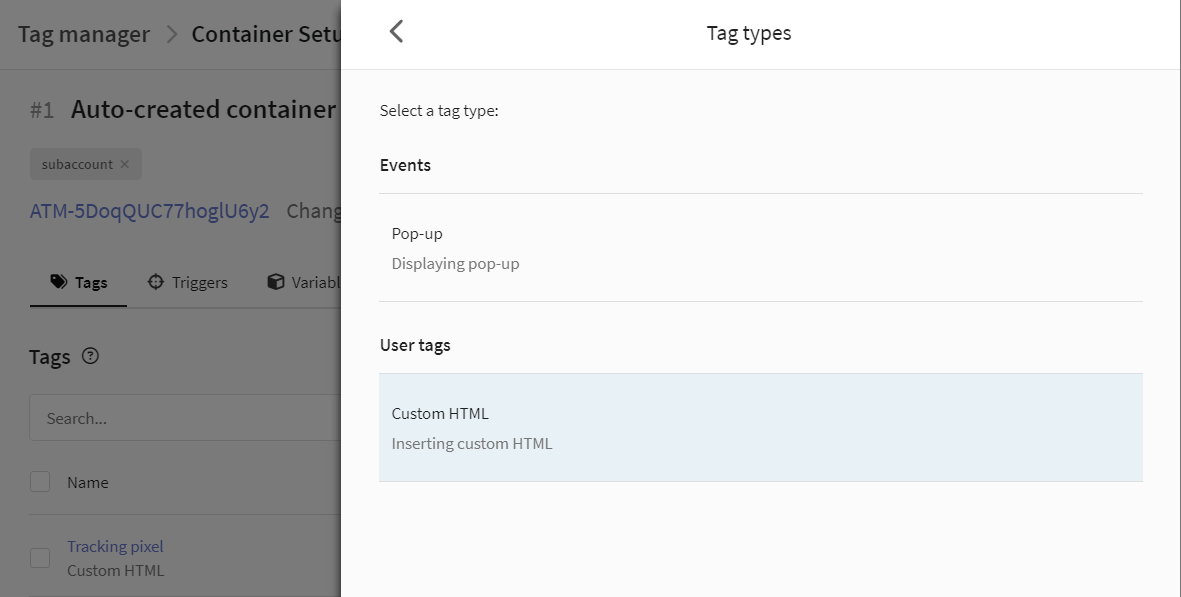
5. Select Custom HTML as the Tag Type.
6. Paste the pixel code into the editor window.
7. Set activation settings and limits for the tag.
8. Select and set up trigger. The tag will be activated when the conditions specified in the trigger occur. If you want to limit the audience of users for whom the trigger will work, additionally set up a filter.
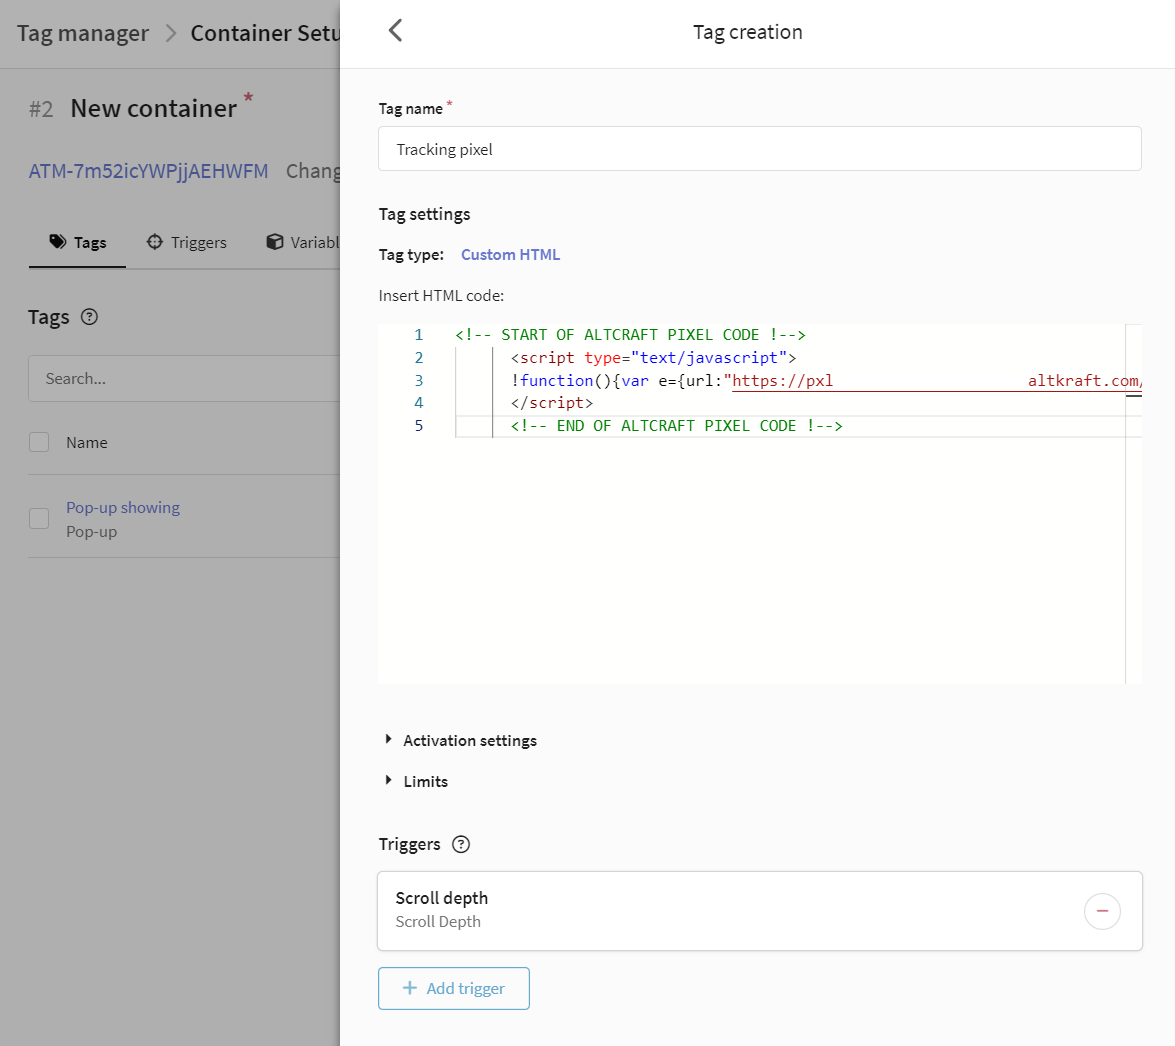
9. Save the tag.
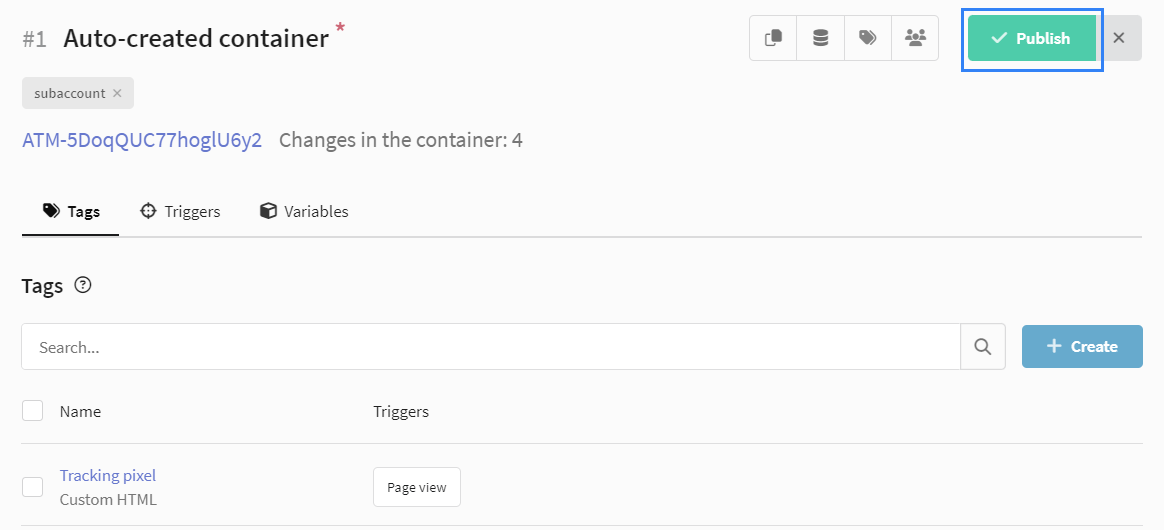
10. Click Publish —> Publishing and creating a new version. All changes to the container will be made to the site, and the pixel will begin tracking user actions.
More information about creating a container, setting up tags and triggers can be found in this article.