Binding data channel and forms
Description
In most cases, the form is intended for website visitors. We create forms to invite new visitors to subscribe to our content newsletter. How does it work? The client goes to the site, sees the form and, if he has both strength and desire, fills it out. The next step is all the data the user left is sent to one of the databases on the platform and we get a new digital profile. As you may have noticed, the people who fill out the form usually don't subscribe to any of our resources yet.
But what if we'd like to get feedback from the client who is already subscribed to one of the resources? Or what if we'd like to collect additional information about the profile in order to decide whether it is worth subscribing to a new resource? In this case, we send the form to the person whose digital profile is already in our database. Will the Altcraft platform be able to recognize a familiar profile?
The answer is yes. If the profile that decided to fill out the form is already in one of your databases, the platform will identify it the moment the person opens the form.
What are the advantages? You can set up automatic prefilling of form fields with data from the profile. For example, in a form, you have fields where you ask the customer to enter his email and phone number, but you already know all this information. Why not save our client's time and just send him a link to the template, where both his email and his phone number will be filled out?
The only thing is, all this is possible only if you use one of the communication channels to send the form. If you just add HTML code of the form in the website structure, you can't prefill the form. Setting up automatic identification of a profile when filling out a form occurs at the time of creating a template for the mailing — in the HTML version of the letter.
How to add a form to a template
First of all, let's add a link to our template.
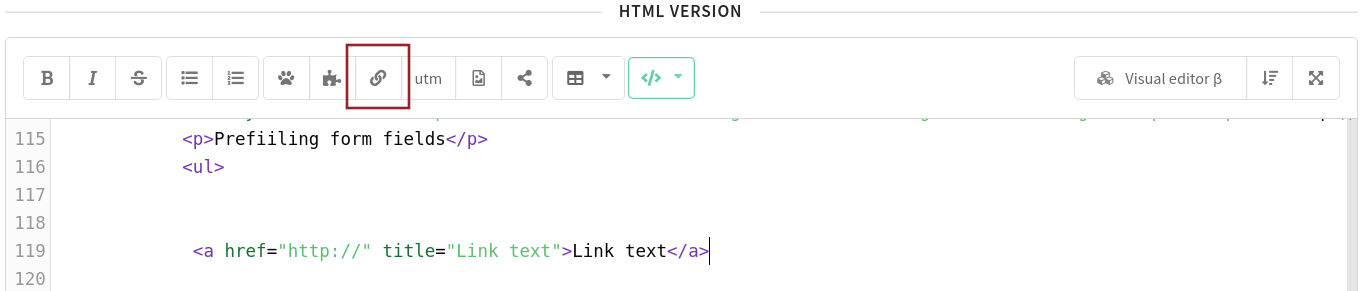
Now in the HTML version of the letter, click </> and select "Forms" from the drop-down list. You'll see all existing forms on the right. Choose one of them.
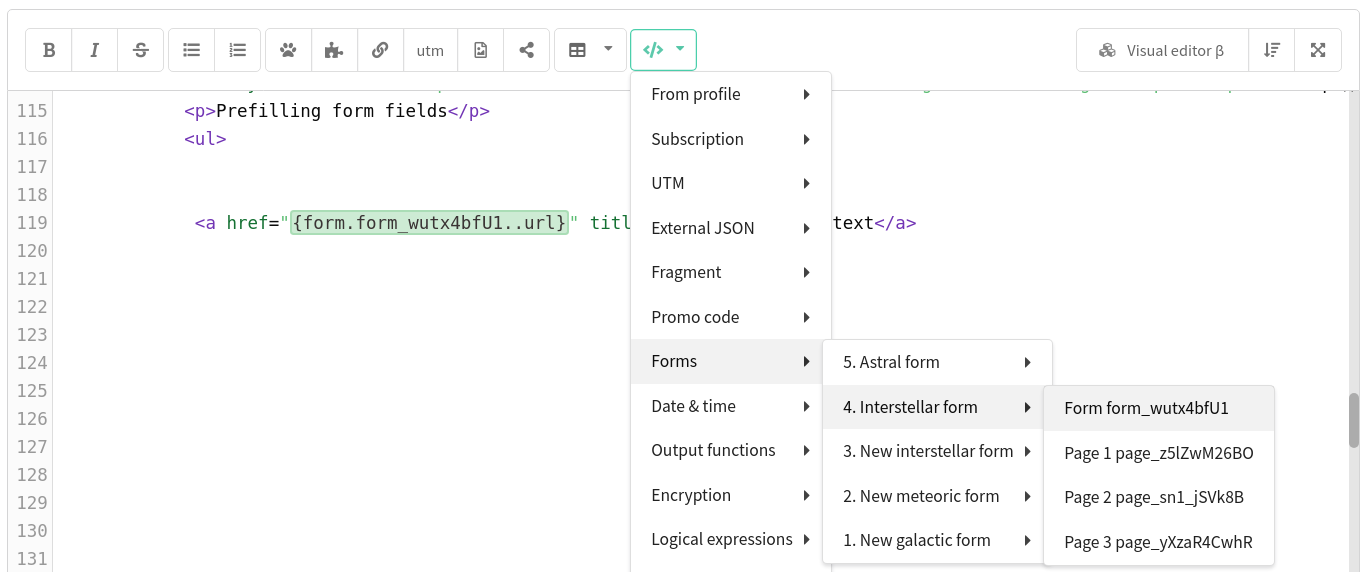
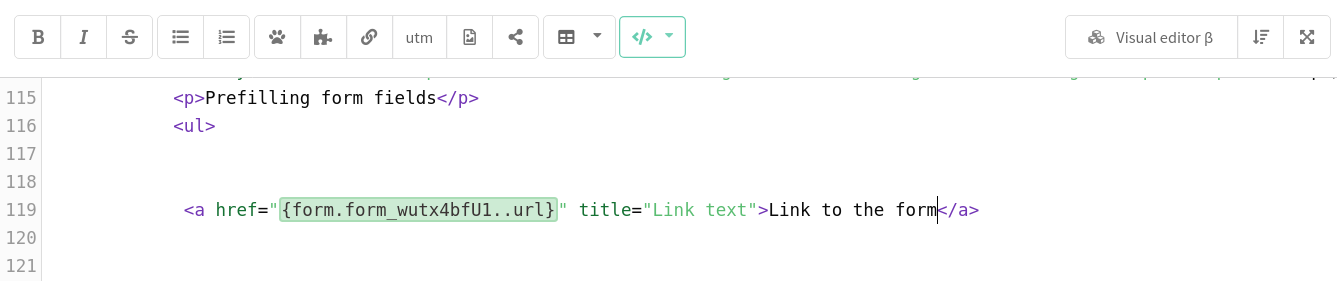
Then, move the form variable you've just added to the value of the href attribute.
<a href="{form.form_eyyVPnQTE.url}" name="link1">Link to the form "form_eyyVPnQTE"</a>
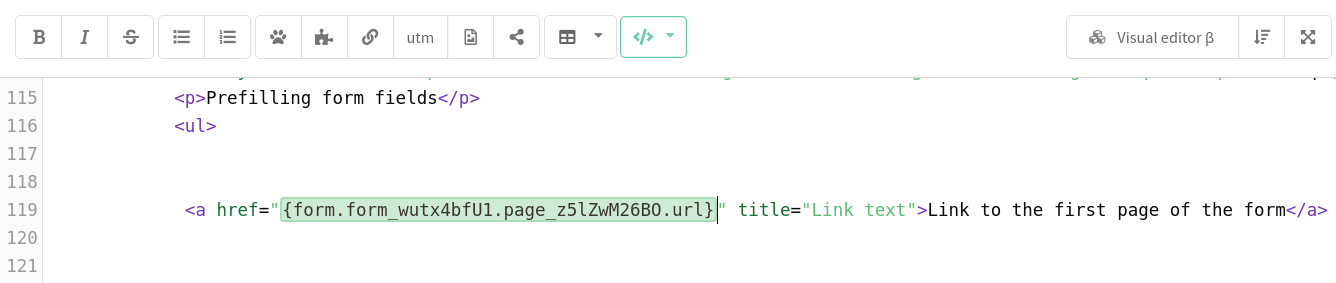
By the way, if there are several pages in the form, you can add a link to the page you need.
<a href="{form.form_eyyVPnQTE.page_eq55Lrs_J.url}" name="link2">Link to the first page of the form "form_eyyVPnQTE"</a>
How to set up auto-complete fields
First, add a link to the form. We have described how to do this above.
After that, you need to pass the parameters and their values. Parameters are the fields of our form. For example, "name", "email". But we cannot pass such general names — it is necessary to find the identifier of each field.
Where can you find it? Go back to your form. Each element you add has its own ID.
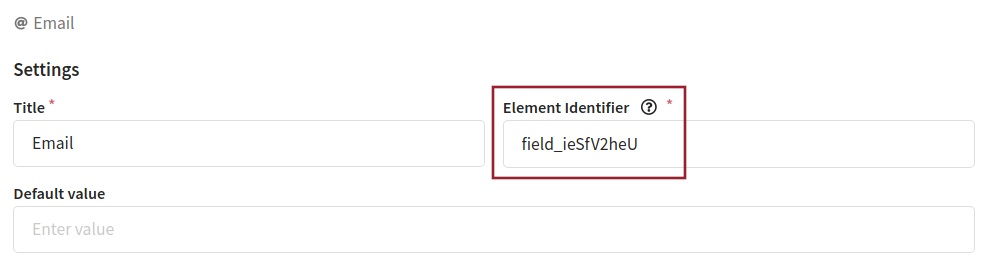
Copy it. Go back to the template and paste the parameter, separated by the ampersand &.
<a href="{form.form_eyyVPnQTE.url}&field_54vkfiZJC" name="link3">Link to the form with automatic prefilling of fields</a>
Now it''s time to figure out the values of the parameters. The simplest option is to fill them on your own. In other words, enter a text or a number that will be displayed the same for each customer.
<a href="{form.form_eyyVPnQTE.url}&field_54vkfiZJC={formcrypt("Свое значени�е")}" name="link3">Link to the form with auto-filled fields</a>
However, if you want to personalize your content, use variables. To do this, in the top panel, click "</>", select "Encryption" → "The form variable".
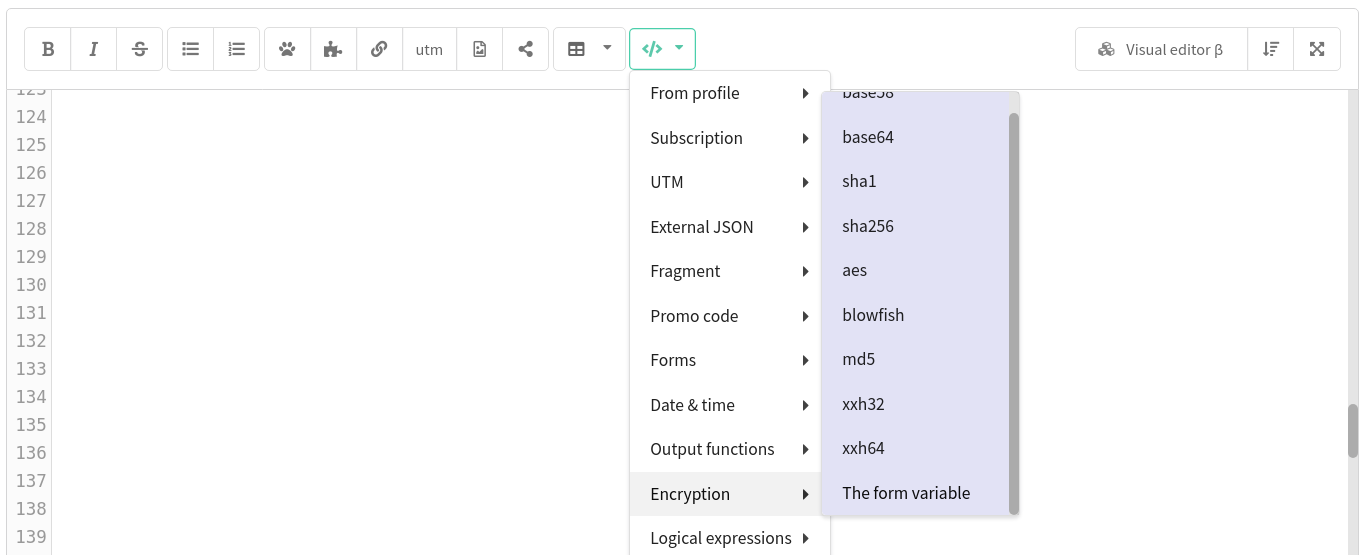
The variable {formcrypt(lead.email)} will be added to the template.
lead.email is the email of the subscriber, who is already in the Altcraft profile database. You can change the variable. Read the article about available variables.
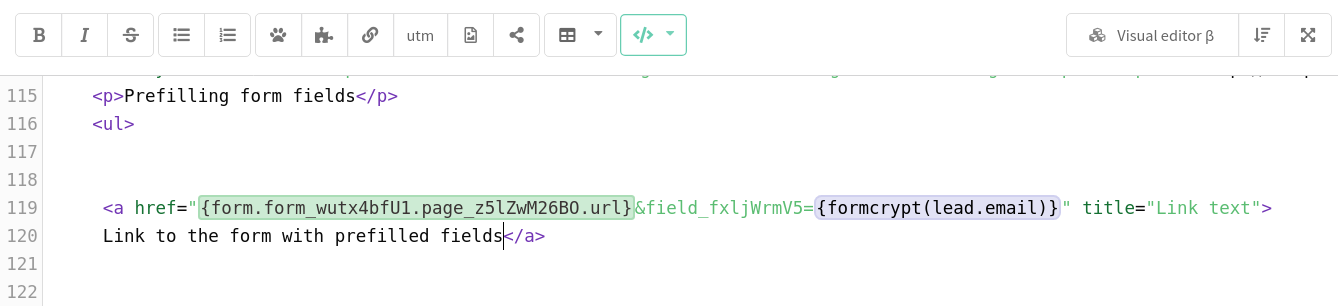
The variable must be added to the parameter after =.
field_54vkfiZJC={formcrypt(lead.email)}

field_fxljWrmV5={formcrypt("Your text")}
You can add as many parameters as you'd like to by listing them separated by &.
<a href="{form.form_eyyVPnQTE.url}&field_54vkfiZJC={formcrypt(lead.email)}&field_fxljWrmV5={formcrypt("Custom value")}" name="link3">Link to the form with automatic prefilling of fields</a>
Matching by ID
When you create a form, you can use an additional matching mode in the Actions section: By message ID. To use this type of matching, you need to pass the smid parameter with the send_message_id value in the link.
<a href="https://example.com/?smid={send_message_id}&field_54vkfiZJC={formcrypt(lead.email)}&field_5S0nwR_AD={formcrypt(lead.phone)}" name="link4">The link passes Message ID to the form and fills in the fields</a>
Collected data
In the profile history on the "Interactions tab, you can find information about the subscriber's interactions with forms. For example, when and what forms he filled out.
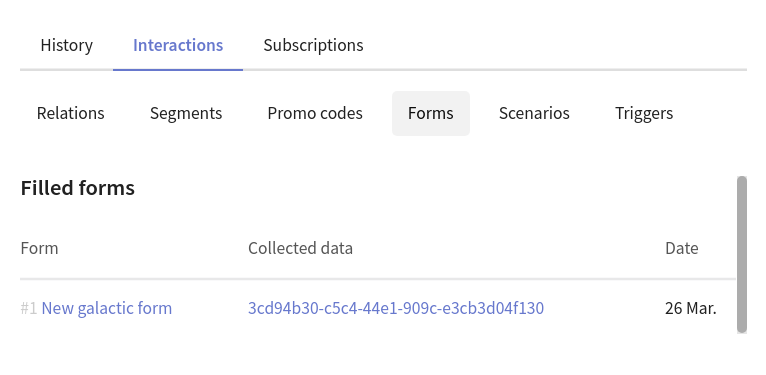
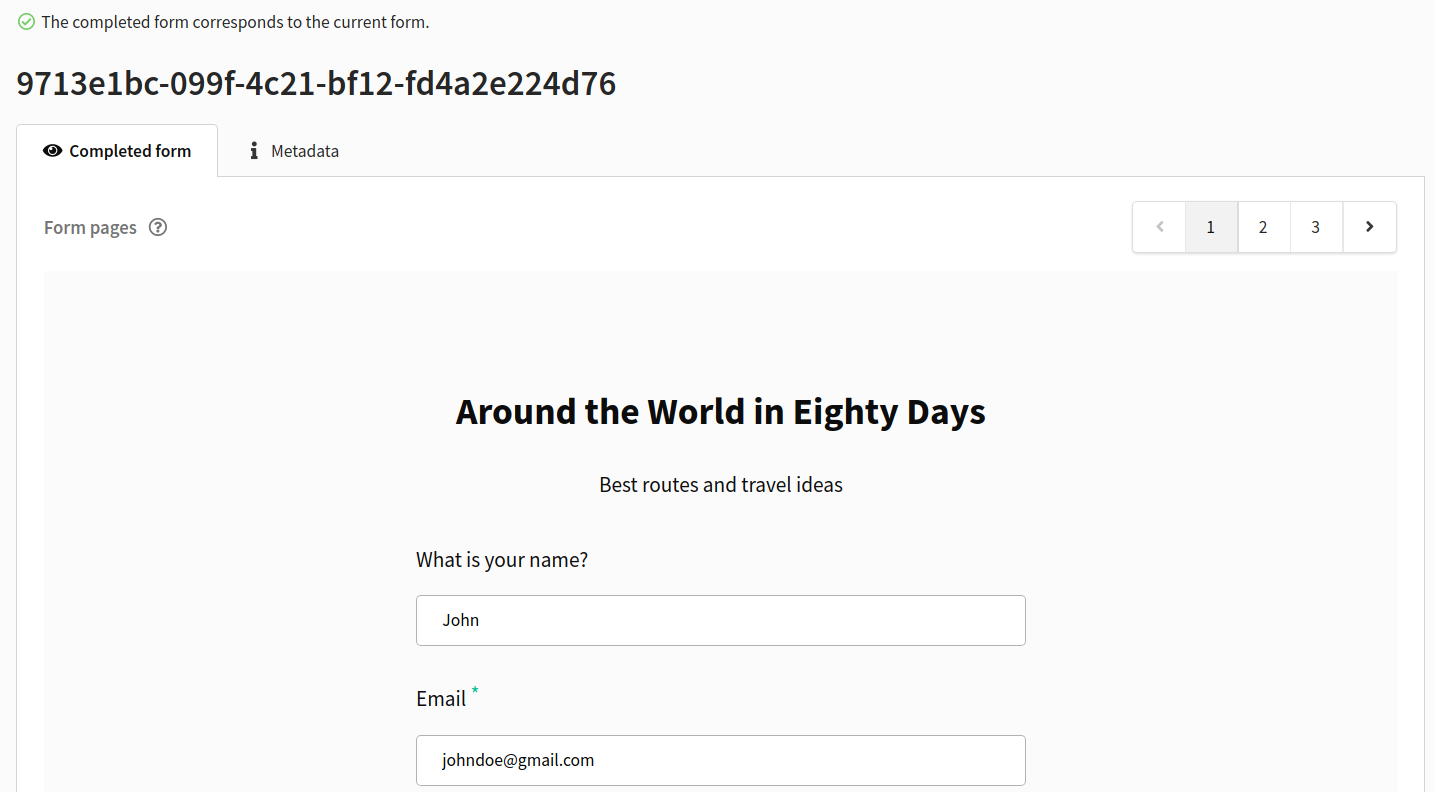
If you click on the identifier in the Collected data" column, you will be taken to a new page, where you can get more detailed information about the interaction of the subscriber with a specific form. For example, see how exactly he filled in each field.
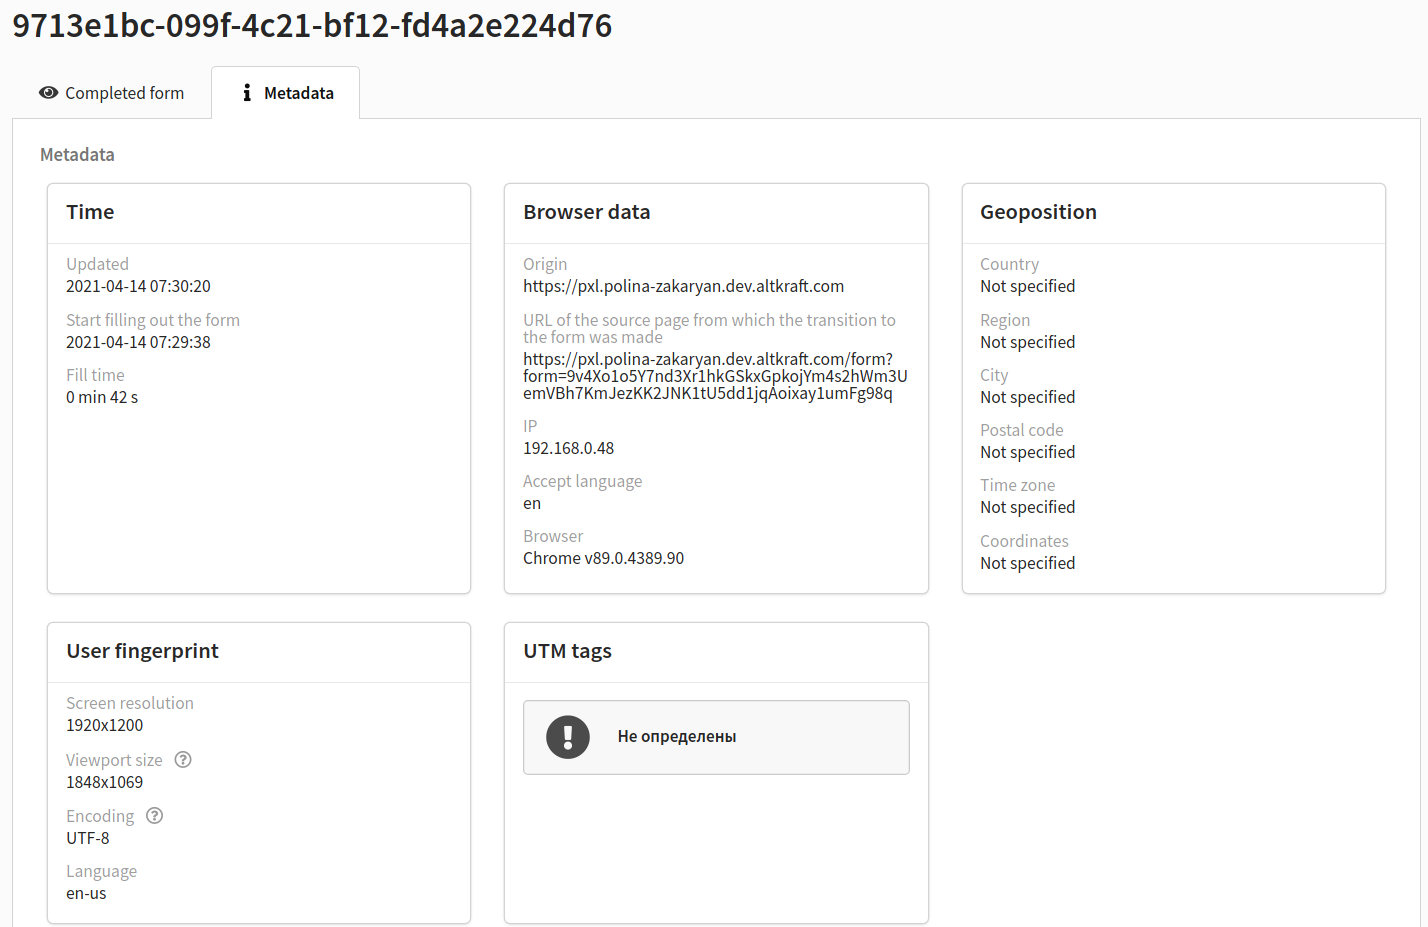
Go to the next tab - "Metadata". Here you will find detailed information: from the time of filling and the browser that the subscriber was using at that moment to his geolocation and UTM tags.
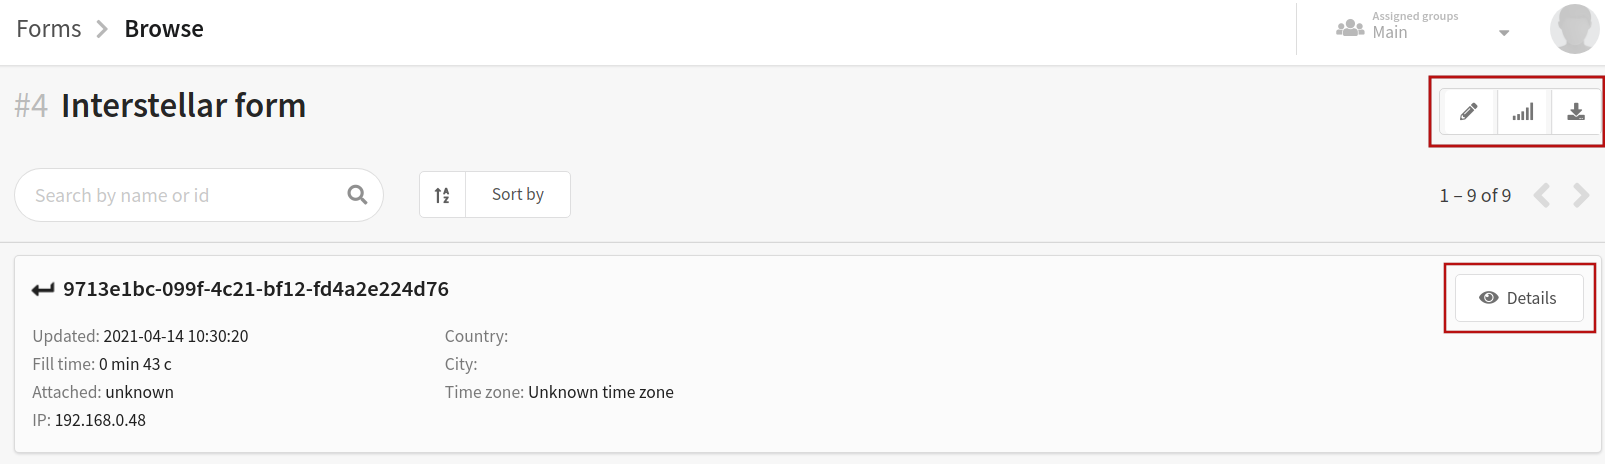
By the way, you can go to the same panel with data for a specific subscriber directly from the form. Click Collected Data in the upper left corner.

Here you will see a list of the IDs of all users who filled out the form. Click "Details" to get detailed information about each of them.