Global control groups
What is a global control group
Global control groups are parts of the customer base that temporarily does not receive marketing communications in order to analyze the effectiveness of marketing strategies. After some time, the user can compare the key metrics of the main part of the customers and the control group. In case the metrics of the groups differ slightly, the marketer can conclude that his mailings are ineffective.
Having control groups allows to:
- Evaluate the effectiveness of marketing strategies;
- Optimize marketing costs;
- Increase the conversion rate of marketing mailings.
Configuring global control groups
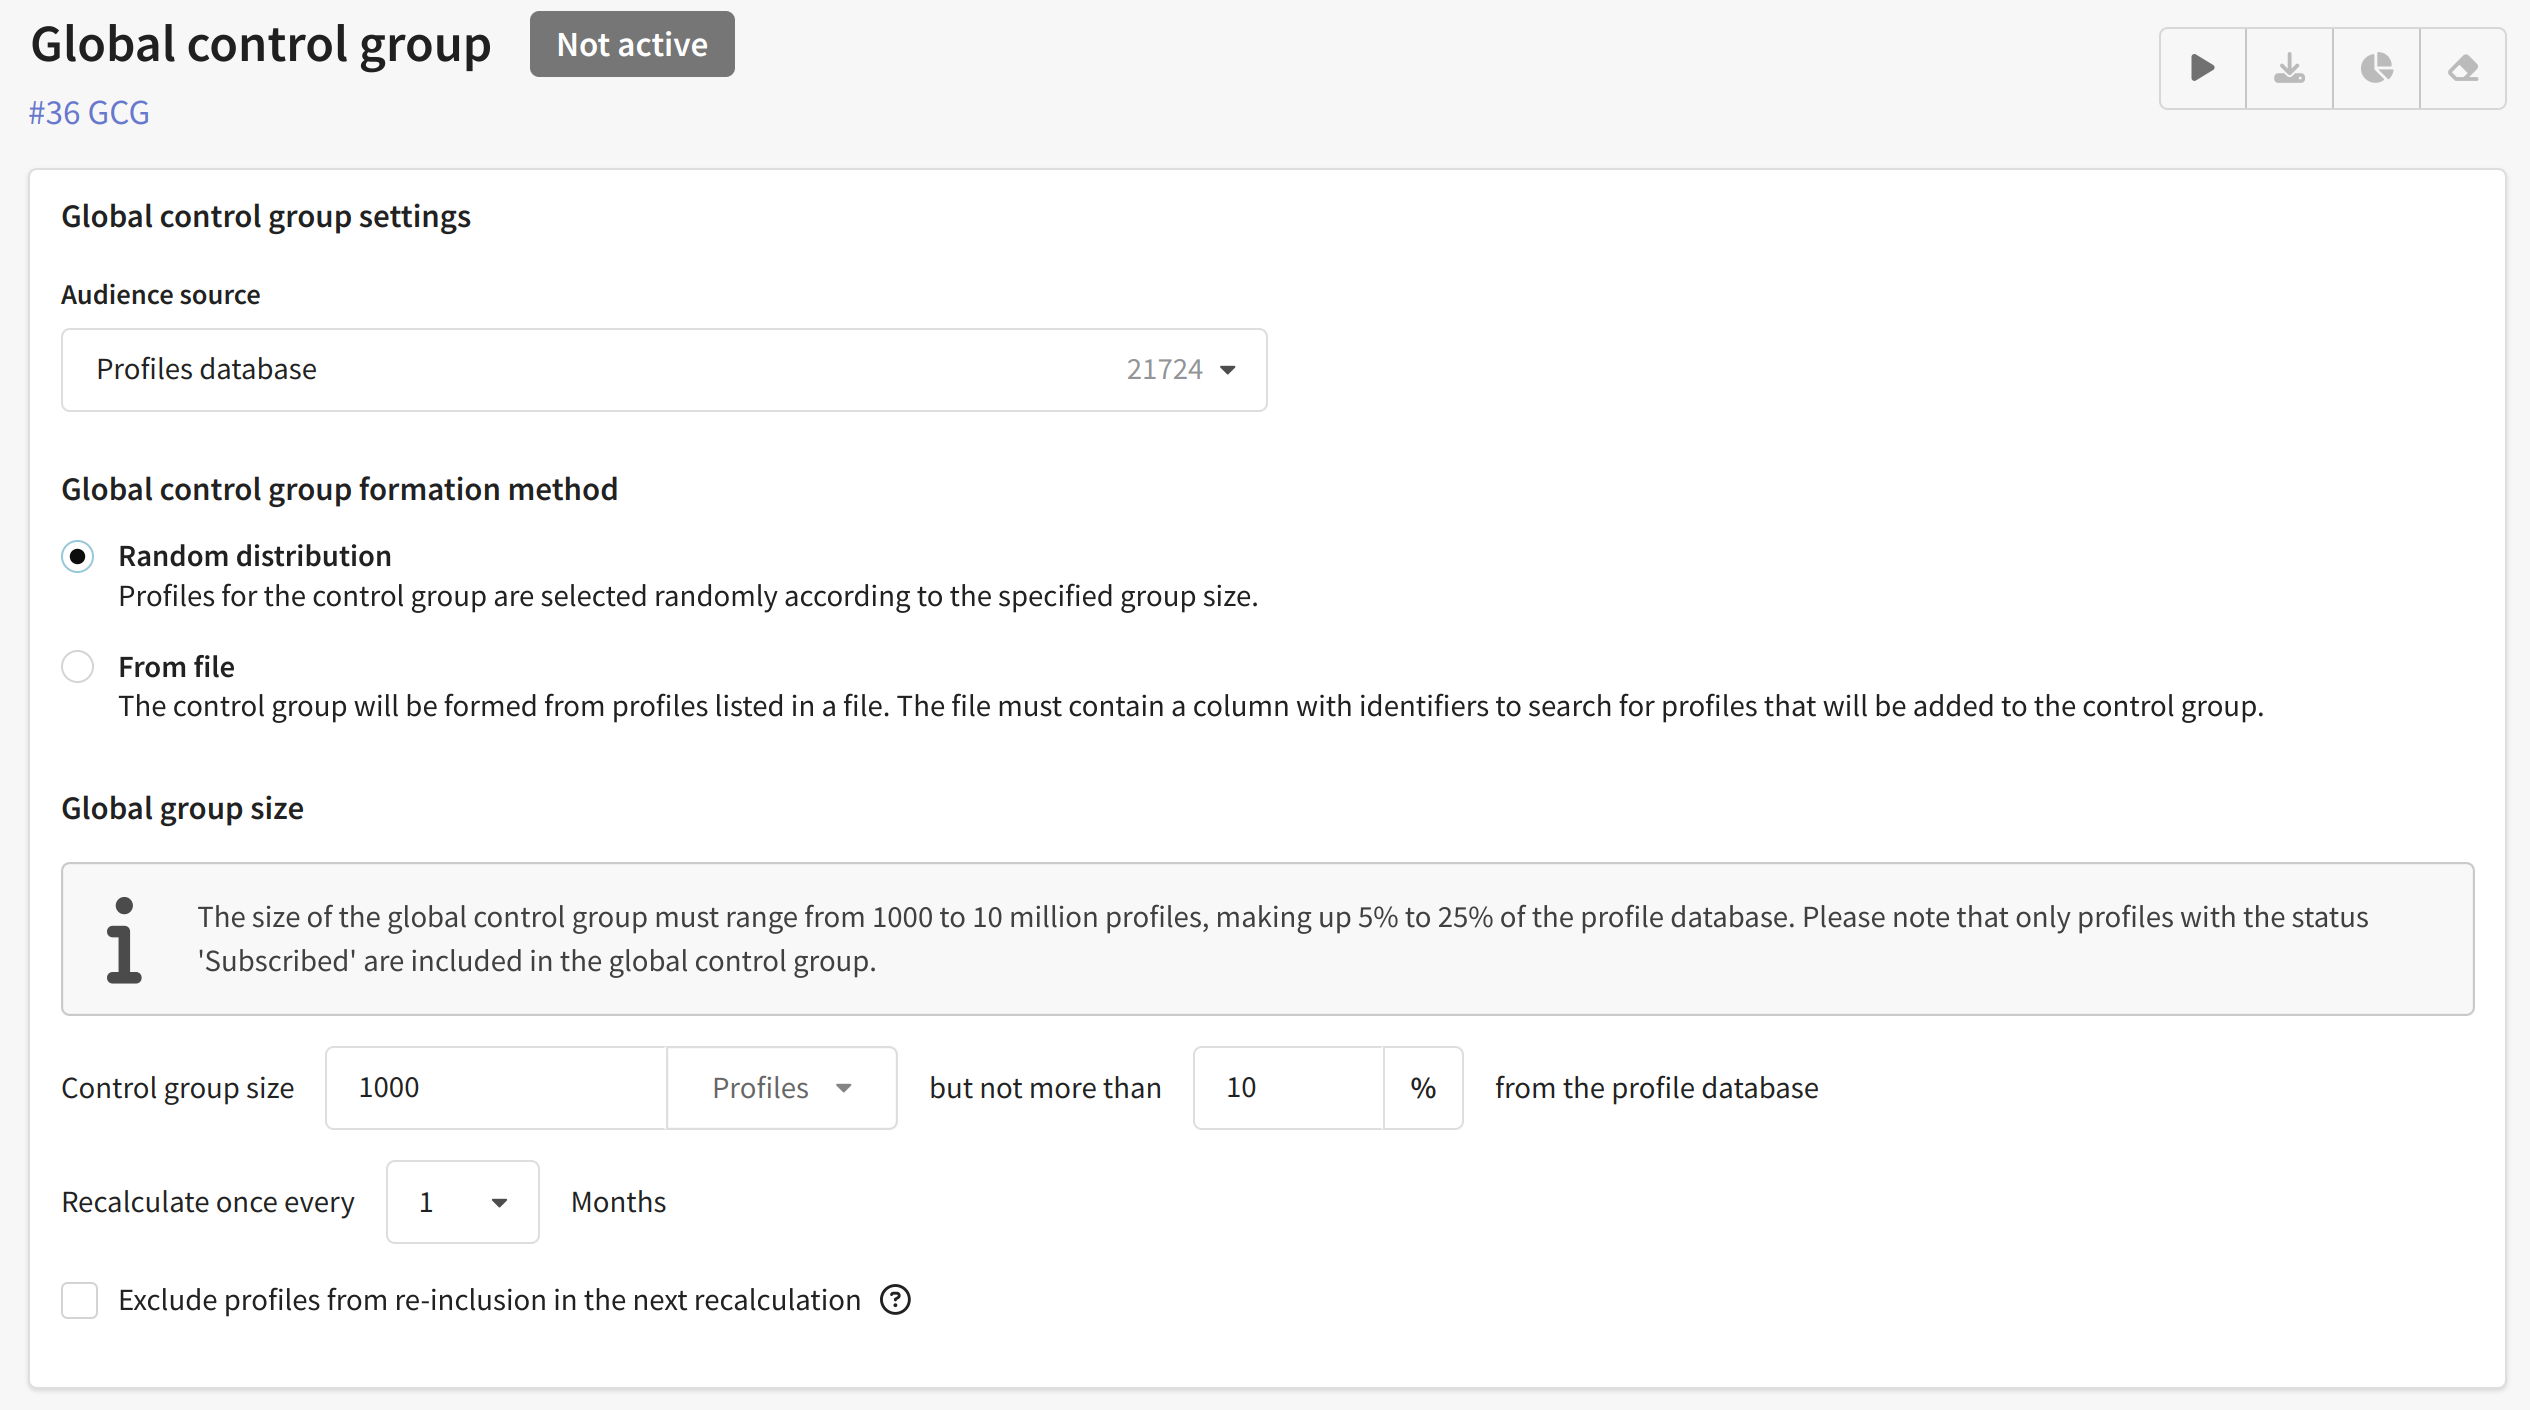
You can customize the formation of a global control group for a profile database only after its creation. To do this, go to edit the created base and find the corresponding section at the bottom of the page:

The first step is to select an source audience for the GCG. This source can be either a profile database or a segment. If you have selected a segment as the source for the GCG, you will need to set up a segmentation query. You can read more about segmentation and selection conditions in this section.
The global control group based on the profile database has two ways of formation:
- Random distribution — profiles for the control group are selected randomly according to the specified group size.
- From file — the control group will be formed from profiles in a file. The file must contain a column with an identifier to search for profiles for the control group. Keep in mind that the GCG will be generated from the entire file.
If the random distribution method is selected for forming the audience of a global control group, the audience must meet the following requirements:
- The GCG size must be greater than or equal to the
GCG_MIN_SIZEparameter value — default 1,000; - The GCG size must not exceed the share of the audience source defined by the
GCG_MAX_PERCENTparameter — default 25%; - The audience source size must not exceed the
GCG_MAX_SOURCE_SIZEparameter value — default 50,000,000; - The minimum audience source size is calculated dynamically and depends on the selected GCG percentage: a smaller percentage requires a larger source. For example, with
GCG_MIN_SIZE= 1,000 and a GCG share of 25%, the minimum source size would be 4,000 profiles, while at 5% it would be 20,000 profiles.
You can set up and activate a control group at any time, but it will only be formed after all of the above criteria have been met. In case of any problems related to the number of profiles in the GCG, the platform will notify you:

If the audience generation method from a file is used, the file contents will be used as the control group. Restrictions and additional requirements do not apply to this method. Profiles listed in the file will not receive communications.
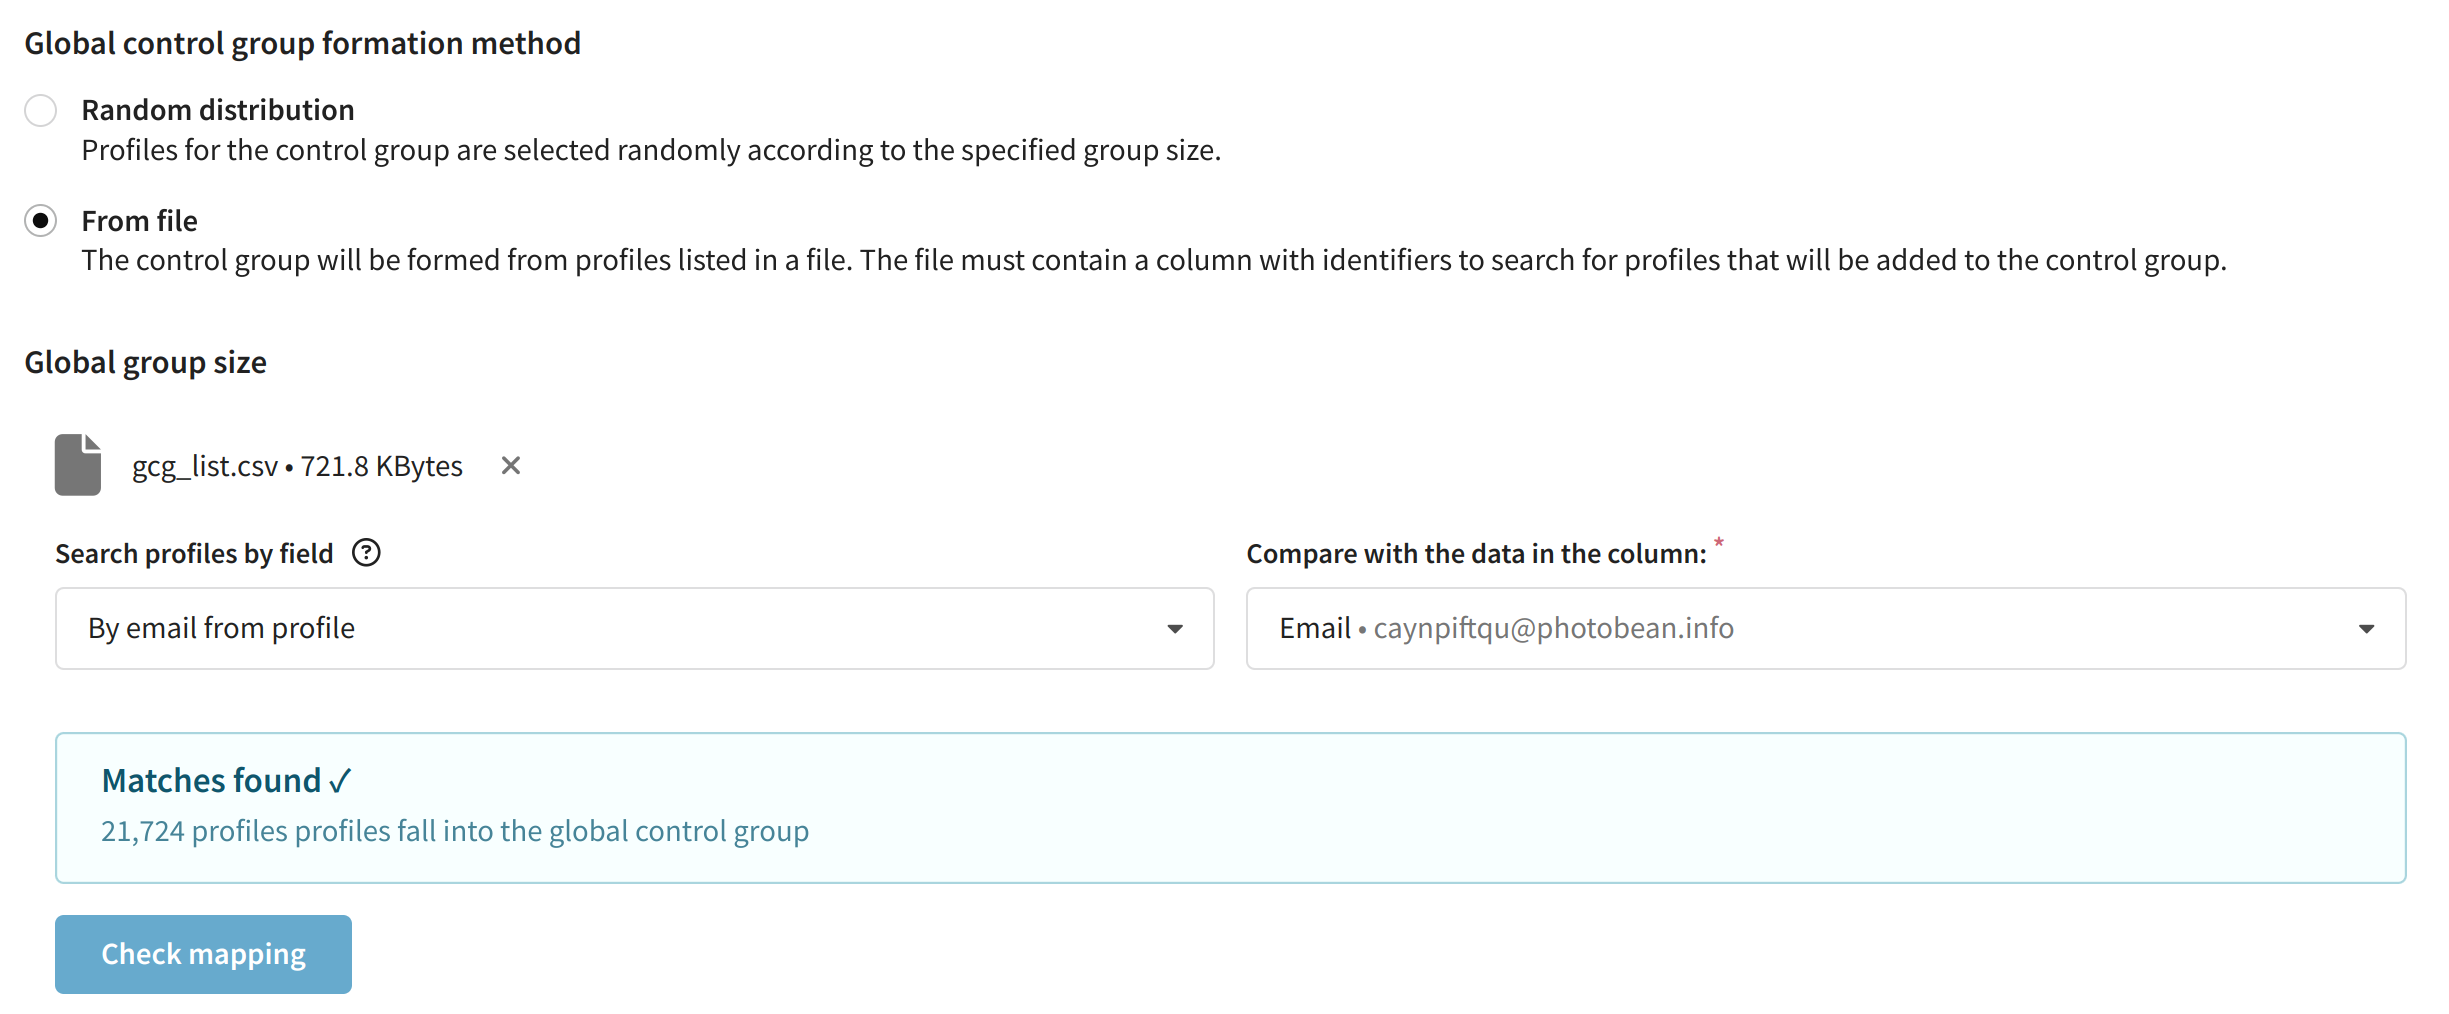
If you have chosen the option of forming from file, you will be offered to upload a file with the list of clients in .xls, .xlsx, .csv or .txt format, and then specify the field for searching profiles in the database and the column for comparison from the file. After clicking on the Verify compliance button, the platform will display a message indicating the number of profiles that will be included in the control group:
For random distribution, you can specify a specific number of profiles in the group, as well as the maximum percentage of GCGs to the entire database of profiles. The latter parameter is necessary to limit the size of the GCG in case the number of profiles in the database changes significantly:
Then you must specify the frequency of recalculation for the global control group, the minimum value is once every 12 months, the maximum value is once every 1 month. The recalculation takes place according to the specified schedule at 00:00 in the account's time zone:
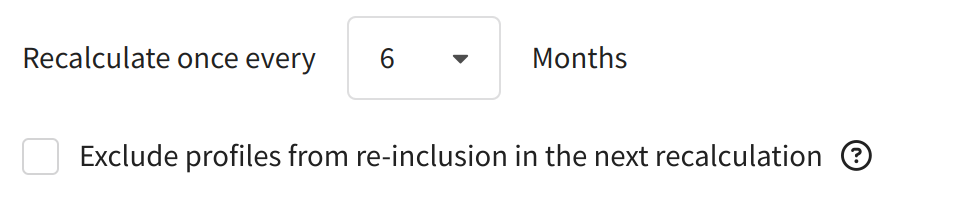
The parameter Exclude re-entry for a profile at the next recalculation allows to prohibit the profiles participating in the current control group to get there at the next recalculation. However, these profiles will be able to get to the GCG at the third and subsequent recalculations.
If the same profiles keep getting added to the control group, it can distort the results and lead to wrong conclusions. The "Exclude re-entry for a profile at the next recalculation" parameter helps change the control group, making the experiment's results more accurate.
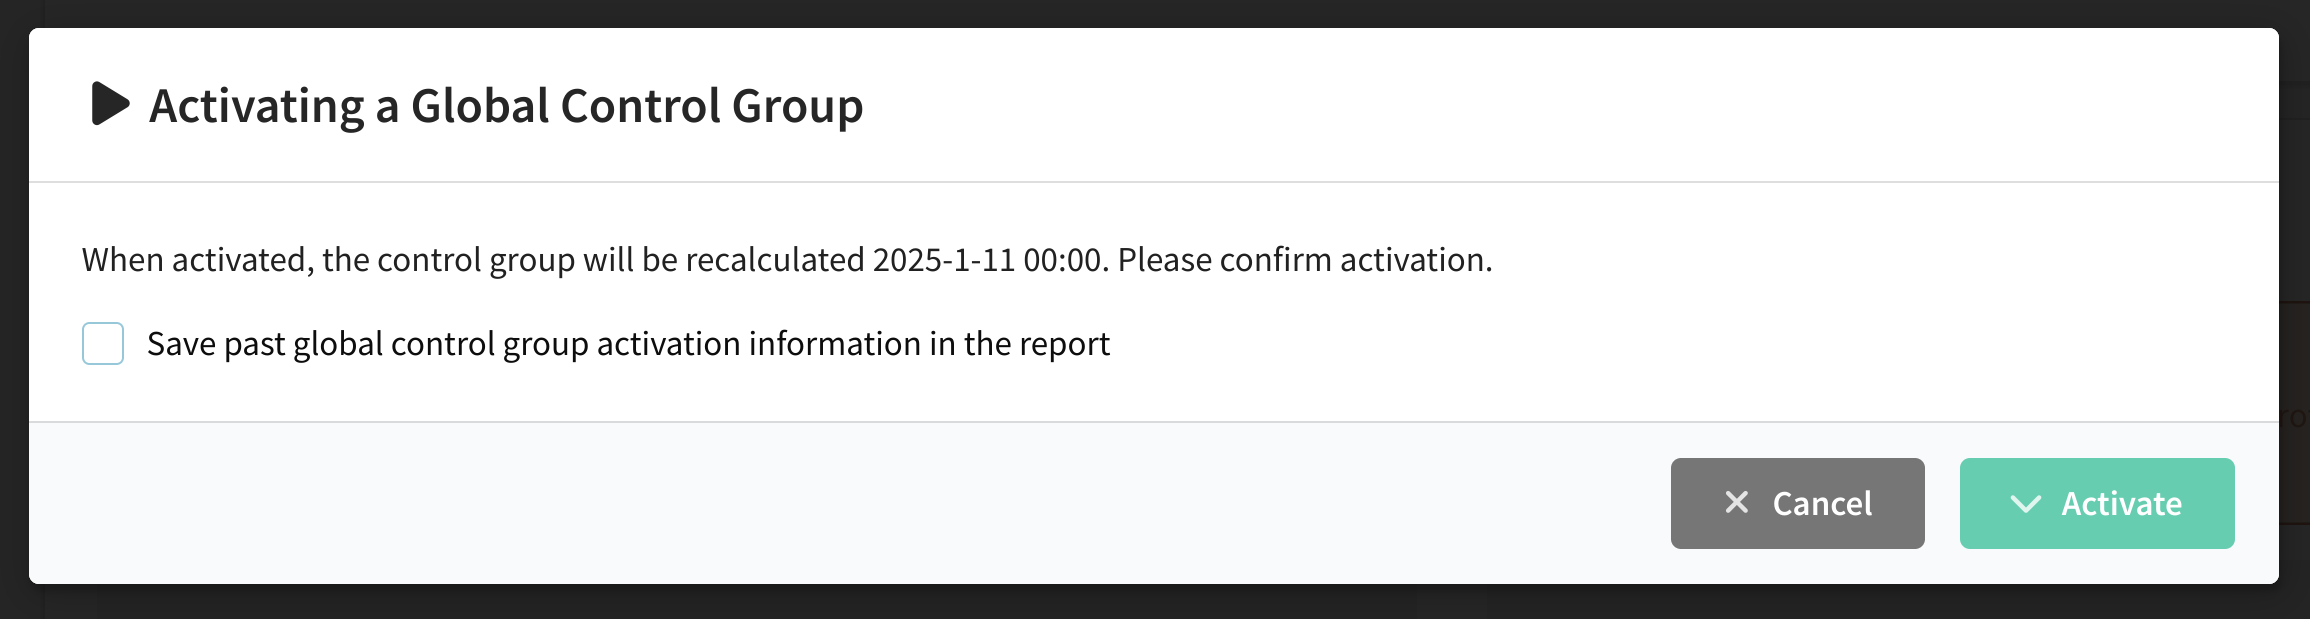
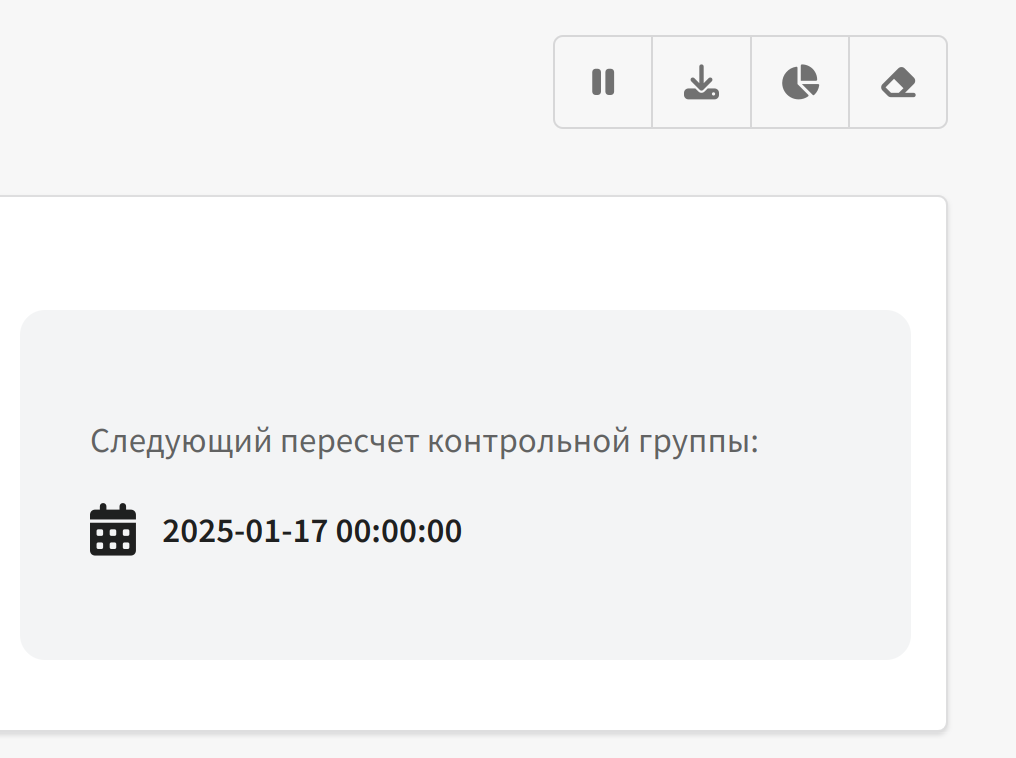
In order for the global control group to start working, you need to activate it and save it. Before activation, the platform will inform you of the next recalculation date of the control group and offer to save information about the past activation:
Once GCG is saved you will have access to quick-actions menu at the top of the screen:
 |
The following buttons are available to you in the menu:
- Deactivate - stops the GCG from running
- Export Report - allows you to unload the list of profiles that are in the GCG
- Insights - opens appropriate page of analytics
- Reset Settings - resets GCG settings and clears all filled fields.
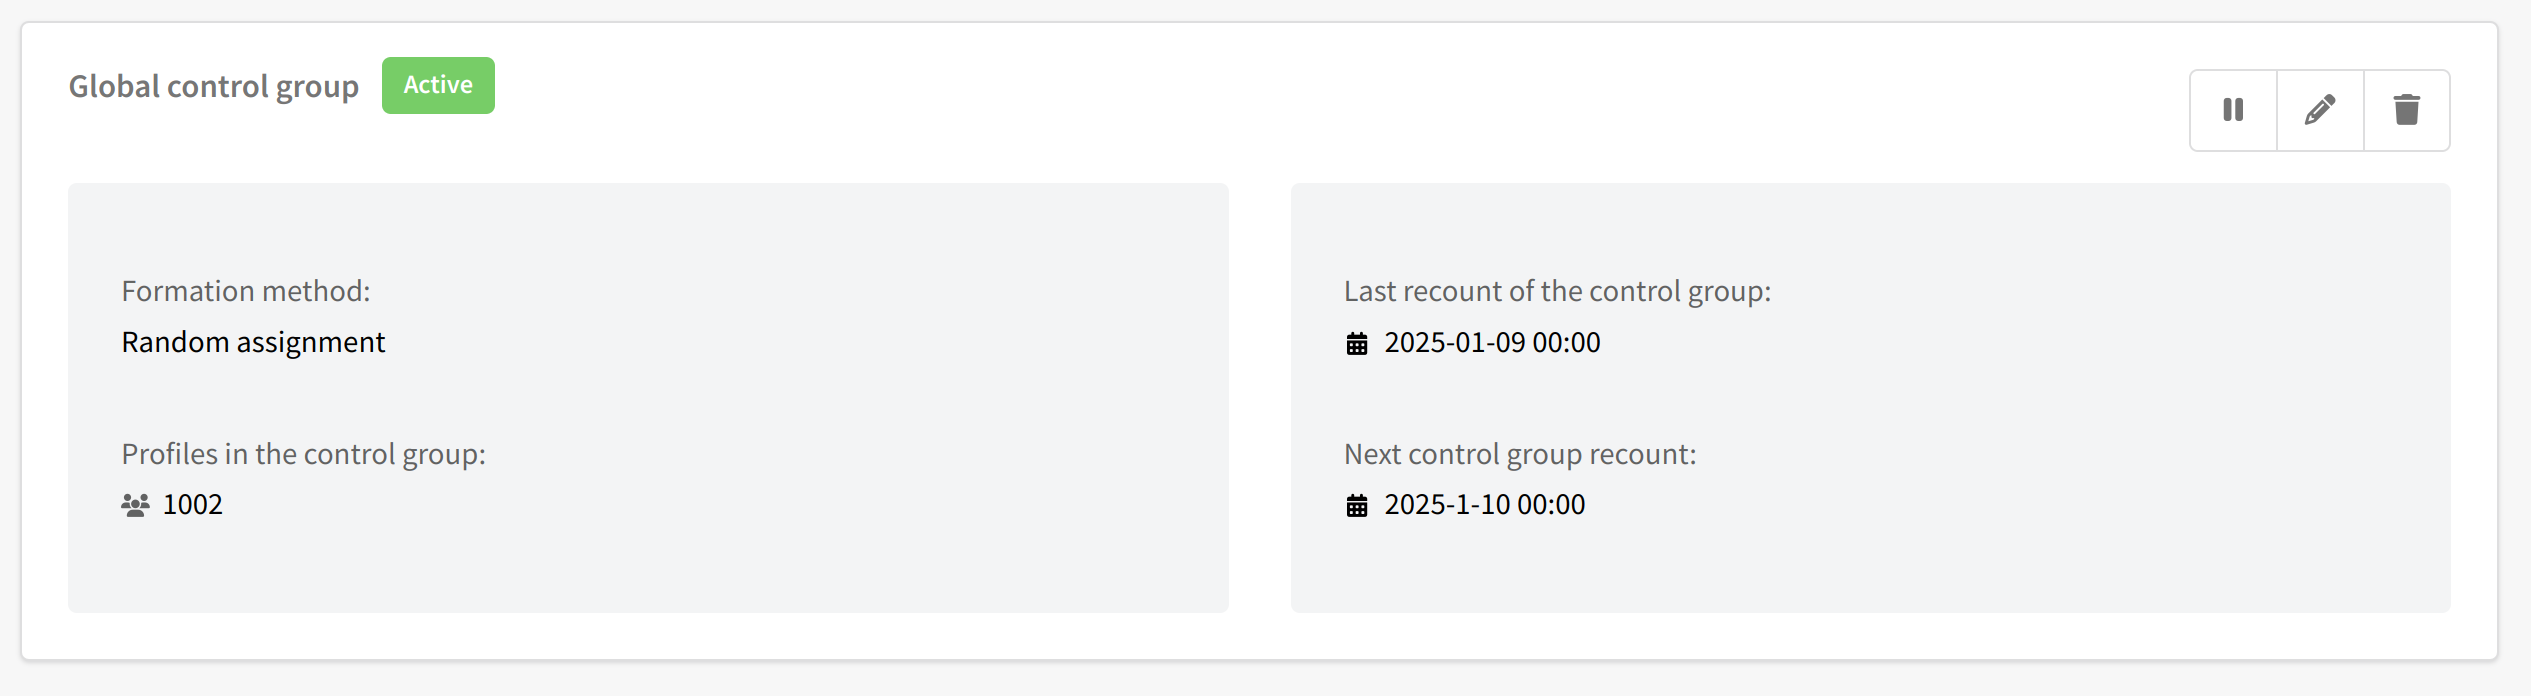
Keep in mind that the first data and analytics on the participants of the GCG will be available after the first calculation. Once the CTG has been successfully set up and run, the Profile Database Edit screen will display information about the control group, the number of profiles in it, and the dates of the last and next recalculation:
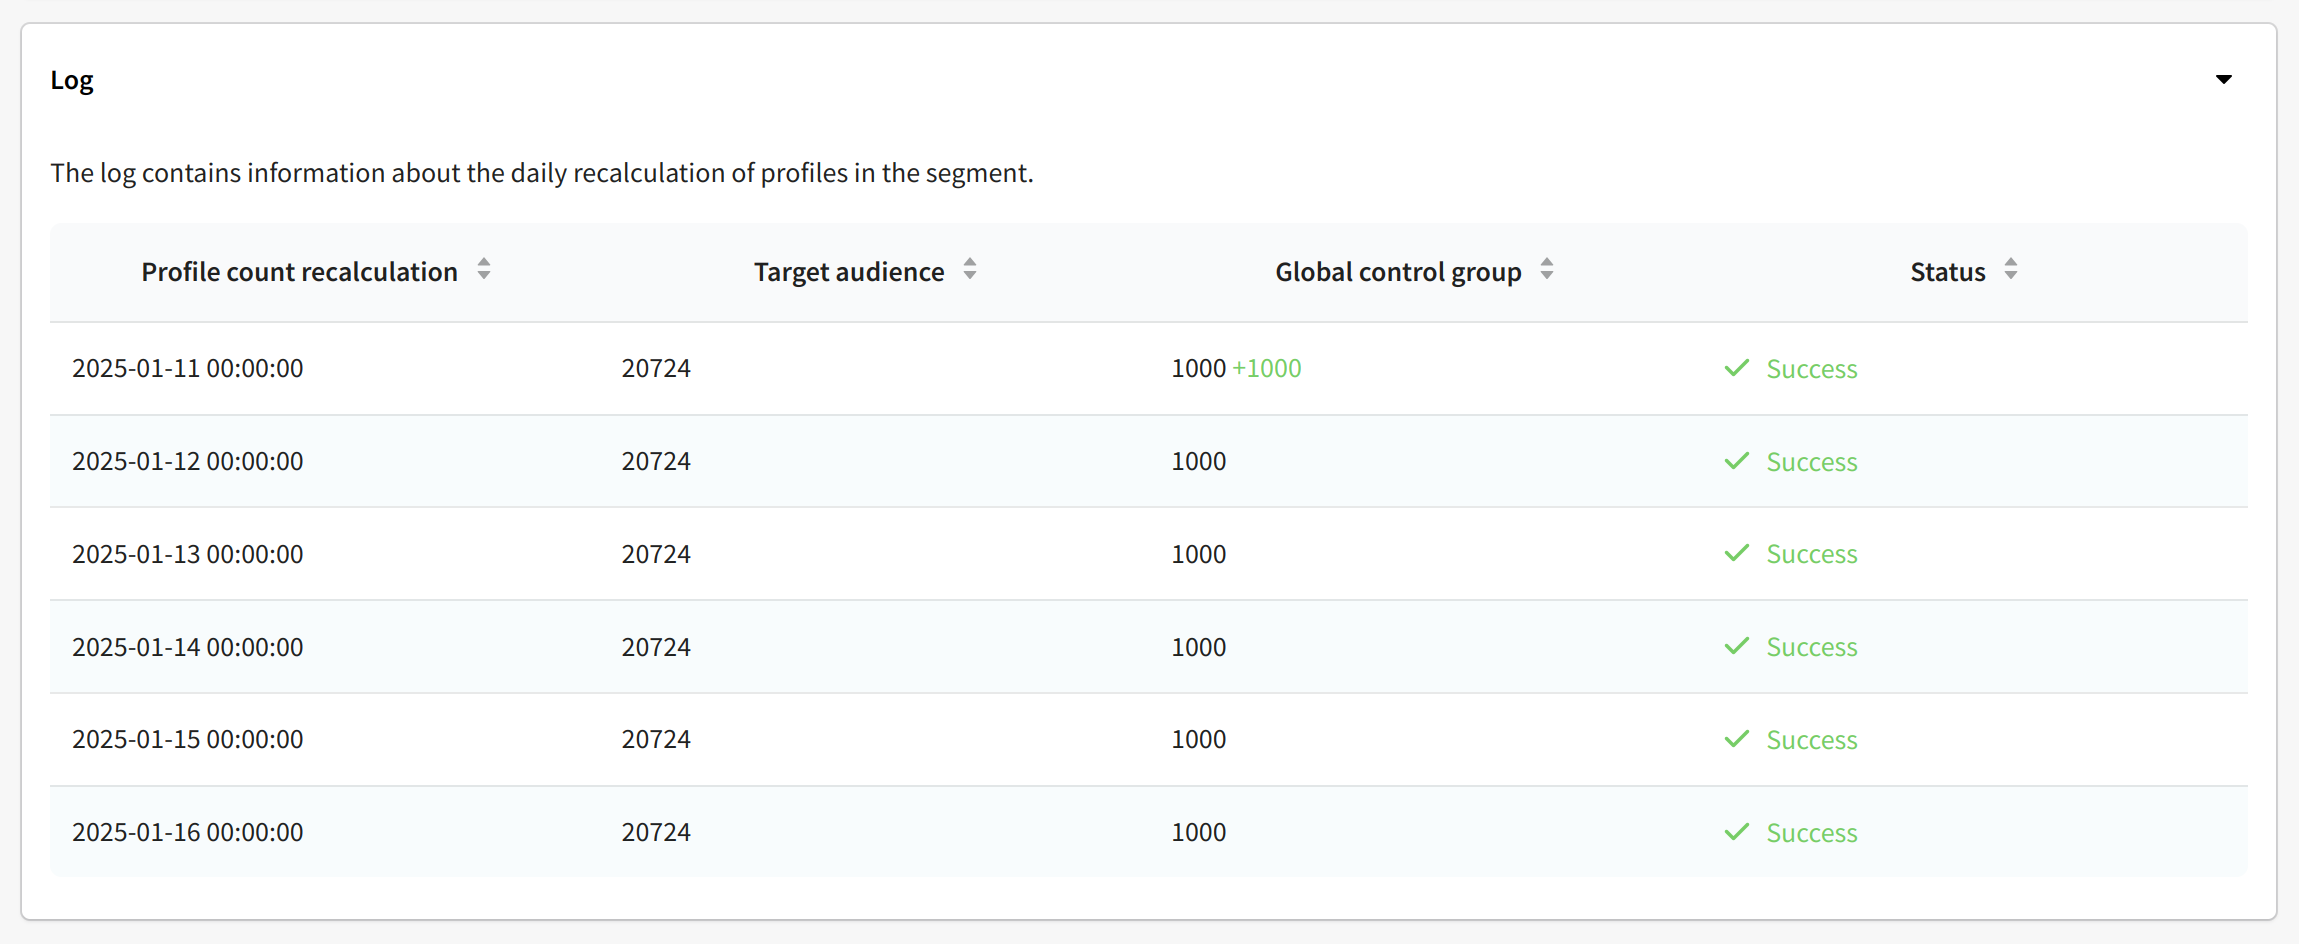
In order to view the log, which contains detailed information about GCG recalculations, you need to go to edit the control group and open the corresponding tab at the bottom of the screen:
Exclusions for the global control group
You can configure exclusions from the global control group in the Ignore global control group section. Within the selected resources, mailings and scenarios, marketing communications will be carried out even for those users who are in the global control group:
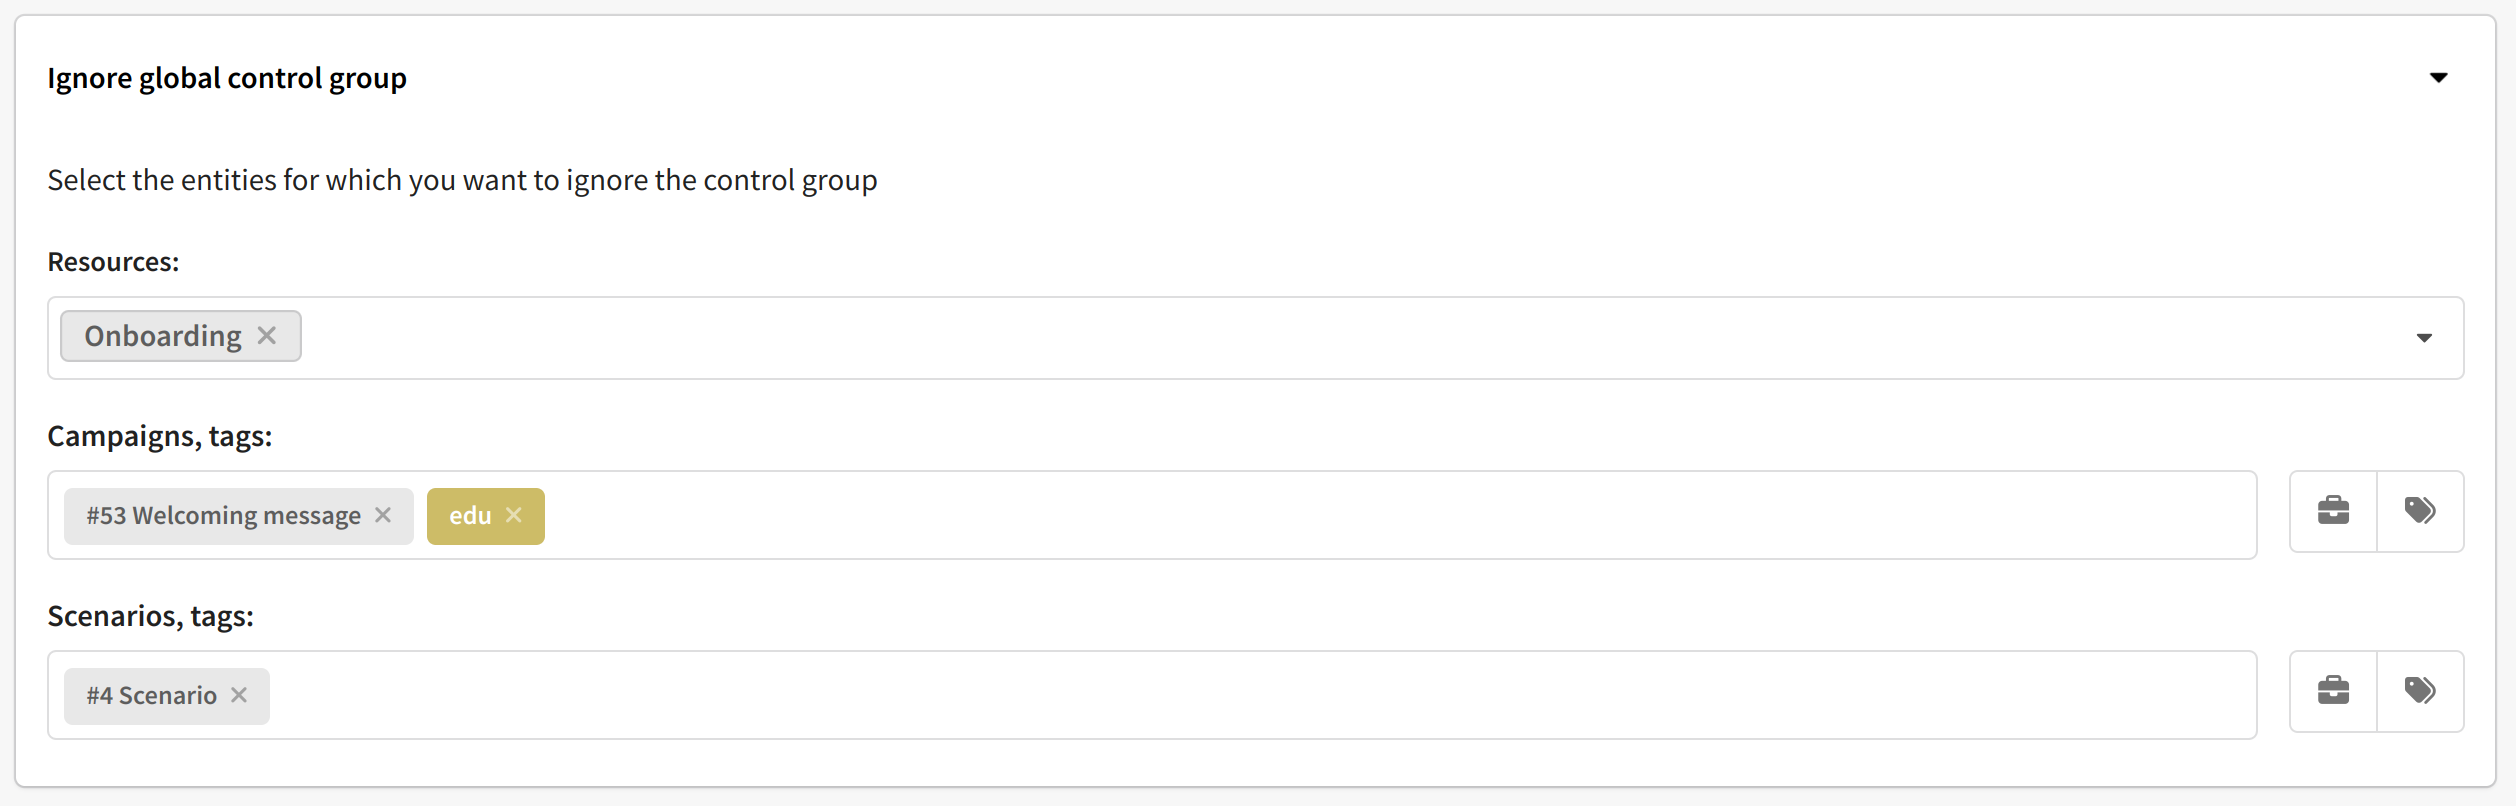
Here you can specify:
- specific mailings and scenarios
- entities with certain tags
- entities with a specific attribute value.
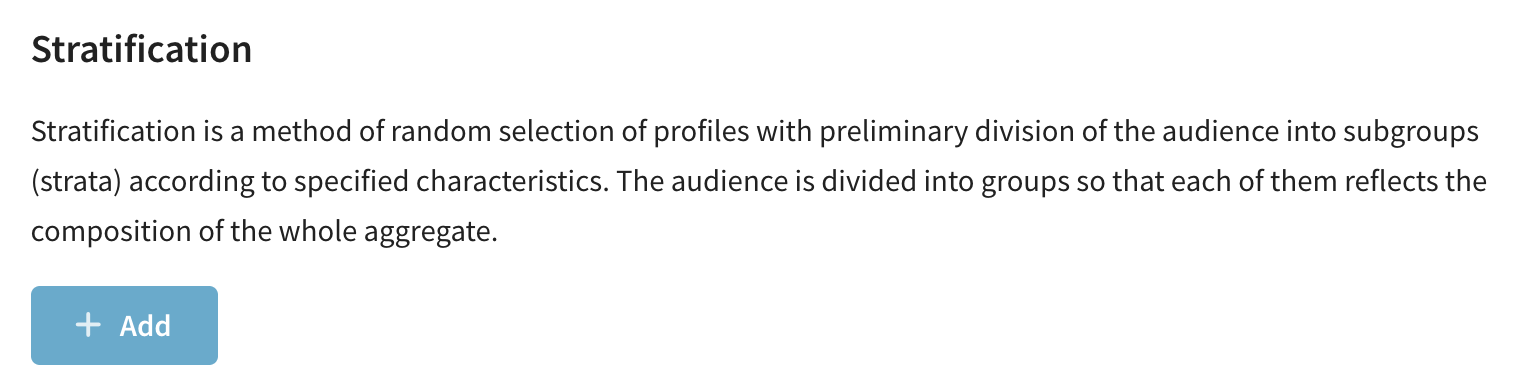
Stratification
Stratification is a method of random profile selection that involves dividing the audience into subgroups (strats) based on specified characteristics. The audience is segmented in such a way that each group reflects the overall structure of the entire population.
A portion of profiles is then randomly selected from each group, proportionally to its size. This ensures that the control group has the same distribution of characteristics as the test group, making mailing results more accurate. The maximum number of strats depends on the number of selected characteristics and the number of groups defined within them. These limits can be configured in the system.
Add stratification by clicking the corresponding button:
You will be taken to the stratification settings window, where you can create and edit strats:
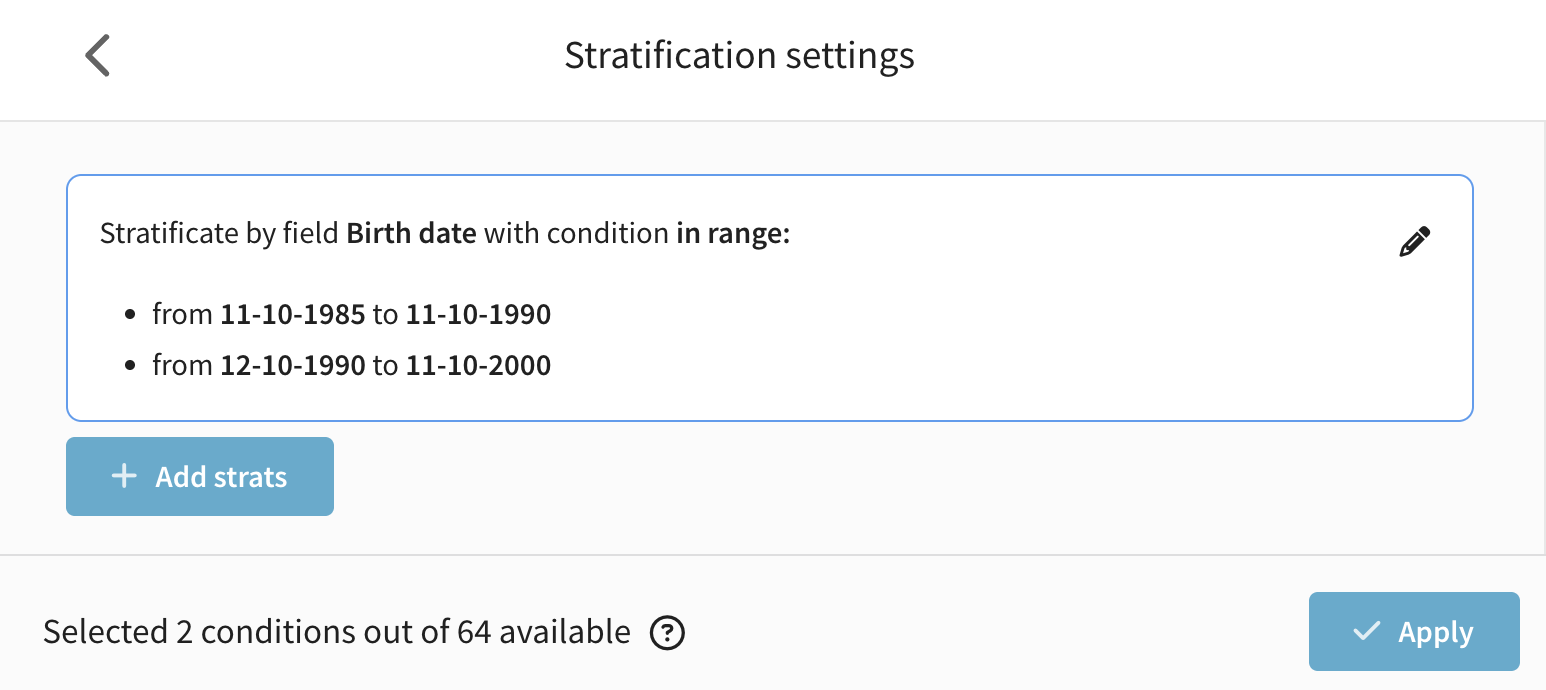
Define strats based on one or more fields by setting conditions for each group — for example, date ranges, numeric values, or groups of elements from a list. Stratification is configured through a user interface that allows you to sequentially add strats and specify parameters for each:
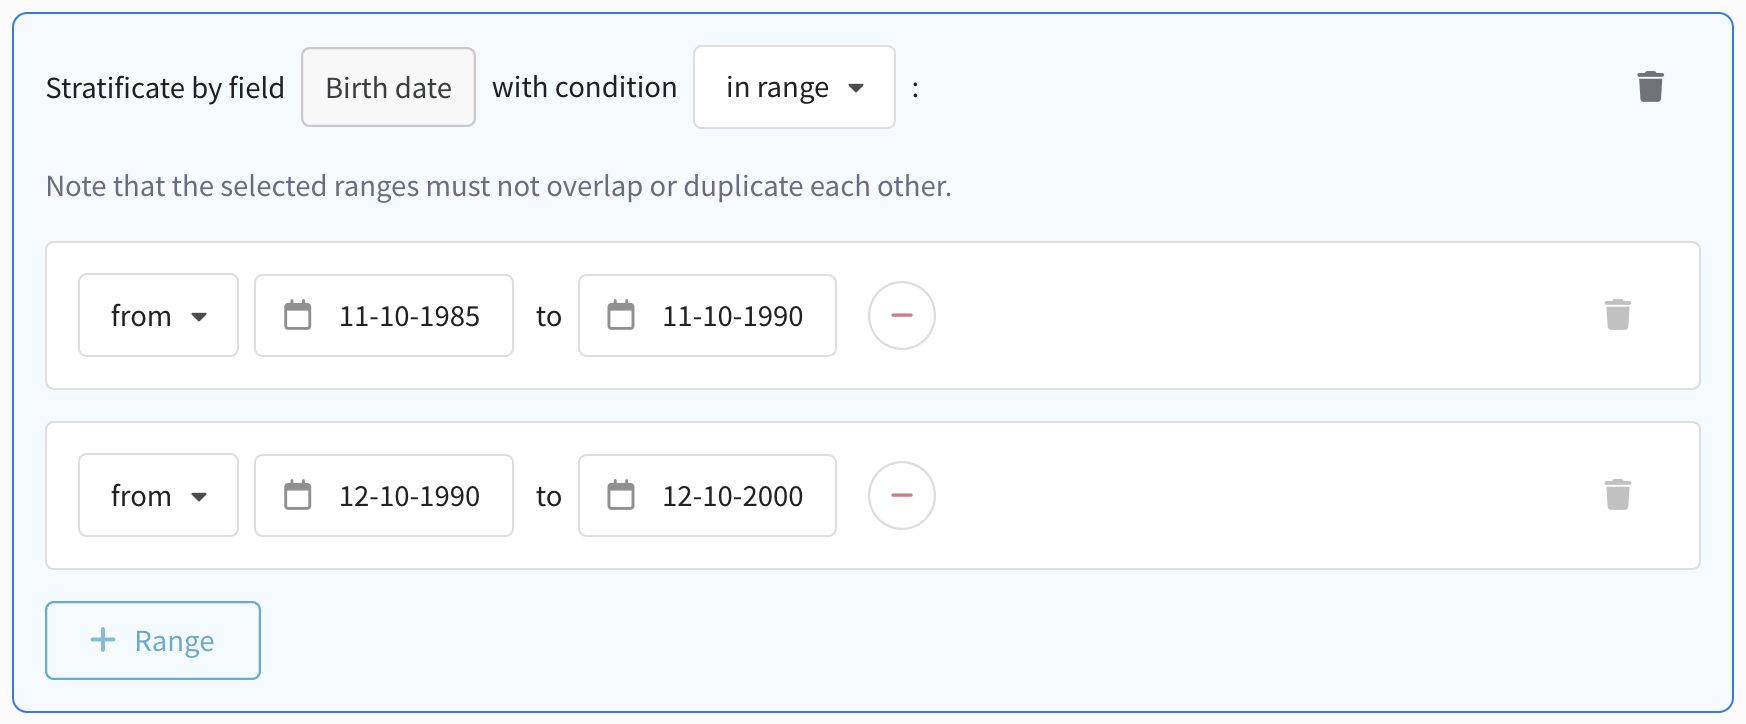
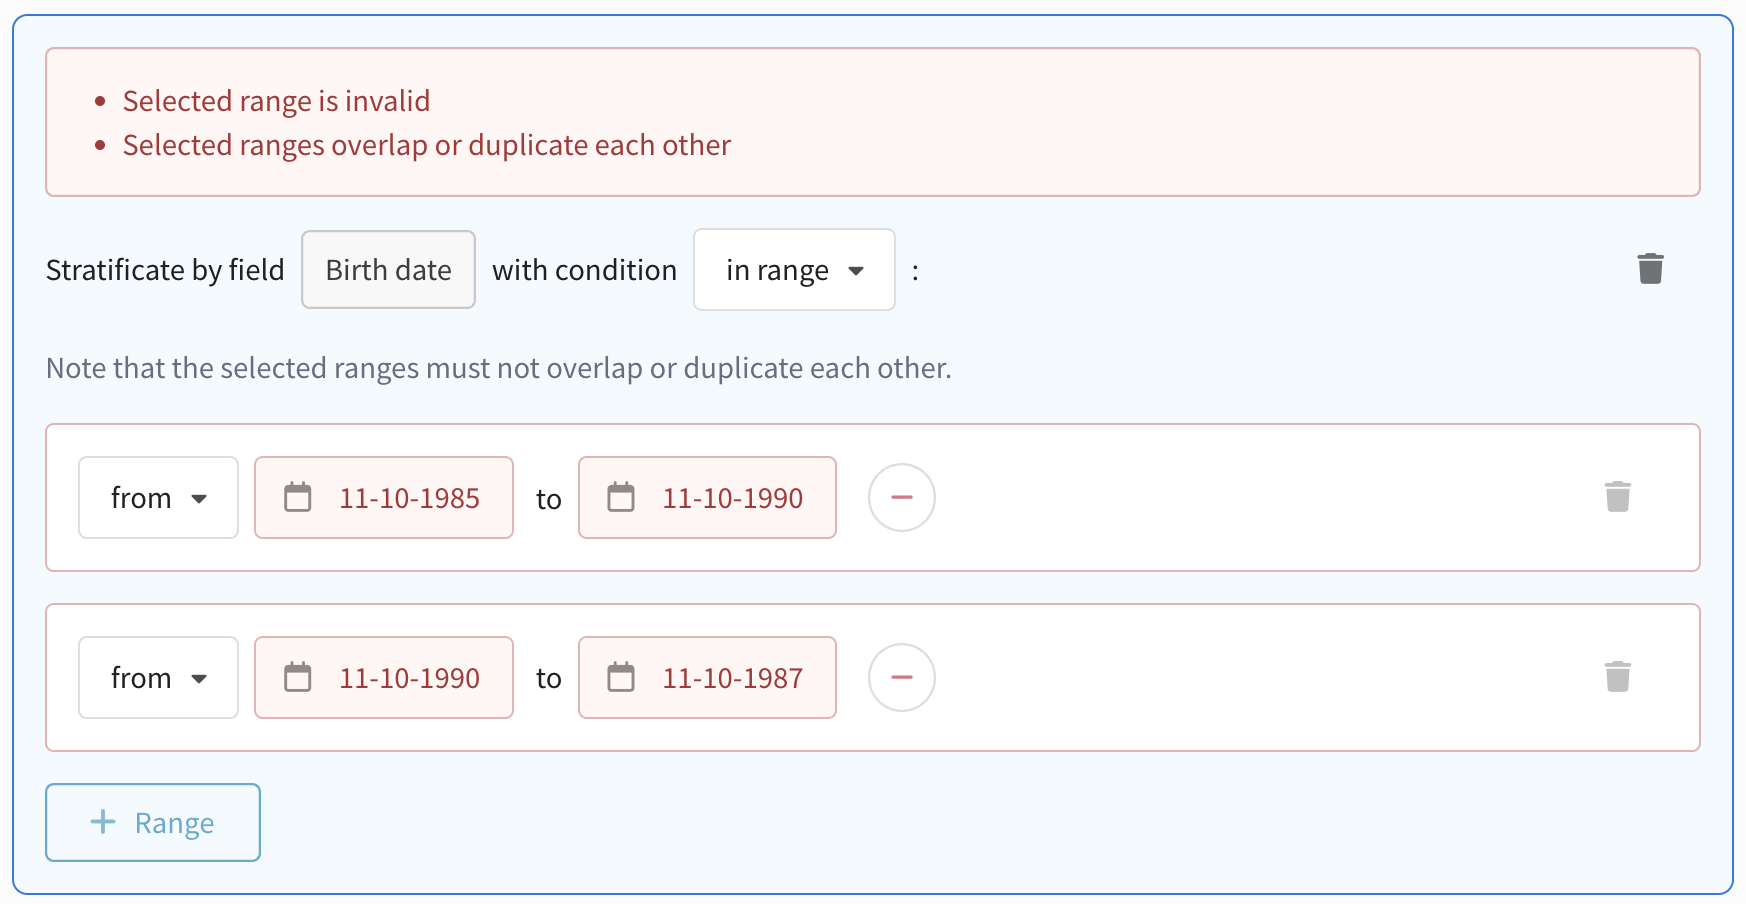
Please note that values in strats must not overlap or be duplicated:
Supported field types for stratification:
-
boolean — logical values (e.g., yes/no);
-
date — date values (e.g., birthdate, registration date);
-
enum — predefined lists of values (e.g., region, category);
-
float — decimal numbers;
-
integer — whole numbers;
-
unicode — string values (e.g., text labels or group names).
Each of these field types supports appropriate condition formats: ranges, exact values, groups of values, etc.
The total number of condition combinations in stratification must not exceed 64. This value is calculated by multiplying the number of groups in each added stratum.
For example, if you select a text field and define 3 groups, then add a numeric field with 4 groups, the total number of combinations will be: 3 × 4 = 12 combinations.
If the number of combinations exceeds 64, the system will prevent you from saving the configuration — this limitation ensures stable performance and accurate sample generation.
GCG statistics
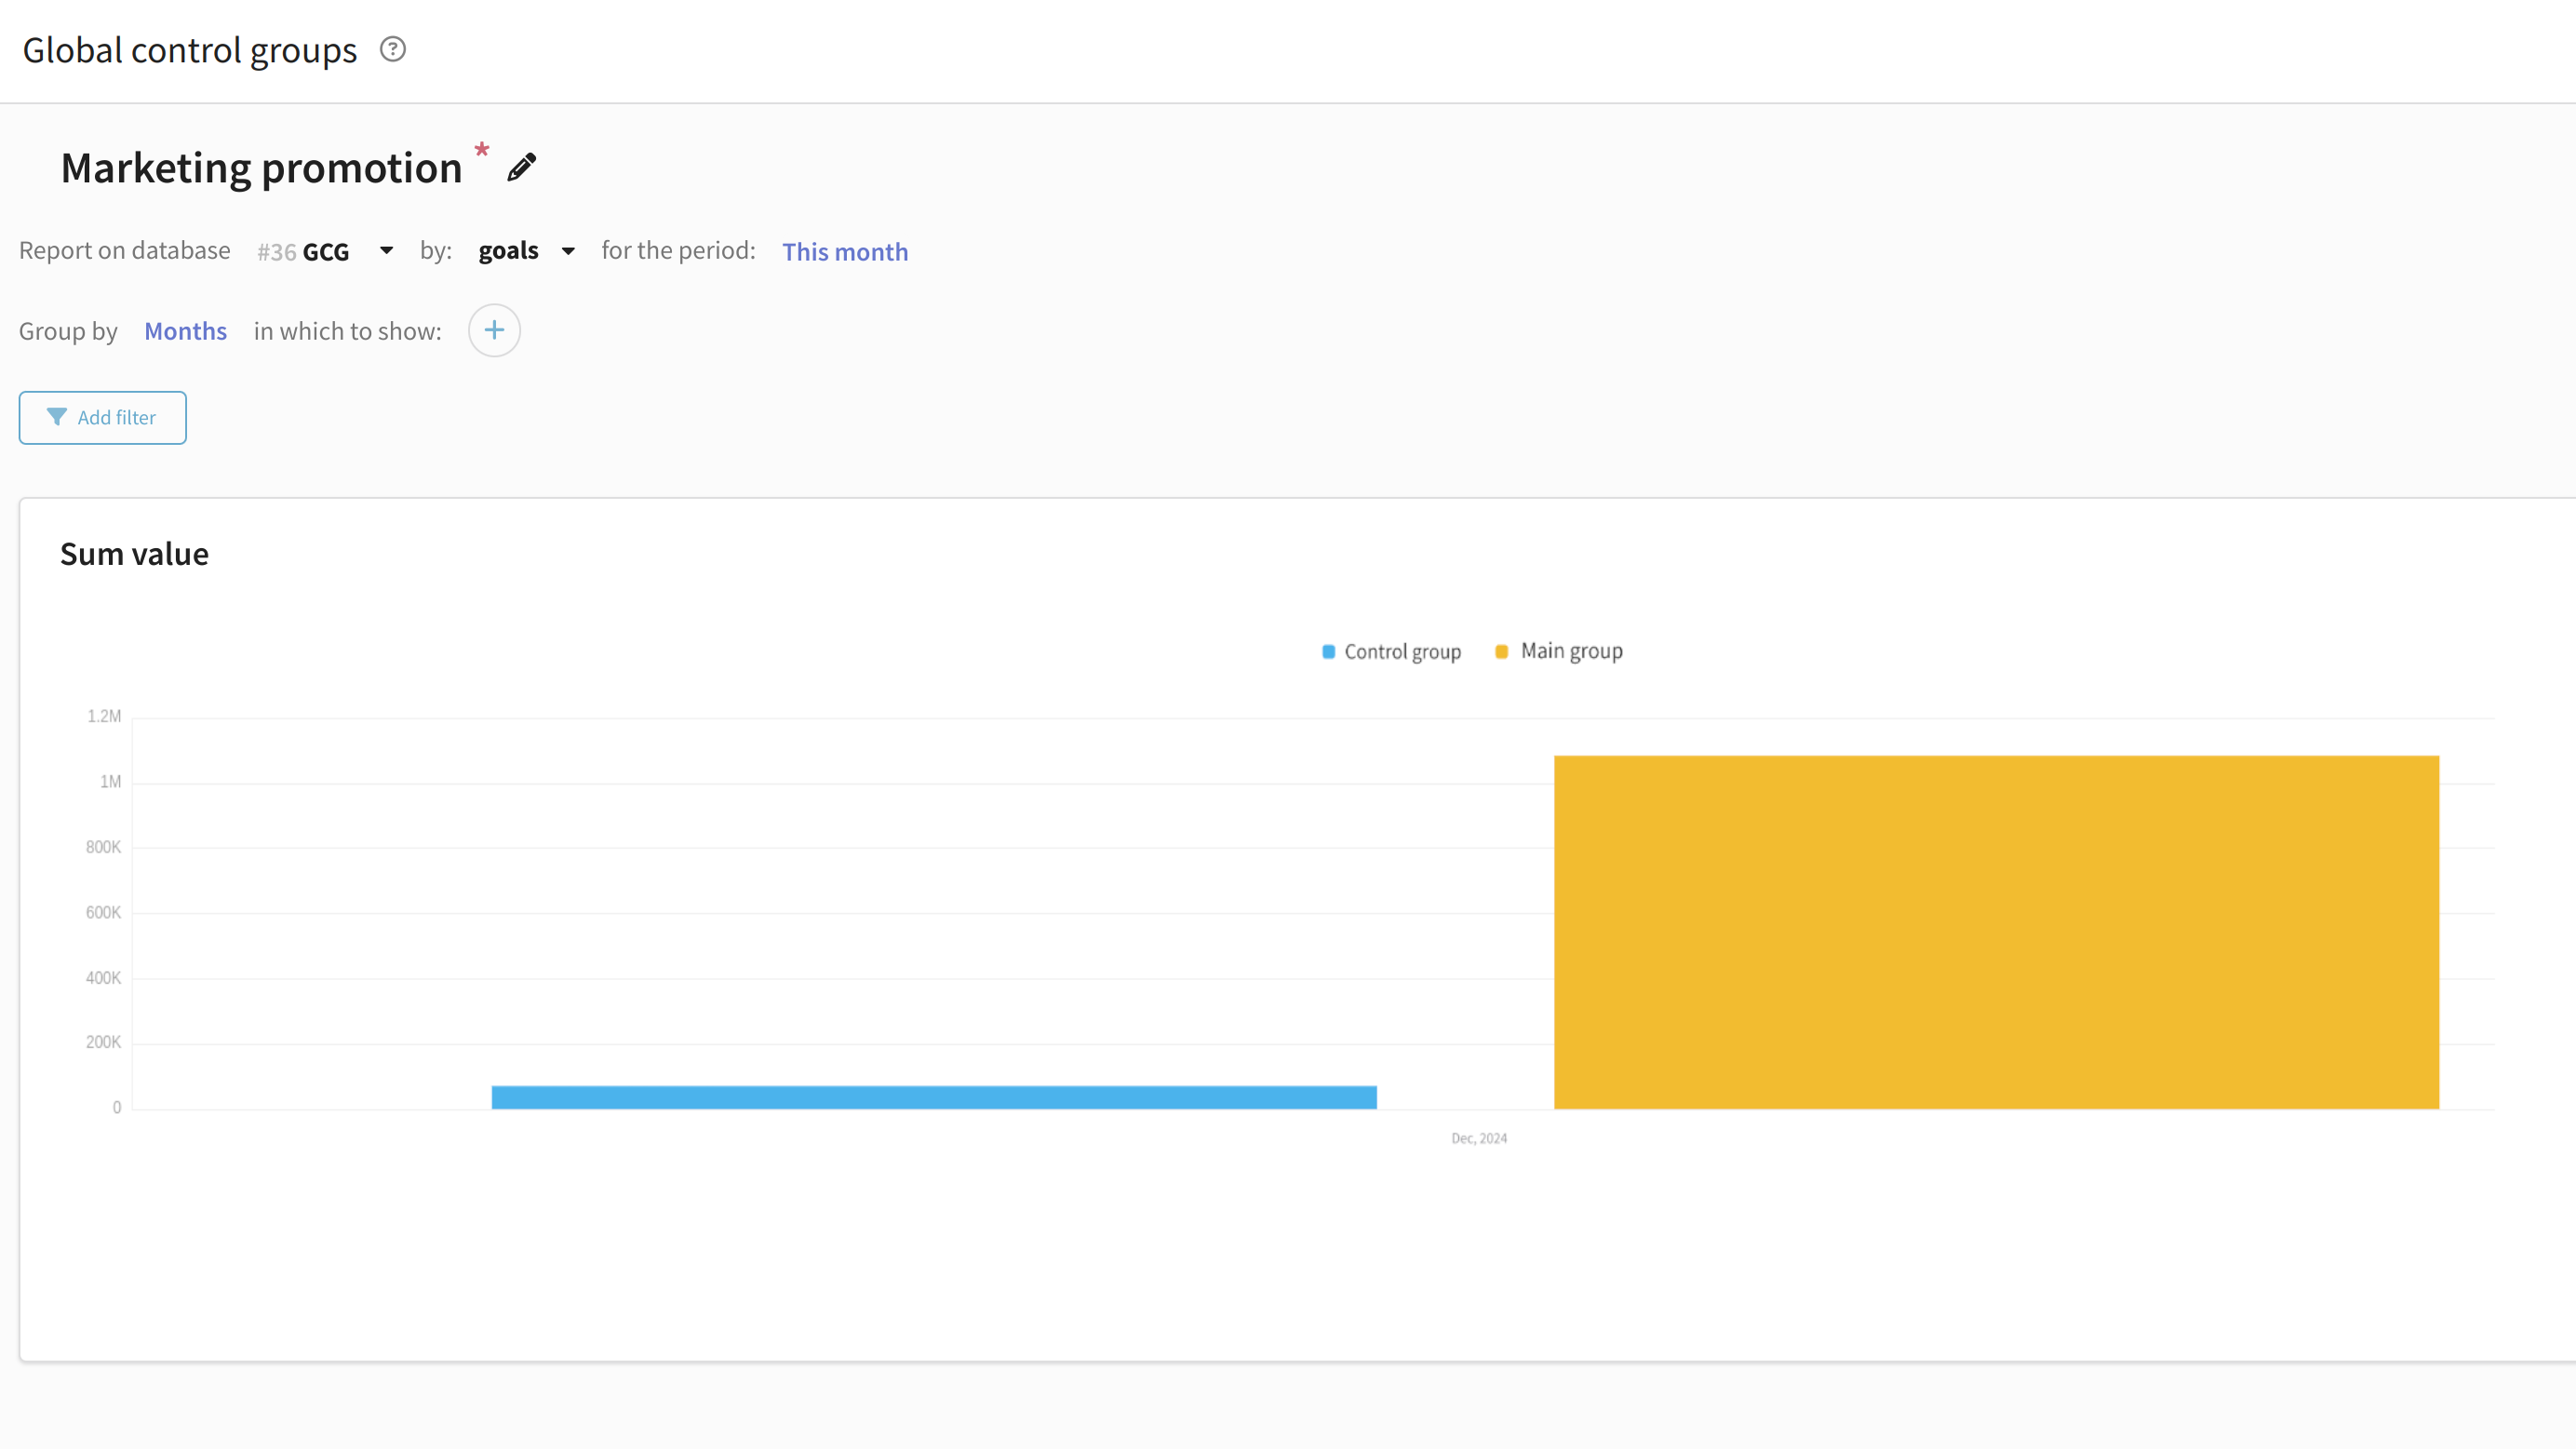
A comparison of metrics for the audience receiving communications and the control group audience can be viewed in Analytics - Global Control Group:
 |
A graph comparing the main group to the control group will appear in front of you. You can select pixel and target to compare metrics derived from tracking pixels and sales channel for Market metrics:
Read more about analytics on global control groups here.