Trigger types
Page view
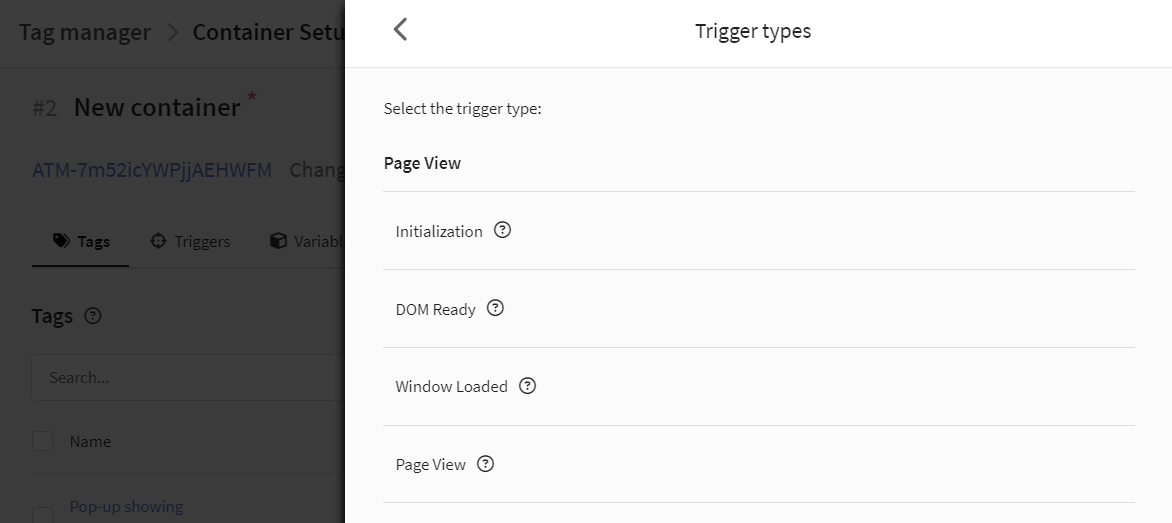
Initialization
The trigger fires before all other triggers fire. Use this trigger to have it fire the tags you want before other triggers.
DOM ready
The trigger fires after the browser has completed processing the HTML code of the page.
The browser has fully loaded the HTML and the DOM tree has been built, but external resources such as <img> images and styles may not have been loaded yet.
Window loaded
The trigger fires after the page has fully loaded, including images, scripts, and other embedded objects.
Page view
The trigger fires when the page begins to load. Used to obtain data only on page impressions.
Click
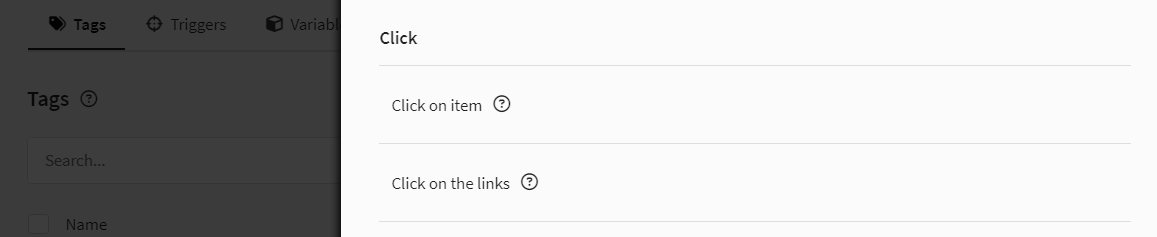
Click on item
The trigger fires when you click on any page item, including links, images, buttons, etc.
Click on the links
The trigger fires when HTML links are clicked, for example, <a hrefs="https://example.com">Link </a>
User engagement
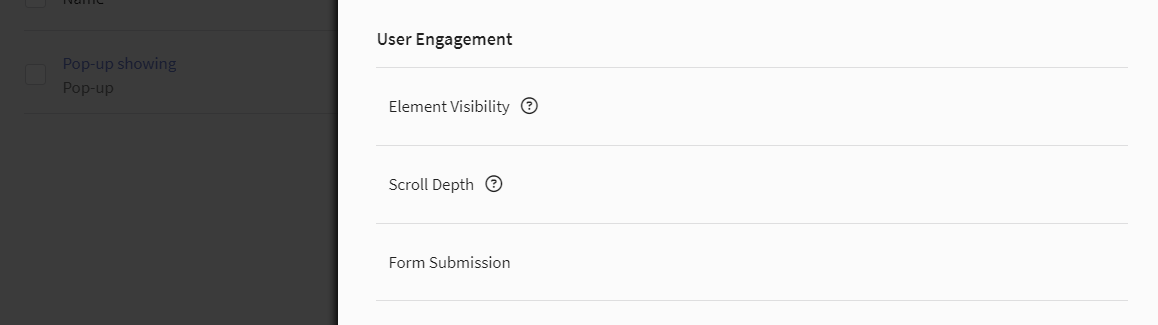
Element visibility
The trigger fires when a specific element becomes visible in the viewport.
The visibility of an element can change as a result of various actions: loading the page, scrolling, switching to a background browser tab, changing the position of the element through code, etc.
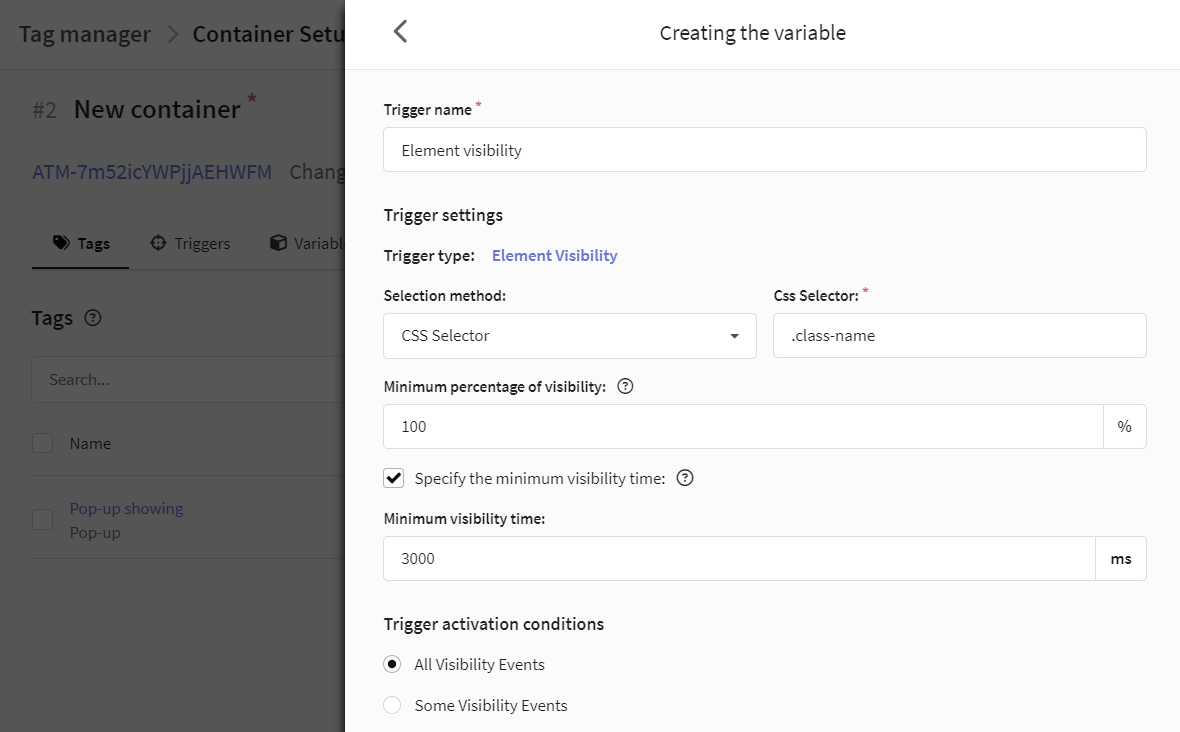
Selection method:
-
Identifier is used to track the visibility of a single element with a specific
idattribute value. For example, if you specifytest, the element withid="test"will be selected. -
CSS selector is used to track the visibility of multiple elements that match a given CSS selector pattern. For example,
.class_namewill select elements on the page withclass="class_name".
Minimum percentage of visibility - the percentage of the selected element that must be visible on the user's screen for the trigger to fire. The default is 100%, which means the element should be completely displayed on the screen.
You can also specify the minimum visibility time. The minimum visibility time is the period of time an element must remain visible on the screen for the trigger to fire.
Please note that time periods are cumulative. If an element was visible for 5000 ms, then hidden and visible again for 3000 ms, then the visibility time would be 8000 ms.
Scroll depth
The trigger fires depending on how far the user scrolls the page down or to the right.
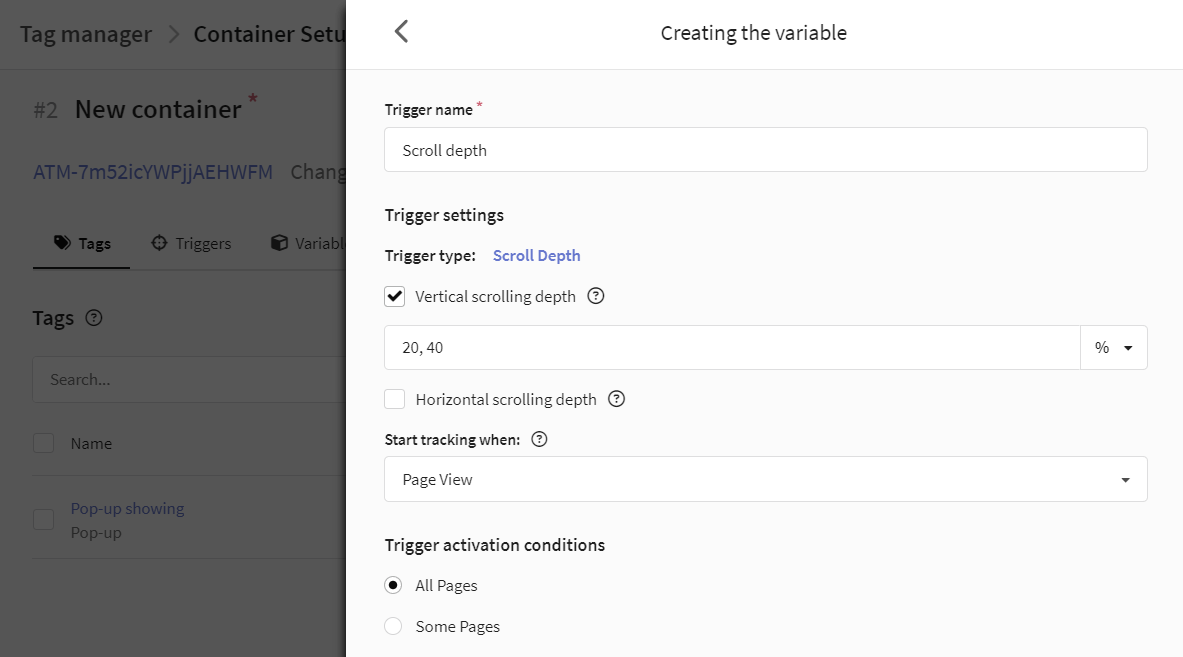
To configure the trigger, you must select at least one of the scrolling options:
-
Vertical scrolling depth — the trigger is activated based on how far the user has scrolled down the page.
-
Horizontal scrolling depth — the trigger is activated based on data about how far the user has scrolled the page to the right.
You can use both options at the same time. The scroll depth value is specified in pixels or as a percentage (of the page height and width). If you specify multiple values separated by commas, the trigger is activated when each of them is reached.
You can also specify at what stage of the page load you want to start tracking the event:
- Window loaded;
- DOM model is ready;
- Page view.
If the specified scroll depth enters the viewport when the page loads, the trigger fires without scrolling.
Form submission
The trigger fires every time the user tries to submit the form.
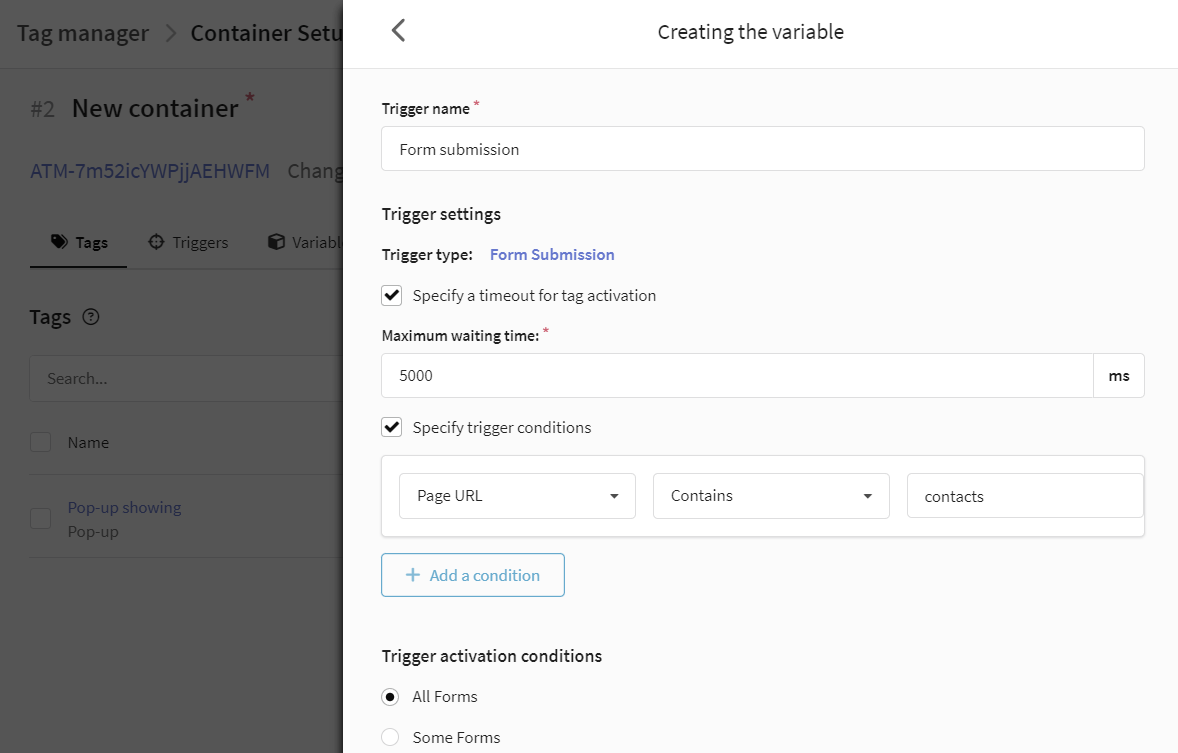
In trigger settings you can:
-
Specify a timeout for a tag activation: form submission is blocked until the specified timeout has expired or until all tags dependent on this trigger have been activated. The wait time is specified in milliseconds (5000 ms = 5 sec).
-
Specify trigger conditions: use variables to select under what conditions the trigger should monitor events.
It is recommended to use a filter in the trigger indicating the URL of the page on which the form is located.
Other

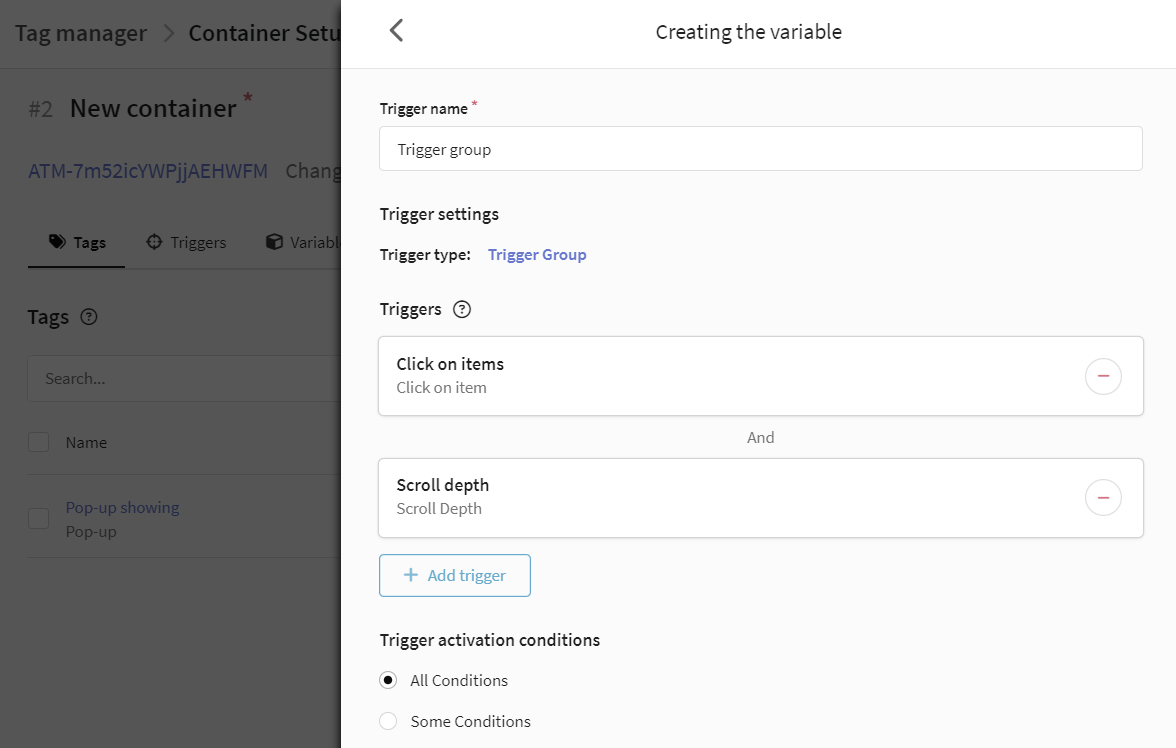
Trigger group
The trigger fires after all selected tags have been activated at least once.
Use the Add Trigger button to select the required triggers. The number of triggers in a group is not limited.
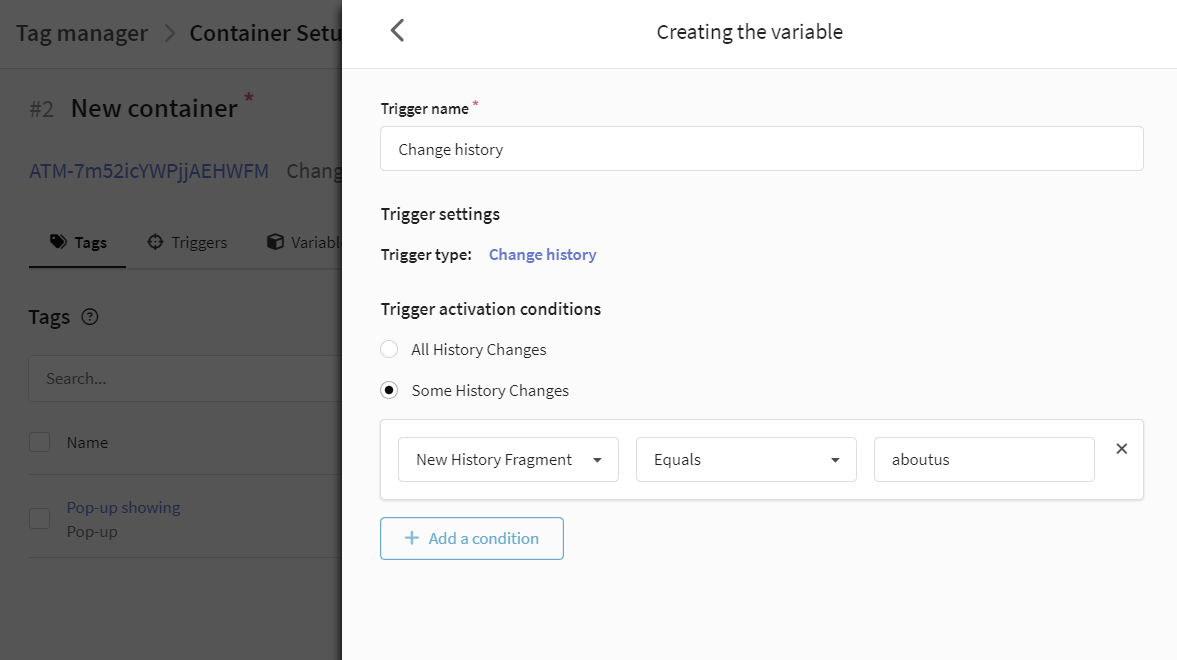
Change history
The trigger fires when there is a change in the URL fragment (hash) or when the pushState HTML5 API is used on the site.
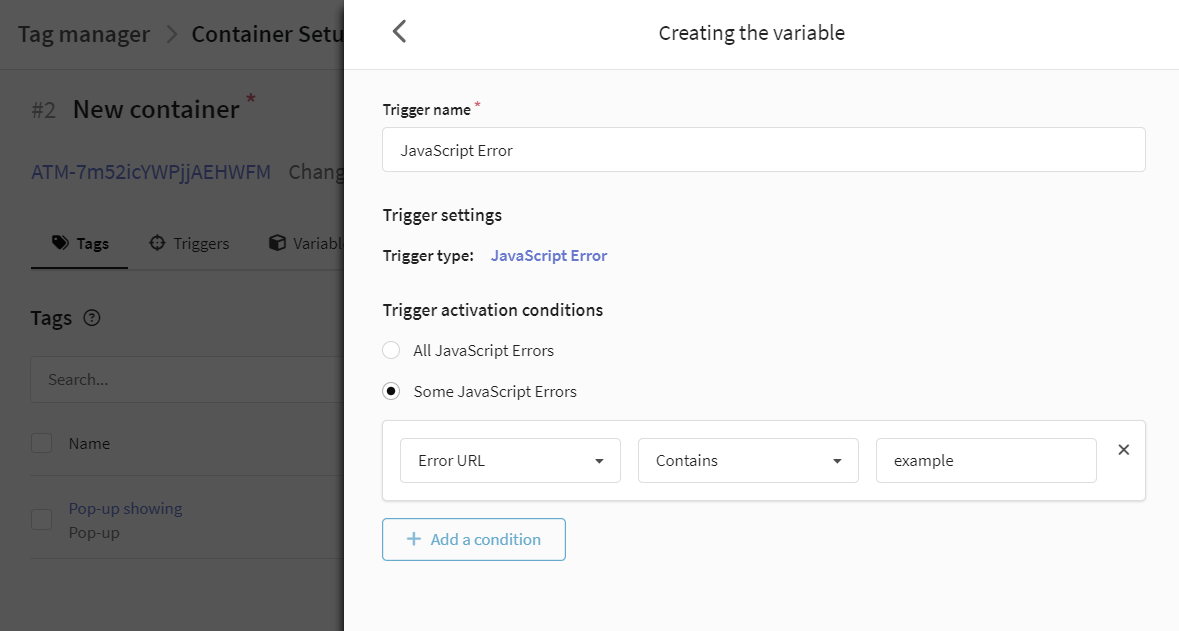
JavaScript error
The trigger fires when a JavaScript error occurs on the site that was not caught by the window.onError event handler.
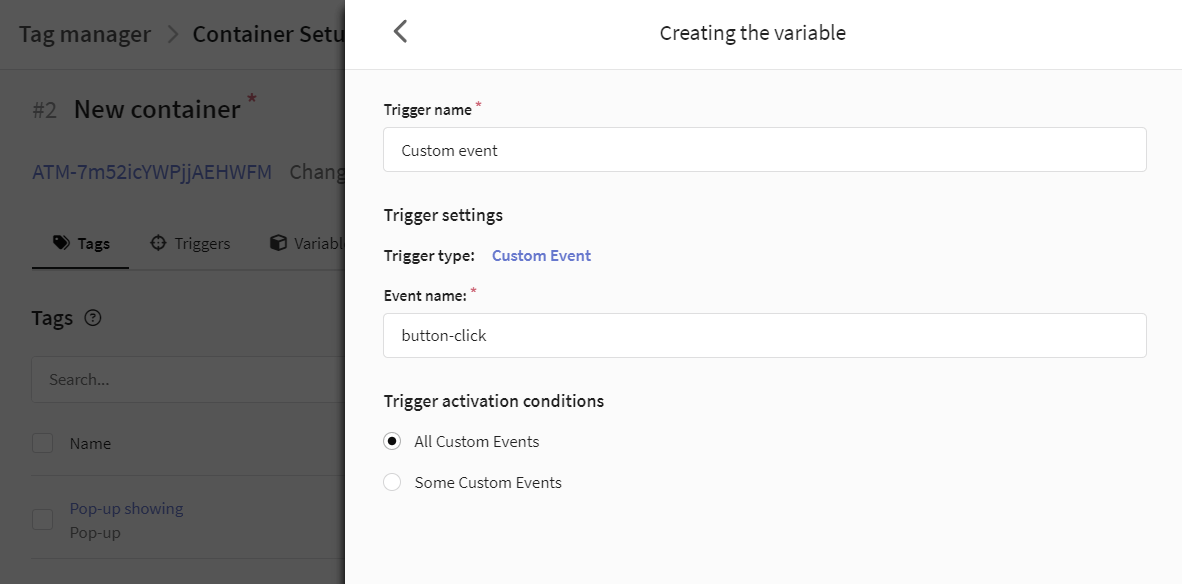
Custom event
A trigger allows you to track interactions with a site or application for which standard methods are not suitable. For example, if you want to track the submission of a form for which you have overridden the behavior of the "submit" event in the browser.
To configure a trigger, you need to specify the name of the event, for example, button-click.
Timer
The trigger fires after a specified time interval.
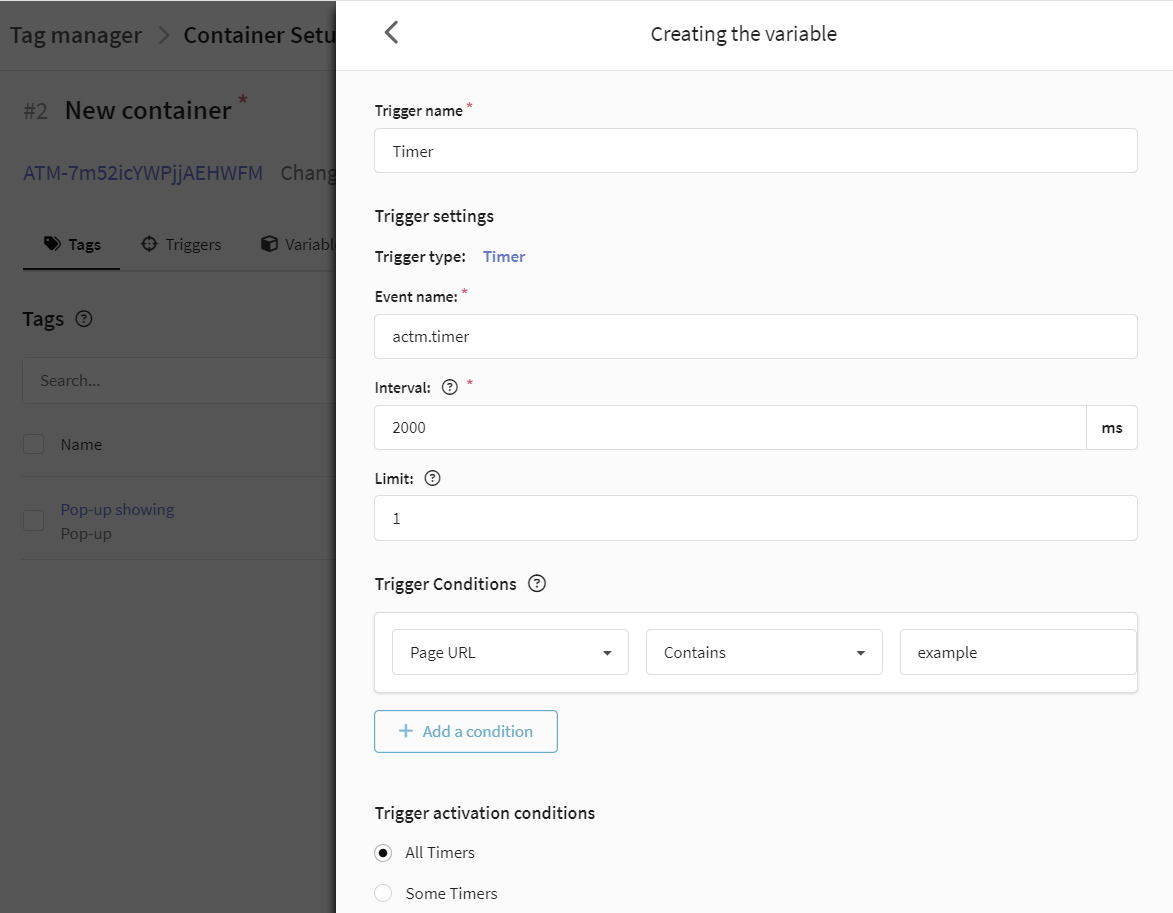
Trigger settings include:
-
Event name by default —
actm.timer. In most cases, you do not need to change the name. You can specify a different name to create a trigger based on a custom event. -
Interval — the time between event firings (in milliseconds). For example, if you set it to 2000, the event will trigger every 2 seconds. The first firing will also occur after the specified time.
-
Limit — the maximum number of firings. If you leave this field empty, the trigger will fire until the user leaves the page.
If you set the interval to 2000 ms and the limit to 1, the first and last firing will occur after 2 seconds.