Connection to VK Ads™
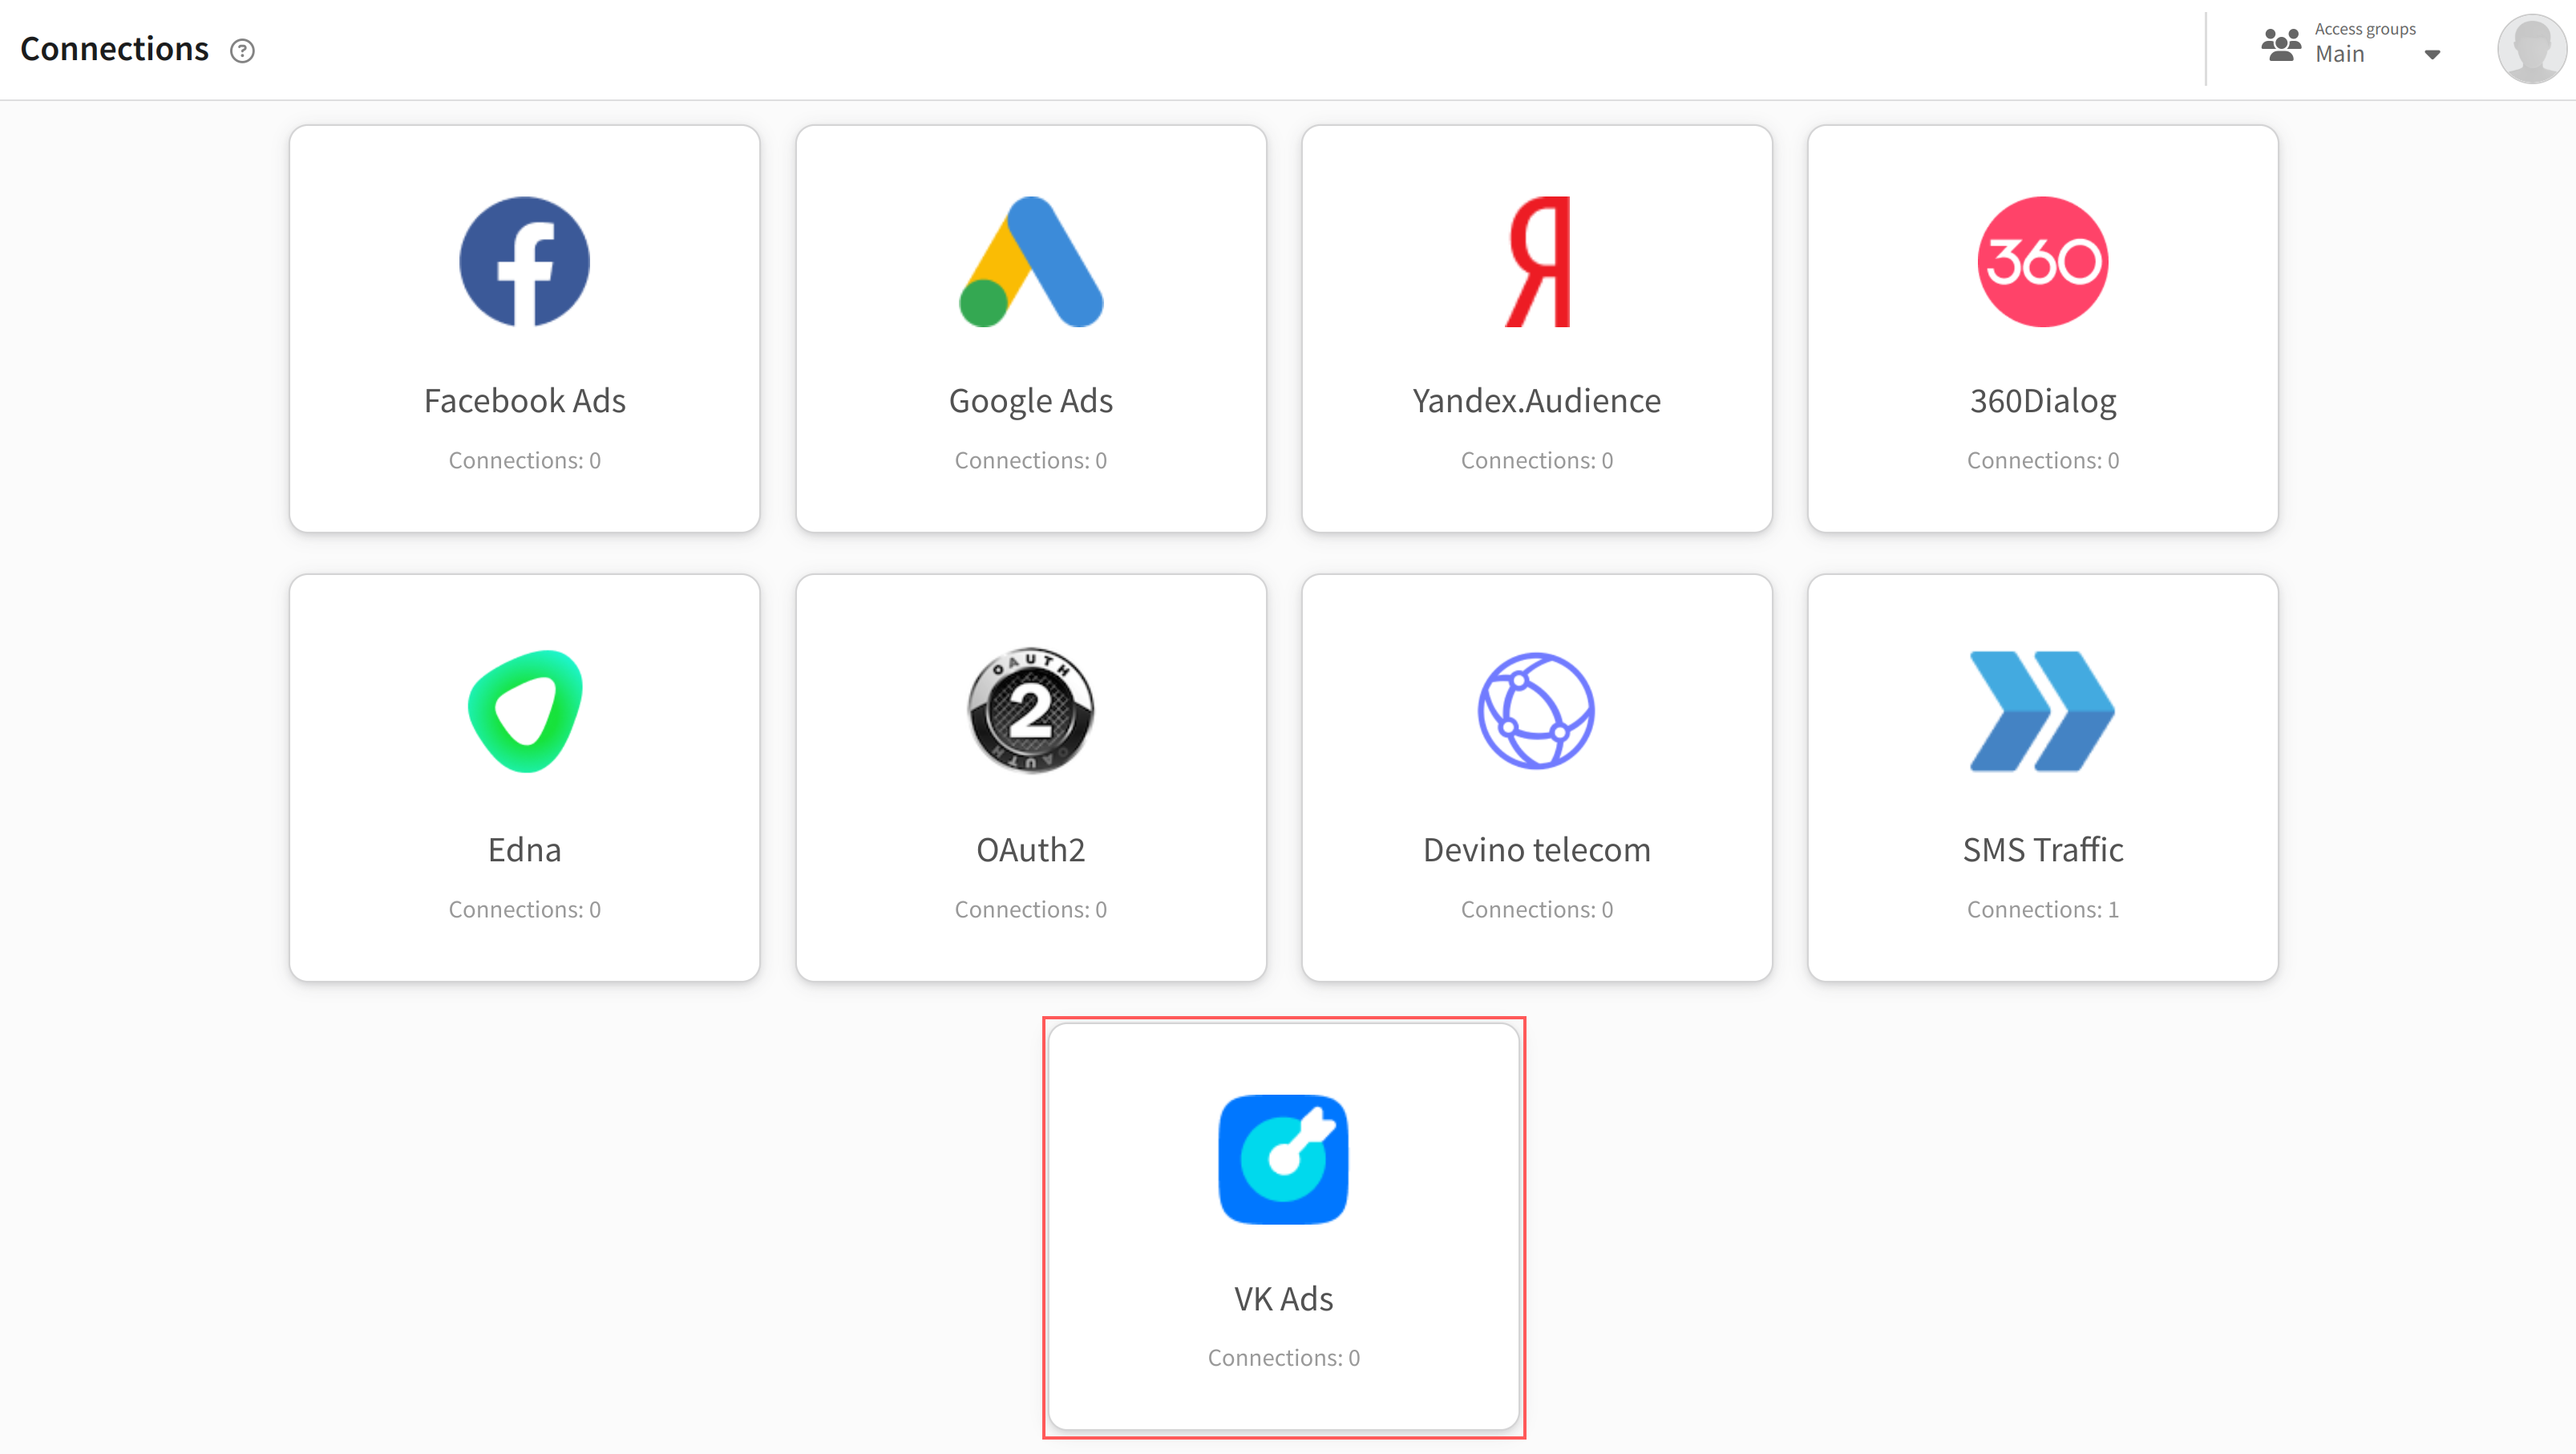
In the main menu click "Settings" —> "Connections". Click Create to add a new connection. Choose VK Ads™:
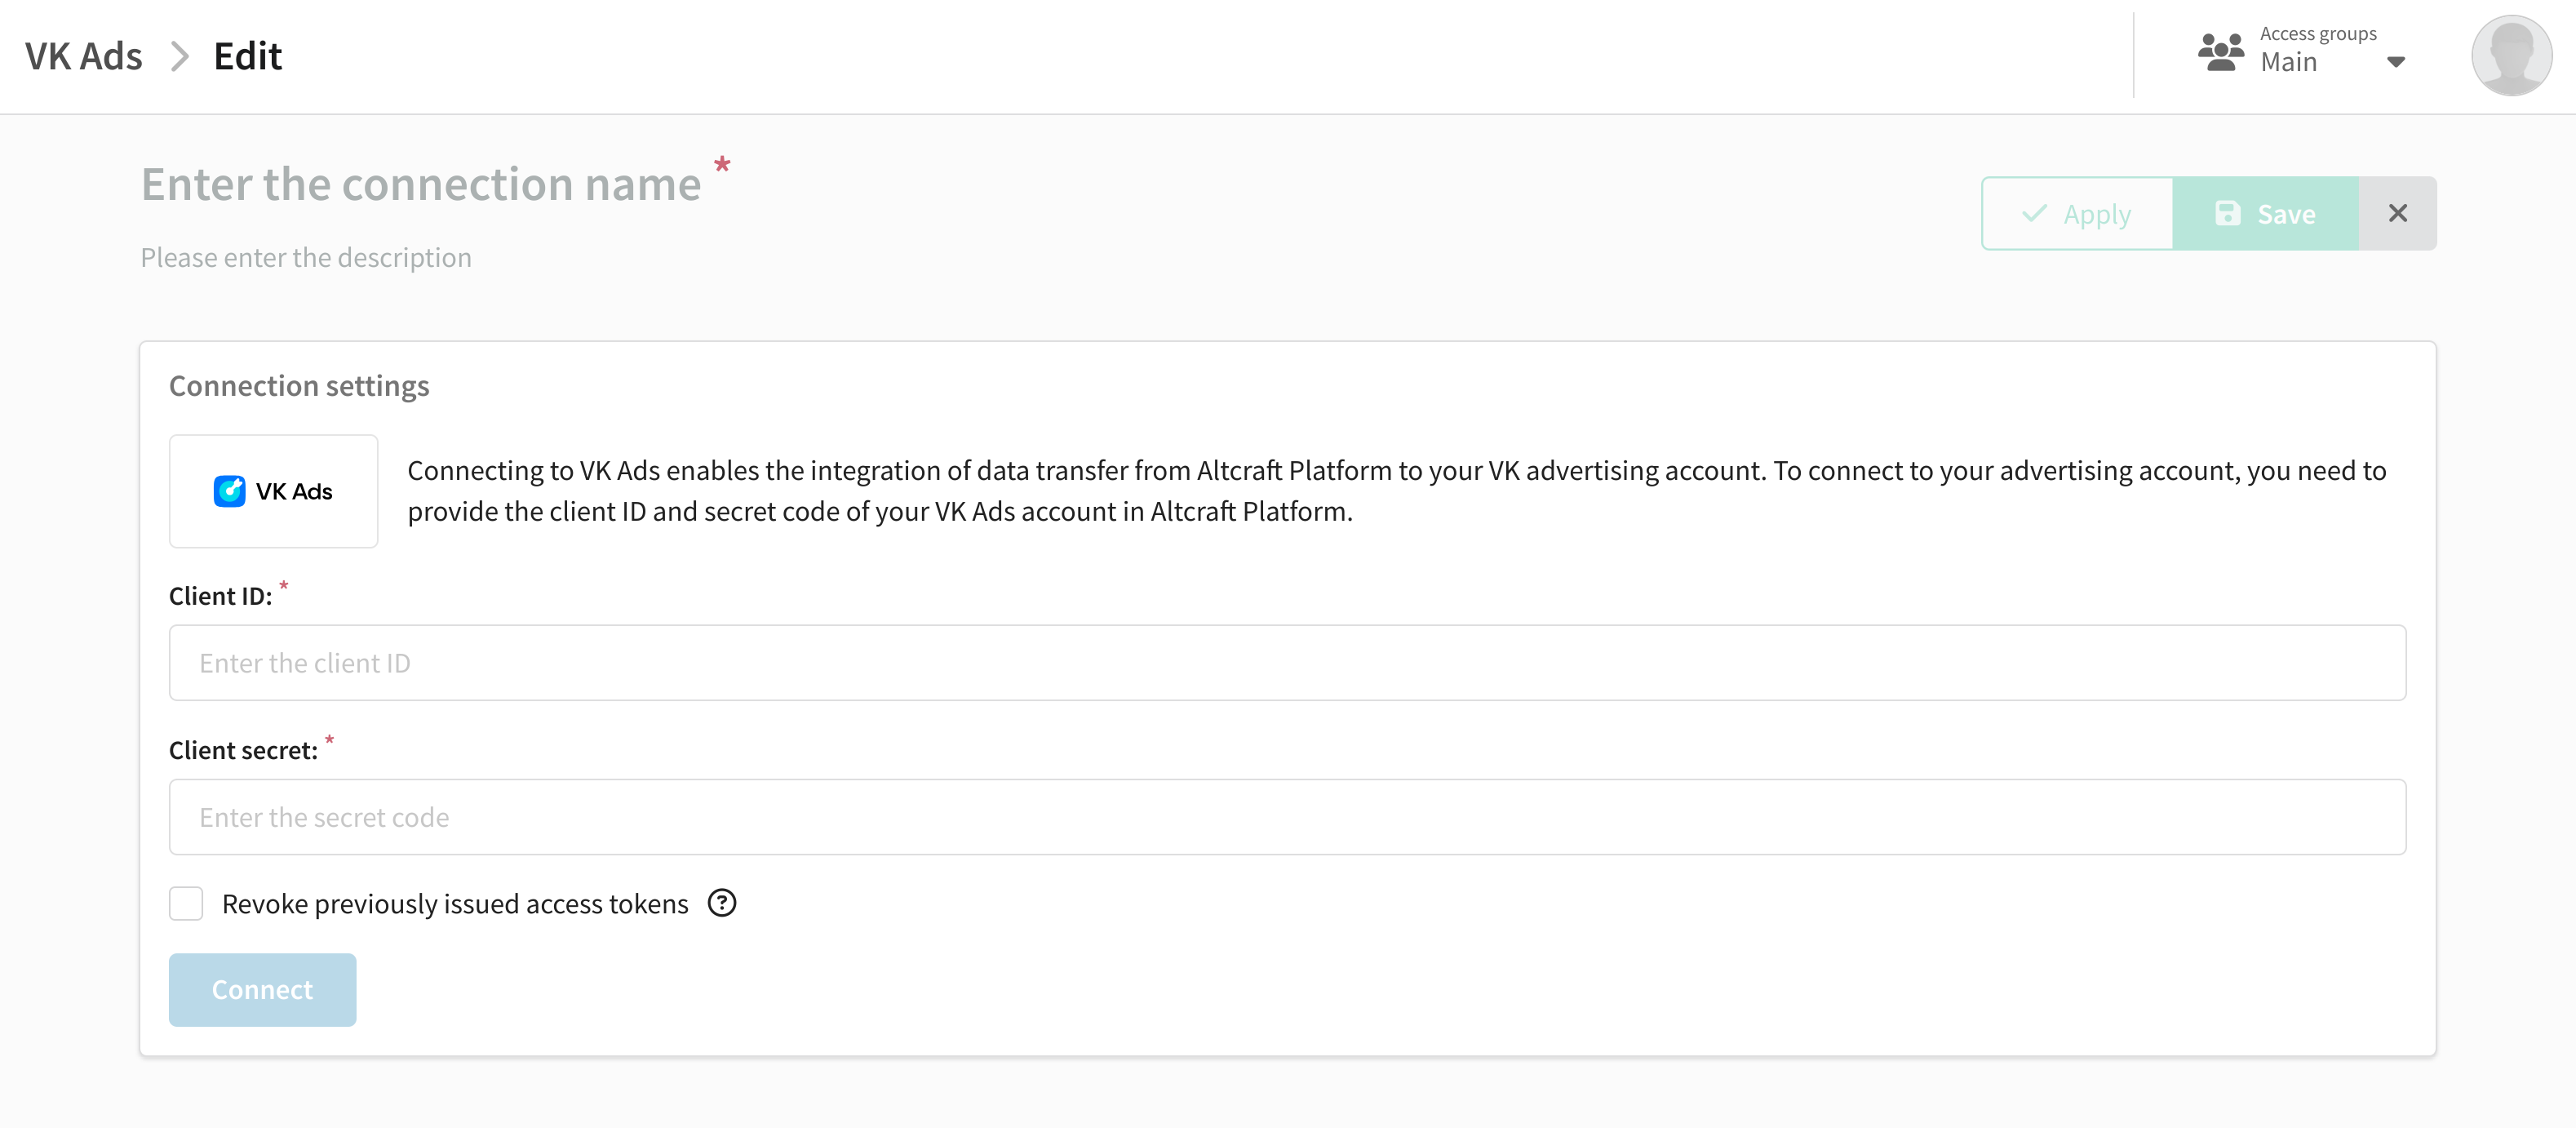
A list of all configured connections to VK will open. To add a new one, click Create. A cretion menu will open. In the fields at the top of the screen, enter the name and description of the connection.
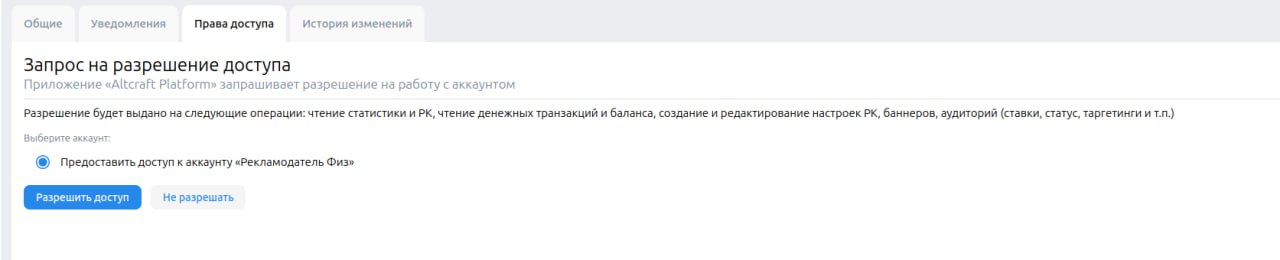
If you use the cloud version of the Altcraft platform, when you try to connect the service, the VK Ads™ settings page will open in your browser. The service will ask you for permission for the Altcraft Platform application. Click Allow access. Your connection will appear in the list of connections on the platform.
If you use on-premise version, you need to provide a Client ID and Client secret to connect your account. They can be found in the VK Ads™ settings on the General tab in the API Access section. To receive them, you can click on the "Request API access" button.
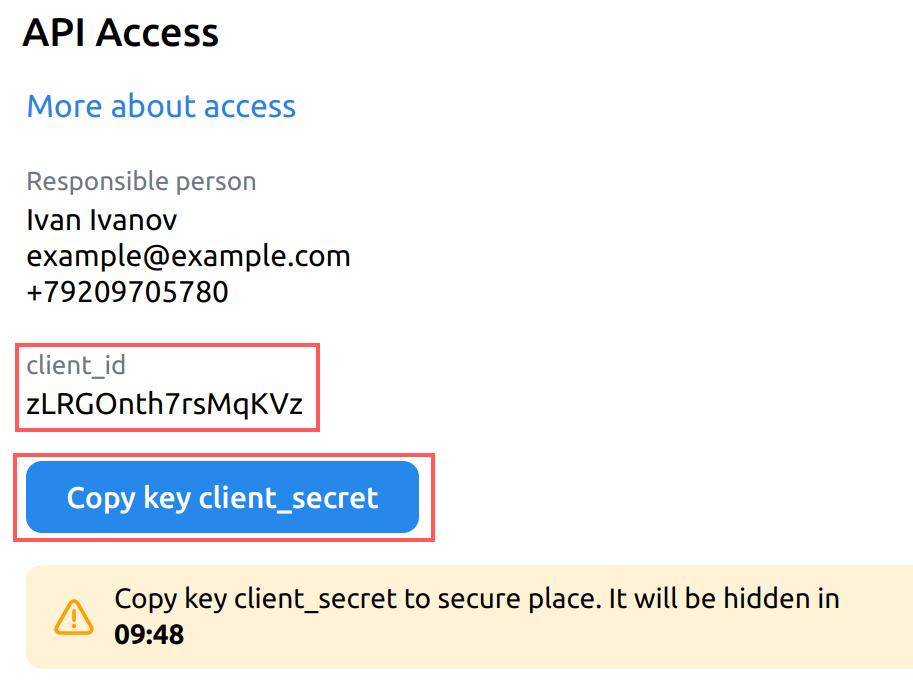
Once you have confirmed your contact information, you will have access to your client_id, it is used in the Altcraft platform for the Client ID field. To copy the client_secret value for the "Client secret" field, click on the button. Save it, after 10 minutes this button will disappear and you will no longer be able to see your Client secret:
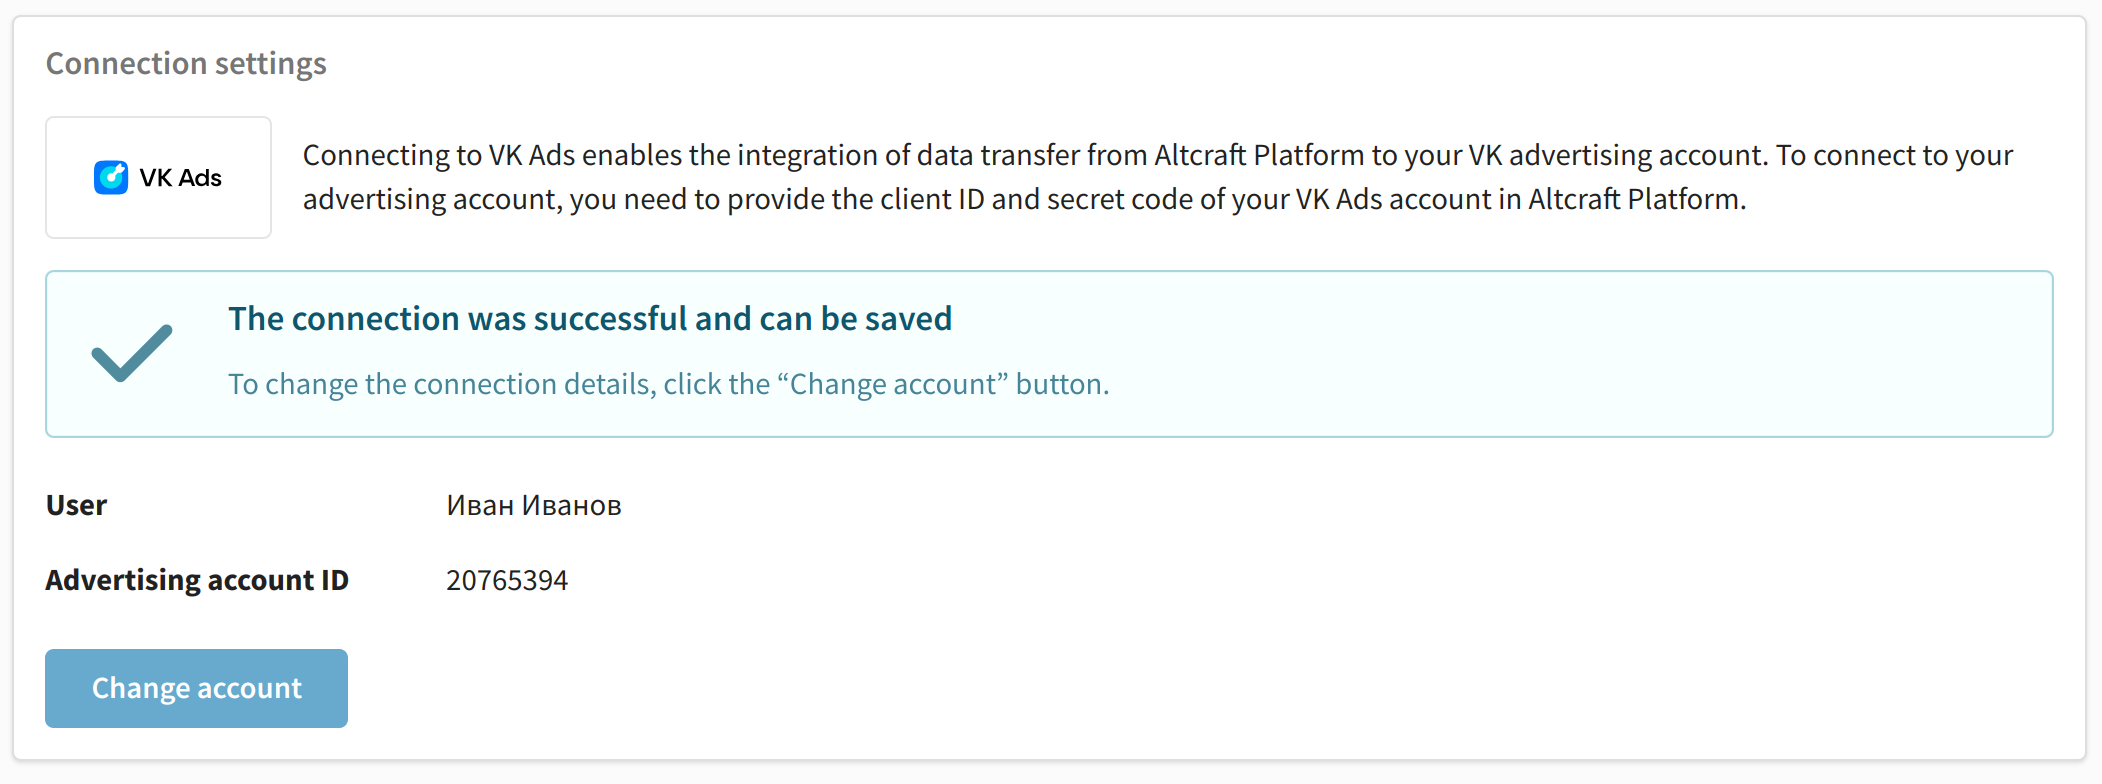
When all fields are filled in, click the "Connect" button. If successful, a confirmation will appear on the screen. If you receive an error message instead, check if the account information you entered is correct and try again.
Every time you make a successful attempt to connect to VK Advertising™, the platform creates an access token. Even if you do not save this connection, the token remains in the system. The number of tokens cannot be more than 5. If the system does not allow you to create another connection, activate the "Revoke previously issued access tokens" option when creating a connection.
If the connection has been established, click the "Save" button. After saving the connection, you can proceed to setting up the integration.