Resource and Website Setup
Preliminary Settings
-
Your website must use the HTTPS protocol. Web Push does not work on HTTP sites.
-
The web pixels and push notification functionality must be activated in the Altcraft Platform.
- Cloud version: If you are using the cloud version of Altcraft, contact support at support@altcraft.com with a request to enable push notifications and pixels for your account.
- On-Premises: Push notifications and pixels must be activated for all accounts from which sending is planned. Go to Admin Panel — Account Management, click on the required account, and activate push notifications and pixels. For more details, see the corresponding administrator documentation article.
Creating a Resource
A resource is an object in the platform that links a subscriber database to a communication channel. After saving the resource, the Toolkit becomes available — a set of files for Web Push to work on your website.
A separate resource must be created for each website.
In the platform, create or select a Database where push notification subscribers will be stored.
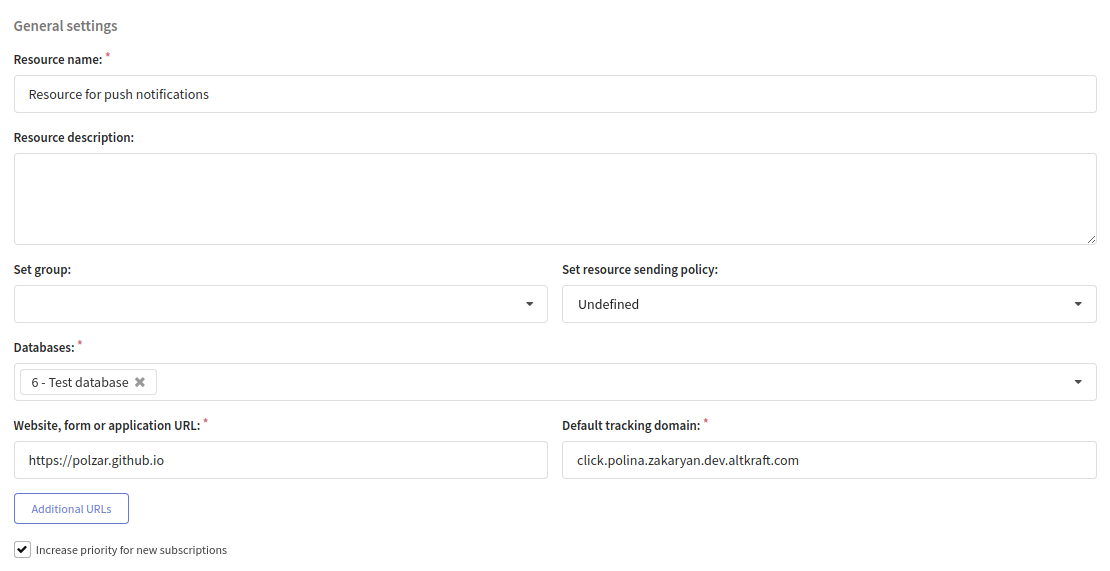
Add a push channel to an existing resource or create a new one. Enter the resource Name and Description.
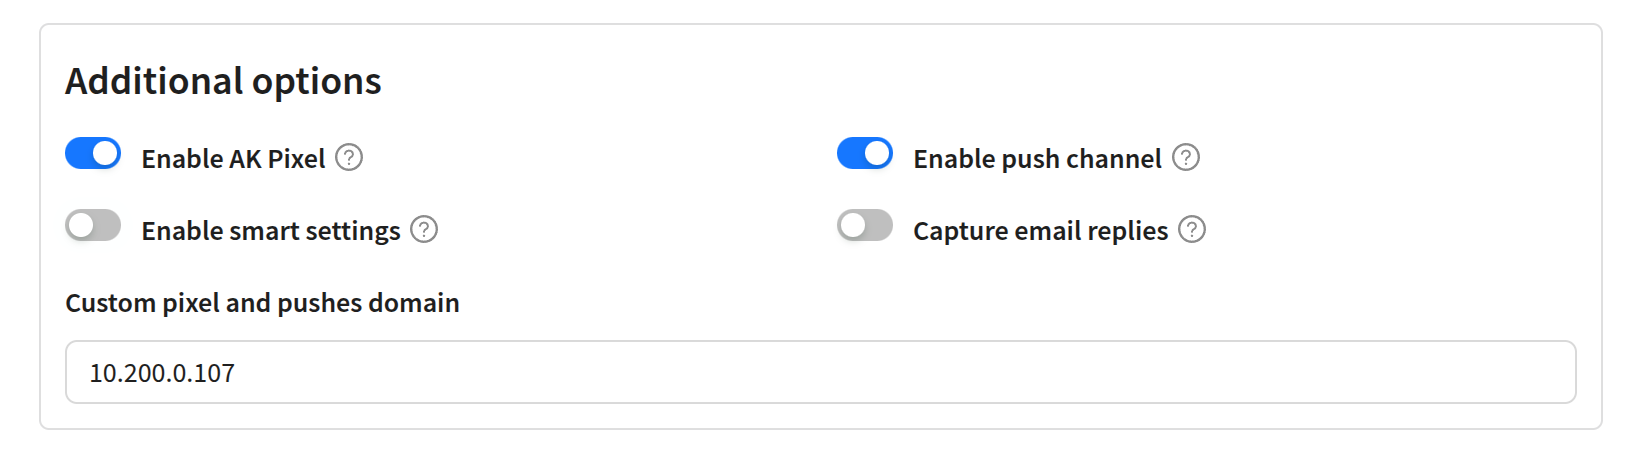
In the Website, Form, or Application URL field, specify the address of the website where push subscription occurs and from which notifications will be sent. This address is added to the manifest.json file required for push setup, so push notifications will not work if the address is incorrect.
In the Default Tracking Domain field, specify the domain where Altcraft tracking is running. This domain handles link clicks in messages.
Next, select the desired browsers and providers for each platform. Settings for the selected providers will become available below.
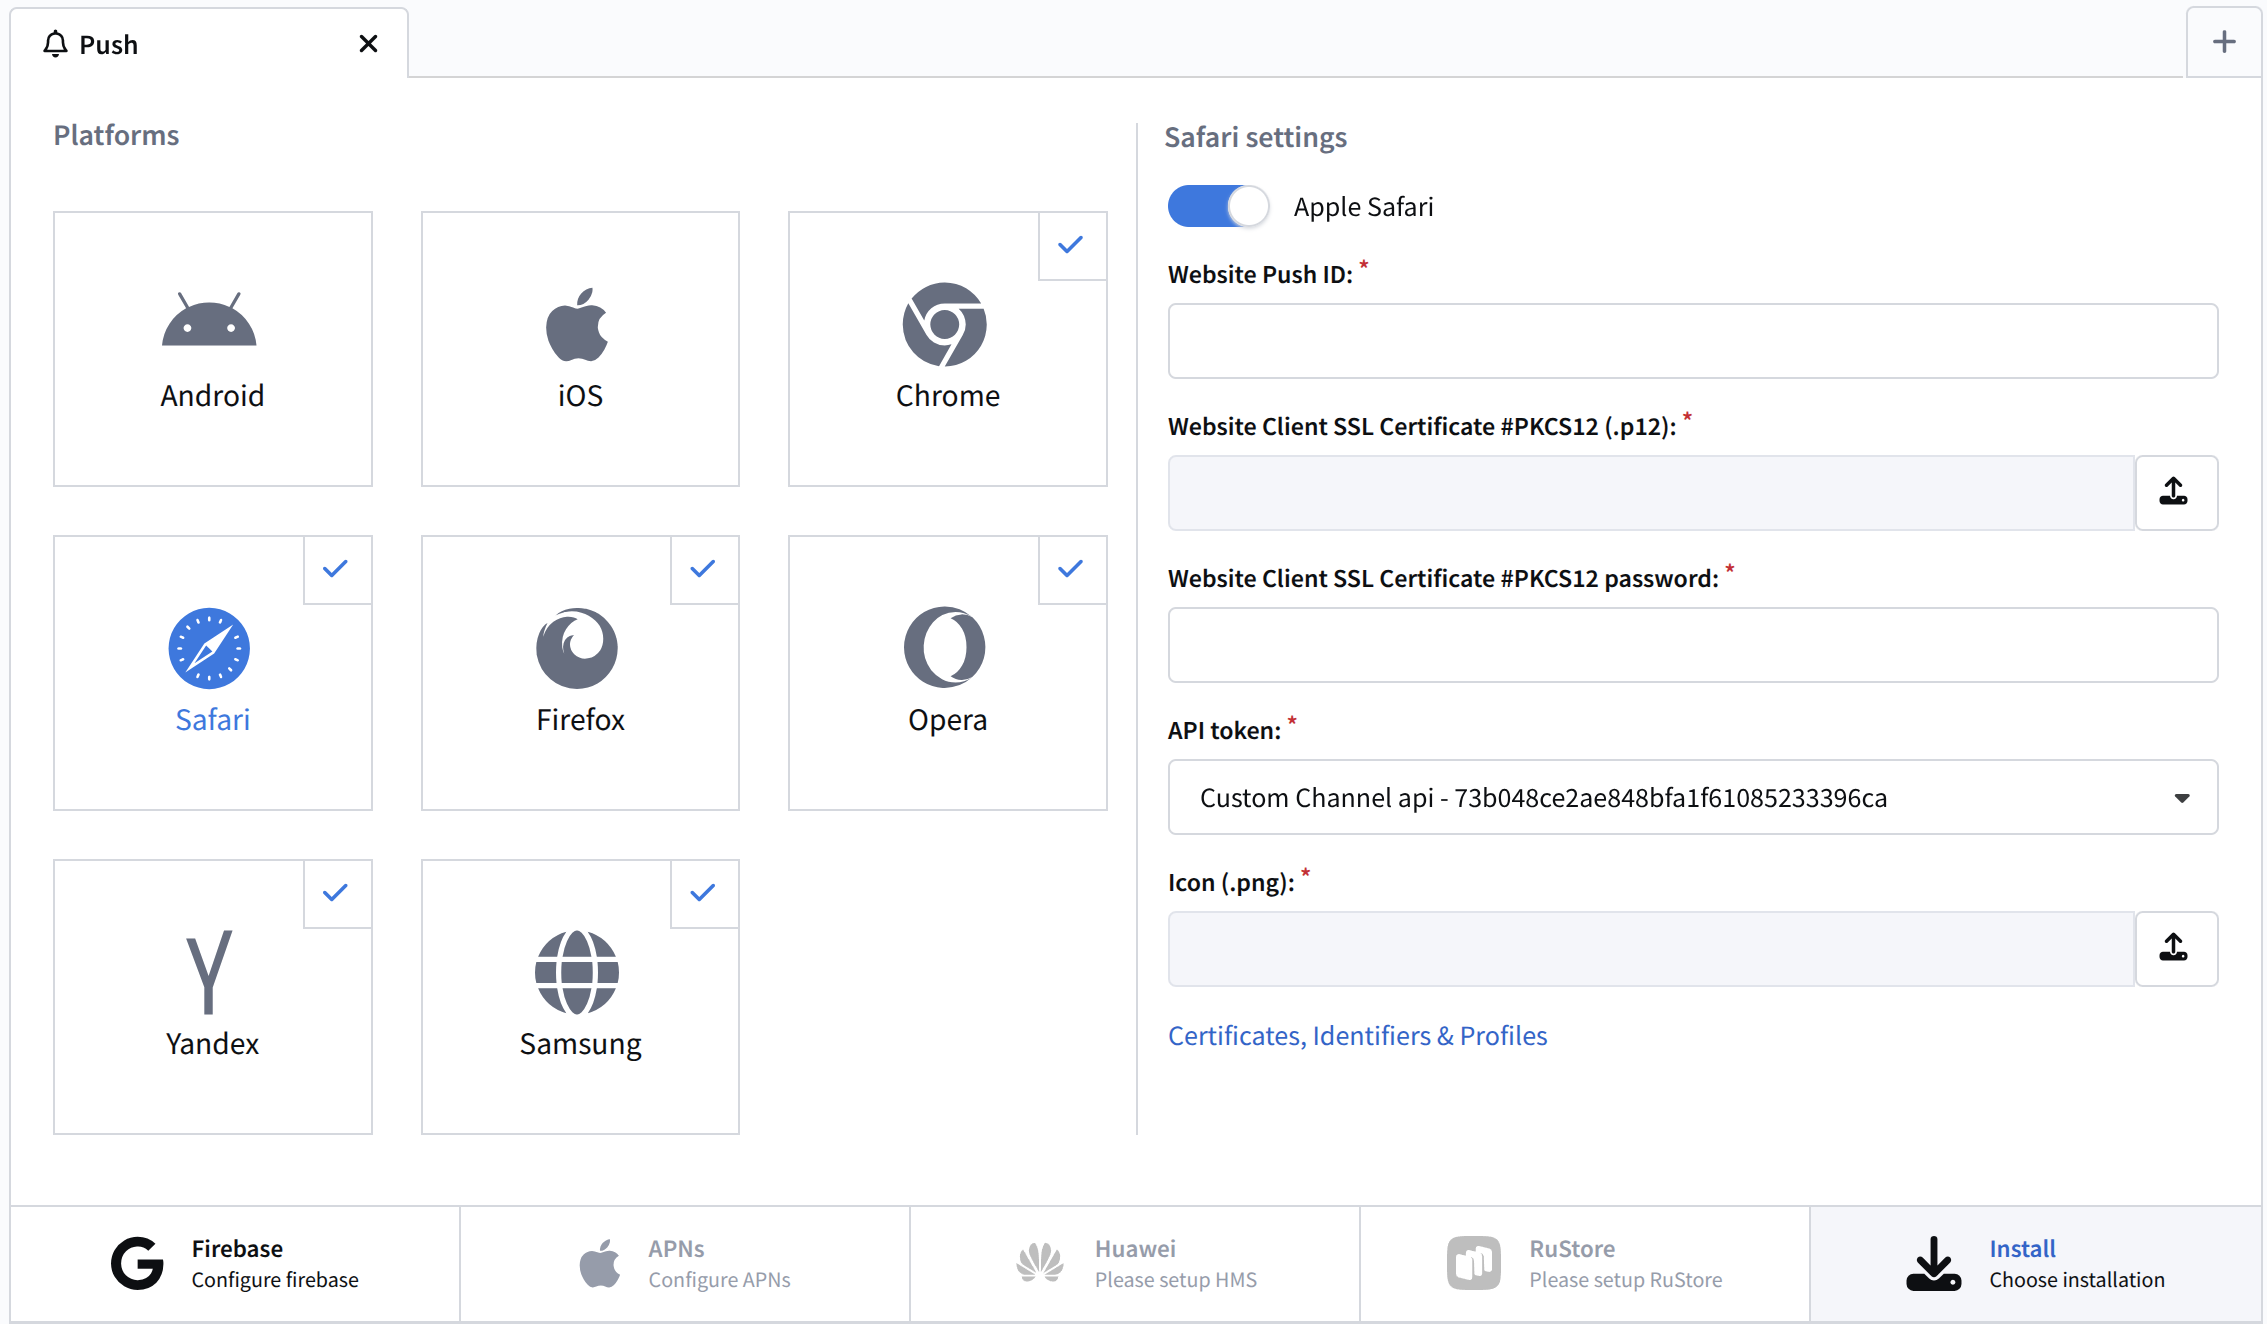
Detailed instructions for each platform are available in this section of the documentation. Without provider configuration, push notifications will not work.
Installing the SDK on Your Website
After all settings are configured, save the resource. The Toolkit — a set of files for Web Push to work on your website — will be available for download. The Toolkit will appear in the Installation section.
The Toolkit itself does not trigger the subscription window. It contains files and scripts for working with notifications. To display the subscription prompt, add the code that calls the ak-push.js function.
Installing files on the website is possible in two ways:
Method 1: Dynamic service worker
Add the code that appears to your website and upload the installation files to the root directory:
- manifest.json — project data for sending push via Google Chrome
- service-worker.js — service worker registered in user browsers
The service-worker.js file is dynamic. It is automatically updated when resource settings change.
importScripts('https://pxl.test.com/service-worker.js?id=MXw3');
When the Website, Form, or Application URL parameter is changed in the resource being used, you must re-upload manifest.json to the website.
Method 2: Static Toolkit
On the right side of the interface, click Download, extract the archive, and place the files in the root directory of the website. The Toolkit consists of four files:
README.txt— installation instructionsak-push.js— script for displaying the subscription windowmanifest.json— project dataservice-worker.js— service worker
When using the Toolkit, you can change the path to service-worker.js. Open ak-push.js, find the swPath property, and specify the required path.
When resource or provider settings are changed, you must re-upload the Toolkit to the website.
Adding Subscription Code
After installing the Toolkit, add the code to display the subscription window to your website:
<button id="init_sub">Subscribe to Notifications</button>

<script>
    document.getElementById('init_sub').addEventListener('click', function() {
        try {
            const akPush = new AKPush();
            akPush.initSubscription()
        }
        catch (e) {
            console.log(e);
        }
    });
</script>
How it works:
- The user clicks the button
- The
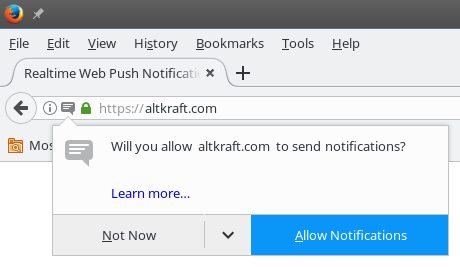
initSubscriptionmethod is called - A system browser window pops up with a subscription prompt
Subscription to one resource occurs separately for each browser. A single profile can have multiple active push subscriptions when subscribing from different browsers.
When a user grants permission to receive notifications, the platform automatically creates a profile for them. In addition to profile creation, other additional data can also be transferred. For more details on configuring data import, see here.
Through the Altcraft Platform, you can create a custom subscription popup. For more details, see the article Popup for Push Subscription.