Managing Data Tables
Data Tables — an interface for working with external SQL databases. You connect to tables, write a query, and can immediately view the result or save it for further use.
Supported database management systems:
- MySQL;
- PostgreSQL;
- MSSQL;
- Oracle;
- ClickHouse.
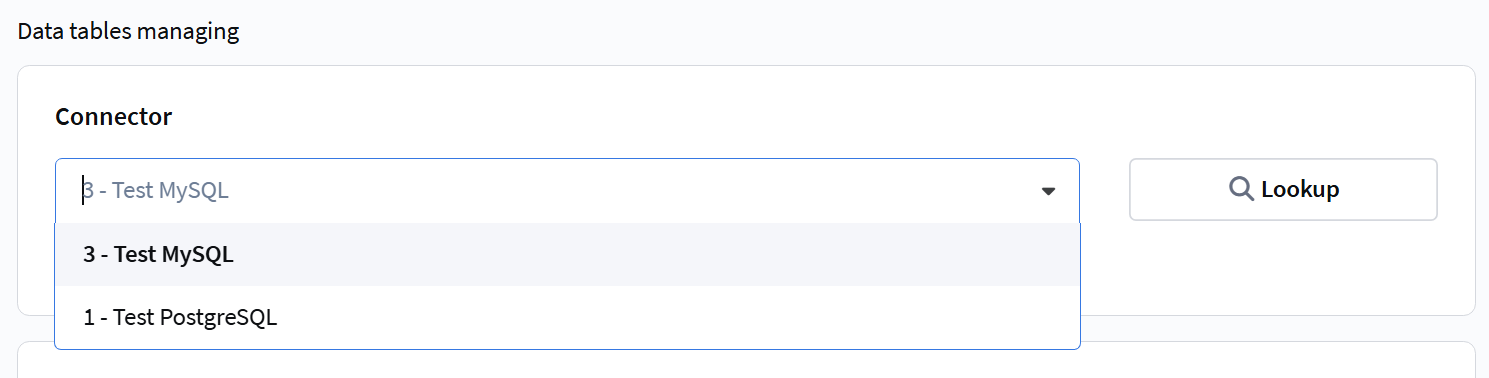
Connector
A connector is a connection to an external database. Connectors are created and configured by the platform administrator.
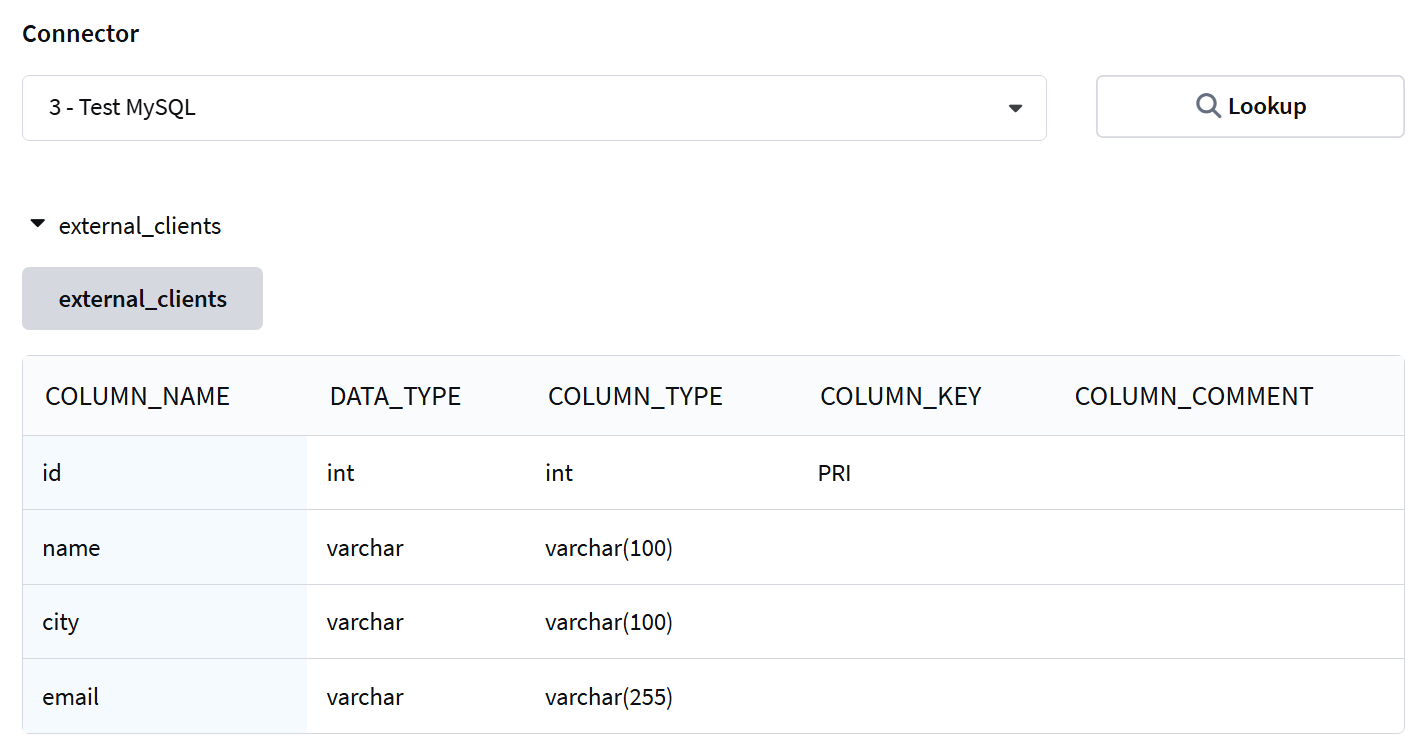
To work with data tables, you need to select a connector from the dropdown list. After selecting a connector, you can click the Lookup button — the platform will display a list of available tables in this database.
You can learn more about connecting external databases in this article.
Table Queries
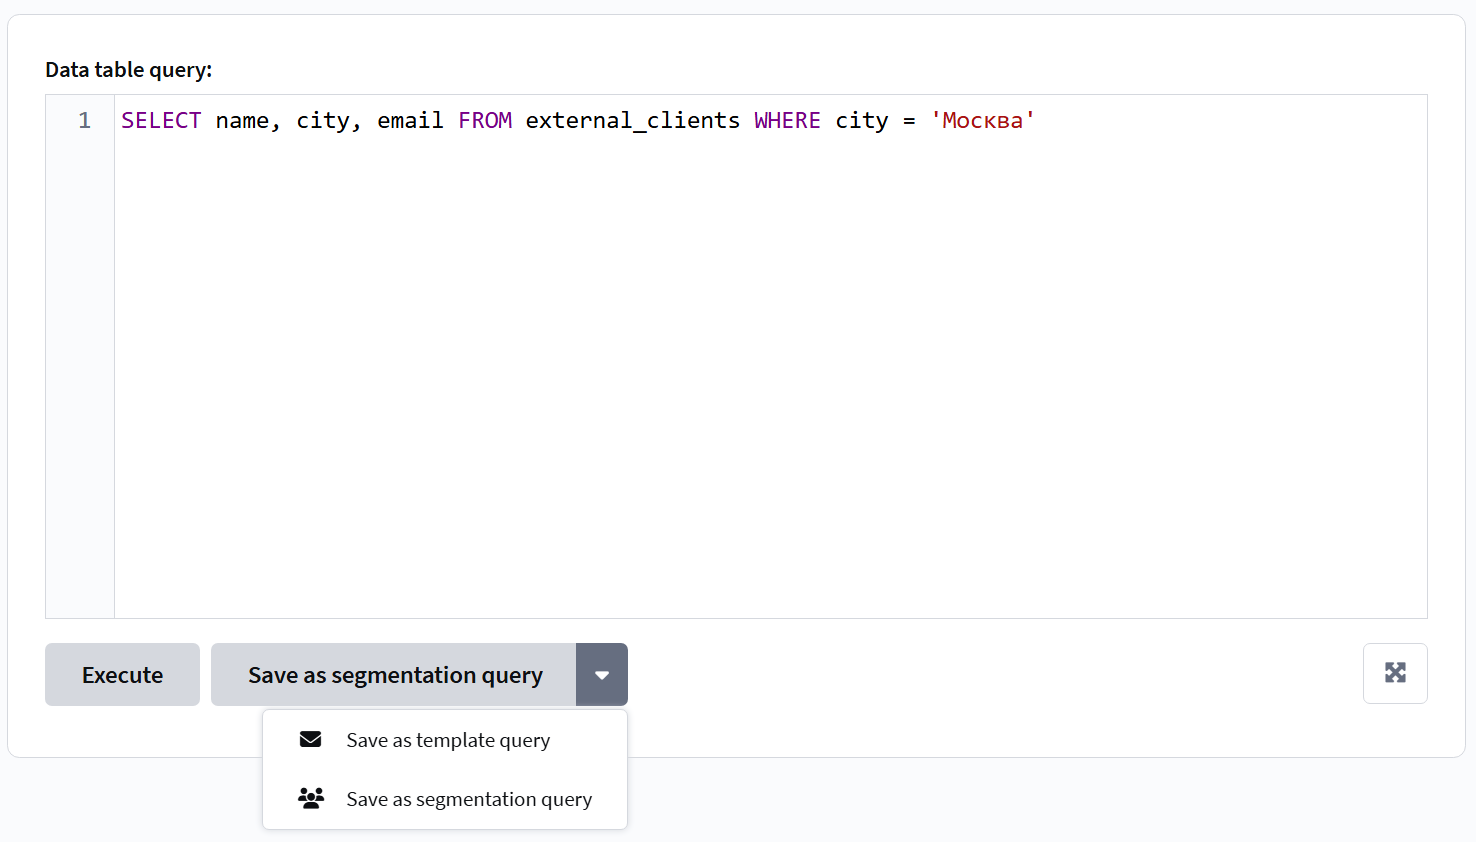
To send a query to an external table, you need to write the query in the "Data Table Query" field.
Query example:
SELECT id, email, name FROM external_clients WHERE city = 'Moscow'
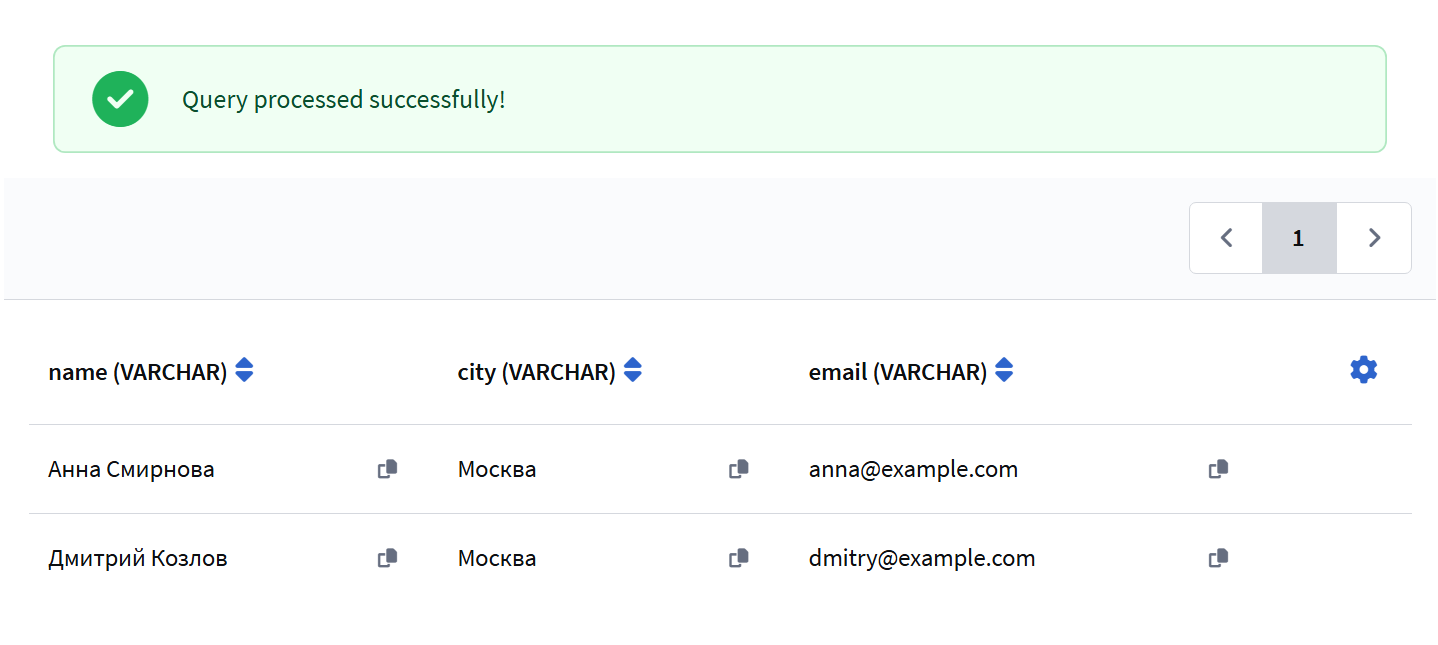
To simply view the result and ensure the query works, click Execute. The result will appear as a table below.
Saving Queries
If you need to use the query in other sections of the platform, click Save and select the usage type:
- For Segments — the query will be available in segmentation for filtering subscribers based on data from the external database.
- For Templates — the query will be available in dynamic content for inserting values into message templates.
Working with CSV and TXT Files
The file upload area is available for all connector types, but works correctly only for MySQL connectors.
To upload a file, select a MySQL connector, then drag and drop a CSV or TXT file into the upload area or click on it to select the file. After uploading, three buttons will appear next to the file:
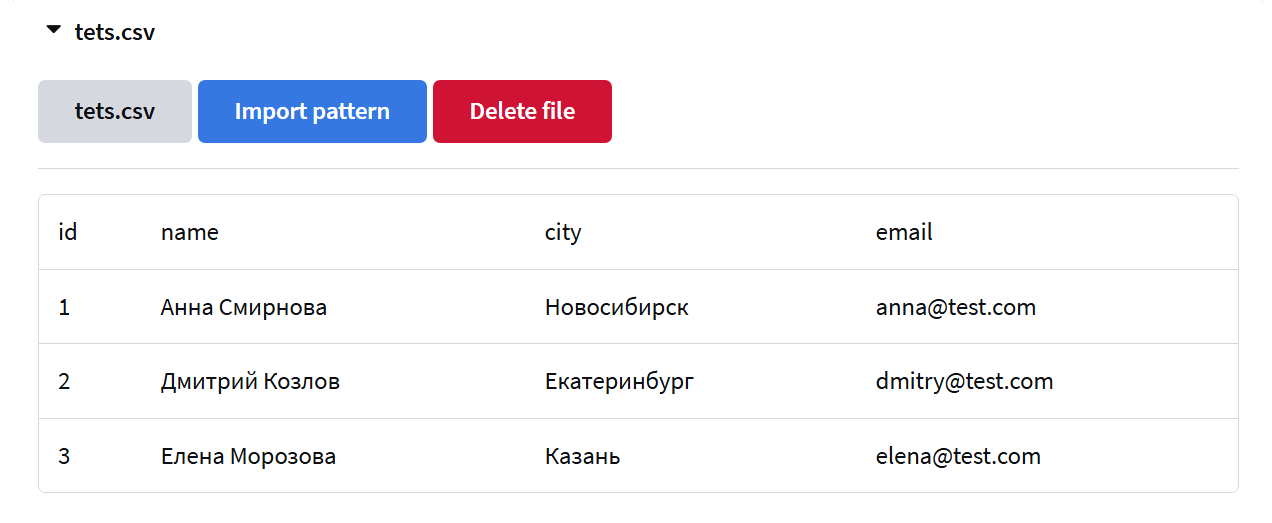
The button with the filename inserts the variable {filename.csv} into the query. The platform replaces it with the actual path to the uploaded file. The Import Template button inserts the base query LOAD DATA LOCAL INFILE. The button with the cross removes the file from the interface.
Query example using a file variable:
SELECT * FROM {clients.csv}
Query example for importing data into a table (MySQL):
LOAD DATA LOCAL INFILE '{clients.csv}'
INTO TABLE target_table
FIELDS TERMINATED BY ','
IGNORE 1 ROWS
The target table must exist in the database. Import parameters (delimiter, encoding, wrapping characters) are configured manually depending on the file structure.
When a file is uploaded, saving the query is unavailable.