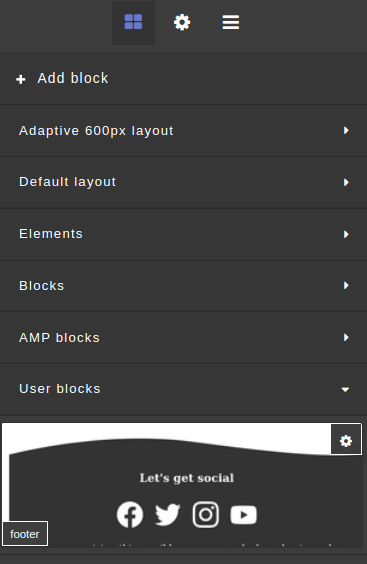
Adding blocks
Available elements
| Element | How to use |
|---|---|
| Adaptive 600px layout | Several table rows, divided to cells with fixed maximum width. It can be used for main Email template sections with standard 600px width. |
| Default layout | Several table rows, divided to cells in percent ratio without width limit. It can be used in blocks limited by template width and sections for full screen. |
| Elements | Separate layout elements, like heading, divider, banner, link or button. |
| Blocks | Sets of elements for quickly creating template parts. These elements can be text with heading and image, menu, or social media links. |
| AMP blocks | Blocks for interactive AMP messages. "Carousel" and "Accordion" blocks are supported. |
| User blocks | You can save template elements and sections as custom blocks. They will be available in the visual editor for each template, like message fragments. To transfer message section to custom blocks, click "+ Add block" and copy the fragment content to the pop-up window. |
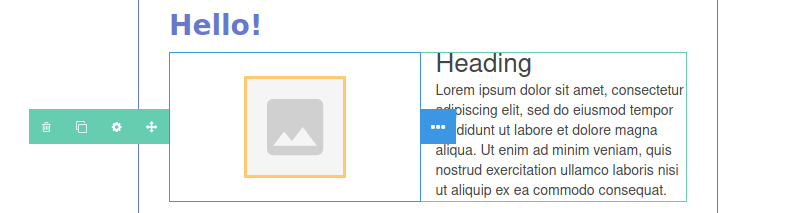
How to add blocks to templates
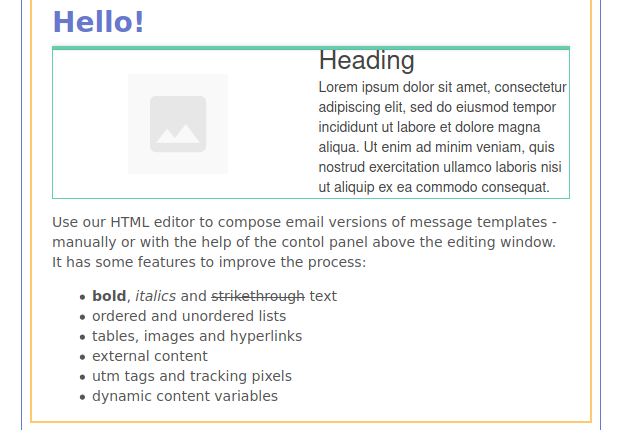
To add block to the template, just drag and drop it to the place you want. The parental block will be highlighted in yellow and the new element will be highlighted in green:
How to manage elements
The content of the message in the visual editor consists of elements (text, headers, images, video) and the HTML layout (table cells in which elements are placed, as in containers).
General operations are divided in 2 menus:
- Container operations — can be displayed by clicking on the green icon at the left part of layout container

- Elements operations menu — can be displayed by clicking on the blue icon at the left part of layout container

When you add a new table cell or a new container, operations menu will be available. After tab is selected, you can move, configure, duplicate or remove it using green buttons.
Operations menu is also available for each element inside the container. You can:
- move an element inside a container,
- move it to the upper level container,
- duplicate,
- remove it, using blue buttons.
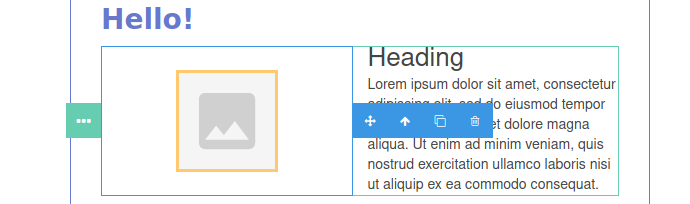
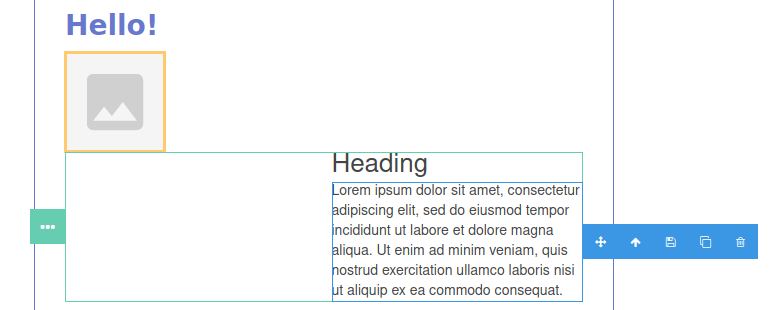
When you are moving the element, message sections is highlighted in green, parental container and other elements of the section are highlighted yellow. Green line will mark a new place for an element or a container.
Elements and element groups can be saved as user blocks. To do this, click on diskette icon in the operations menu.
To save entire sections content, select it by pressing container operations menu icon at the left part. After this, you can use element operations.
On the right side of the editor, for each selected element, a style menu is available. Here you can:
-
Configure the attributes and settings of the element. Attributes are described for each type of element;
-
Configure display options for an element. CSS styles are added directly to the HTML tags to improve the readability of the email for email clients. Styles are described in a separate article.
Now let's take a closer look at each element.