Integration with Altcraft Cloud SMTP
Altcraft Cloud SMTP is an external SMTP relay through which the Altcraft platform can send email messages and receive delivery events via HTTP Webhook.
The integration is used when direct email sending from the platform server is not possible or not desirable. For example, when Altcraft is hosted in a private cloud, outgoing connections on SMTP port 25/TCP may be blocked by the cloud provider. In such a configuration, emails are passed to an external SMTP relay, which performs delivery on behalf of the system.
Altcraft Cloud SMTP also sends back delivery events such as delivery and bounce. This allows the platform to correctly record message statuses, generate mailing statistics, and handle non-deliveries.
The connection process consists of three steps: preparing a node with a new IP address, configuring the sender, and binding the sender to a virtual sender.
Step 1. Preparing a node with a new IP address
Emails are sent through the relay from a dedicated IP address, so this address must first be added to the sending node.
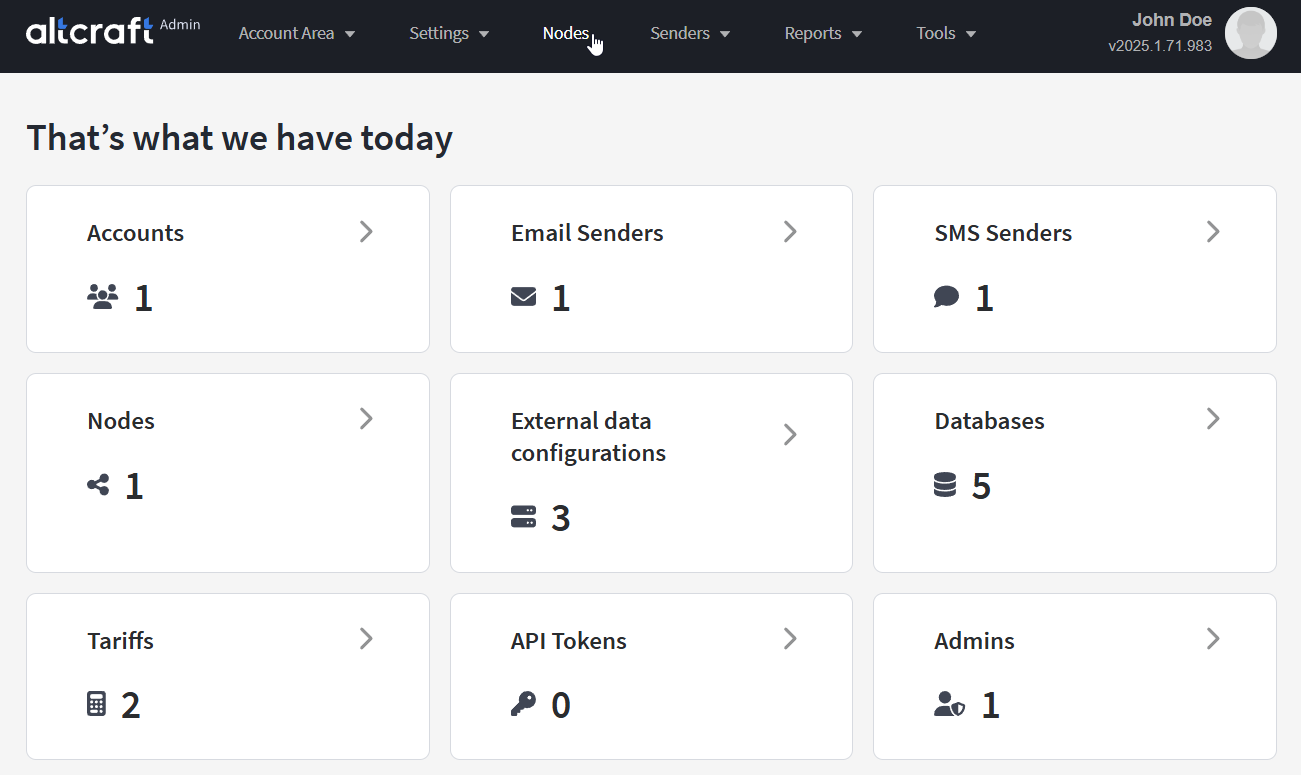
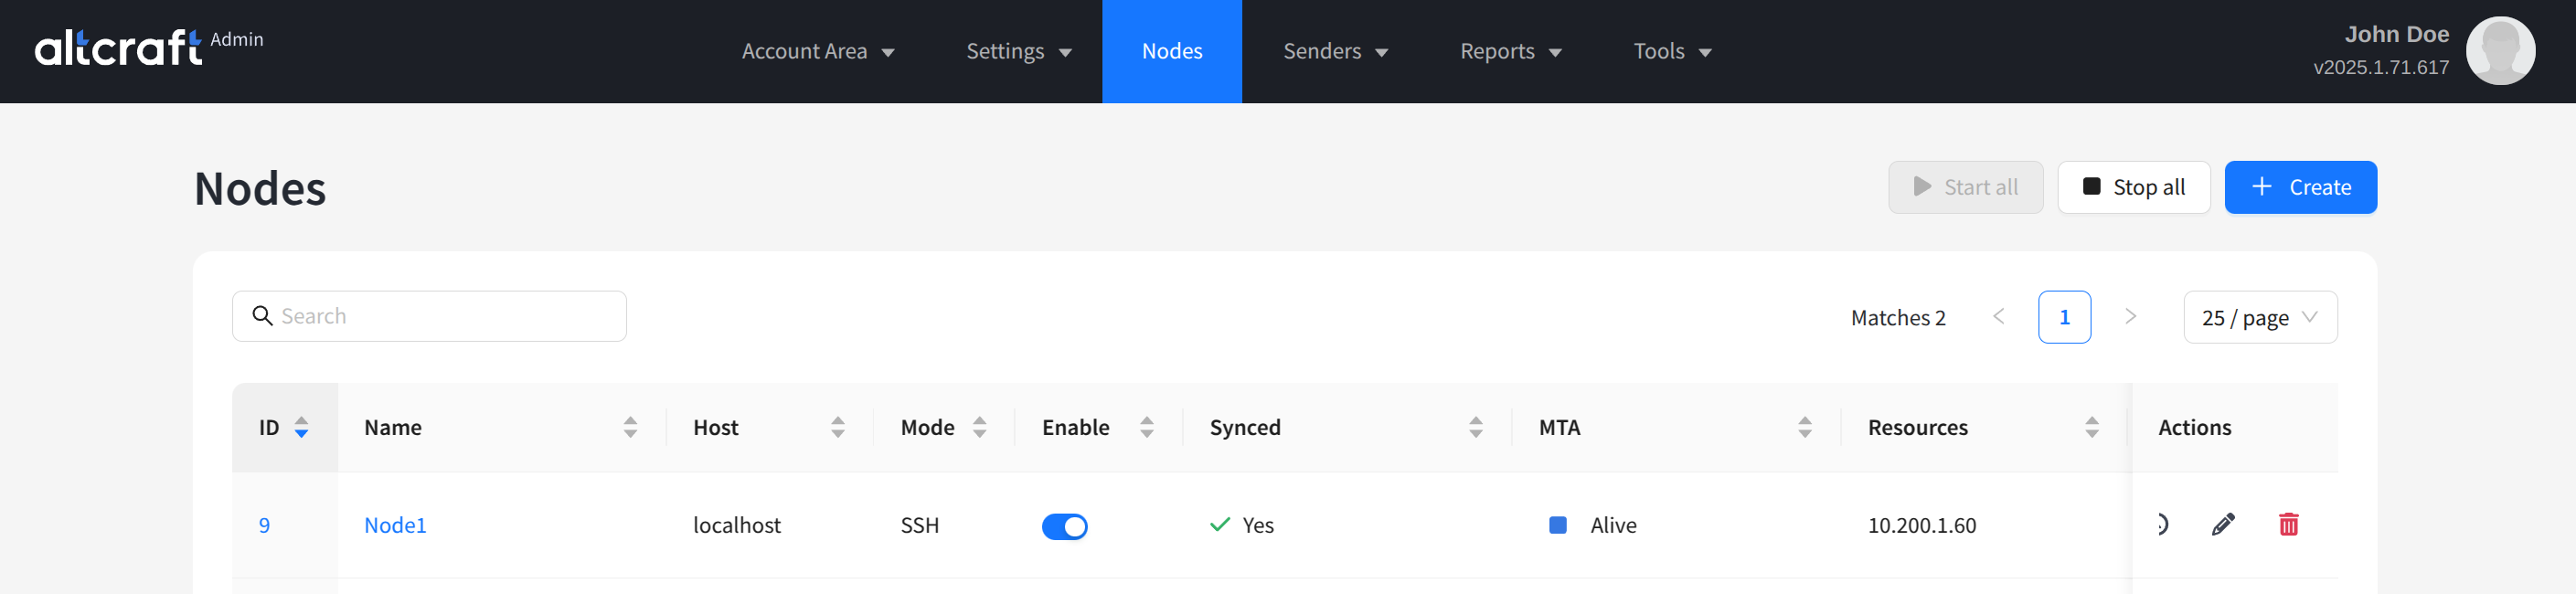
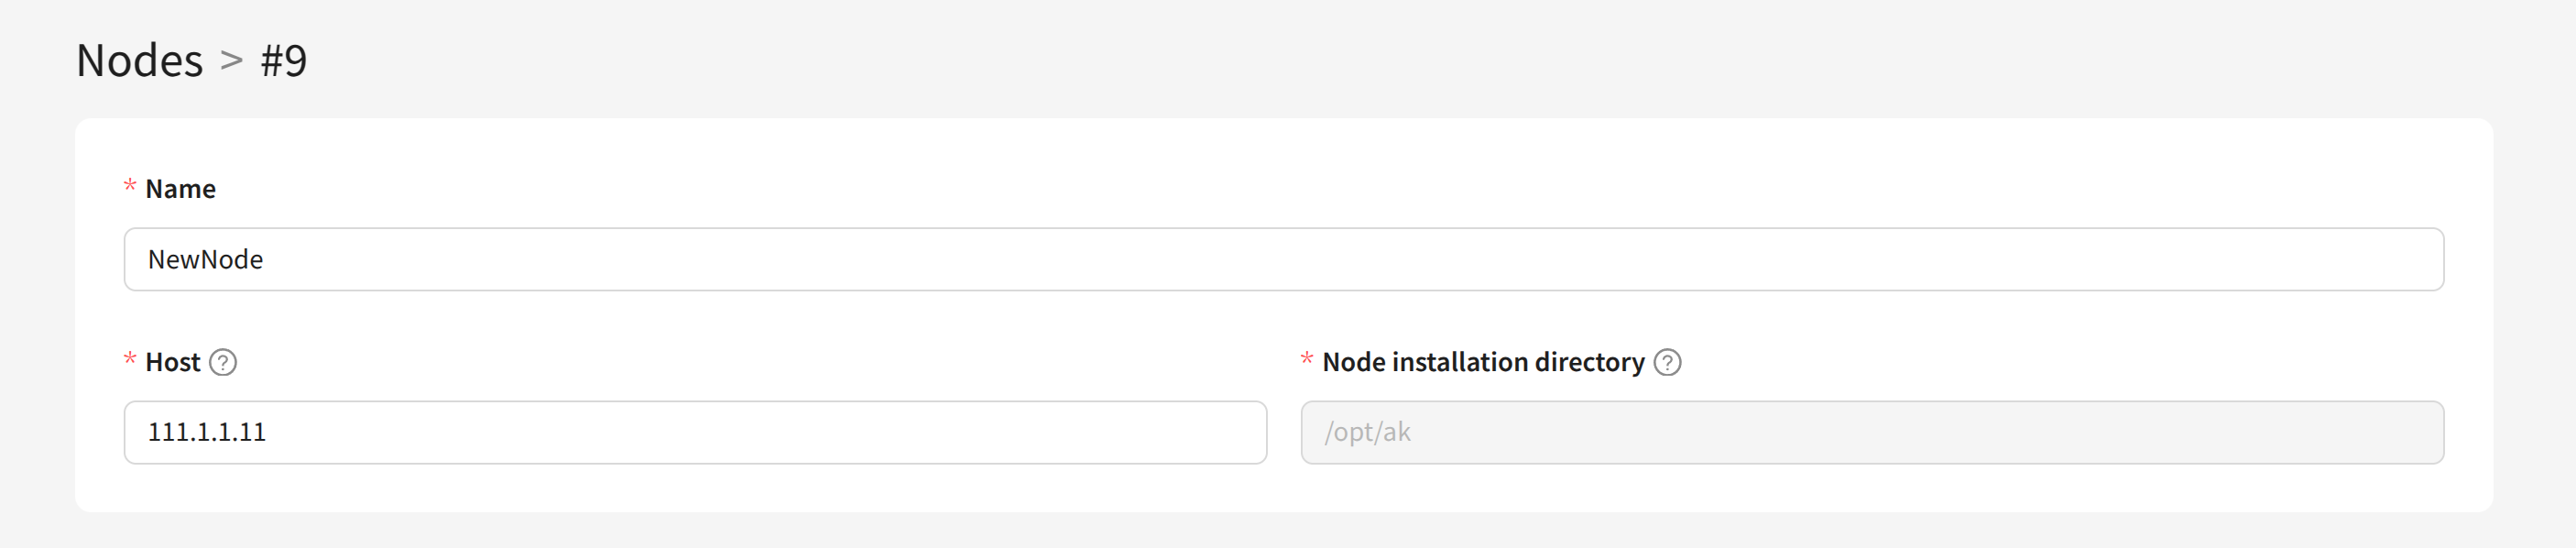
- Create a node if one does not exist yet. In the Admin Panel main menu, select Nodes and click + Create. Set a unique name (Name), the network address (Host), and the installation directory (Node installation directory). Detailed instructions for creating nodes with SSH and HTTPS access are provided in the nodes article.
-
Add a new IP address to the node:
- Add the IP address to a network interface on the node server.
- In the admin web interface, open the node edit page and re-save it.
- Open the node editing again: the new IP addresses will appear in the list.
The step-by-step instruction is provided in the Adding new IP addresses to a sender article.
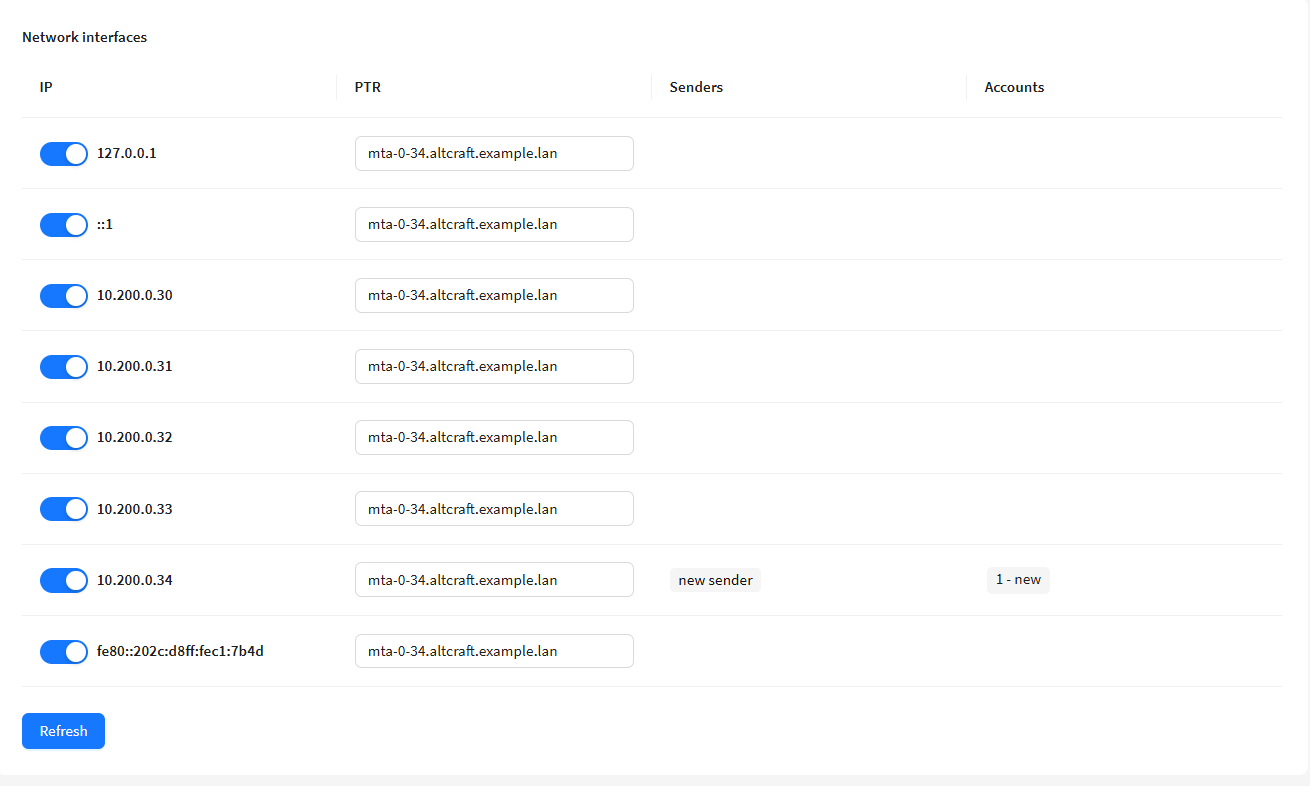
- Remember the added IP address: it will be needed when creating the sender.
Step 2. Sender configuration
-
Go to the Admin Panel, section Senders — Email.
-
Create a new sender or edit an existing one. For a new sender, specify a unique name (Name) and the accounts that will have access to it (Assigned accounts).
-
In the Type field, select Email: AKMTA.
-
In the General block, add the IP address from step 1 to the IP addresses list.
-
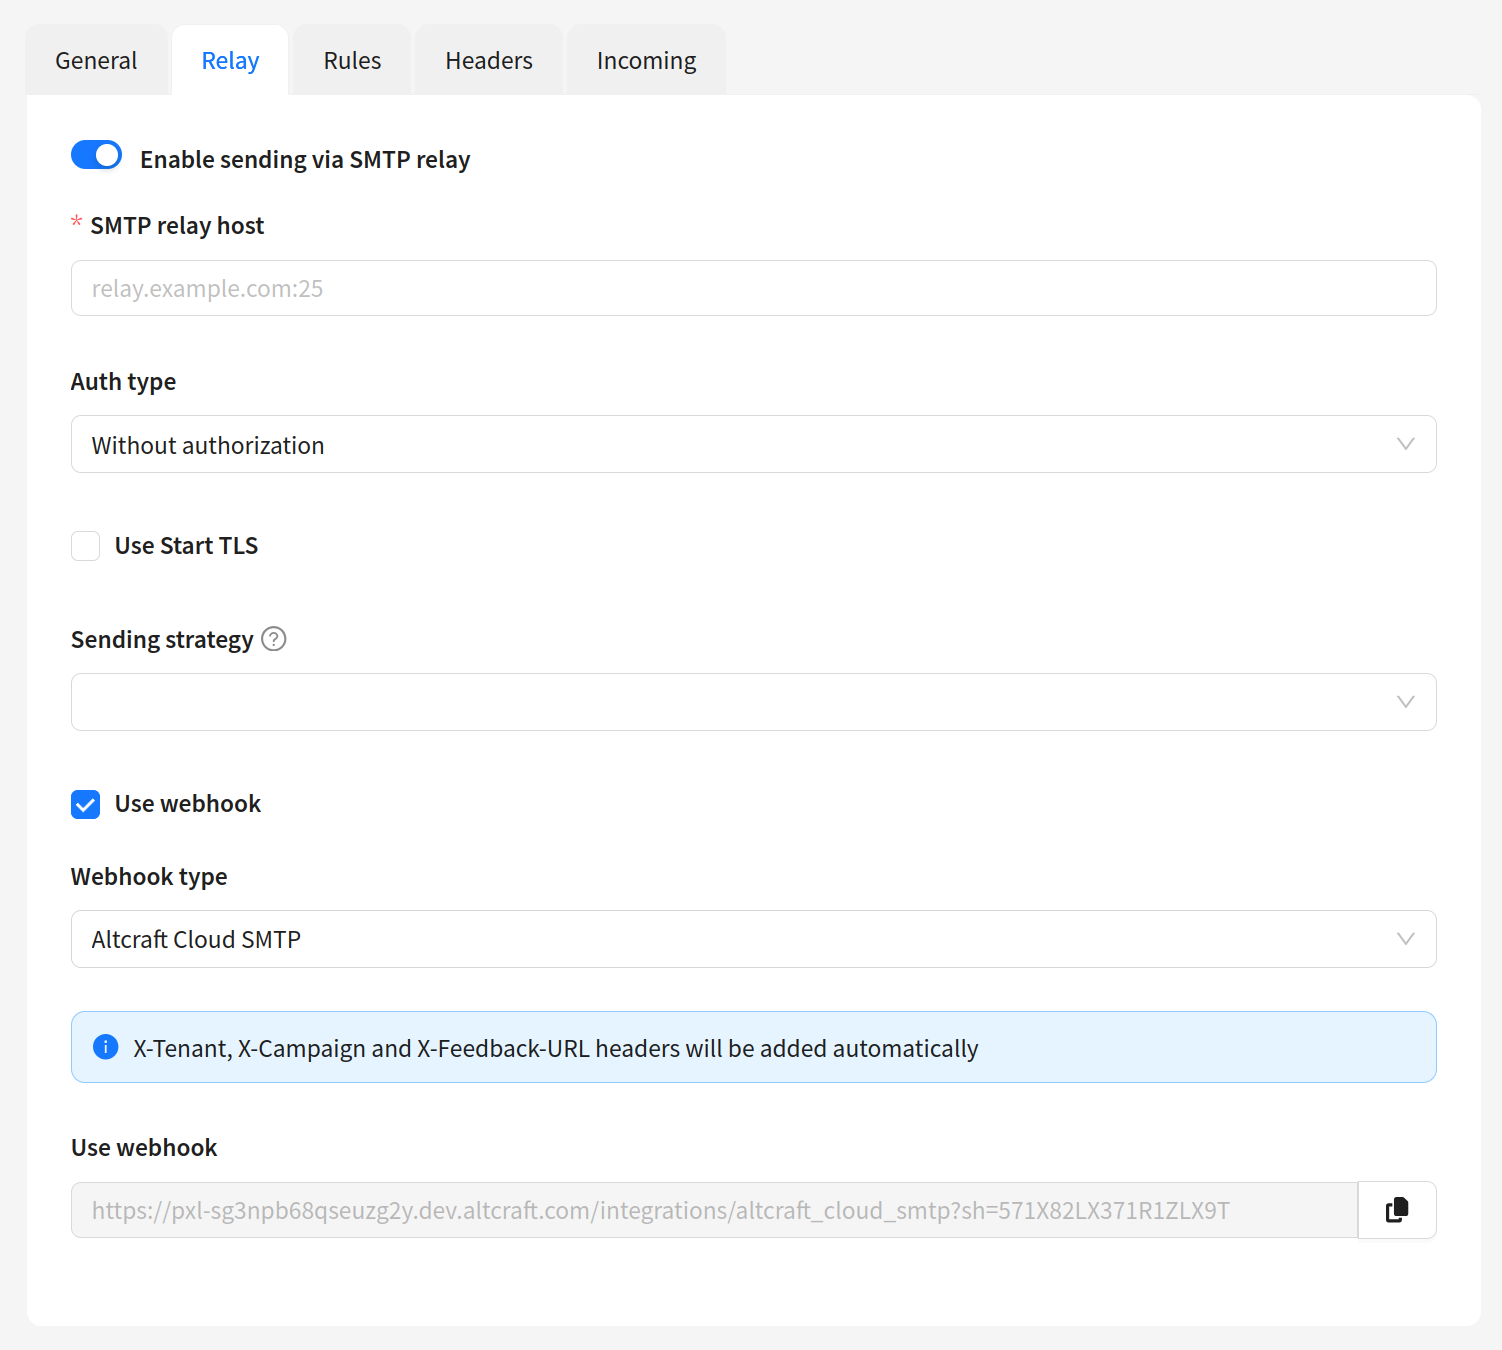
Go to the Relay tab and enable the Enable sending via SMTP relay option.
-
Specify the relay connection parameters:
- SMTP relay host — the relay address provided by Altcraft support.
- Auth type — the authentication type provided by Altcraft support.
- Username and Password — the relay server credentials issued by Altcraft support.
- Use Start TLS — disable.
-
Enable the Use webhook option:
- In the Webhook type list, select Altcraft Cloud SMTP.
- The Webhook url is generated automatically. Copy it — this URL will receive delivery events from the relay.
- Save the sender.
Make sure that the authentication type and credentials match the data provided by the Altcraft technical support.
Step 3. Binding the sender to a virtual sender
After creating and configuring the sender, you need to add it to a virtual sender through the platform's user interface. To do this, open the platform, go to Settings — Virtual Senders, and configure the rules for sending through the created sender.
You can learn more about virtual senders in this article.
Checking the delivery
After the setup, send a test email via a campaign or scenario and make sure that:
- the email is delivered to the recipient;
- the delivery event is recorded in the mailing statistics;
- the delivery event is linked to the send in the profile list.
If the emails are not delivered, contact the Altcraft technical support.