Altcraft Docs LogoAltcraft Docs Logo
User guide iconUser guide
Developer guide iconDeveloper guide
Admin guide iconAdmin guide
English
  • Русский
  • English
Login
    Getting Started
    Administrator documentation
    Functional characteristics
      Technology descriptionarrow
    • Architecture Overview
      Component Description
        Deployment schemesarrow
      • Basic scheme
        Fail-safe scheme
        Typical Placement in Infrastructure
    System requirements
      Admin Panelarrow
      • Account areaarrow
        • Accountsarrow
        • Account Users
          Account Virtual Senders
          Account Database Indexes
        Tariffs
        External data configuration
        LDAP
        Tasks
        Schedule Jobs
        Global Stop Lists
        Webversion Store Policies
        Settingsarrow
      • Databases
          Accessarrow
        • Admins
          API tokens
        Notifiers
          MTAarrow
        • Default rules
          Retry rules
          Lock rules
          Bounce patterns
          Strategies
          Keys
          ISPs
          Pools
      Nodes
        Sendersarrow
      • Email
        SMS
        Event generator
        Integration with Sendsay
        ENS: настройка сендера
        Reportsarrow
      • Audit Journal
        Data Usage
        Toolsarrow
      • ARF decoder
        URL decoder
        SMID decoder
        License
      Platform installationarrow
    • Automatic installation
      Manual installation
      Running the platform in a Docker container
      Platform configurationarrow
    • Configuration file
      Domain settings
      LDAP access configuration
      Sending Email via SMTP relay
      Pixel and push domain configuration
      Cluster and Replication Setup
      System notifications configuration
      Processes UNIX sockets configuration
      HTTPS Configuration
      Migrating from MongoDB Community Edition to Percona Server for MongoDB
      Adding sender IP addresses
      Deduplication request settings
      PostgreSQL database for account data
      Proxy server settings
      Keycloak Integration with Altcraft
      Getting HTTP service statuses
      Configuration MongoDB logs rotation
        Configuration of system constants and directoriesarrow
      • Filtering bot actions
        Directory of gender markers
      Platform maintenancearrow
    • Personnel requirements
      Platform maintenance processes
      Platform updating
      Platform service monitoring
      Backup and recovery
      Transferring the platform to a new server
      Creating, deleting, and populating tables for statistics in ClickHouse
      Usage of the aktool utility
      Users and directories engaged by the platform
      Custom channels guidearrow
    • Overview
      Creating and configuring a channel
      Entity field configuration
      Template language
      Entities
        Pipesarrow
      • Pipe: Basic Concepts
        Result
        Errors
        Log
        Pack
        Unpack
        HTTP Request
        Store Set
        Store Get
        Selector
        SQL
        Eventer
        Scheduler
        Pipelinesarrow
      • Pipeline: Basic Concepts
        Message
        Schedule
        Listener
        Moderate
        Stop
      Extraarrow
    • System page customization
      Send Message ID
      Инструкция по миграции истории в ClickHouse
      Instructions for migrating history to ClickHouse
      Utility for importing push subscriptions to Firebase project
      Utility for importing push subscriptions to Firebase project
    Processing HTTP/HTTPS traffic
      Administrator APIarrow
      • Accounts admin apiarrow
        • Restricted accessarrow
        • Account Activation and Deactivation
          Account Freeze and Unfreeze
        Get accounts list
        Add a new account
        Delete the account
        Account usersarrow
      • Update an Existing Account
        Add a new account
        Delete a user
        Get a list of users
        Sending a Welcome Email
        Nodesarrow
      • Synchronize node MTA configuration
        Get nodes list
        Get node MTA status
        Activate node MTA
        Deactivate node MTA
        Senders admin apiarrow
      • Create or update AKMTA sender
        Get AKMTA sender information
        Assign account to sender
        Get senders list
        Delete sender
        Restore sender
          Sender queuearrow
        • Get sender queue information
          Hold sender queue
          Release sender queue
          Clear sender queue
        Virtual sendersarrow
      • Get virtual senders list
        Get virtual sender information
        Create virtual sender
        Update virtual sender
        Clone virtual sender
        Delete virtual sender
    Documentation Archive
  • Admin Panel
  • Nodes

Nodes

Description​

A Node is a network interface of the sending server used by AKMTA senders. A node can be located on the same server as Altcraft management components. However, the sending module is usually deployed on a separate server and connected to the management component via SSH or HTTPS protocols.

note

Different Altcraft deployment options are described in this article.

tip

Instructions for adding IP addresses to a node are available here.

Creation, Editing, and Deletion​

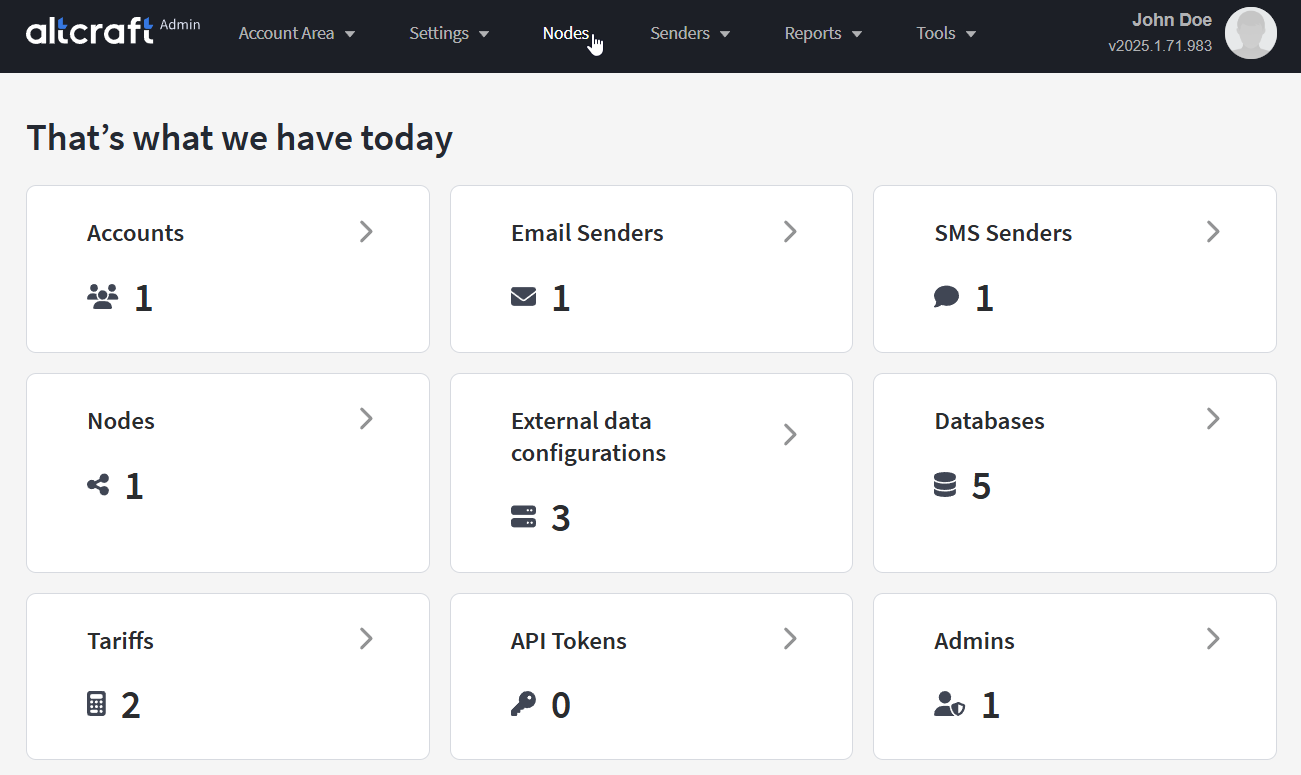
To manage nodes, in the main menu select Nodes.

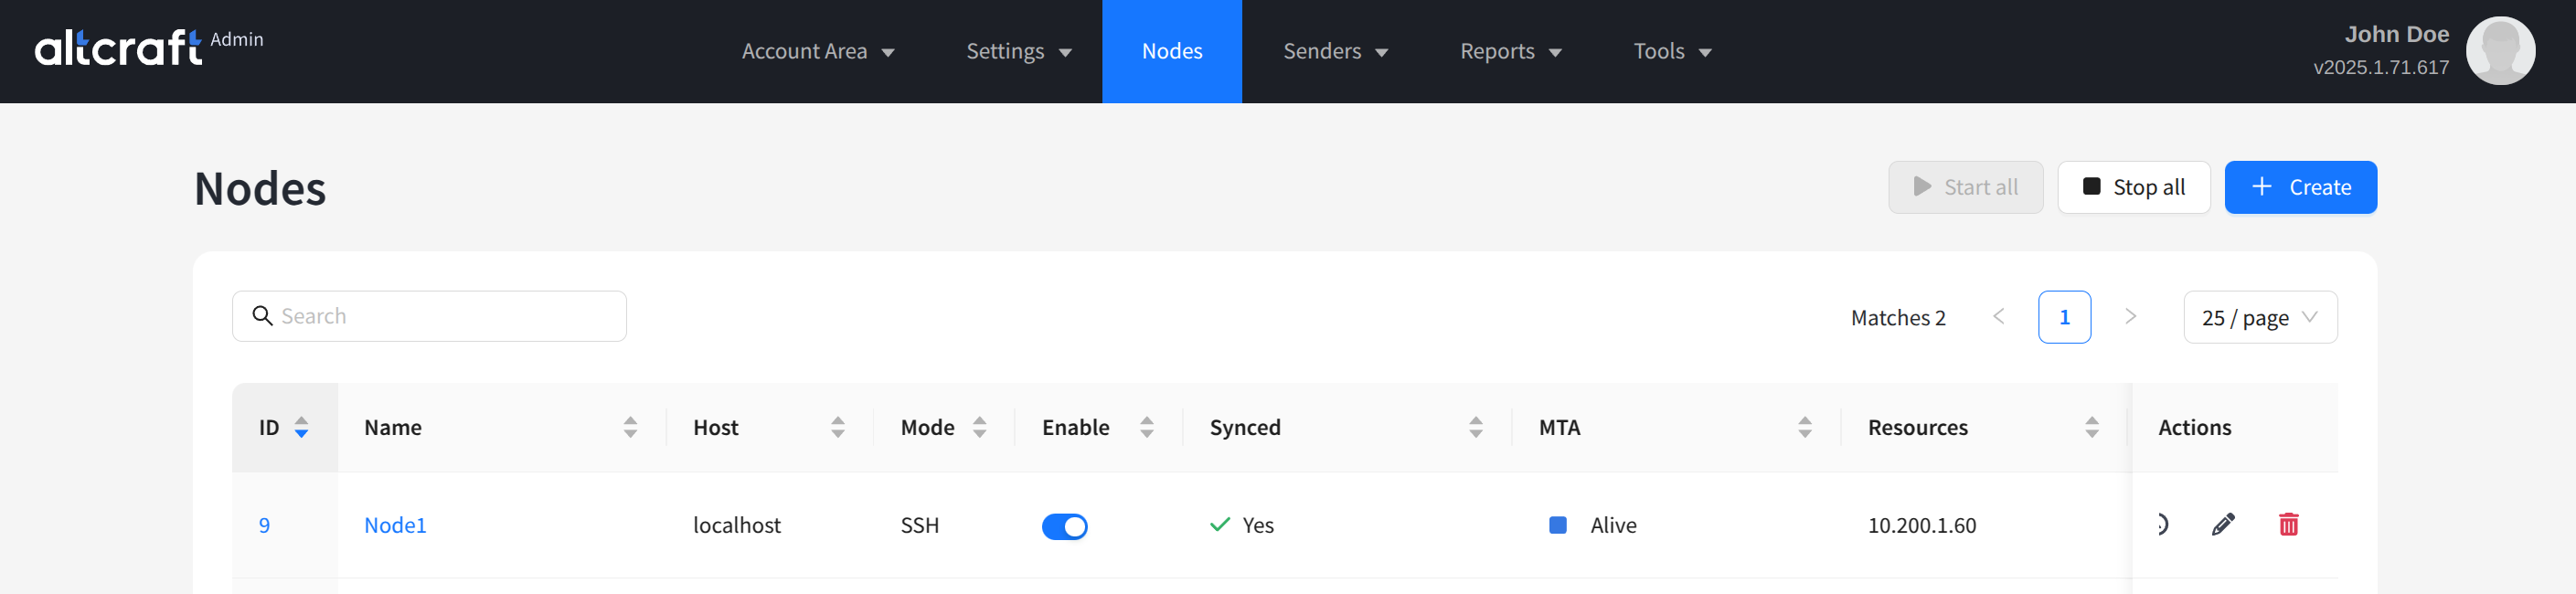
The list of existing nodes will appear. On the right side of the table, there are buttons for viewing error logs, editing, and deleting. You can also open editing by clicking on the name or ID of a node (on the left side).

note

In the node list, you can start or stop the MTA (mailer) on a specific node or on all available ones. After making changes, it is often necessary to restart the node so that the settings are synchronized with the Altcraft management server. The synchronization status is shown in the Synced column.

To create a new node, click + Create:

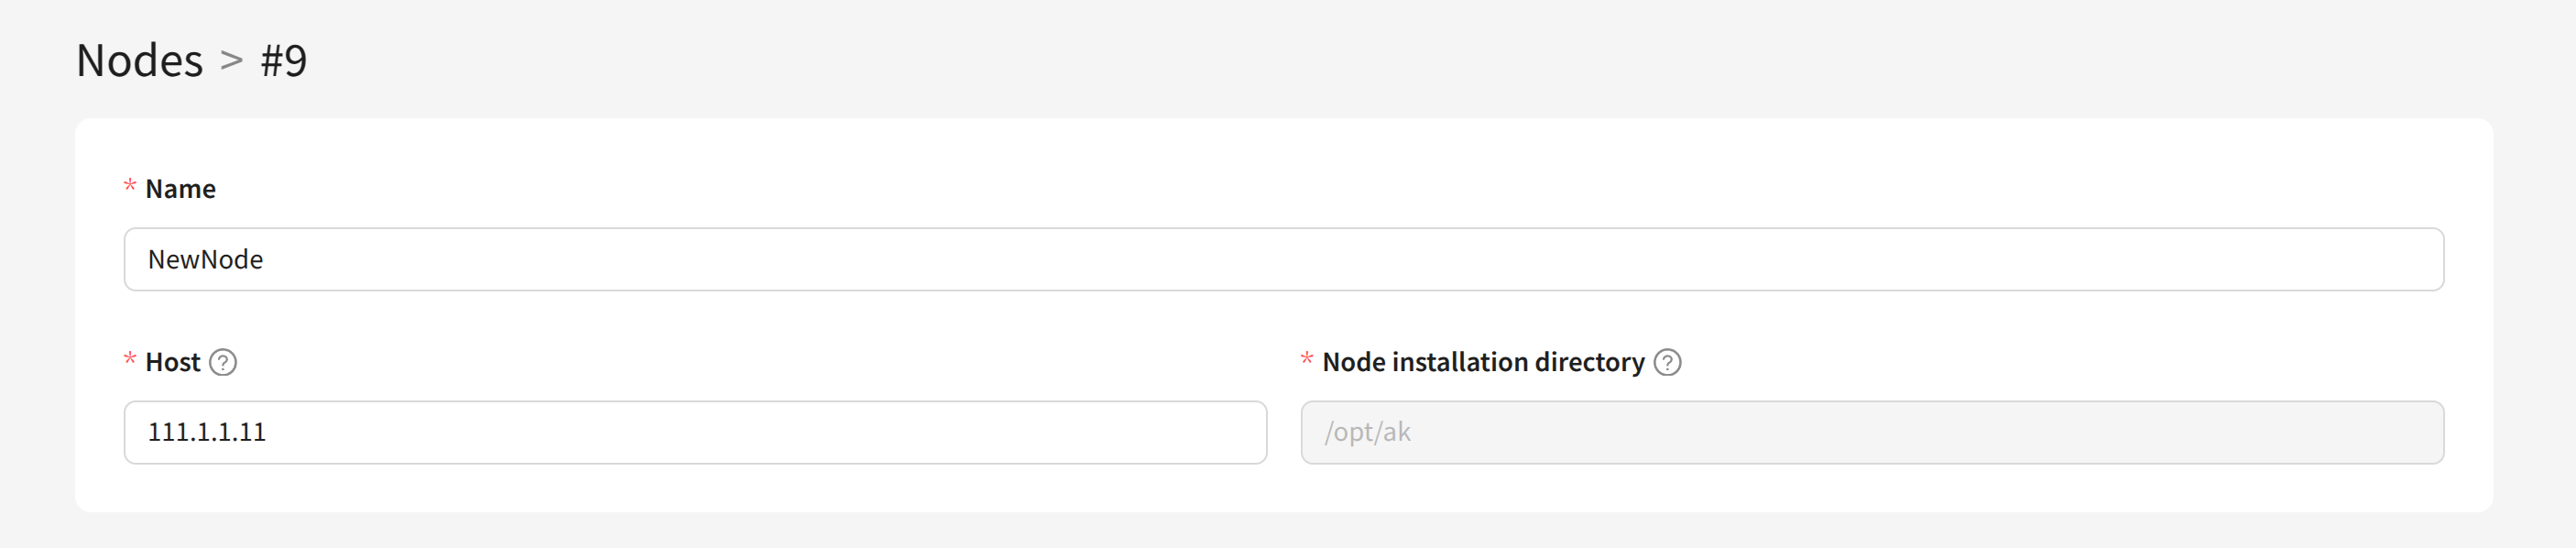
For the new node, specify a unique Name, the network Host address, and the Node installation directory on the sending server:

Node with SSH Access​

By default, SSH protocol is used to access the server with the node. For this type of connection, you must specify the User and the SSH key:

tip

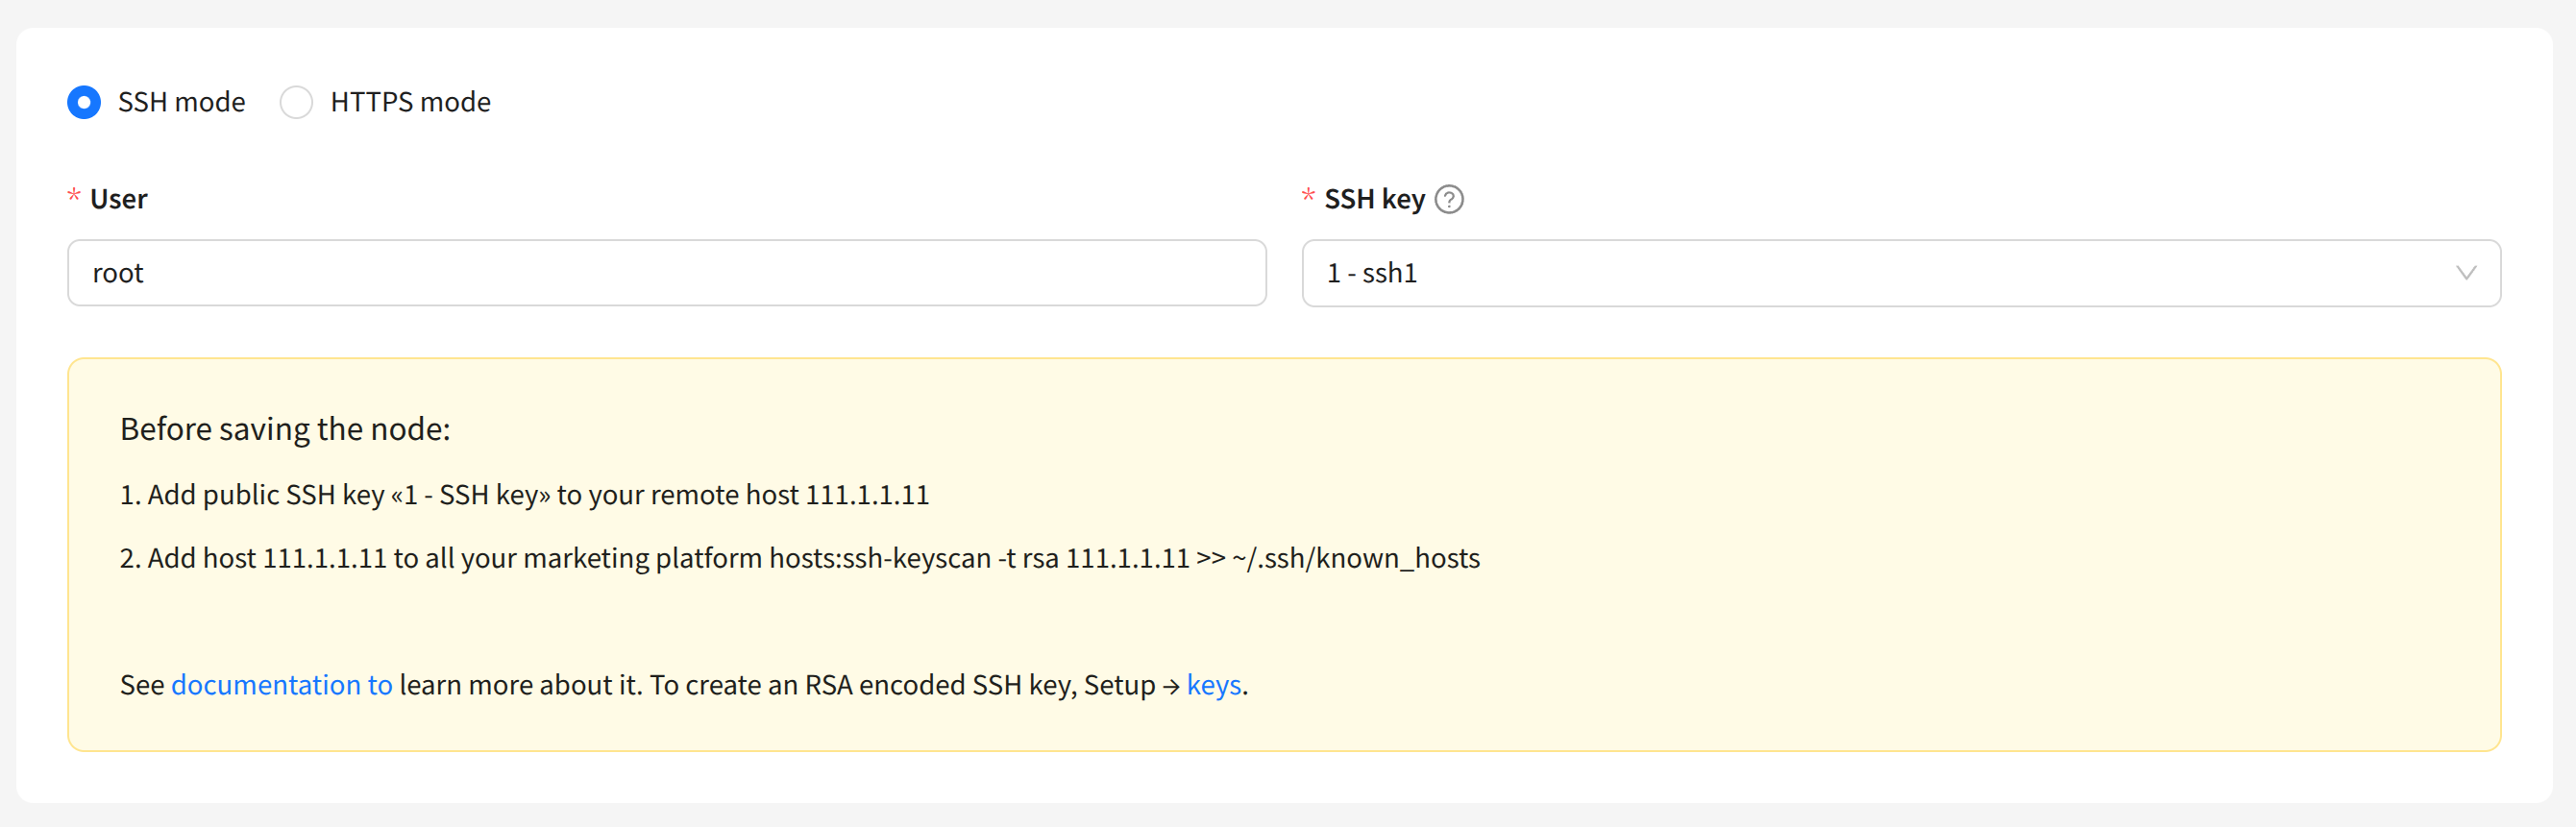
The SSH key must be created in advance in the platform. Learn more about how to do this here.

Node with HTTPS Access​

A node using HTTPS connection must be manually installed on the sending server. The installation archive will be available for download after switching the node to HTTPS mode. You must also specify the API key for node access:

Unpack the node archive on the sending server and configure the node in the node.json file:

{
"LISTEN": "127.0.0.1:4433",
"CERT_PATH": "/opt/akmta_node/conf/server.crt",
"KEYFILE_PATH": "/opt/akmta_node/conf/server.key",
"APIKEY": "O46FtVEU1UdrMDwdCAORyDJelirt4r0W",
"PID_FILE": "/opt/akmta_node/node.pid",
"LOG_FILE": "/opt/akmta_node/node.log",
"BASEDIR": "/opt/akmta_node"
}

Example of starting the node:

./bin/node -d --https --config=/opt/akmta_node/conf/

Send Module Settings​

For the send module using the node, you can configure data channel throughput, data retention time, and other parameters:

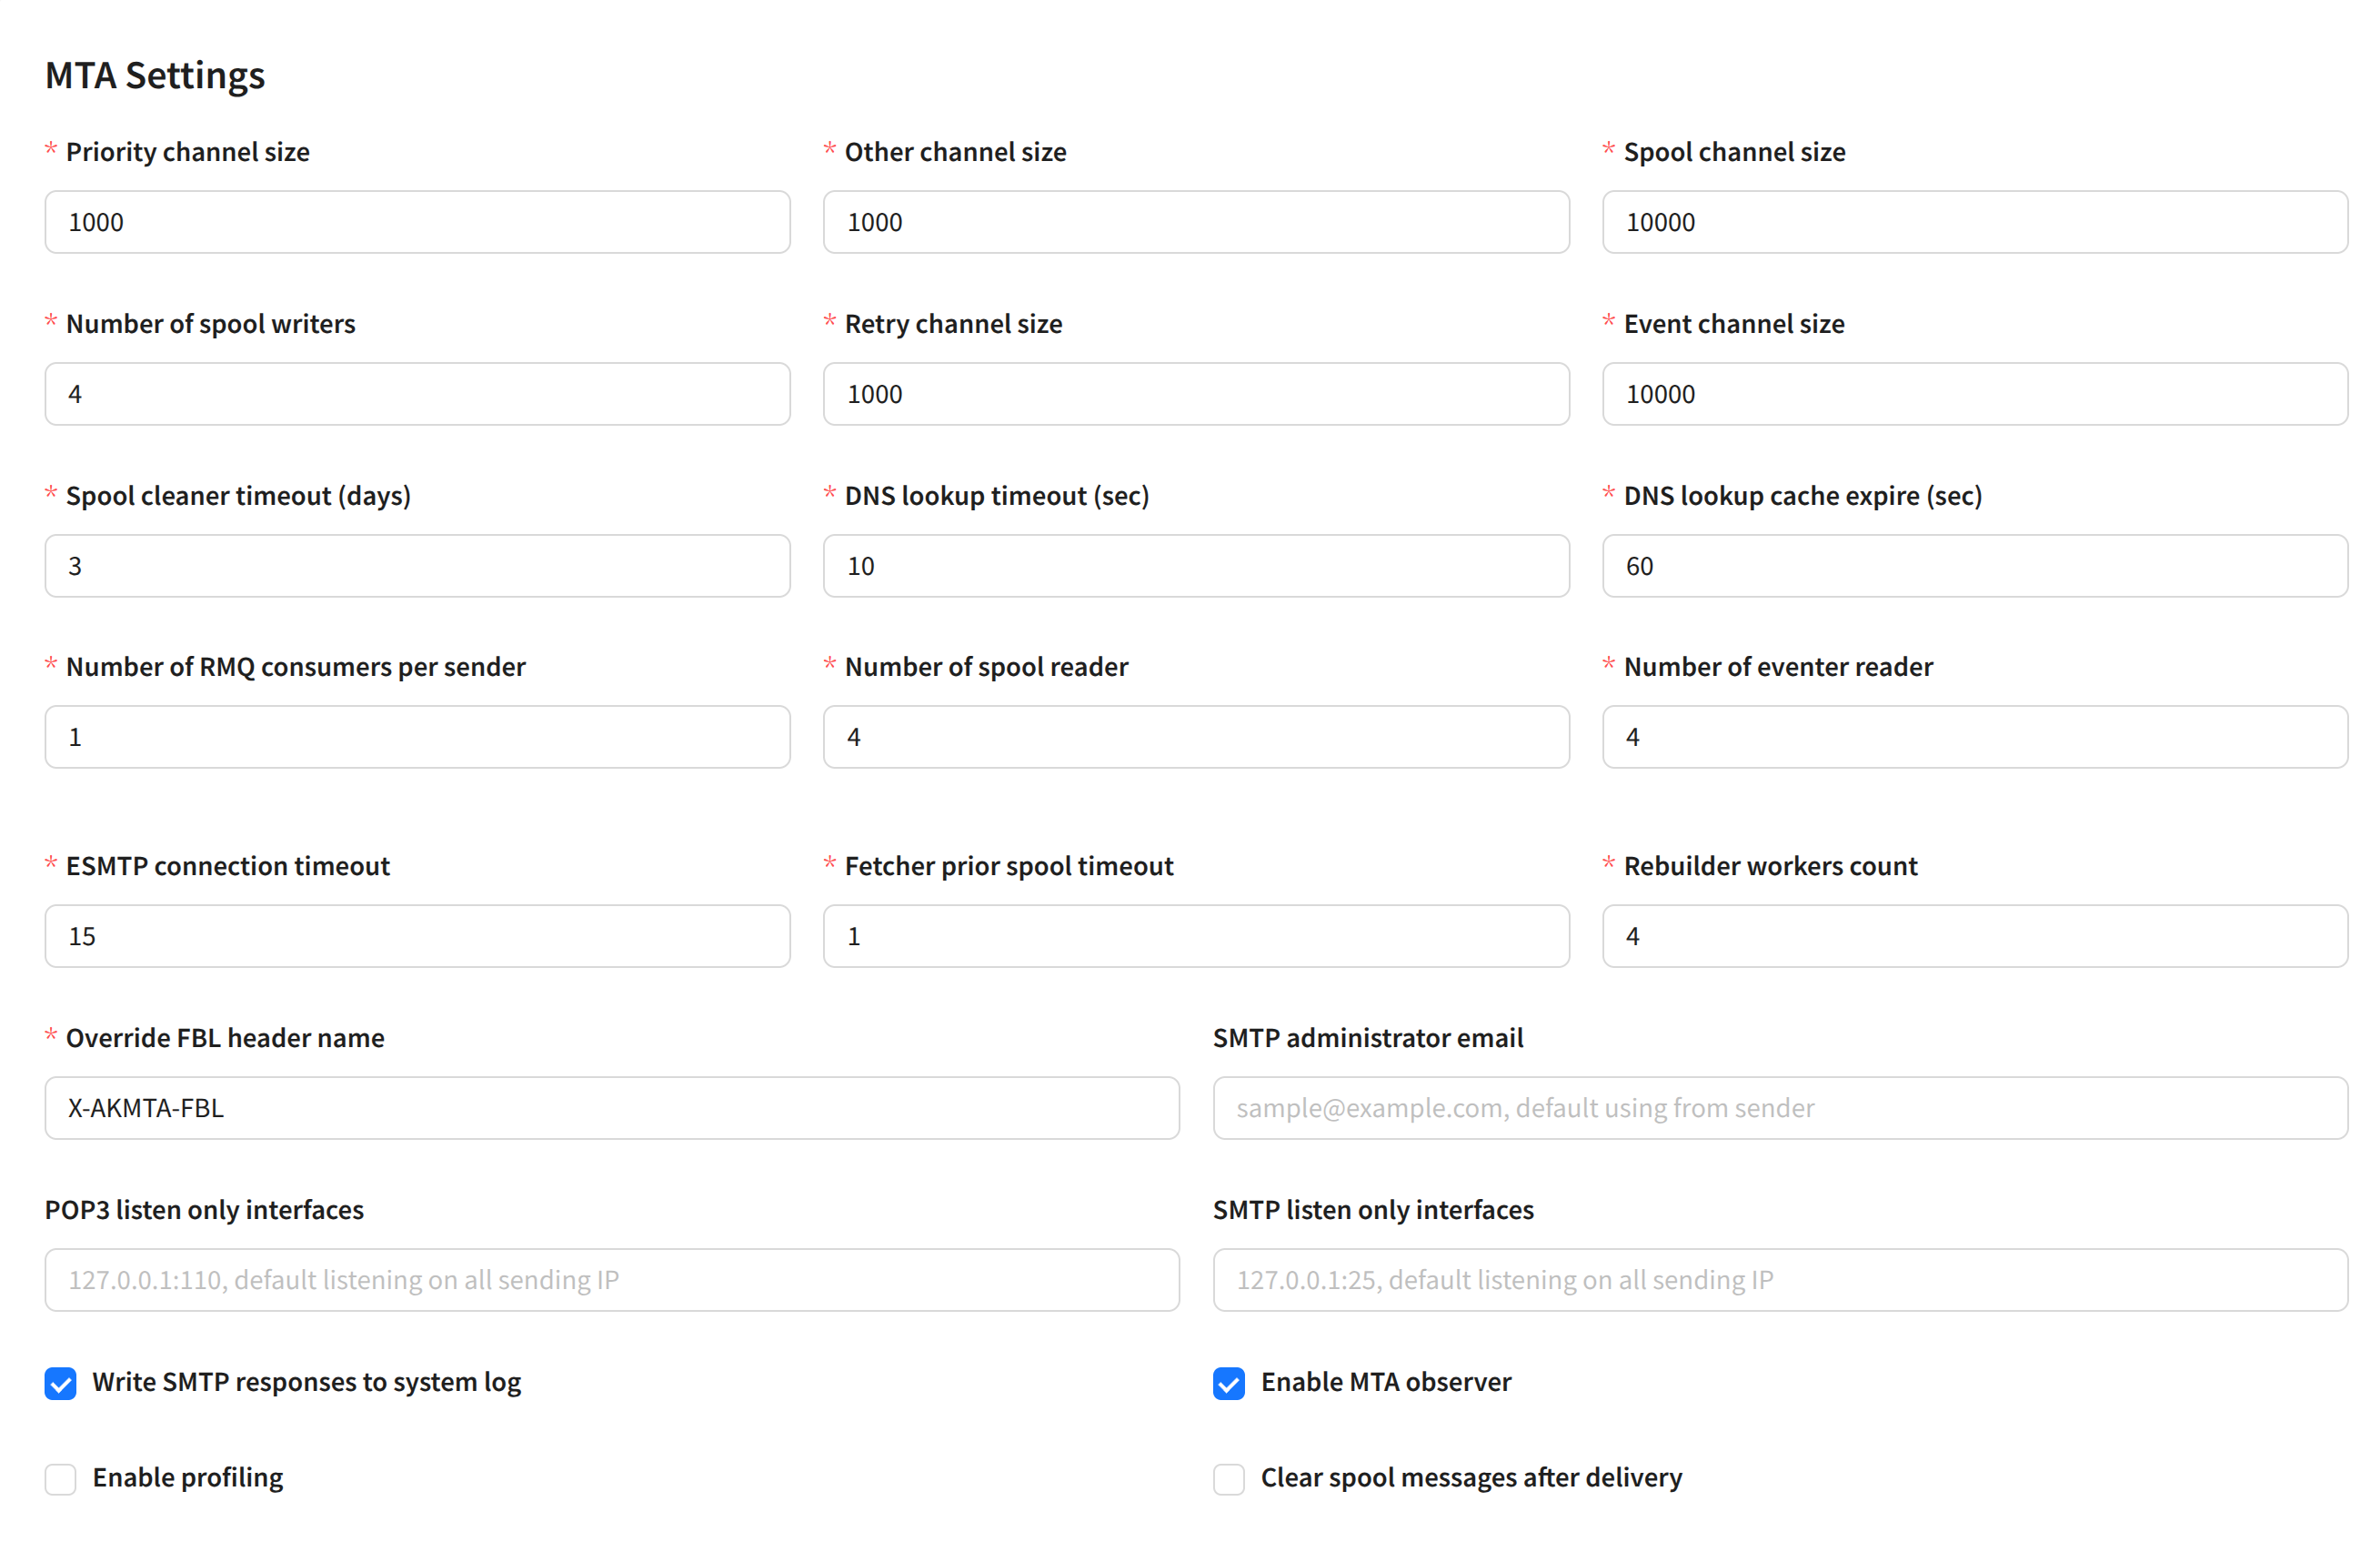
Data channel settings:

  • Priority channel size — size of the high-priority sending channel (incoming).
  • Other channel size — size of the main sending channel (incoming).
  • Spool channel size — size of the outgoing sending channel (from the spool).
  • Number of spool writers — number of concurrent threads writing to the spool from RabbitMQ.
  • Retry channel size — size of the retry sending channel.
  • Event channel size — size of the event processing channel.
  • Spool cleaner timeout (days) — number of days before cleaning the spool (queue) on the node.
  • DNS lookup timeout (sec) — DNS request timeout.
  • DNS lookup cache expire (sec) — DNS cache expiration time in seconds.
  • Number of RMQ consumers per sender — number of parallel RabbitMQ connections.
  • Number of spool reader — number of spool readers.
  • Number of eventer reader — number of event channel readers.
  • ESMTP connection timeout — ESMTP connection establishment timeout.
  • Fetcher prior spool timeout — buffer channel size for processing priority messages.
  • Rebuilder workers count — number of internal service workers responsible for rebuilding expired messages.
  • Override FBL header name — override the service header name for receiving complaint reports (FeedBack Loop).
  • SMTP administrator email — administrator email address.
  • POP3 listen only interfaces — select IPs for incoming mail responses (all selected by default).
  • SMTP listen only interfaces — select IPs for outgoing mail responses (all selected by default).
  • Write SMTP responses to syslog — log SMTP responses to syslog.
  • Enable MTA observer — enable automatic MTA restart on the node by the management server in case of lost connection.
  • Enable profiling — enable profiling (pprof).
  • Clear spool messages after delivery — with this option enabled, delivered messages will be automatically deleted from the spool.

Debugging and Troubleshooting​

Synchronizing Settings​

After making changes to the sender configuration, you must synchronize the management and sending modules of Altcraft. When necessary, after saving the sender configuration, you will see this message:

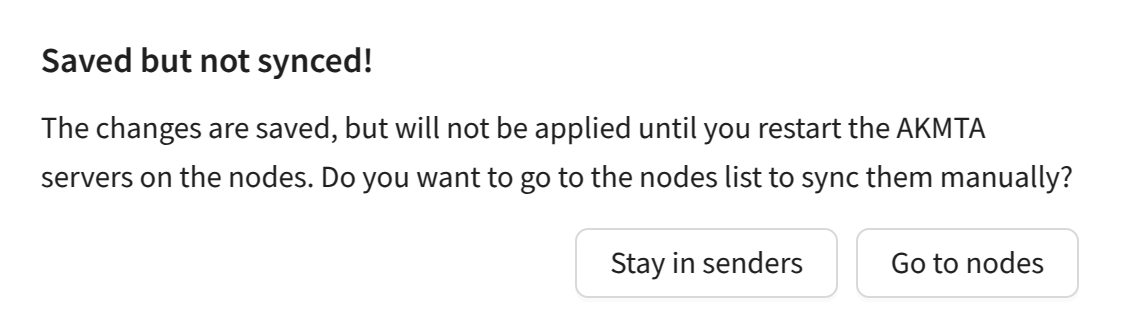
The list of nodes will open. You must stop and start the sender on the desired node by clicking Stop and Start in the MTA column:

Last updated on Mar 7, 2025
Previous
Pools
Next
Senders
  • Description
  • Creation, Editing, and Deletion
    • Node with SSH Access
    • Node with HTTPS Access
    • Send Module Settings
  • Debugging and Troubleshooting
    • Synchronizing Settings
© 2015 - 2026 Altcraft, LLC. All rights reserved.