Presets (Field Sets)
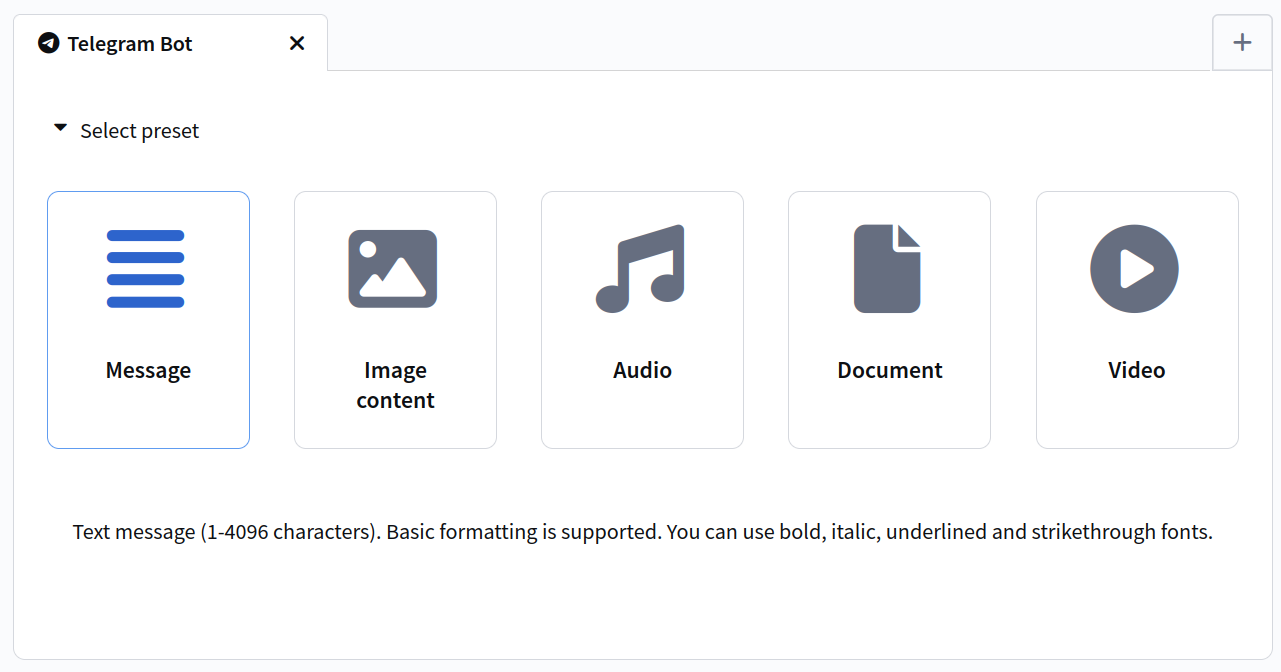
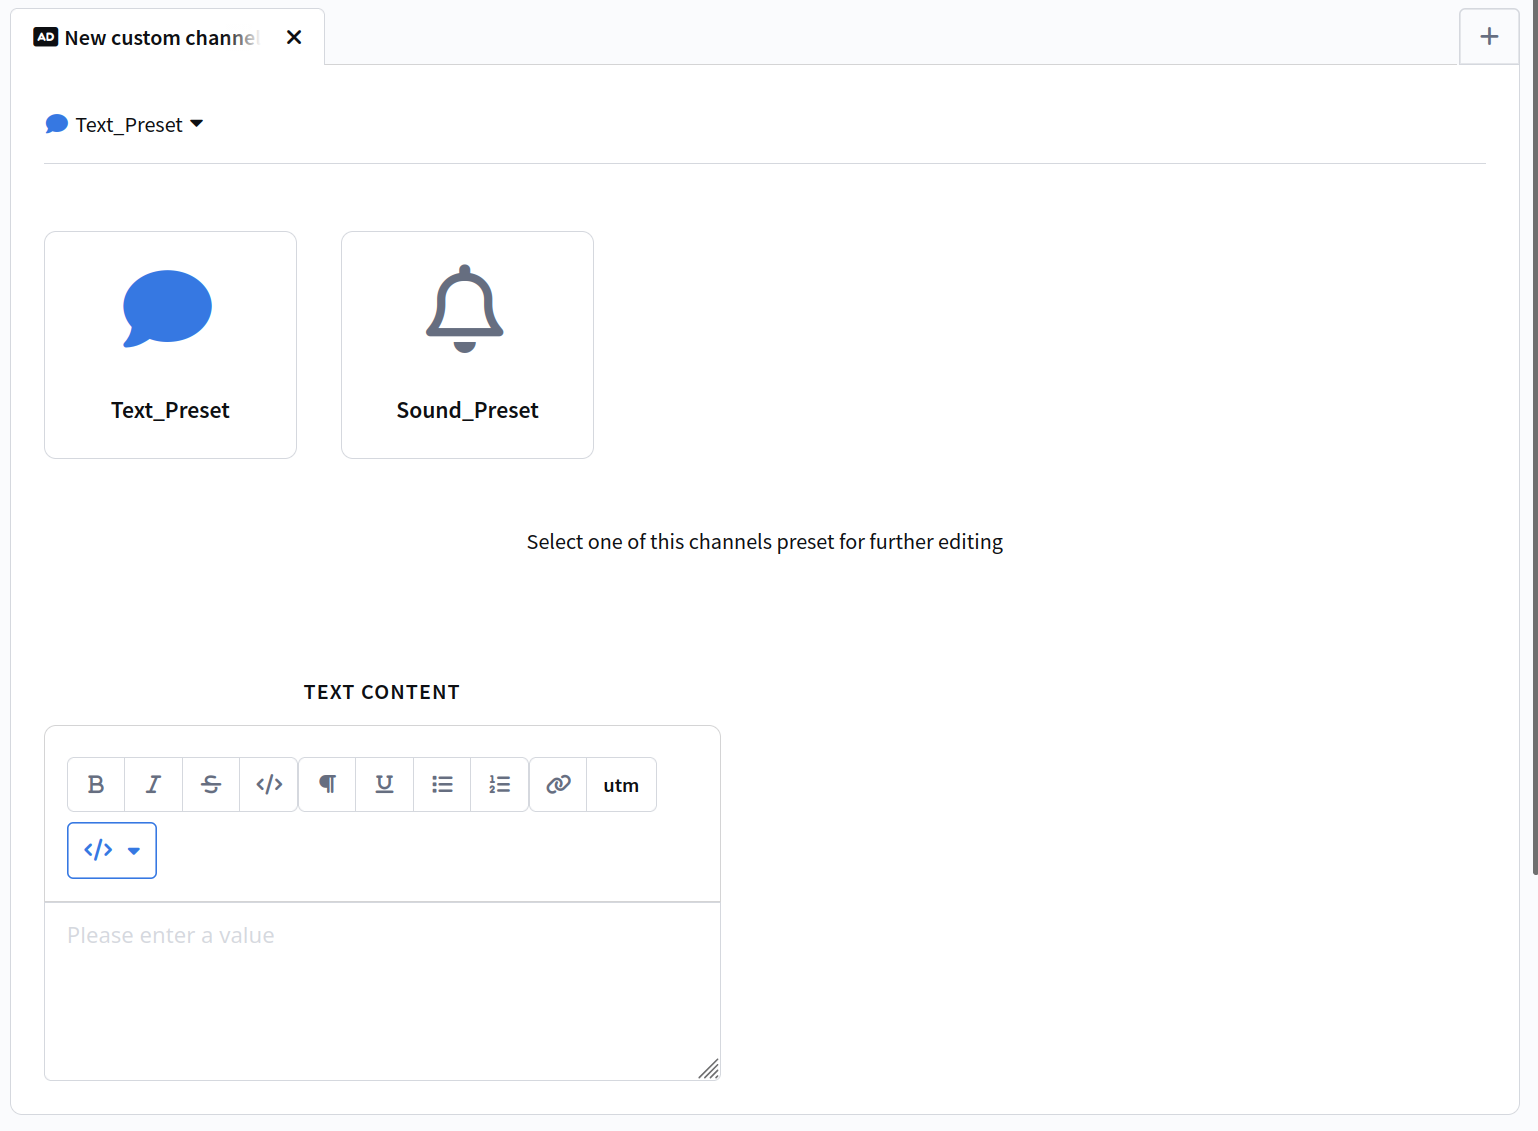
Preset is a set of fields corresponding to a specific message type in a custom channel. Presets allow a single channel to support multiple content types: text message, photo, video, document, etc. The user in the platform interface selects one preset and sees only the fields of that preset.
Presets are configured by the administrator on the Object Fields tab — Template subsection when setting up a channel.
Why presets are needed
Without presets, all Template fields are displayed simultaneously, which is inconvenient if the channel supports different content types. For example, a Telegram channel can send text messages, photos, and videos — but each type requires different fields:
- Text: "Message text" field
- Photo: "Image" field + "Caption" field
- Video: "Video file" field + "Description" field
With presets, the user selects a content type and sees only the relevant fields.
Creating a preset
In the Template subsection on the Object Fields tab, the Presets block is available. To create a preset, click the Add button.
A modal window will open with the following fields:
| Field | Description |
|---|---|
| Shortname | Unique identifier for reference in the pipeline (e.g., text, photo, video). Must contain only letters a-z, digits 0-9, and underscores. Cannot be changed after creation |
| Title | Preset name displayed in the platform interface (e.g., "Text message") |
| Icon | Preset icon displayed on the card in the platform interface |
| Description | Preset description displayed below the icon |
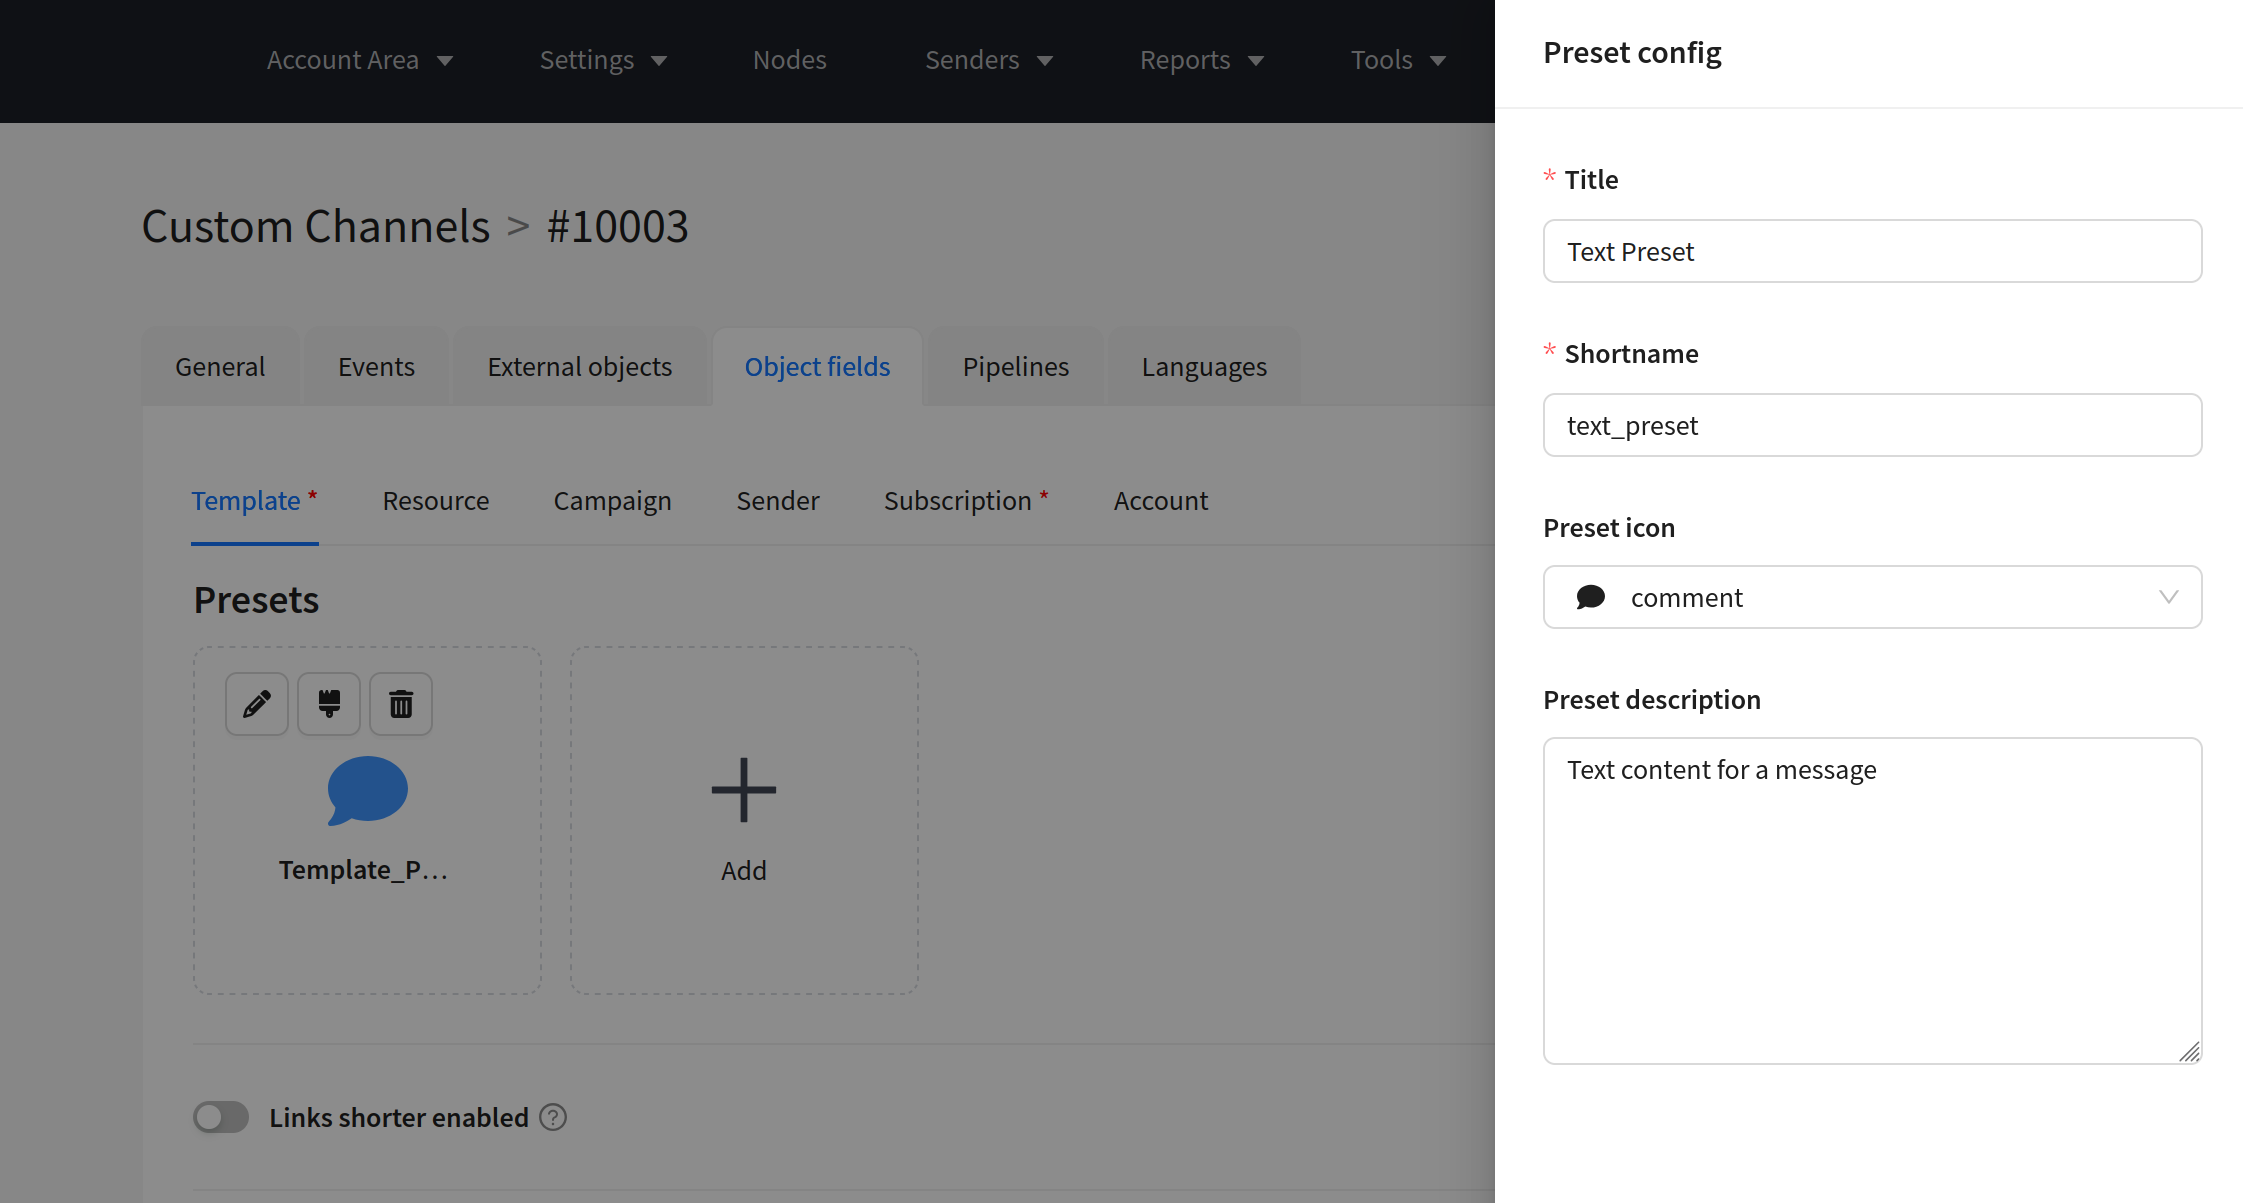
After creation, presets are displayed as cards. The order is determined by position — rearrange presets using drag-and-drop.
Each preset has management buttons:
| Action | Description |
|---|---|
| Edit | Edit the preset name, icon, and description. Shortname cannot be changed |
| Purge preset | Clear bindings — all fields are unbound from this preset |
| Delete | Delete the preset. Template fields are not deleted |
Binding fields to a preset
After creating a preset, you need to bind Template fields to it. Binding is done when editing each field: open the field via the Edit button and in the Presets dropdown, select one or more presets.
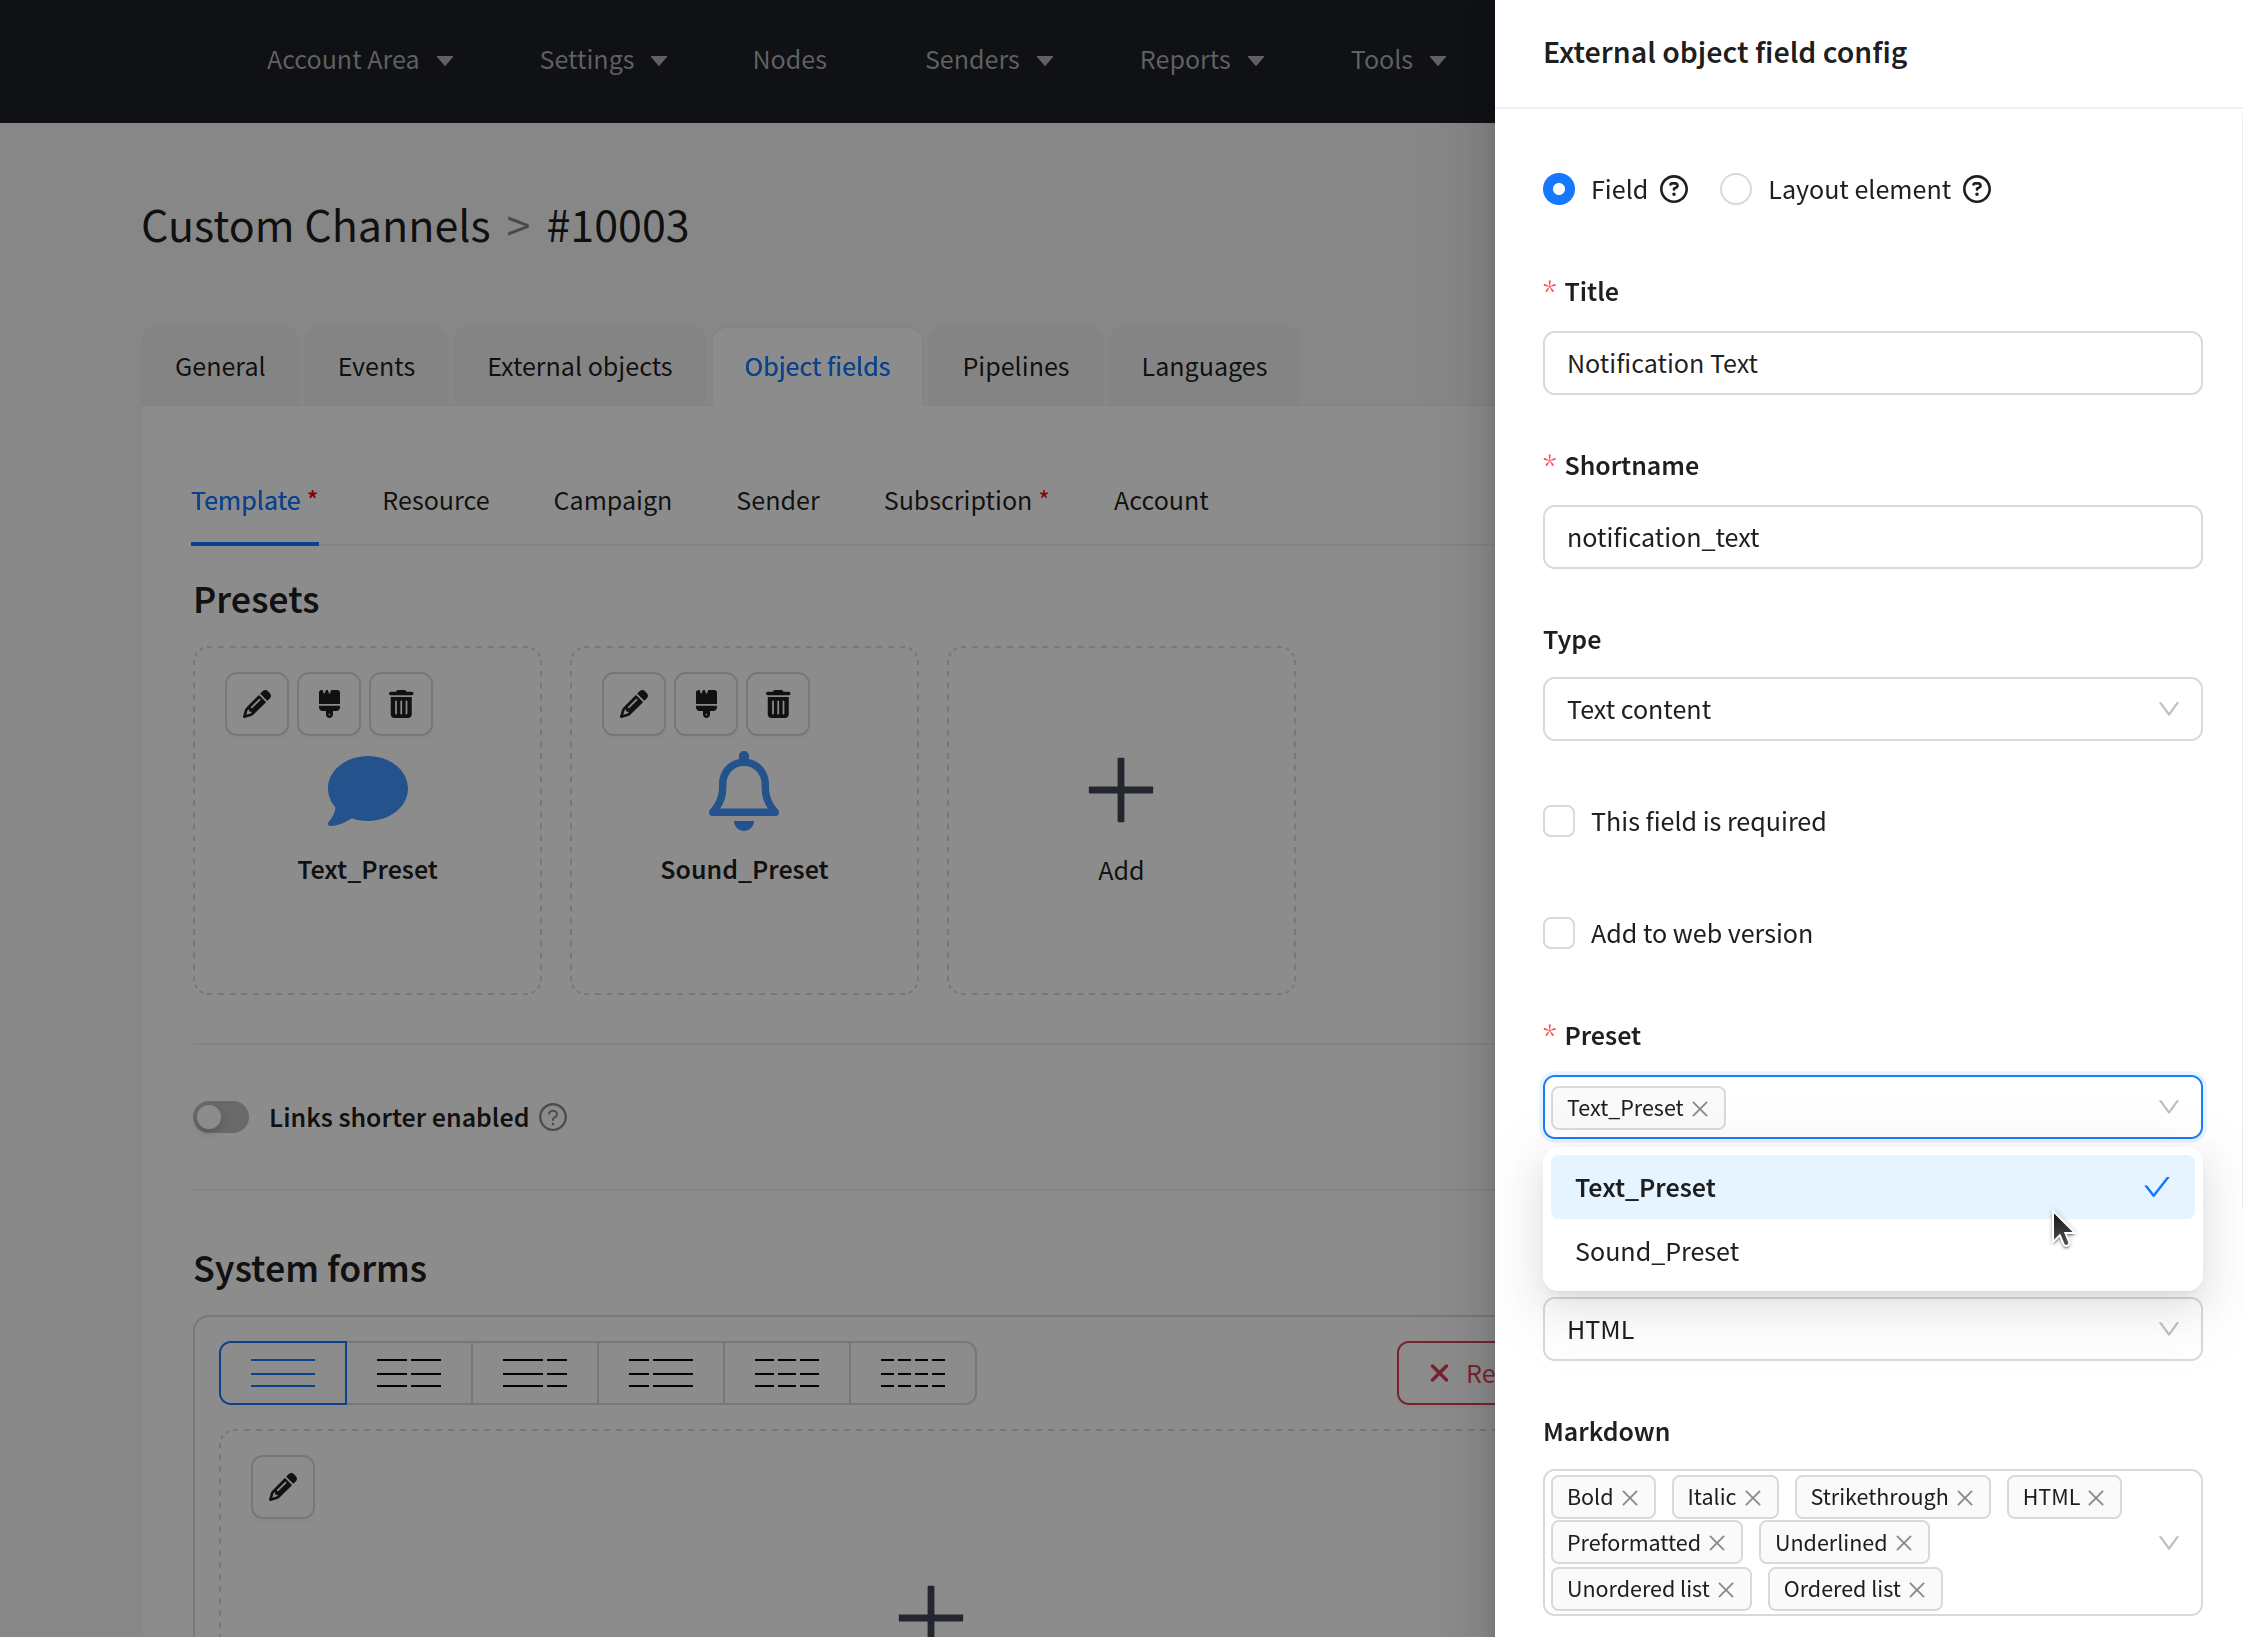
A field can be bound to multiple presets simultaneously.
Fields not bound to any preset will not be displayed in the user interface when a preset is selected. If a field should be available, make sure to bind it to a preset.
Presets in the platform interface
When creating a template, the user sees preset cards with icons and descriptions. Selecting a preset determines which fields are available for filling.
Template Preview
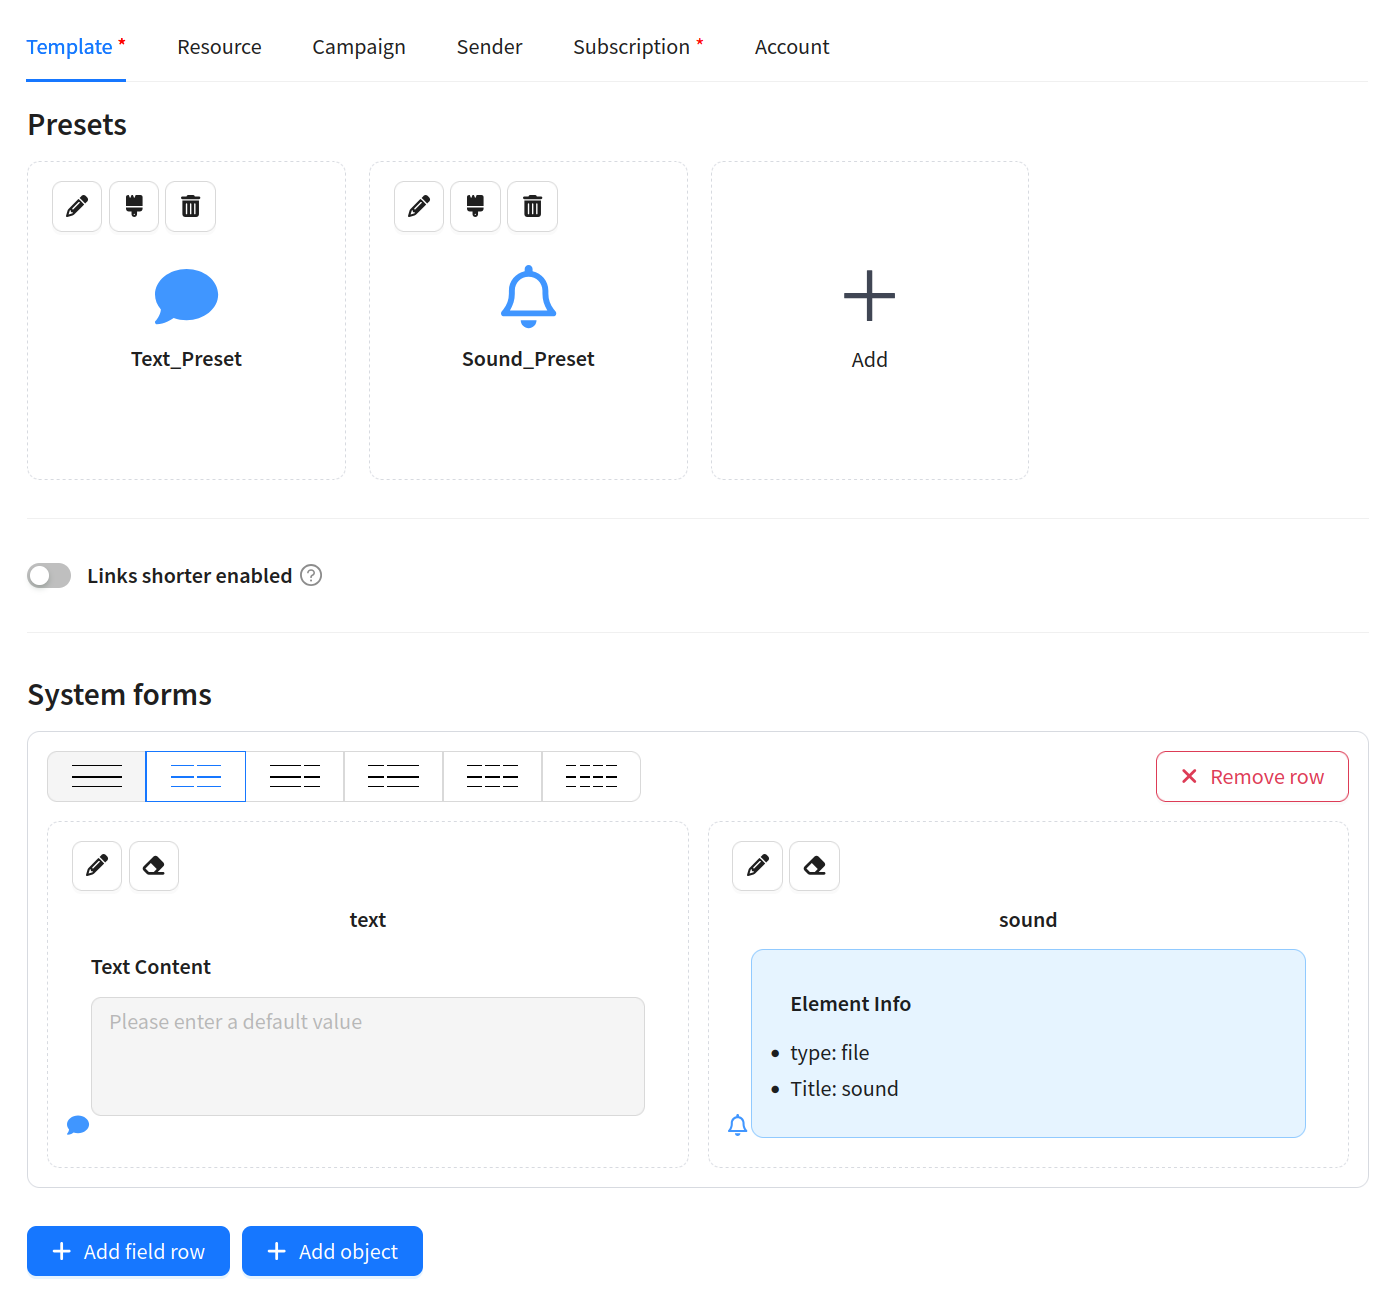
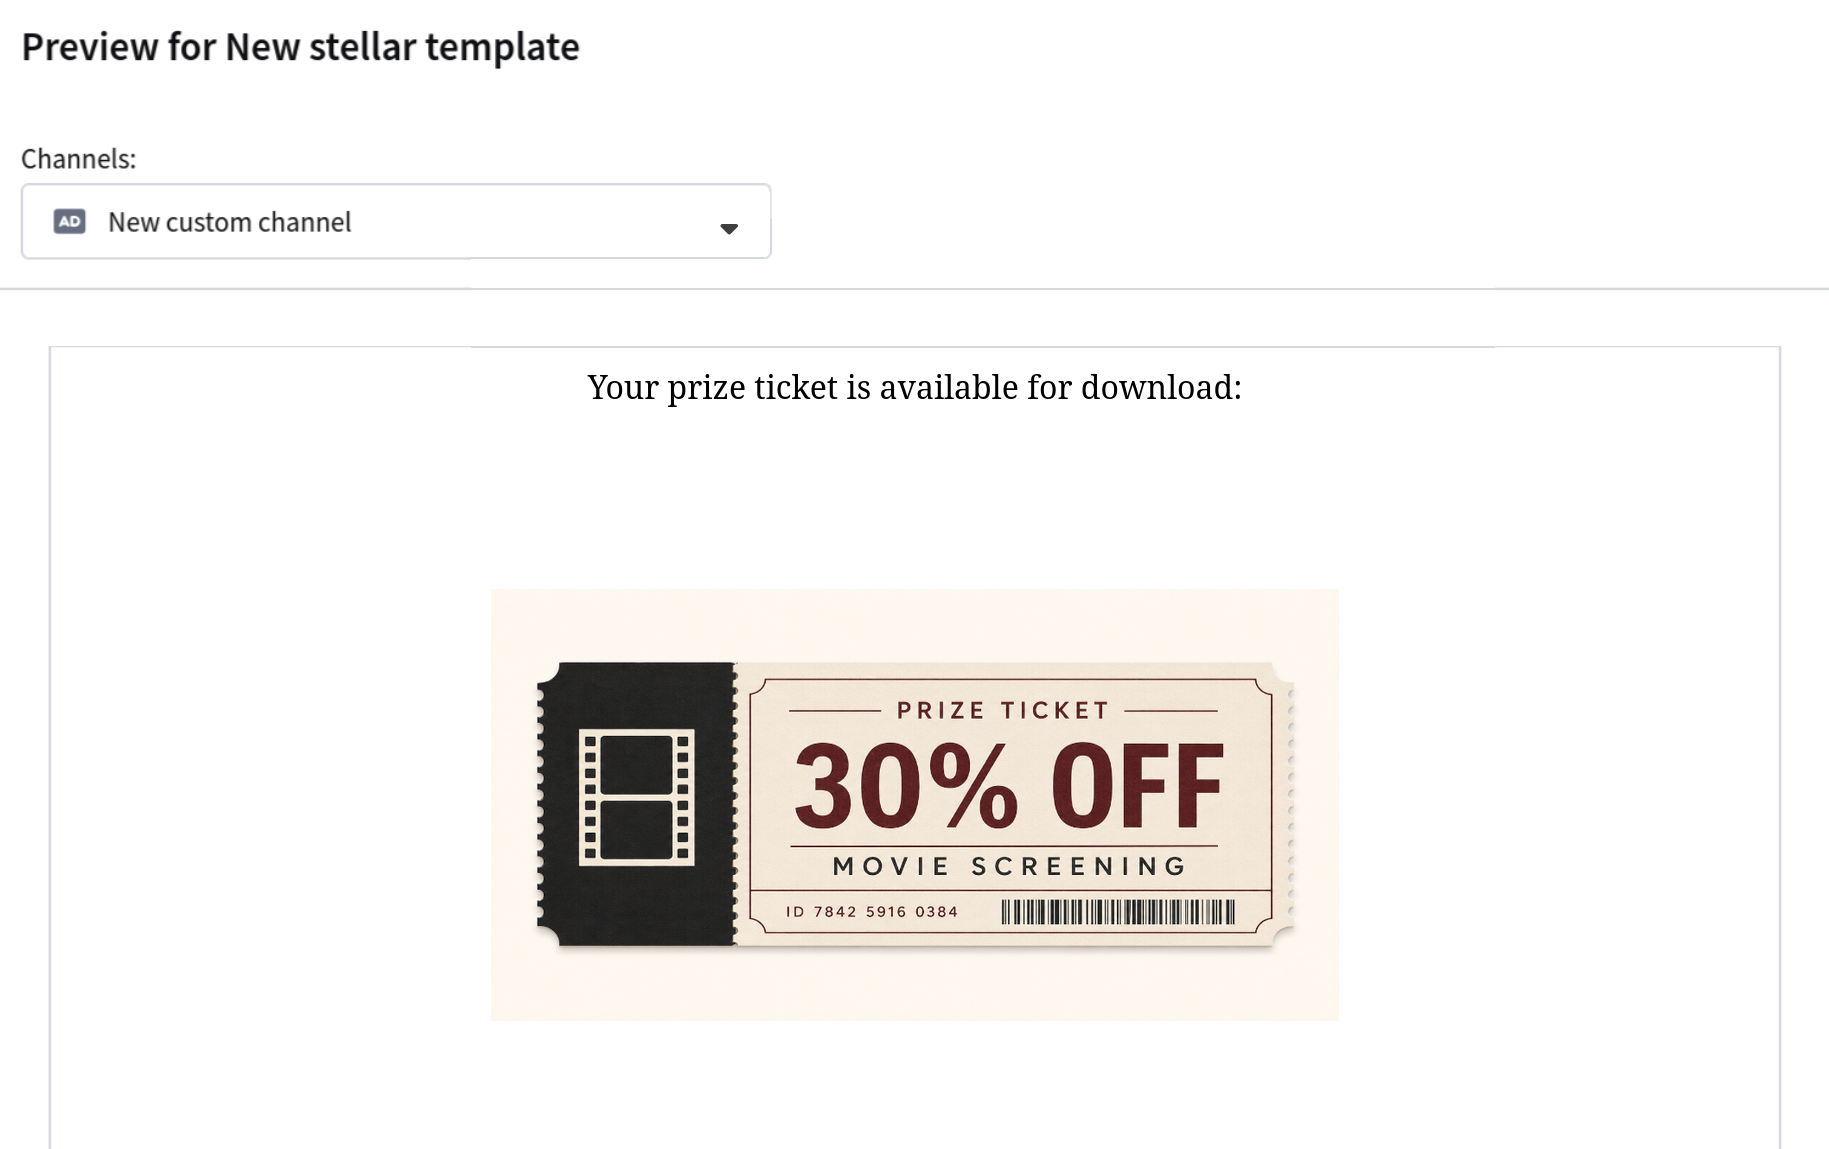
You can configure how the data that the user uploads to the template is displayed using Template Preview fields. Here you set up the template preview that the user sees when filling in the fields.
For example, if you use a preset with image upload, you can configure the preview as follows:
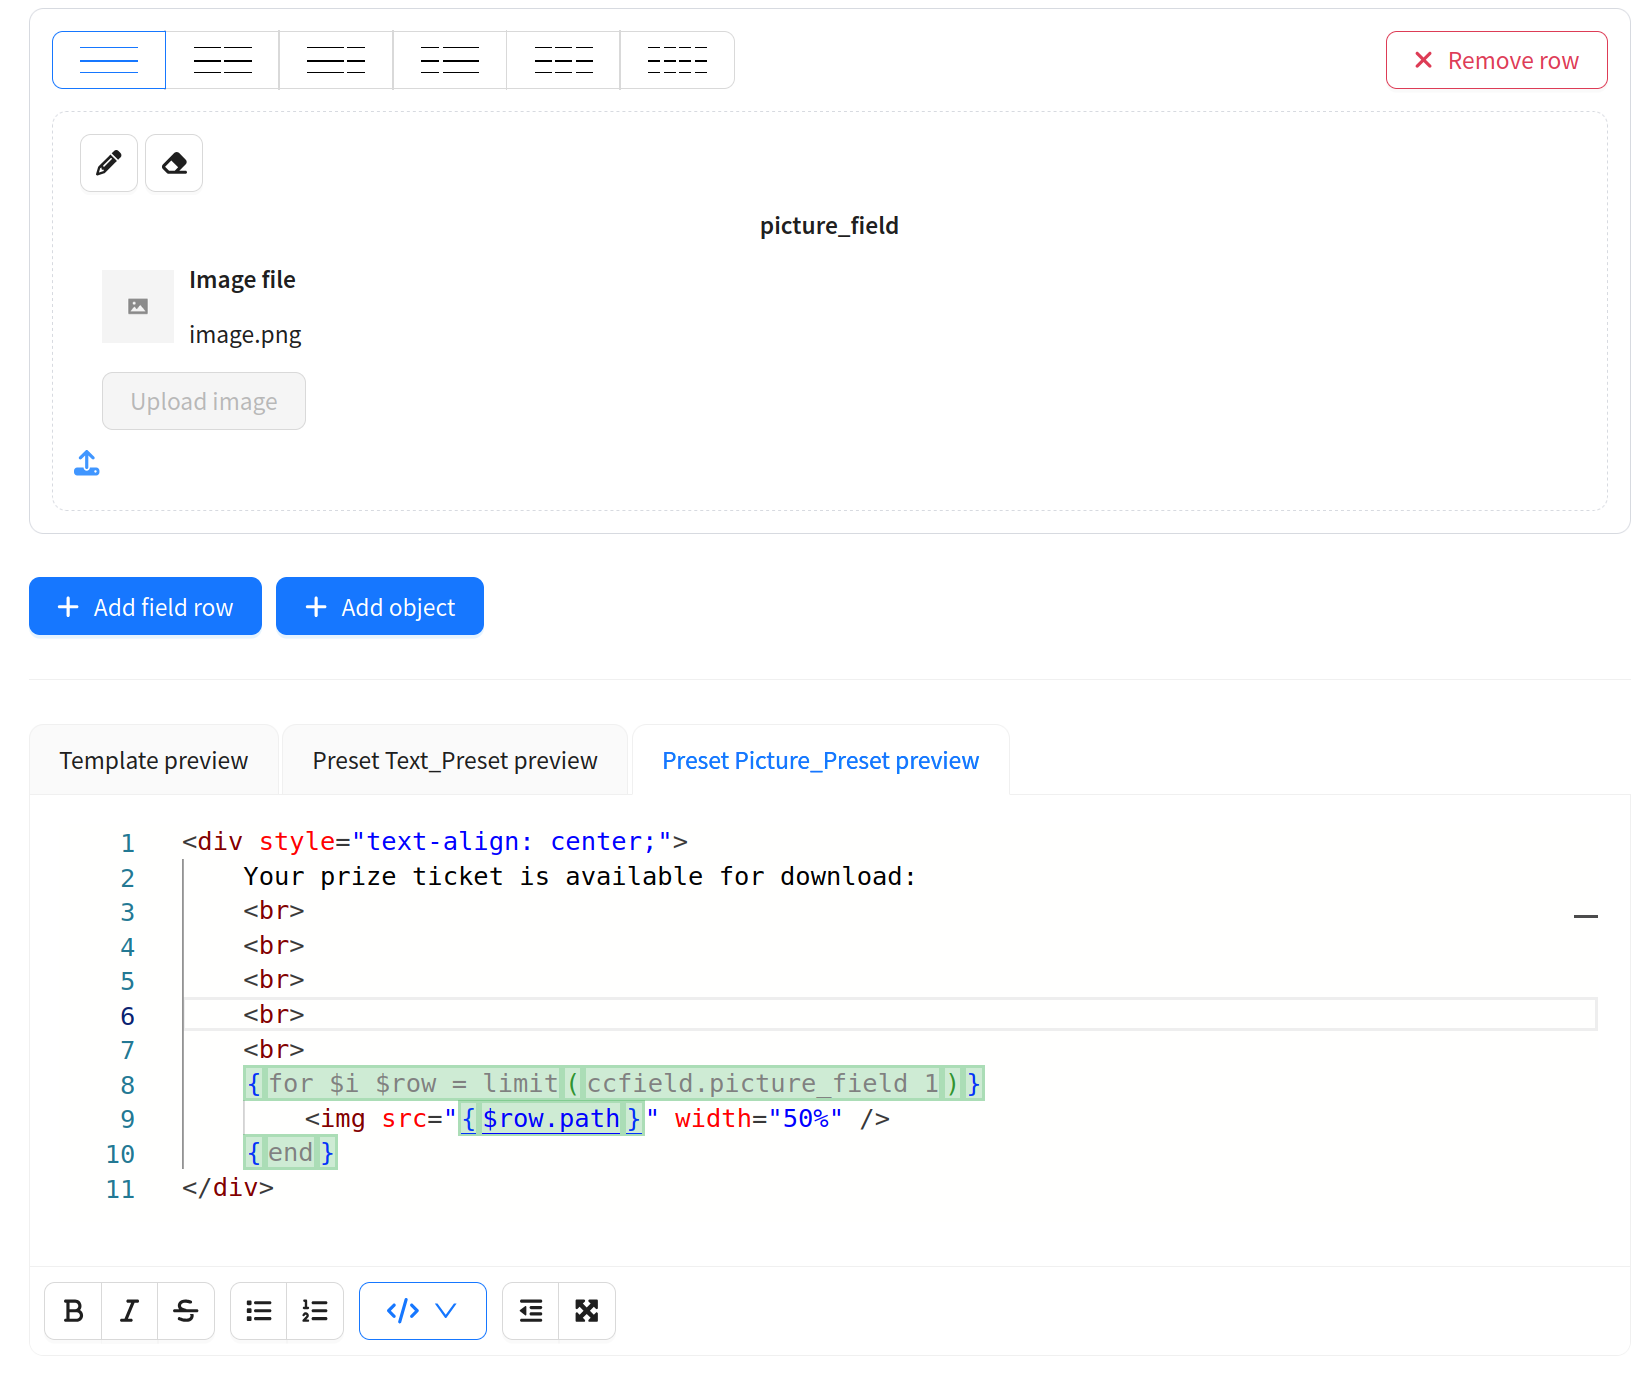
In the preview template, Template fields are accessed via {ccfield.<shortname>}. For example, {ccfield.text} will substitute the value from the field with shortname text.
Accessing preset in the pipeline
Template field data is available in the pipeline via the templating language with the syntax:
$template.<field_shortname>
Where <field_shortname> is the field's shortname (e.g., message, image, caption).
The currently selected preset is available via the system field:
$template._presets_ids
This is an array of preset shortnames (e.g., ["text"] or ["photo"]).
In the pipeline, only fields corresponding to the selected preset are available. If the user selected the photo preset, fields bound only to the text preset will be empty. Use $template._presets_ids to determine the current preset and implement conditional logic.
Example: Telegram channel
Consider a Telegram channel with three presets: text, photo, video.
Presets
| Name | Shortname | Icon | Description |
|---|---|---|---|
Text message | text | 💬 | Simple text message |
Photo | photo | 🖼️ | Message with an image |
Video | video | 🎬 | Message with a video file |
Template Fields
| Title | Shortname | Type | Preset binding |
|---|---|---|---|
Message text | message | text | text |
Image | image | image_upload | photo |
Photo caption | caption | string | photo |
Video file | file | file | video |
Video description | description | string | video |
Webhook URL | webhook | string | text, photo, video |
Message Pipeline
Depending on the selected preset, the Pack pipe forms different JSON:
{
  "id": 1,
  "type": "pack",
  "params": {
    "type": "JSON",
    "template": {
      "preset": "$template._presets_ids",
      "chat_id": "$subscription.chat_id",
      "text": "$template.message",
      "photo": "$template.image",
      "photo_caption": "$template.caption",
      "video": "$template.file",
      "video_description": "$template.description",
      "webhook": "$template.webhook"
    }
  },
  "outs": {
    "success": 2,
    "error": 99
  }
}
The external service (Telegram bot) determines which API method to call based on the preset field: sendMessage for text, sendPhoto for photo, sendVideo for video. Fields not related to the selected preset will be empty.