Email-template
Getting started
In the main menu, select "Templates" and create a new message template. Next, select creation method:
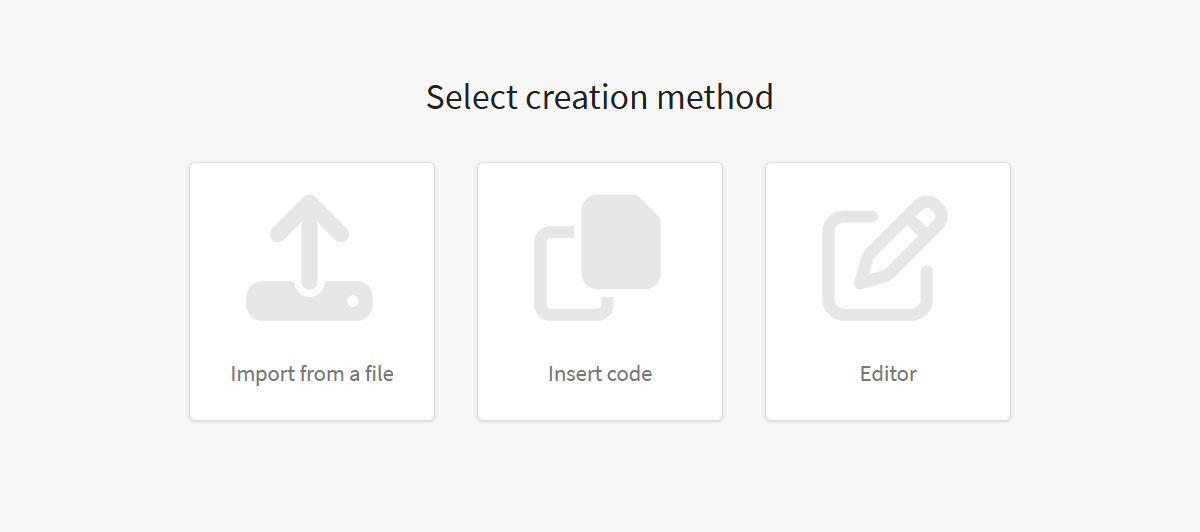
If you already have a ready template, you can import it into the platform from a file or insert HTML code. The structure of imported templates is described in this article. After loading the template you will automatically move to the editor.
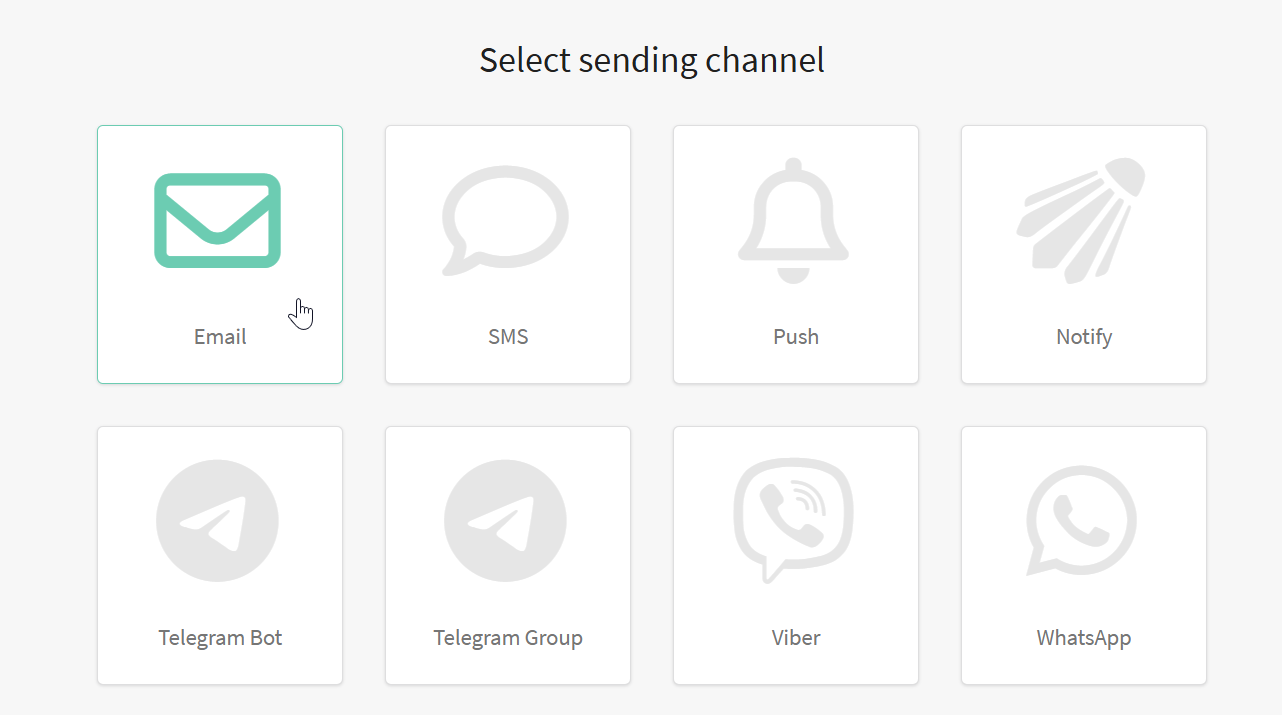
To start working in the editor immediately, select Editor → Email:
In the new email template customization window, you need to select the editor to continue working in.
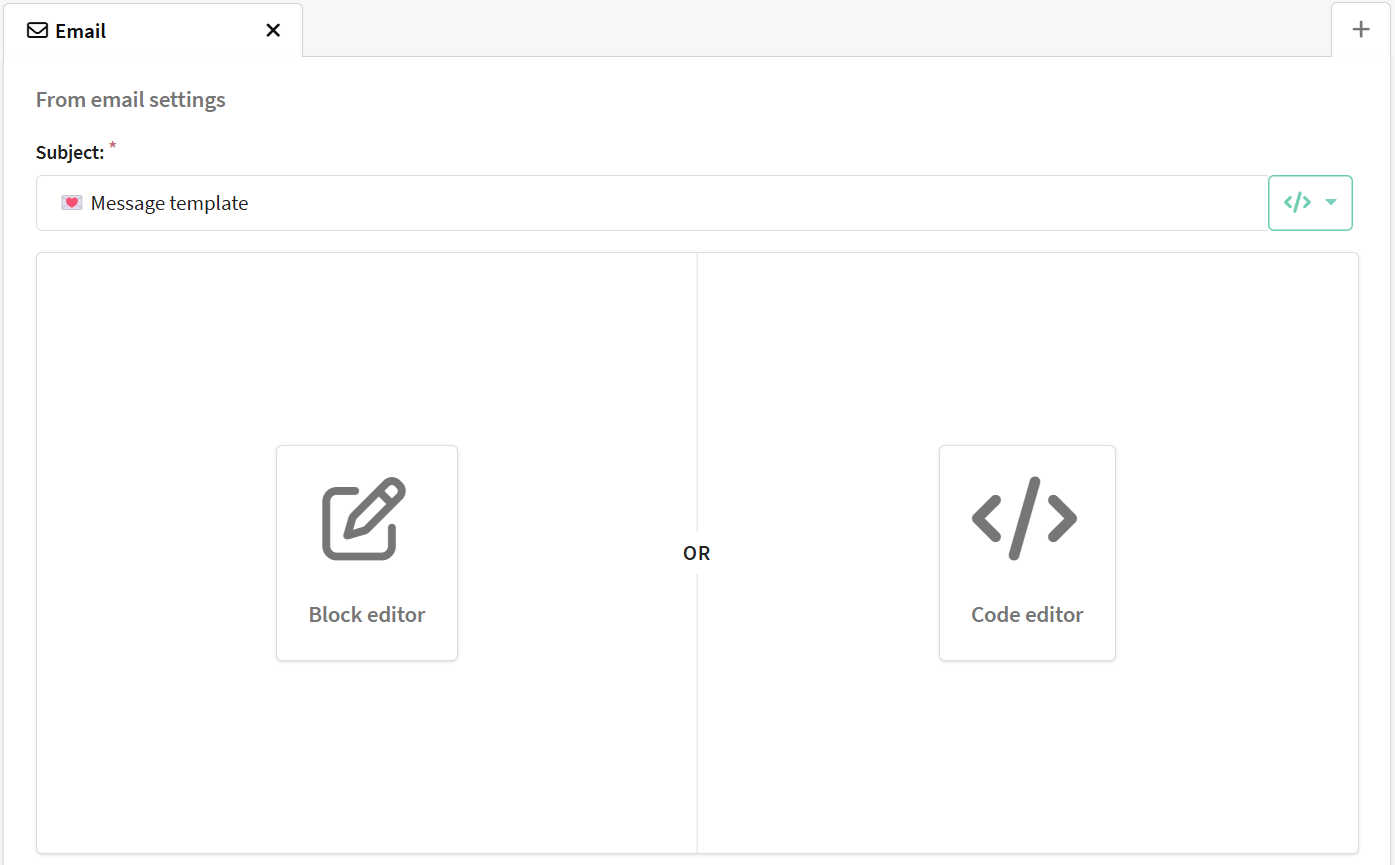
There are three editors built into the platform:
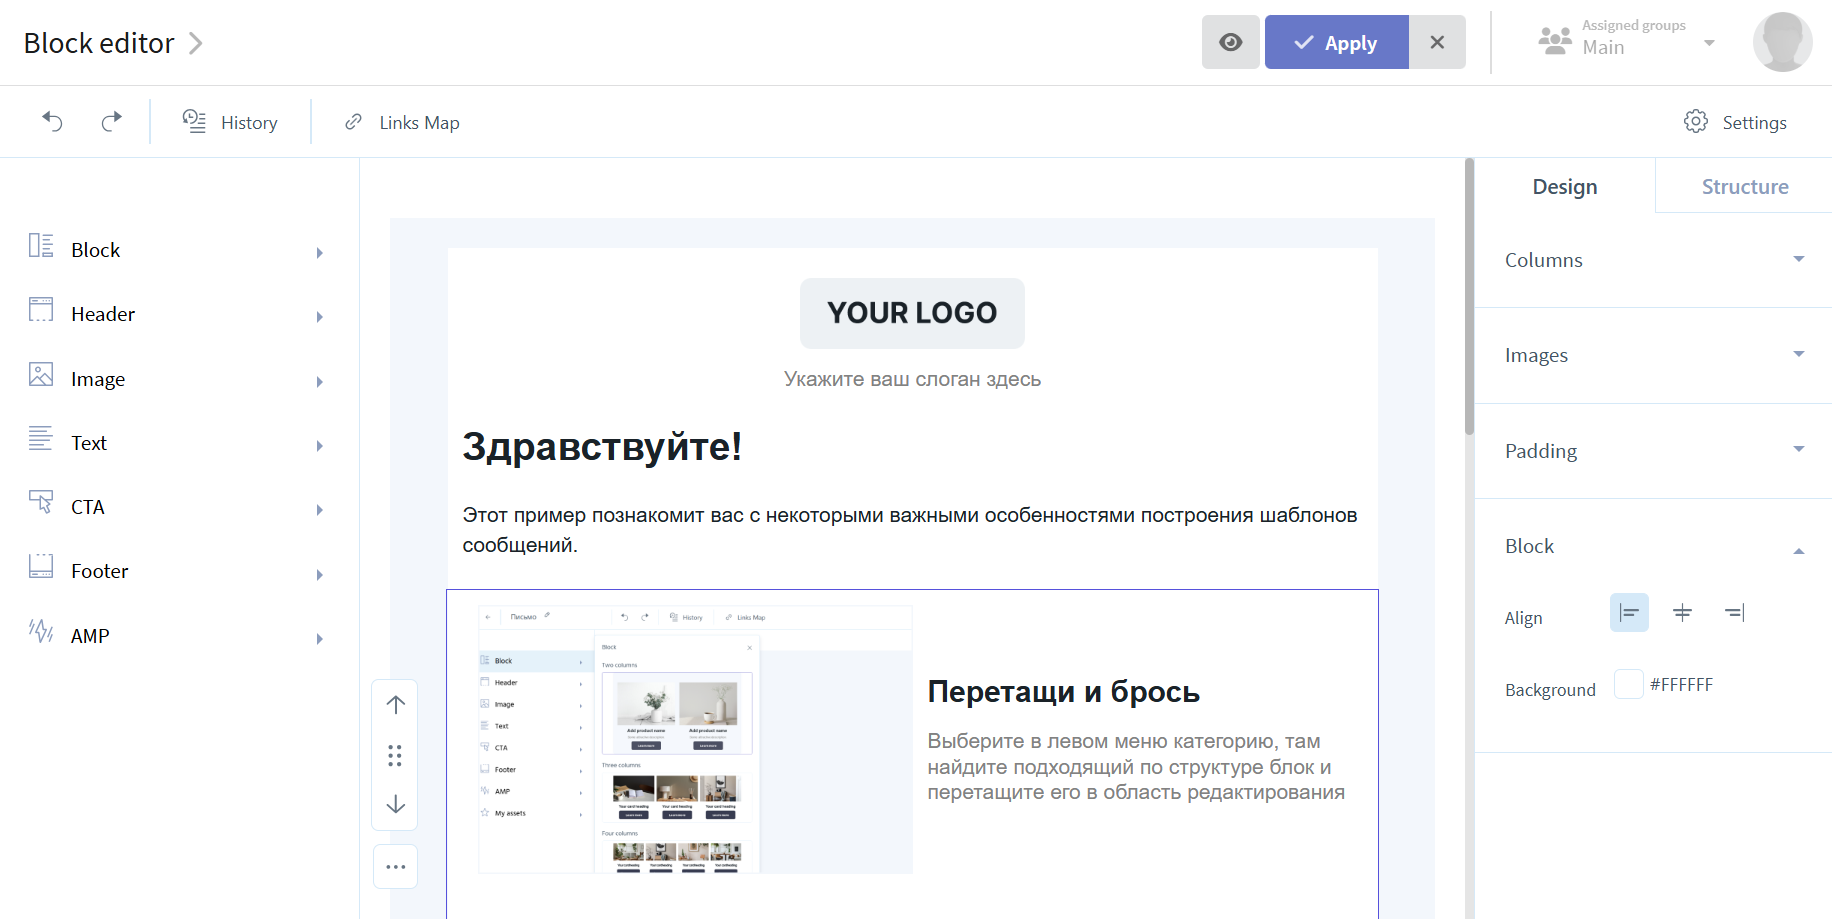
1. Block editor allows you to quickly create a template from scratch using ready—made blocks. It is suitable for those who are not familiar with HTML and CSS. AMP elements for creating interactive emails are also available in this editor. Read more about block editor features in this article.
2. Code Editor is designed for working with HTML and CSS. Use it to make changes to an existing template. Read below for more information about working in the code editor.
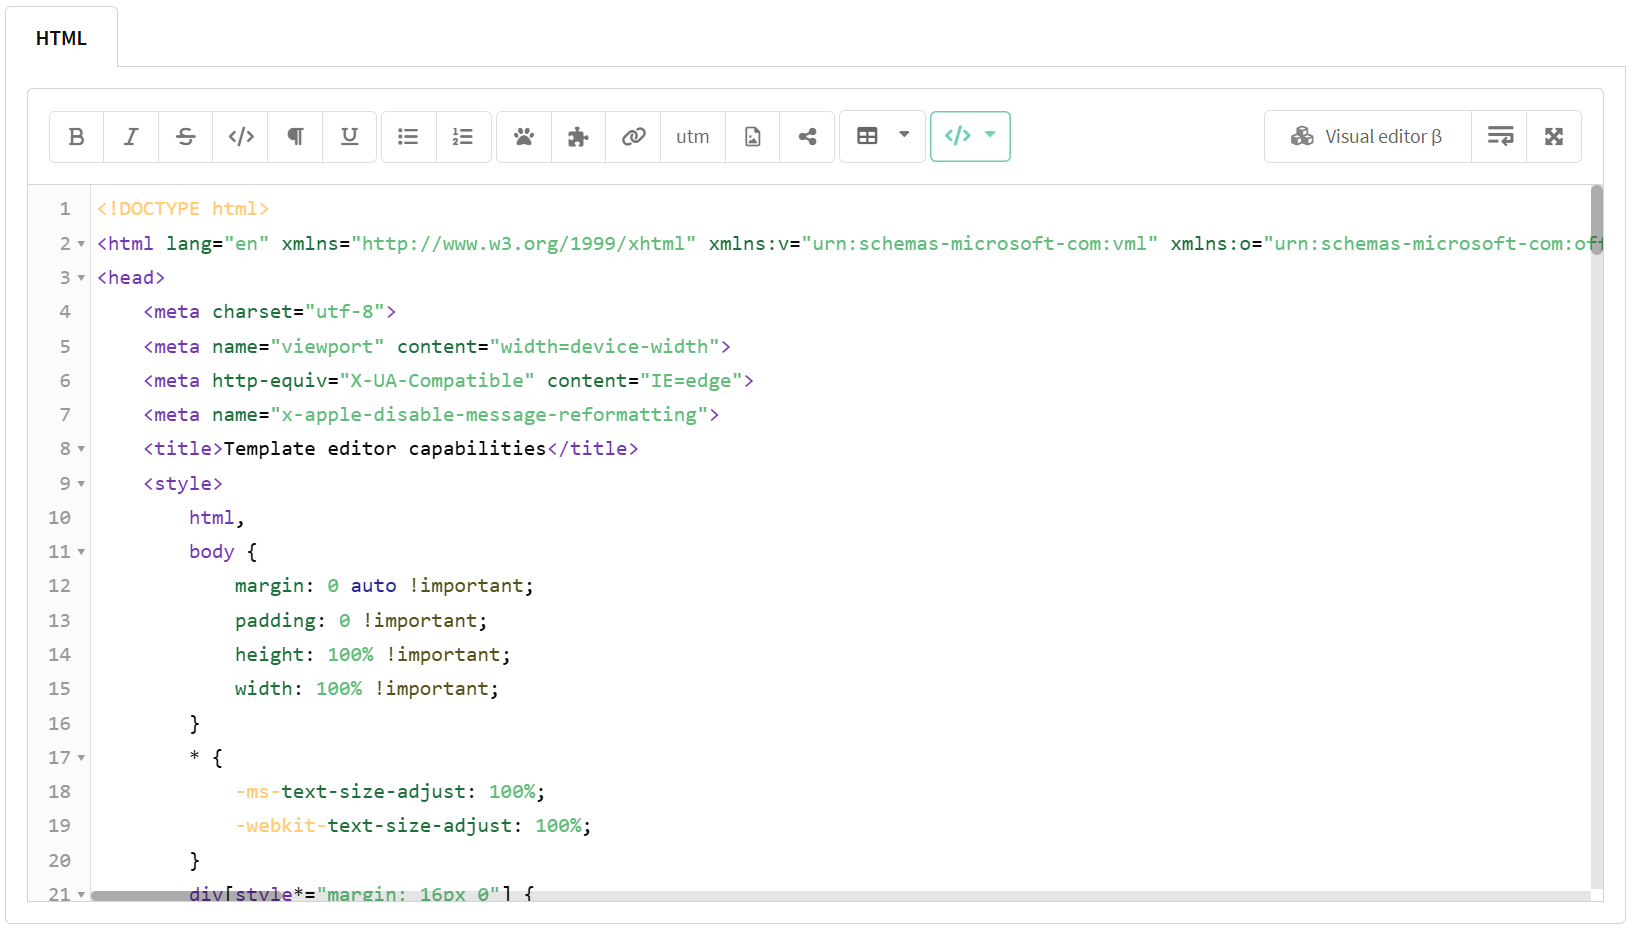
3. Visual Editor is suitable for editing a ready—made email template. With its help you can quickly change text color, add a link or replace an image without any knowledge of HTML and CSS. To access the visual editor, first open the code editor, then click the "Visual Editor β" button in the upper right corner. Working in the visual editor is described in this section.
Notice, you can switch from the block editor to the code editor, but you cannot switch back.
Email-template settings
In the main content settings for the email—channel, specify the subject that will be displayed in the recipient's email client. You can personalize the subject using the </> variable menu or manually using system variables. You can also add emoji to the subject.

Fill in the following fields below:
- From name — the name from which the email is sent to the subscriber. You can add personalization and emoji.
- From email — the address from which the email is sent to the customer.
Fill in the following fields to Customize Feedback:
- Reply-to name — name to reply to the message. Personalization is available: for example, you can specify here the name of the client's personal manager.
- Reply-to email — the e-mail address to reply to the message.

The From name and From email fields override the values configured for the Email channel in resource or, if no resources are used, the values of similar fields in profile database.
HTML-version of the email
Most subscribers see an HTML version of the message in their mailboxes. The code editor supports HTML and CSS, as well as personalization variables.
The following functions are available to facilitate formatting and working with objects:
Formatting
 — bold text
 — italics
 —
—
strikethrough
text
 — formatted text
 — underlined text
 — bulleted list
 — numbered list
 — insert table
Service functions
 — adding
pixels
to track the opening and reading of the email. If you don't
insert pixels while editing a message, the system will warn you about it when saving.
 — adding
external HTML content.
You can also specify the source address of the variable manually
 {[http://example.com ]}.
 — add or edit links.
 — setting UTM.
 — add or edit
images.
 — adding buttons Social share links
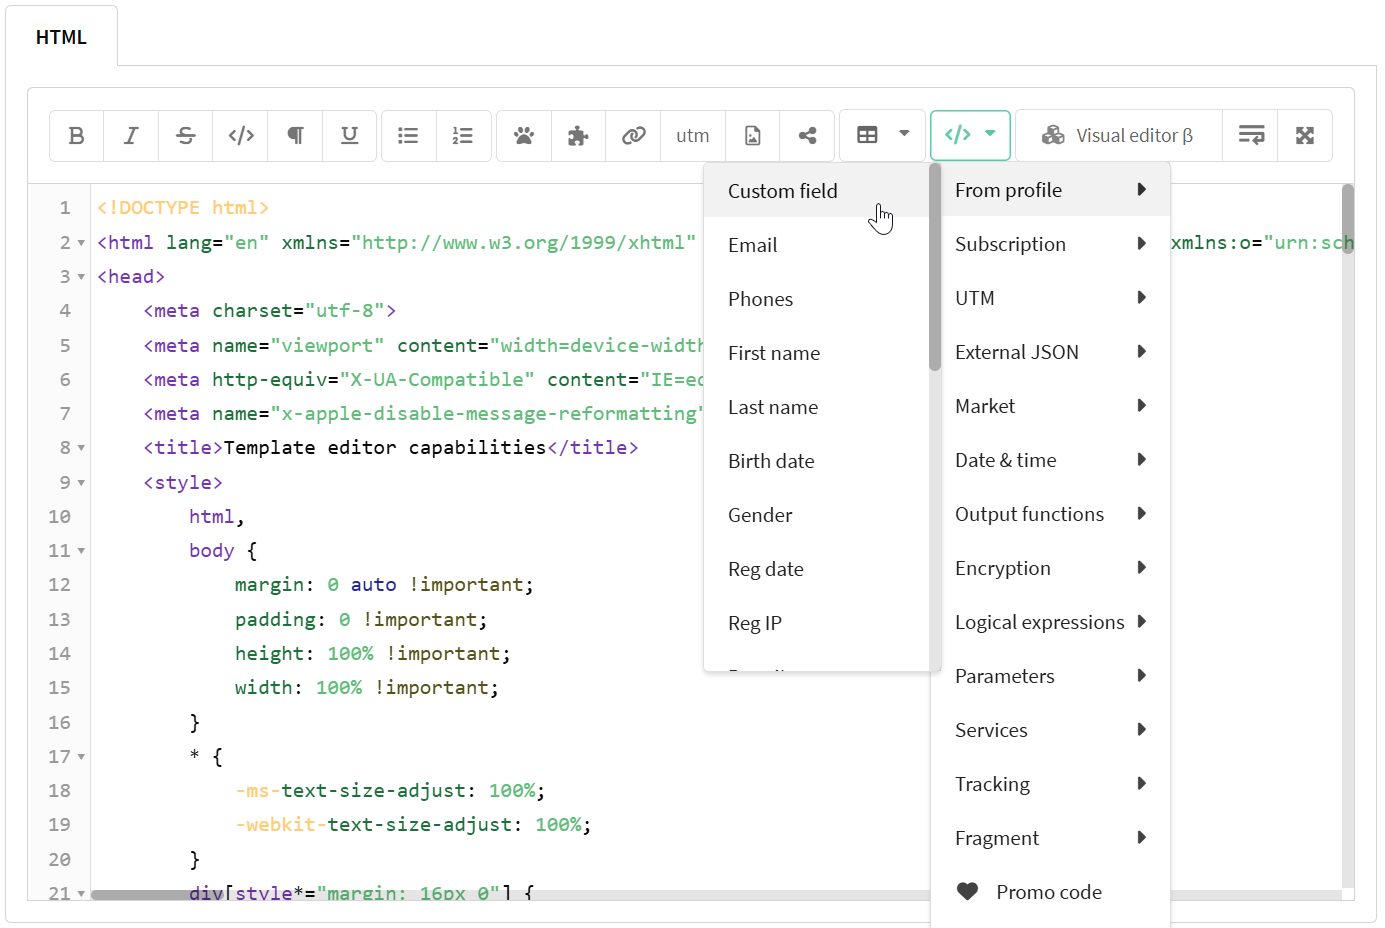
 — menu editor variables
and functions. Using this
button, you can add customer profile data, promo codes, loops and logical expressions,
as well as dynamic content and system links to the message.
Using the row of buttons on the right side of the window, you can enable toggle word wrapping  or full screen mode
  .
.
You can also use the visual editor to edit the finished template.
Text version of email
The text version of the email is text without formatting. It is displayed in the mail instead of HTML if the subscriber's email provider or the client itself blocks the HTML version. This version is disabled by default. To include it in an email, check the box Add text version of the email.
You can generate a text version based on HTML using the buttons:
 — generates a text version with hyperlinks.
 — generates a text version using Markdown links, which can improve compatibility with various mail systems.
The text version also supports lists, UTM tags, links and variables.

If the HTML version of the email contains an unsubscribe link or a confirm link, it must also be present in the text version of the email. Otherwise, you will not be able to save the template.
AMP-version
AMP allows you to add JavaScript components to emails and make them interactive. In an AMP email, the user can complete a survey, buy a product, or confirm registration without going to the site.
Email clients require special registration from the senders of AMP emails. For instructions on adding your sender's address to the allowed list, go to the official AMP documentation.
For those who are just starting to master AMP, this guide will be useful .
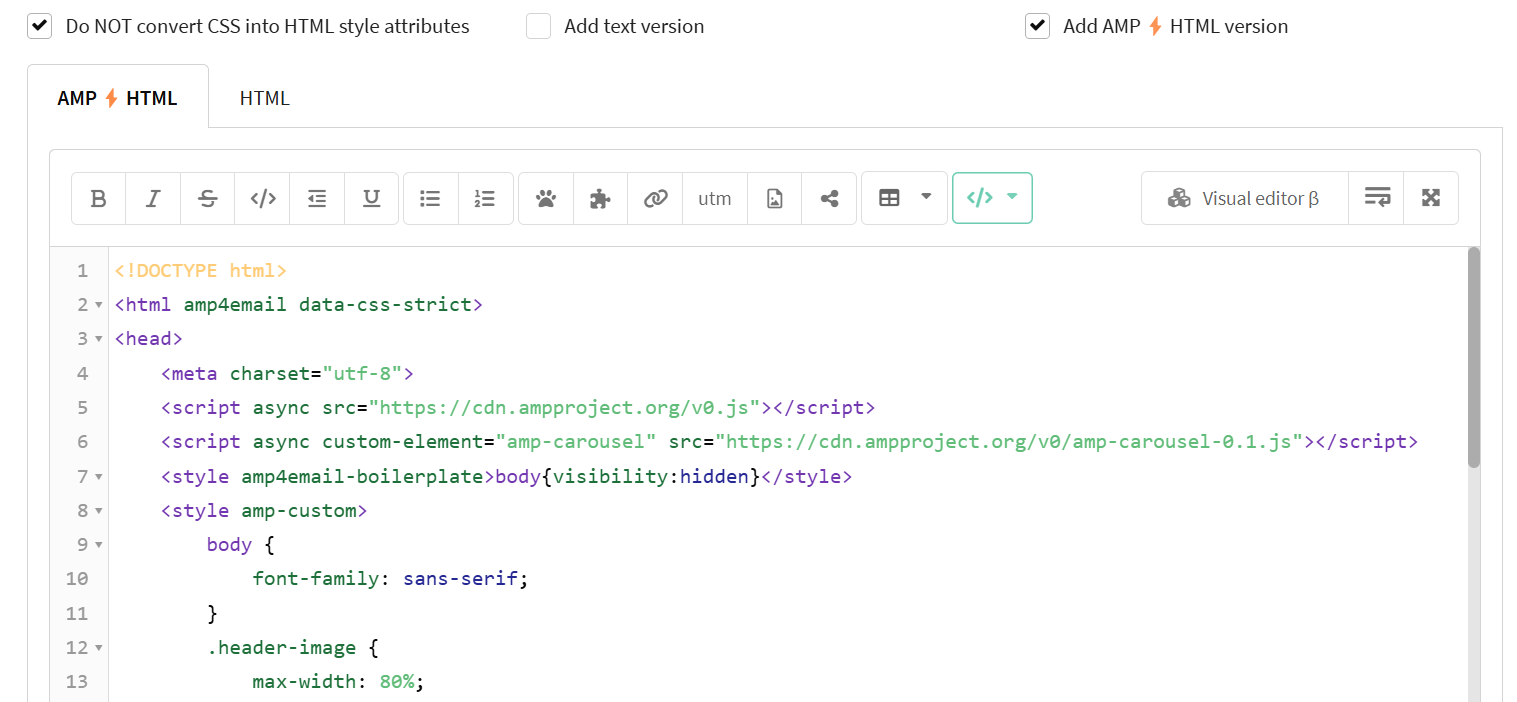
To send AMP emails, you need to check the box in the field "Add AMP⚡HTML version". An additional tab AMP⚡HTML will appear below, where you can use AMP components.
At the moment, AMP emails support the following email clients:
- Gmail;
- Yahoo;
- Mail.ru.
If an email arrives on an email client that does not support AMP technology, the recipient will see the HTML version.
Links in the AMP version
In the AMP version of the email, only the data-name attribute is supported for naming links. When saving the template, the platform will automatically insert the attribute into all links.
<a href="https://example.com " title="Link text" data-name="link1">Link text</a>
Also note that if you add an AMP parameter to a link, you do not need to wrap the link with tracking, otherwise it will not work. To disable tracking, add the no-track attribute. Clicks on such a link will not be tracked.
<a href="${{exampleUrl}}" title="Link text" data-name="link1" no-track>Link text</a>
Escaping template expressions
The AMP templating syntax is the same as the Altcraft templating syntax. To avoid uncorrected code processing, it is necessary to escape template AMP expressions using the $ symbol.
For example, if you are using the <amp-list> component, then replace the variable for substituting the list item {{title}} with ${{title}}:
<amp-list id="myList" src="https://foo.com/list.json">
  <template type="amp-mustache">
    <div>${{title}}</div>
  </template>
</amp-list>
Link builder
A convenient link builder is built into the email editor. To add a link, place the cursor in the appropriate line and click on the button Insert a link. If you want to change a link that you have already added to the template, select it in the editor and then open the constructor:
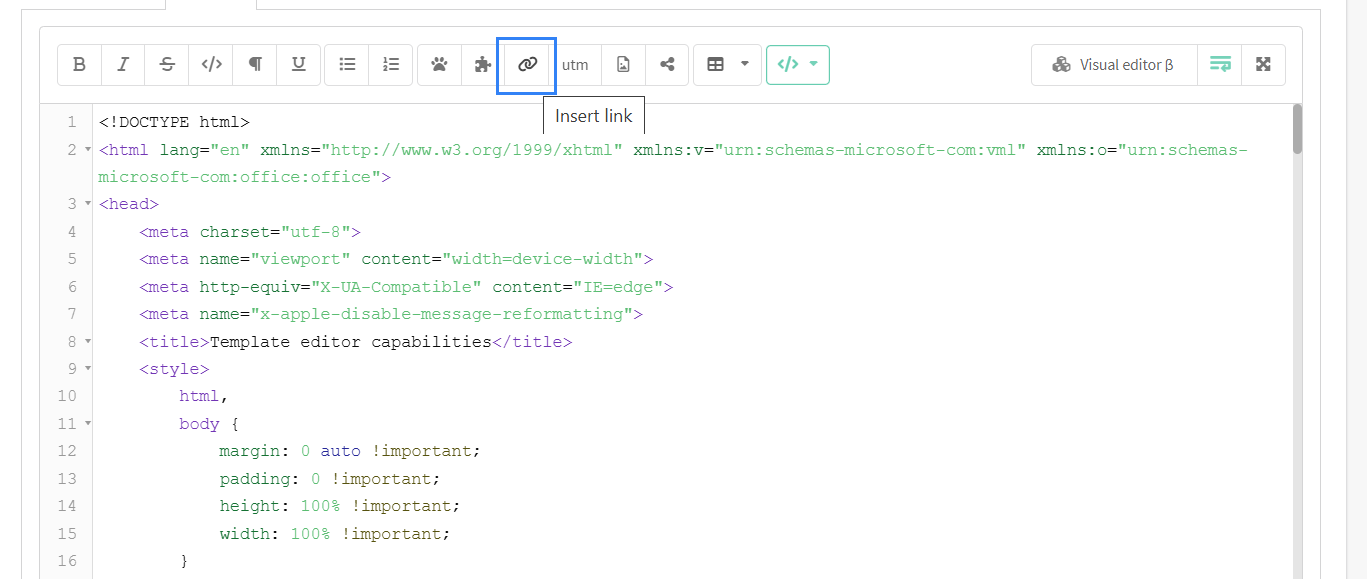
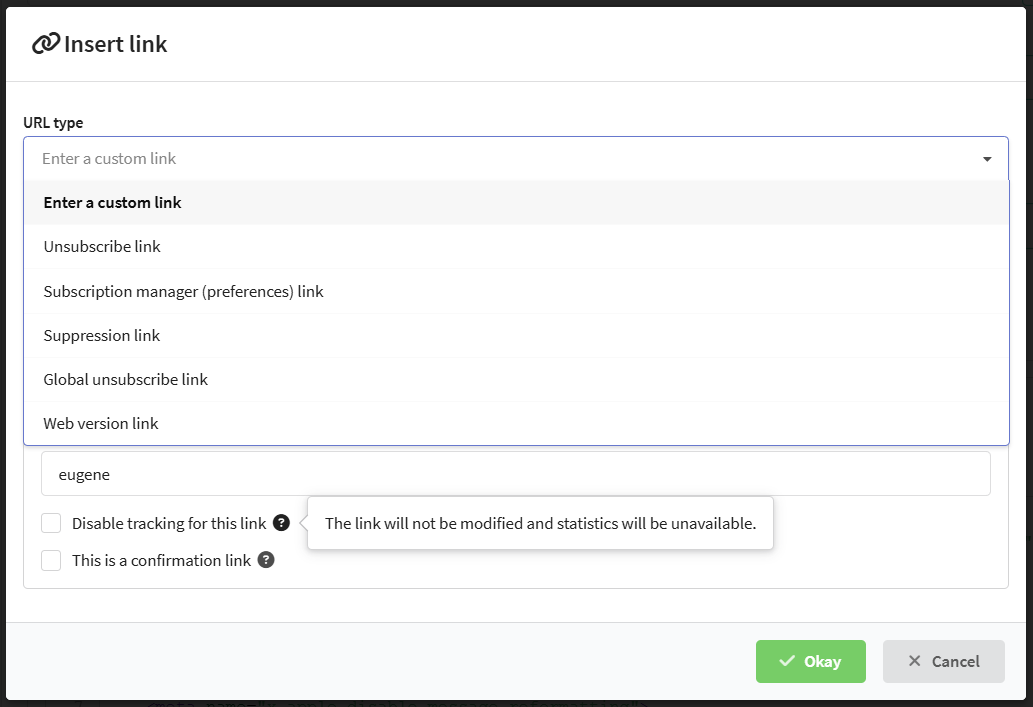
In the constructor, you can select the link type depending on the purpose:
- Enter a custom link — link to any web page except user links unsubscribing and confirming.
- Unsubscribe link — a link to the system or user's subscription termination page for the resource. The subscription status changes to Unsubscribed. Does not affect the global profile status and other subscriptions.
- Subscription manager (preferences) links — link to the subscription management system page. The client will be able to suspend their subscriptions, resume or unsubscribe from newsemails.
- Suppression link - link to add to the stop list, by which the client will be able to block the receipt of certain content.
- Global unsubscription link — changes the global profile status of the client to Unsubscribed, completely ending the possibility of communication.
- Web version link - link to an exact copy of the letter sent to the subscriber. If the client has problems displaying the email, it will be available via a link from any browser.
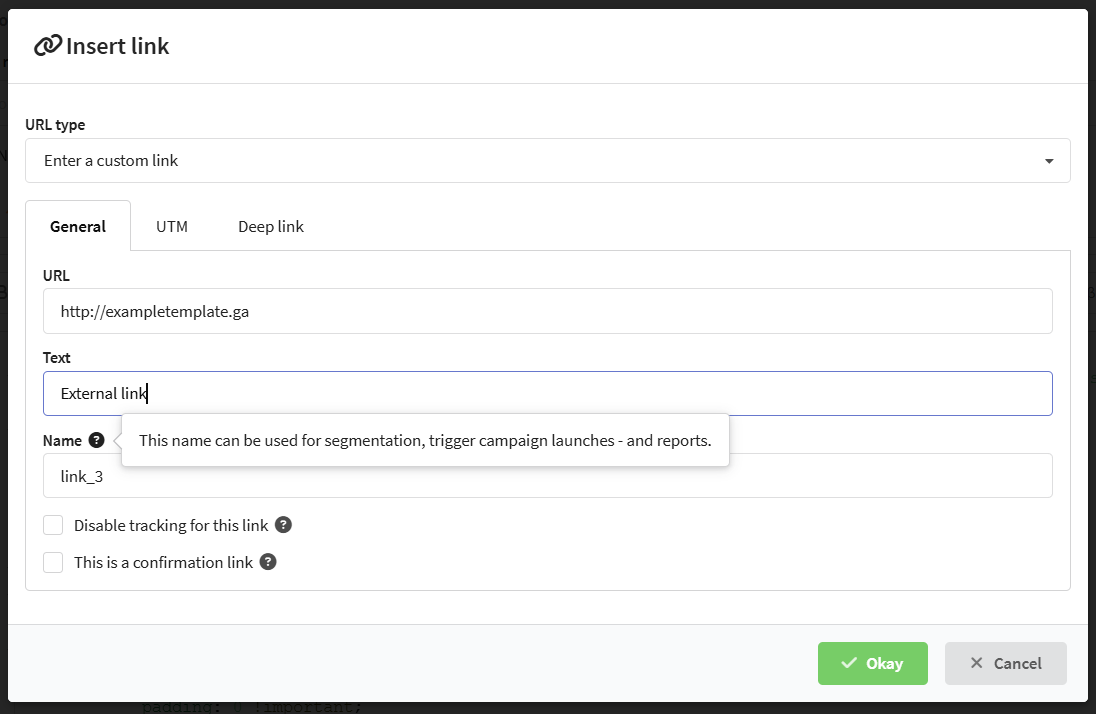
General
In the general settings enter the URL to go to if you are adding your link. For system links, the field will be pre-filled. Also enter text to display in the email and name. Name is used in reports, segmentation and when launching triggers and scenarios.
Additionally, you can disable redirection to tracking when clicking on the link, as well as make any link a subscription confirmation link.
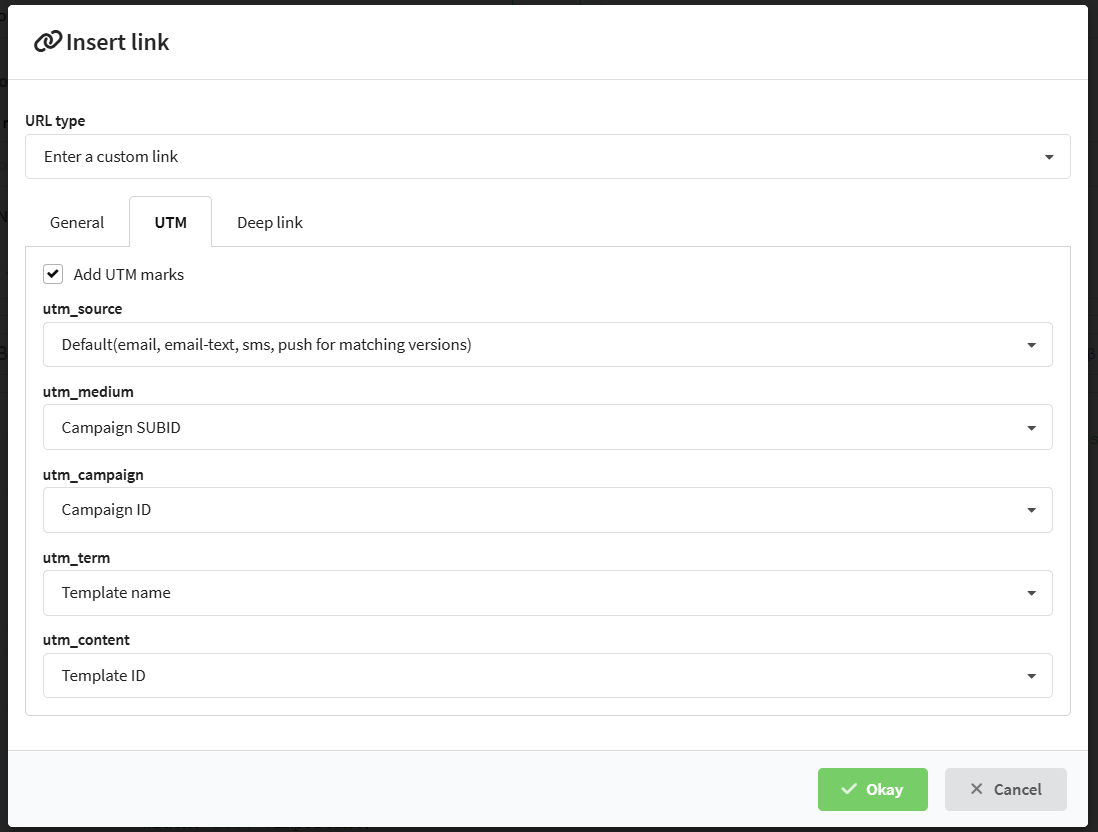
UTM marks
For each individual link in the email, you can override the UTM tags. To do this, go to the UTM tab and activate the Add UTM marks.
Variables can be used as labels, such as the name of the campaign or databases.
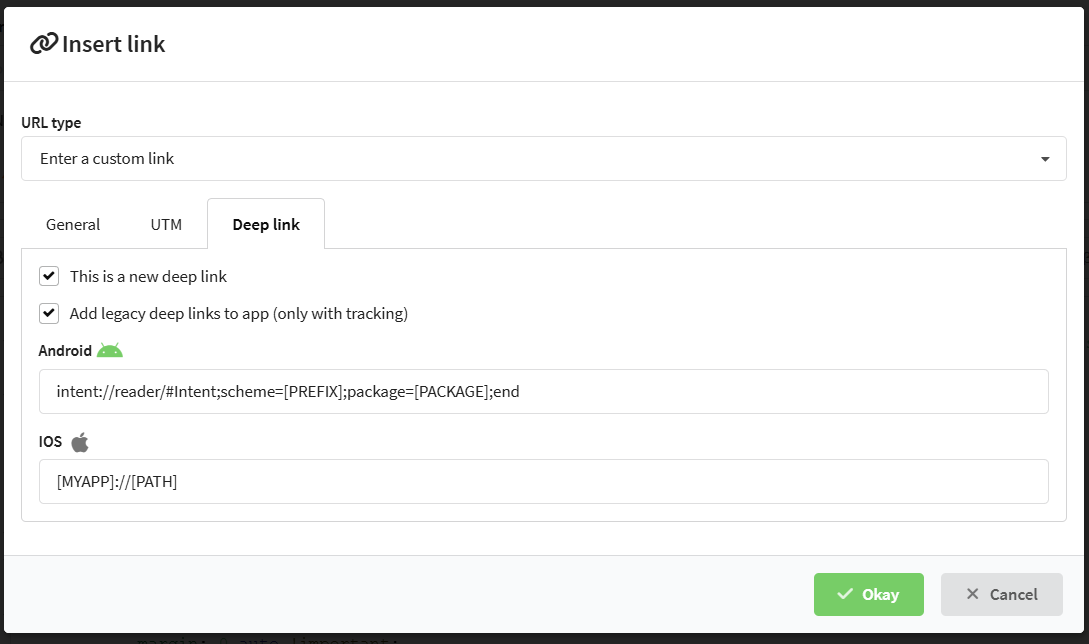
Deep link
If you want to use a link in the email to go to the mobile application, activate the option This is a new deep link on the corresponding tab.
To specify different links for Android and iOS platforms, add legacy deep links. Please note that such links can only be added using tracking.
Email attachments
To attach a file to an email, use the form at the bottom of the editor. There are two options:
- Upload a file to the platform from your computer:

- Select the storage directory of the file on the server on which the platform is installed. You can use client profile variables in the directory path. Enter the file location and click Add:

You can delete downloaded files and saved file paths by clicking on the cross on the right side of the file:
Web-version of email
The web version of email is the version of the email message that the user can view as a web page in the browser in case of incorrect display in mail services. Web versions increase the chances that your message will be viewed even with unexpected mail client errors. Also, the presence of a link to the web version allows you to quickly and conveniently share a letter if necessary.
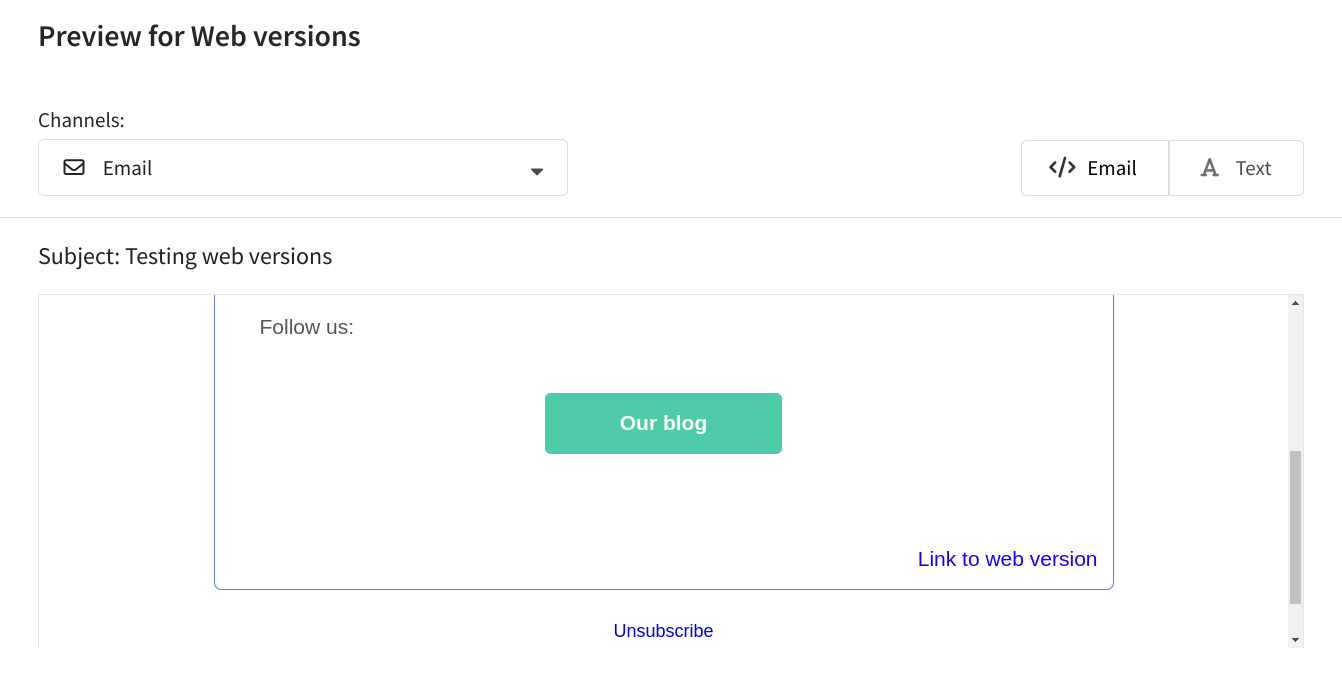
You can add a link to the web version through the link builder or manually:
<a href="{webversion}" title="Web version of the email" name="web_version"> Open an email in a browser</a>
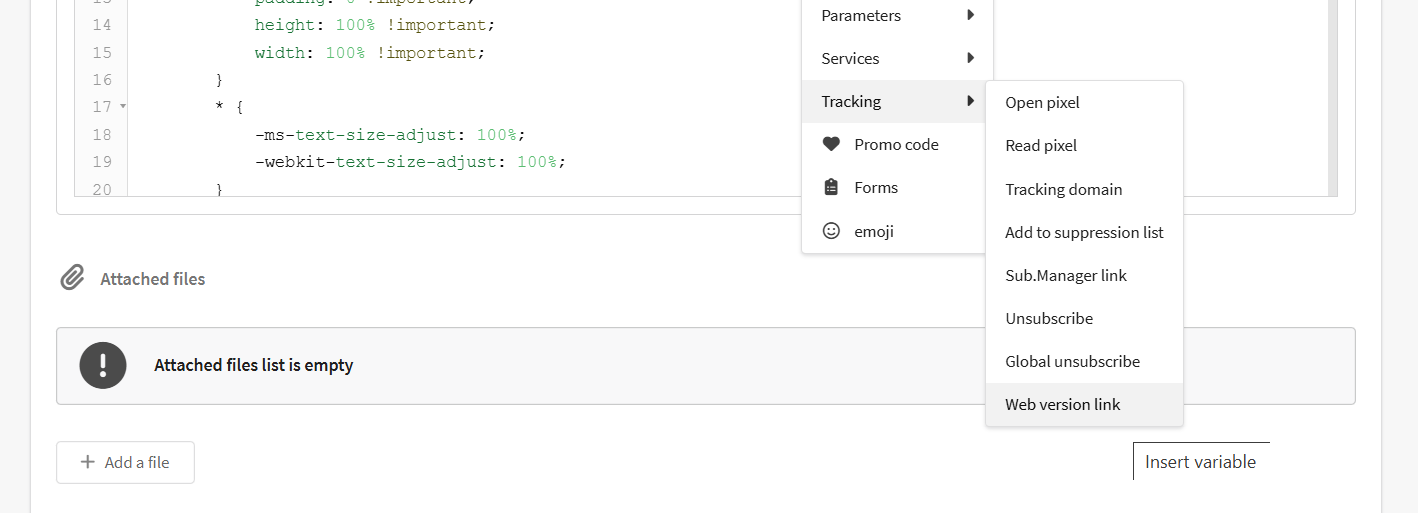
It is also possible to add a link through the variables menu. Open it by clicking </> on the toolbar. Select Tracking — Web version link:
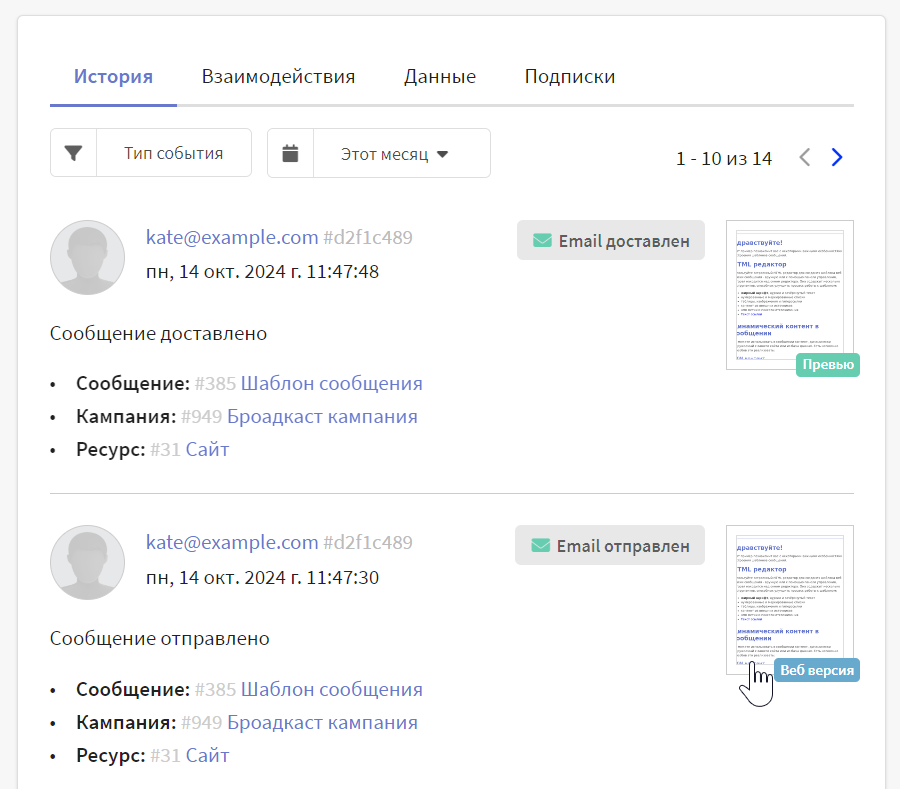
You can view the web version of the email sent to the client in profile history. By default, the web version is stored for 30 days. The platform administrator can change the retention period in the account settings.
The link to the web version does not open in preview mode and when sending a test email. The web version is generated only for sent messages. To check the link, send an email to the test subscriber via the broadcast.
By default, saving web versions is disabled in the account. To activate this feature, the platform administrator must configure the web version policy. After that, links will appear in the profile history to view the web versions of the sent messages.
If a link to the web version is not included in the email template, the web version of the email will not be saved. However, the administrator can modify this setting by enabling the Always save email web versions option in the account settings.