Tutorial: My First Email Campaign
 | This tutorial will help you to create and launch your Email campaign from scratch: from setting up the sending domain to viewing campaign statistics. Email remains one of the most effective marketing communications with customers. You can send more content to your subscribers by using email channel than by using other channels: images, links to various products and services, interactive elements that attract attention and increase customer engagement. Altcraft Marketing monitors the actions of subscribers in an Email message, such as opening, reading, clicking on a link. |
Step 1: Configure Email Sender
Altcraft Marketing platform sends email using SMTP protocol. This is the reason why we have developed our own transport module AKMTA (Altcraft Mail Transfer Agent), which allows you to optimize the delivery of letters. Even if the mailing audience is tens of millions of recipients!
Sending and tracking domains
You need the sending domain to send email messages. The domain will be used in the sender's address (from email), which the recipients see in the mail client. Using SPF and DKIM technologies, the domain is connected to the SMTP sender, which prevents your mailings from being spoofed.
You need the tracking domain to track email messages. This can be a subdomain of your main domain, or a separate domain. Clicks on links in the message are redirected to the tracking domain — this is how the platform tracks clicks. In addition, through it images are loaded into messages for registering letter openings.
When you have purchased a domain — on the side of the domain name registrar that provided it, you need to make configuration records to ensure efficient delivery.
Custom domain settings are described in another article. If you use an Altcraft Marketing cloud account, please give the information to the support team at team@altcraft.com.
When installing the platform on your equipment, contact us and we will help you set up the sending infrastructure.
Installing transport module AKMTA
If you use a cloud service, we provide our own sending infrastructure with all the necessary settings. The only thing you need to start sending is your configured domain (see the previous point).
If the Altcraft Marketing platform is installed on your equipment (On-Premise), you can configure one or several sending servers with AKMTA transport modules. In the platform administrative panel, you need to configure:
- Nodes are network dispatch nodes. The module uses the sending IP addresses available to you.
- Senders are configuration records that combine parameters for sender identification, sending speed, and settings for the sender's behavior in case of sending errors.
- Virtual senders are the rules for sending from multiple senders. Can be configured both in the Administration Panel and in the User Interface.
Step 2: Subscribe customers to the Email channel
Profiles Databases
Altcraft Marketing emails are received by your subscribers. Subscriber profiles are stored in profiles databases.
Each customer profile has a system field "Email": it is used to identify profiles and in cases where your customers only have one email address.
If you are using different contact information for the same customer or submitting messages with different content - set up multiple subscription resources.
When you create a database, it's necessary to enter the sender's email (from name). On his behalf, the sending will be made without using resources. Enter the sending address in the corresponding field and don't forget to enter the sender's name (from name). If it's necessary, specify the data for response to the letter (Reply-to name & Reply-to email):
Subscription resources
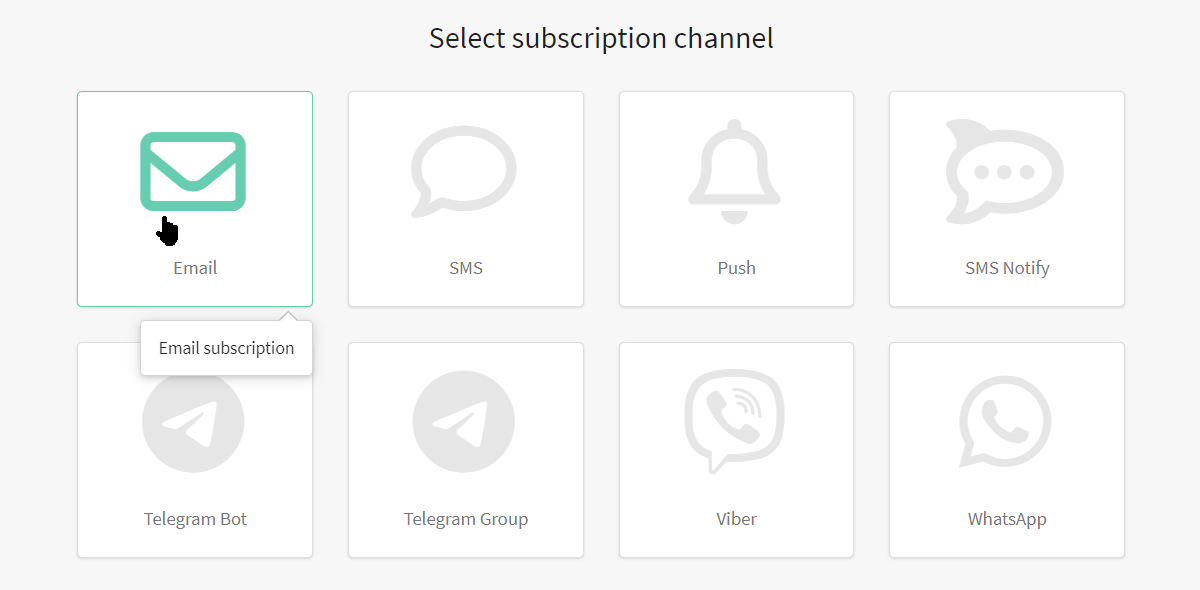
Each client profile can be subscribed to one or more resources. What can be a resource? A specific marketing area, a site, an application, or the type of content. Select the corresponding item in the main menu, then create a new resource or select an existing one. Select an Email channel for a new resource:
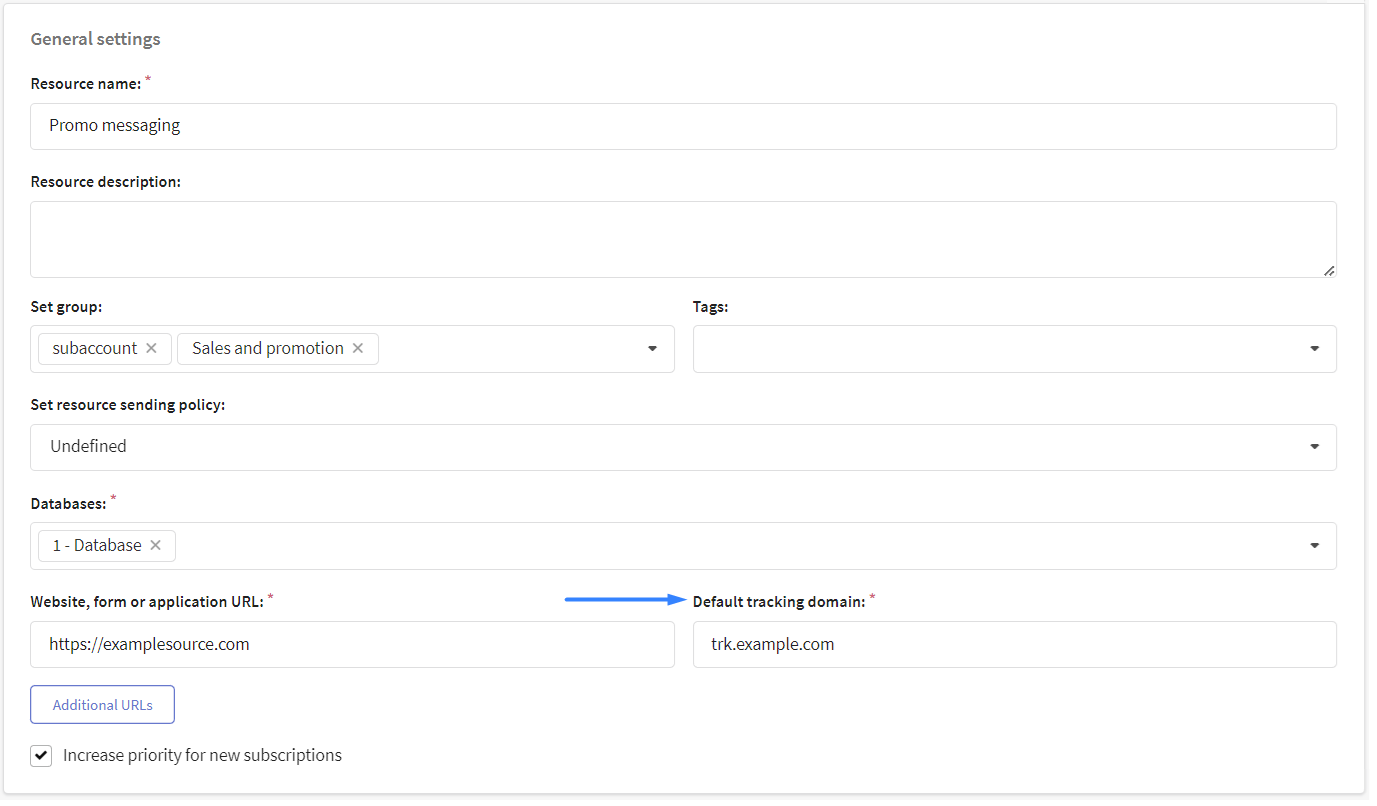
In the general settings, add the necessary databases. If it's necessary, assign a sending policy and specify the Default tracking domain configured earlier:
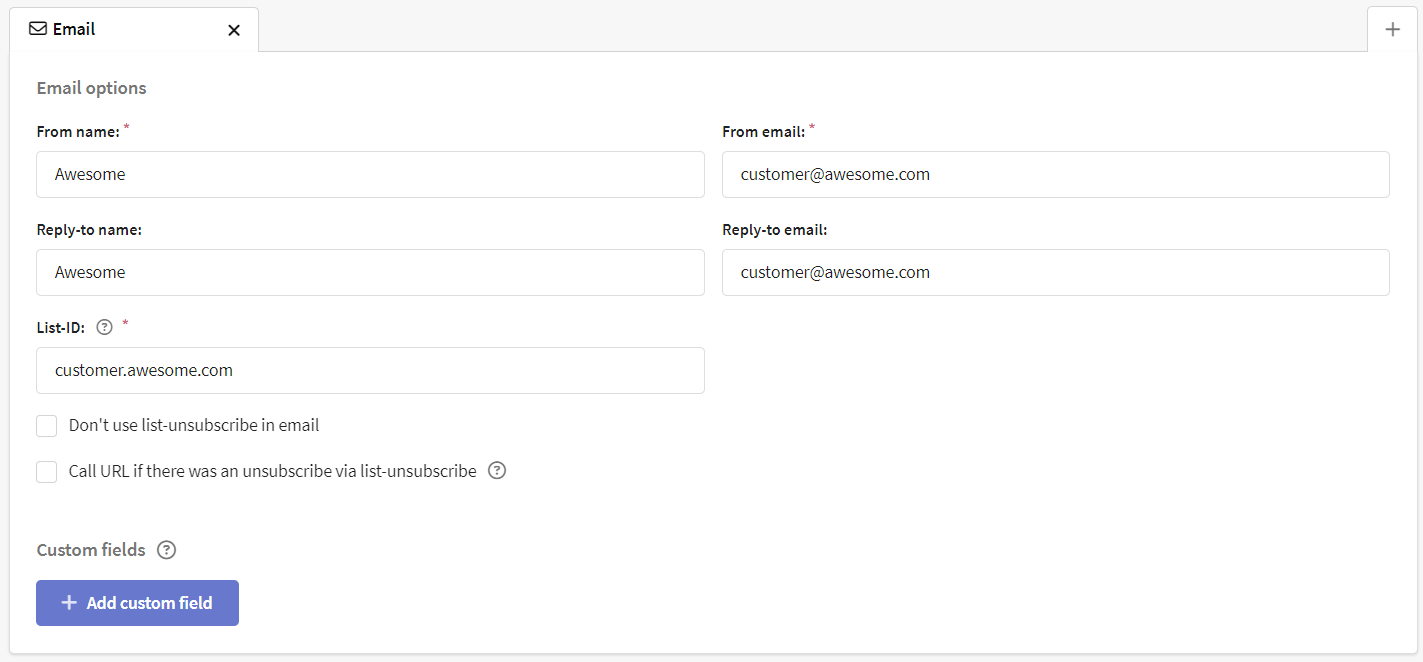
In the Email options of the resource channel, specify the name and email of the sender (From name & From email).If it's necessary, enter the name and address for receiving responses. These settings will override database settings before sending.

Customer profiles and subscription to the resource
So, we've just configured the profiles database and subscription resource. Now it's time to import customer data into the platform. For each client, Altcraft Marketing creates a single digital profile that includes personal data, history of actions and subscriptions to your resources.
You can upload customer data manually: one at a time, in a list, or from a table file. Different import methods are described in this article.
You can also set up automatic import of client profiles:
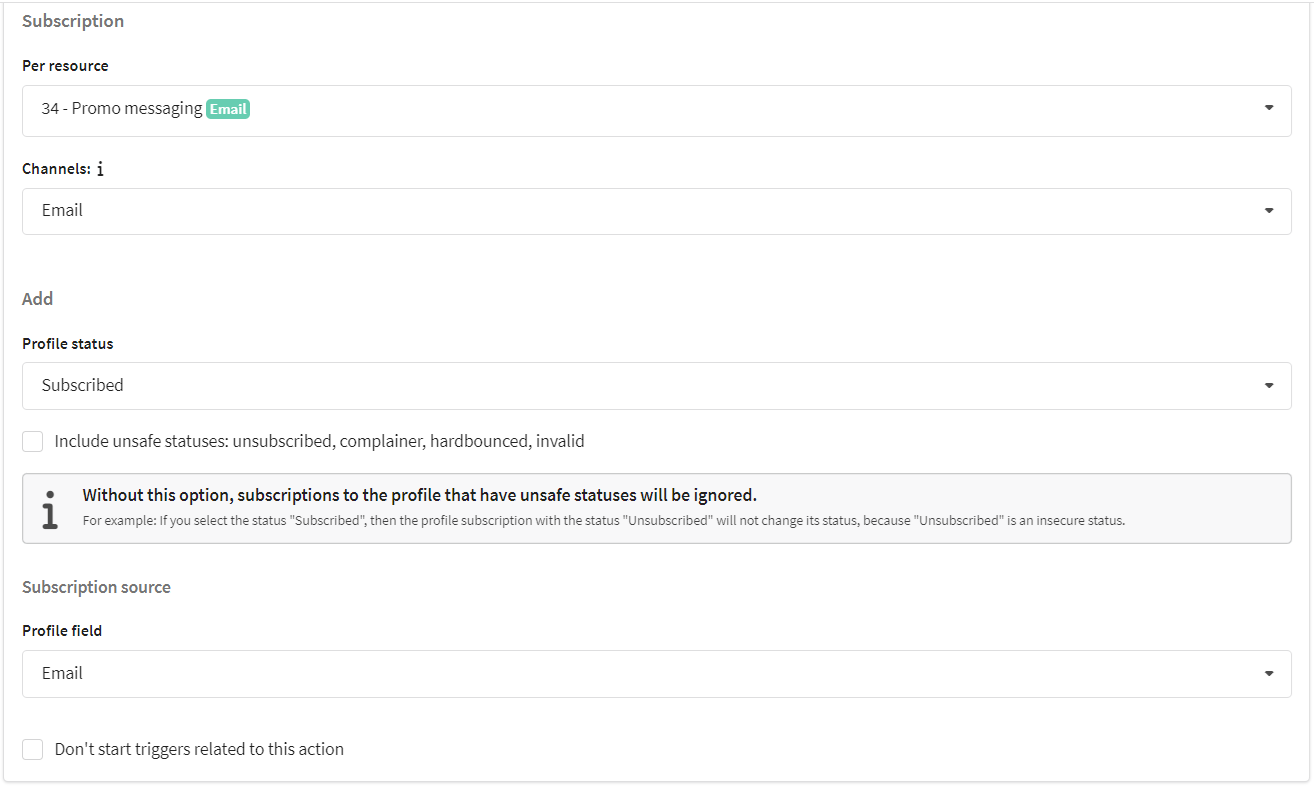
When you import data, sign clients to the previously prepared resource. Select Email as the communication channel and specify the column with subscribers' addresses:
If you already have a profiles database, add them a subscription to a new resource. There are two options:
- if customers have subscriptions to another resource with up-to-date email addresses — use bulk profile update
- if you need to upload to the platform email addresses for subscription, use the profile import in the "update only" mode
Step 3: Prepare content for submission
The content for your Email campaigns is created in Message Templates. The templates contain content for all available channels. When you create a new template, select the Email channel or add it for an existing one.
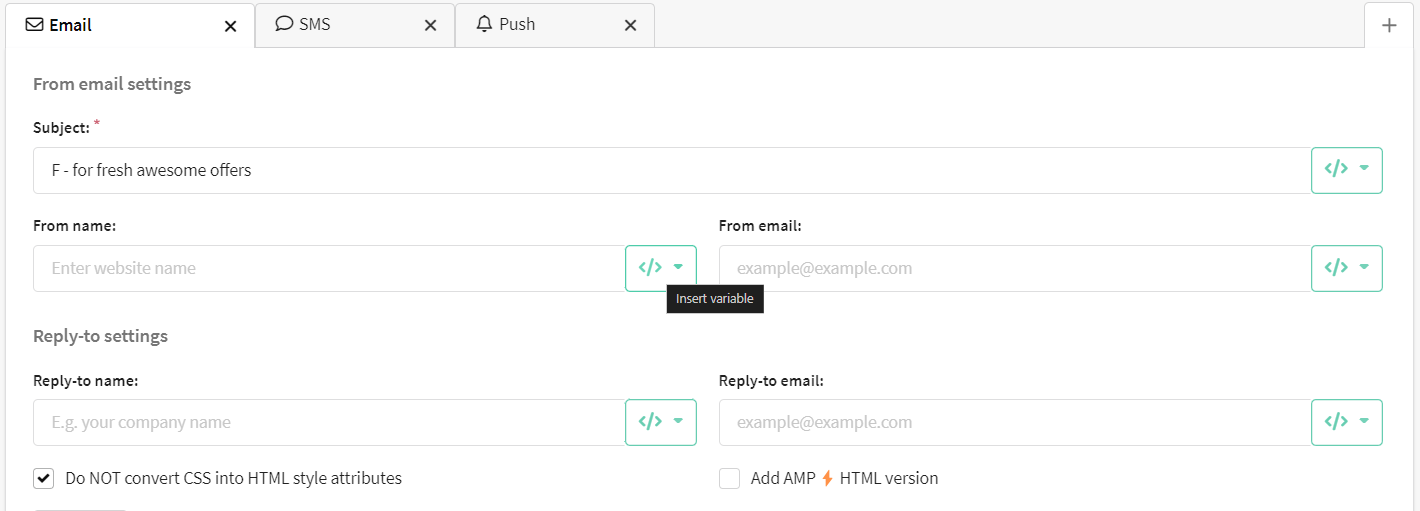
For the Email version of the template, you can set a Subject — it will be displayed in the correspondence. You can also enter the name and the address of the sender (From name & From email).The settings in the template will override the settings of both the resource and the database.
Templates in Altcraft Marketing offer many options for personalizing content for a specific recipient. Different types of variables, boolean expressions, loops, functions and dynamic content from various external sources — all this can be used to personalize content.
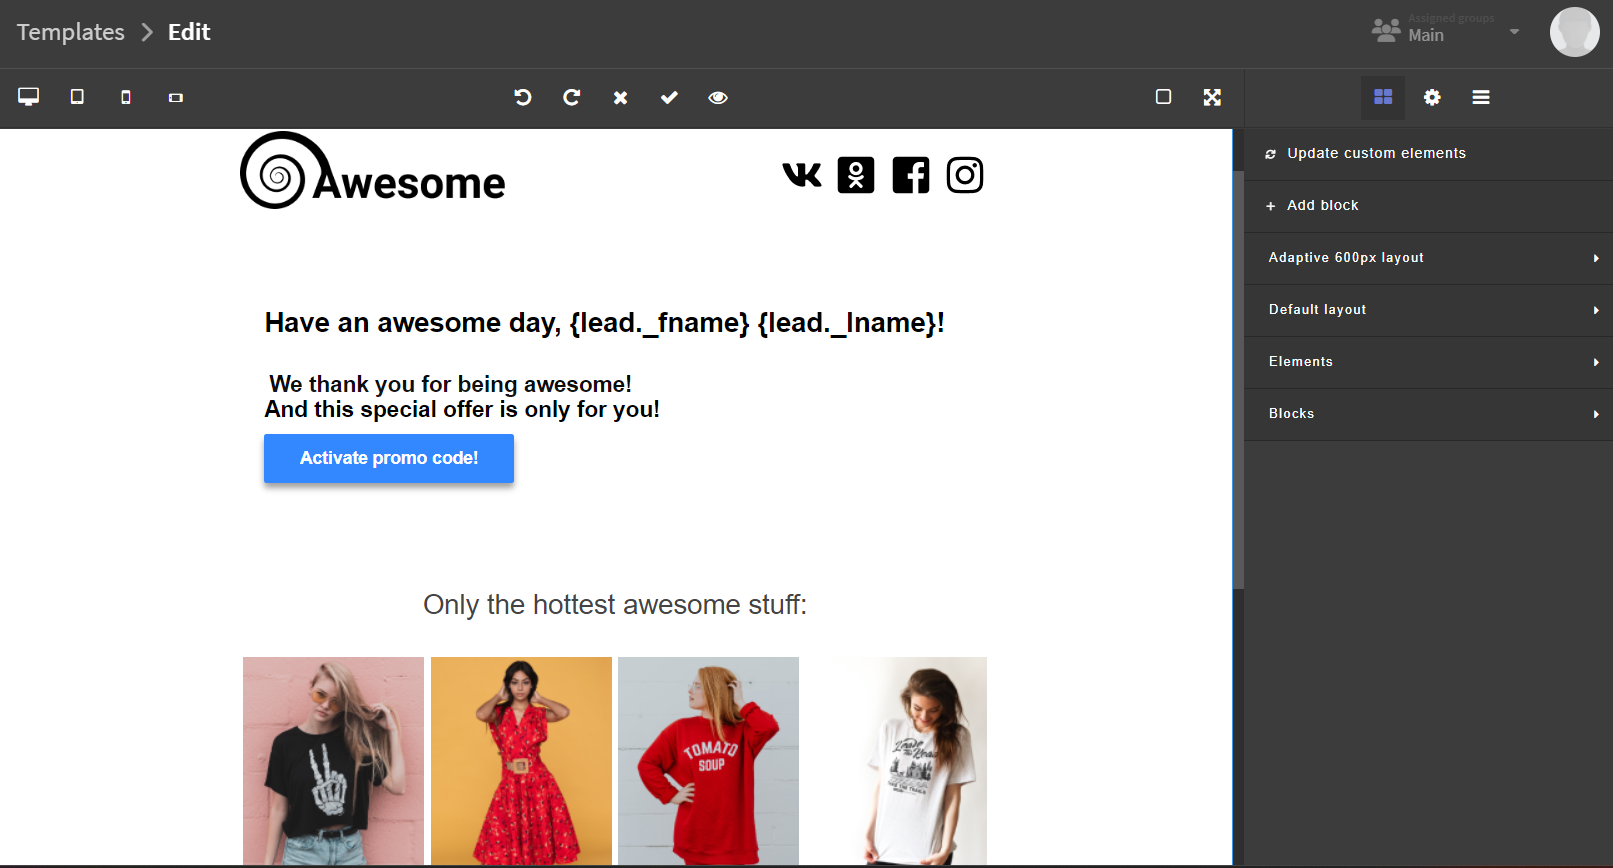
Use the HTML code editor or the Visual editor to create email templates:
Some of your subscribers may use a mail client in which it is not available to upload images, for example, according to corporate policy. For such cases, the template has a Text version.
The text version is sent along with the HTML version of the letter. If it is not filled out — or does not match HTML — it could have a slightly negative impact on the sender's reputation.
So it's better to have the text version. This way, the indicators of confidence in the mailing will significantly increase.
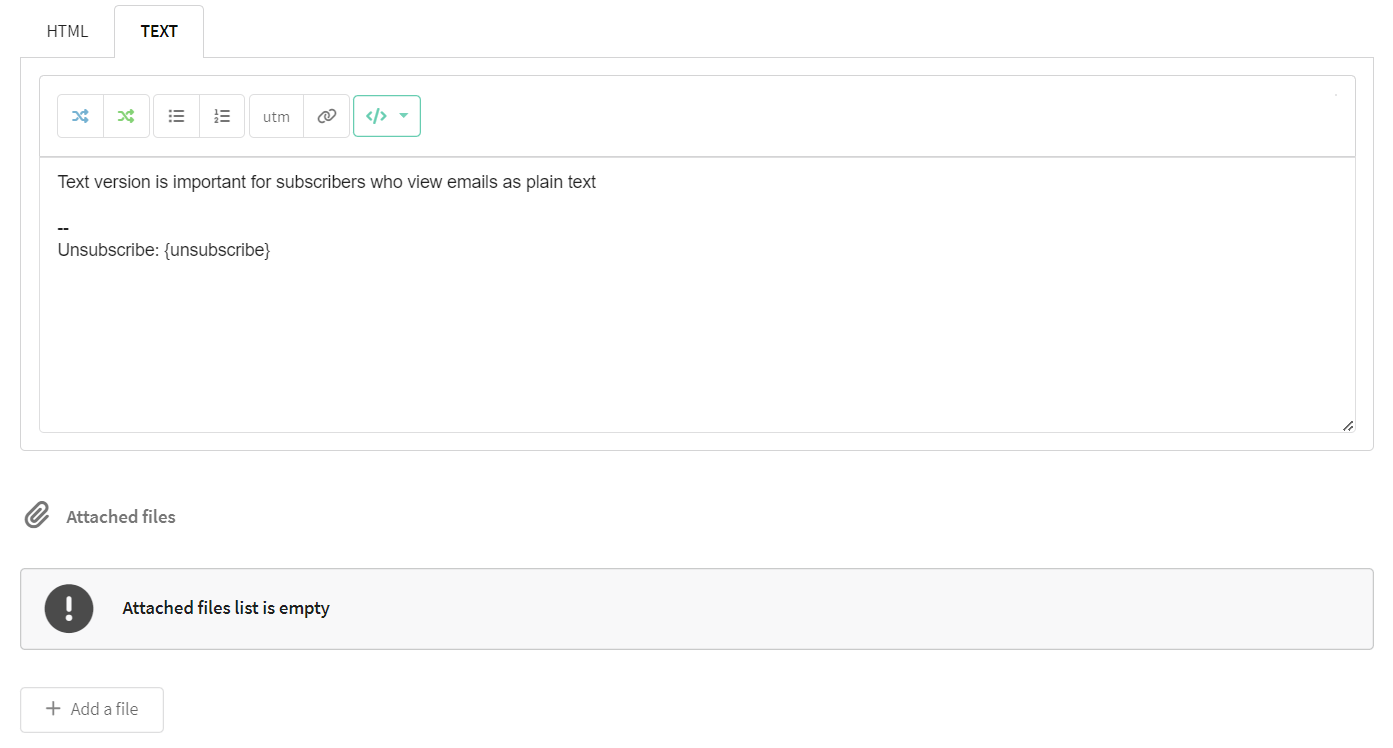
Below the editor of the text version is a form you can use to attach files in any format to the message.
Step 4: Select the type of email campaign
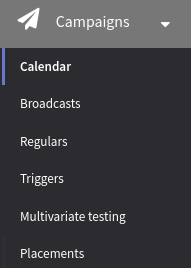 | If you want to send an Email message, you need to use such a tool as a Campaign Do you want to send out a one-time mailing to all profiles of the database or to the audience of the specific segment? Choose Broadcasts. If the mailing is periodic, your choice is a Regular campaign. In the main menu select Campaign and open Calendar. This is where you'll find all scheduled mailings. |
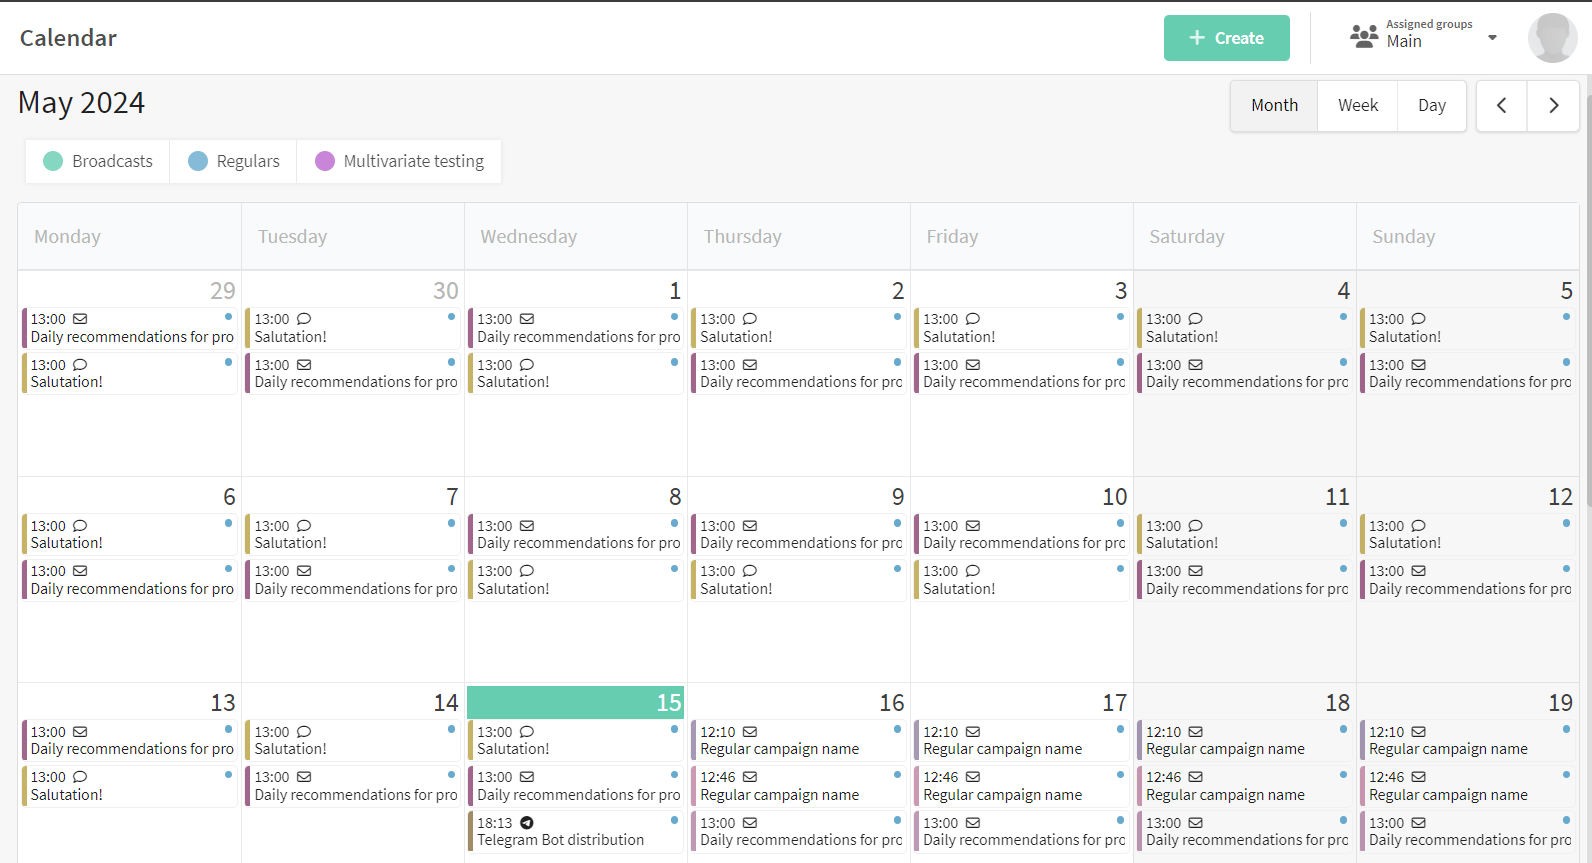
Decide on a date and create a campaign of the required type:

You can find details about how to set up Broadcast on this page.
You can find details about how to set up Regular campaign on this page.
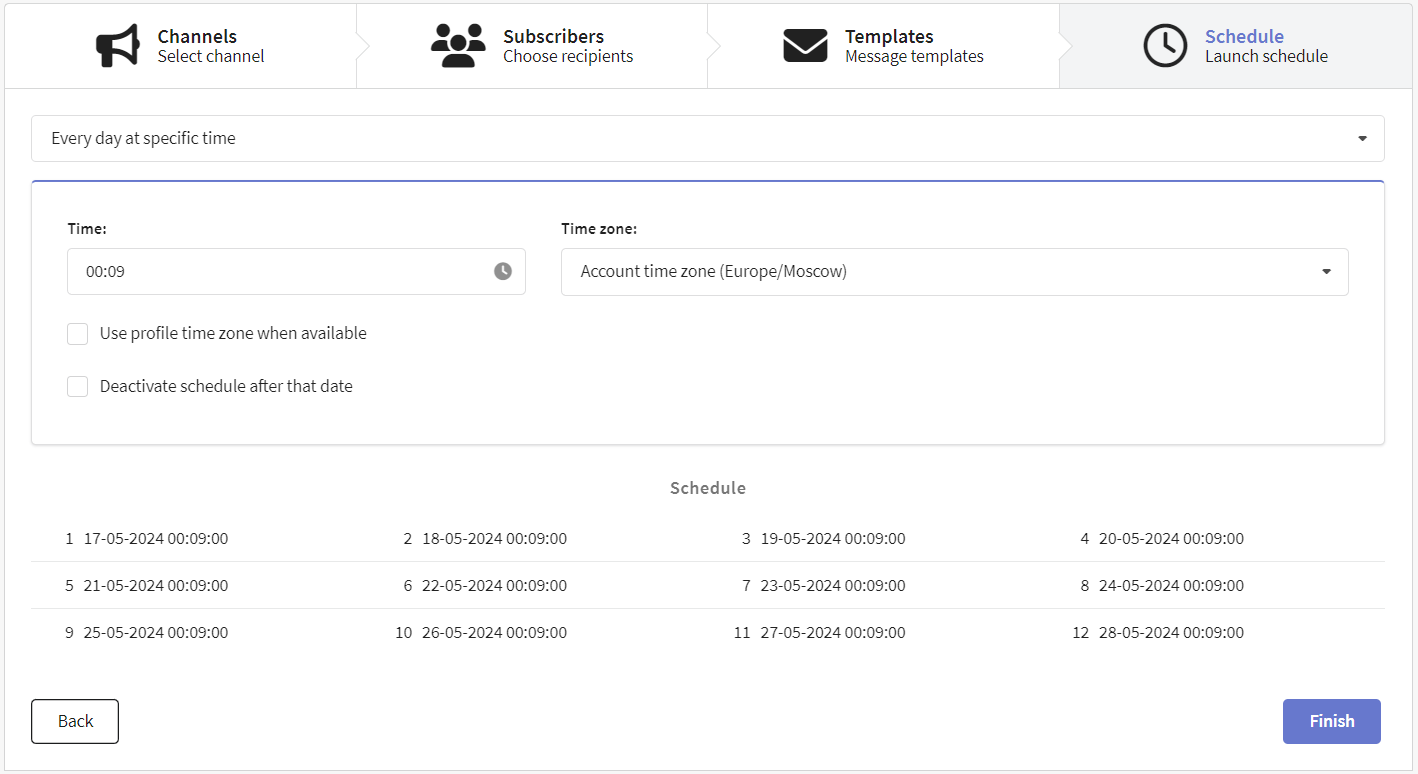
Once you're done with the general campaign settings, you need to:
- Select Email as the communication channel;
- Select the subscription resource you've just configured and the audience of recipients;
- Add a message template to your message;
- Set a schedule. For example, for a broadcast the option "On specific date at specific time" is available
Once the campaign is set up, save it. Later you can find it in the list of campaigns of the corresponding type. There is a quick action menu on the right side of each campaign. Use it to test the campaign — and if everything is successful, activate it:
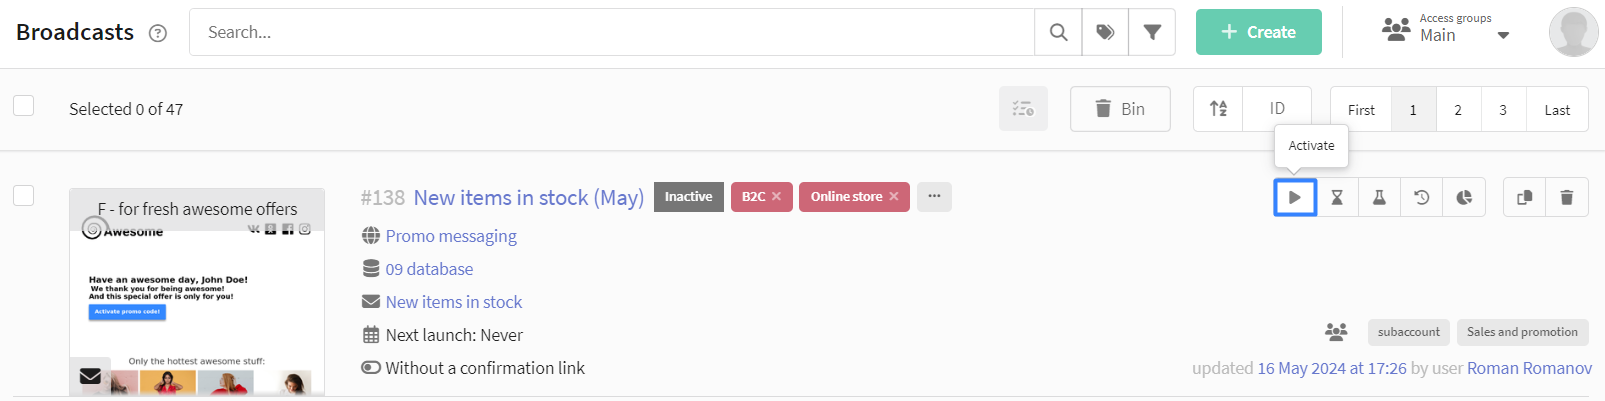
The active campaign will start sending emails as soon as it will be time to launch as scheduled. Messages are sent to the sender. You can also open the sender queue from the quick action menu.
The sending speed depends on the reputation of the sender's domain.
Step 5: Assess the effectiveness of the email campaign
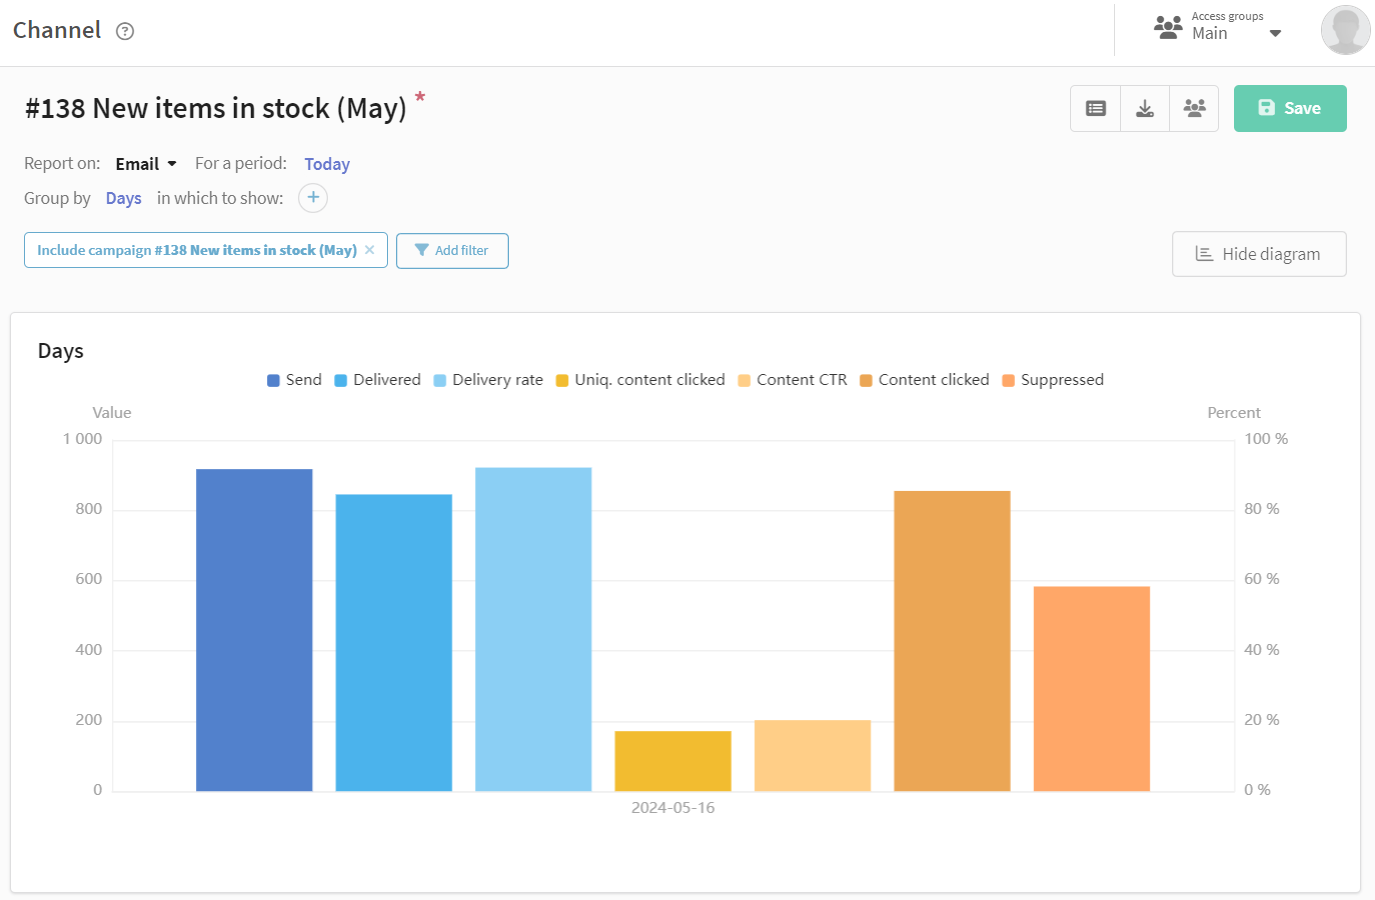
Do you want to assess the effectiveness of your email campaigns? Go to the section Analytics in the main menu of the platform.
The channel report provides analytics for one or several campaigns, for one or several communication channels. For the convenience of grouping, you can select a preset of indicators for Email:
You can group the report by domain group of recipients to analyze the effectiveness of message delivery to email boxes of different providers:
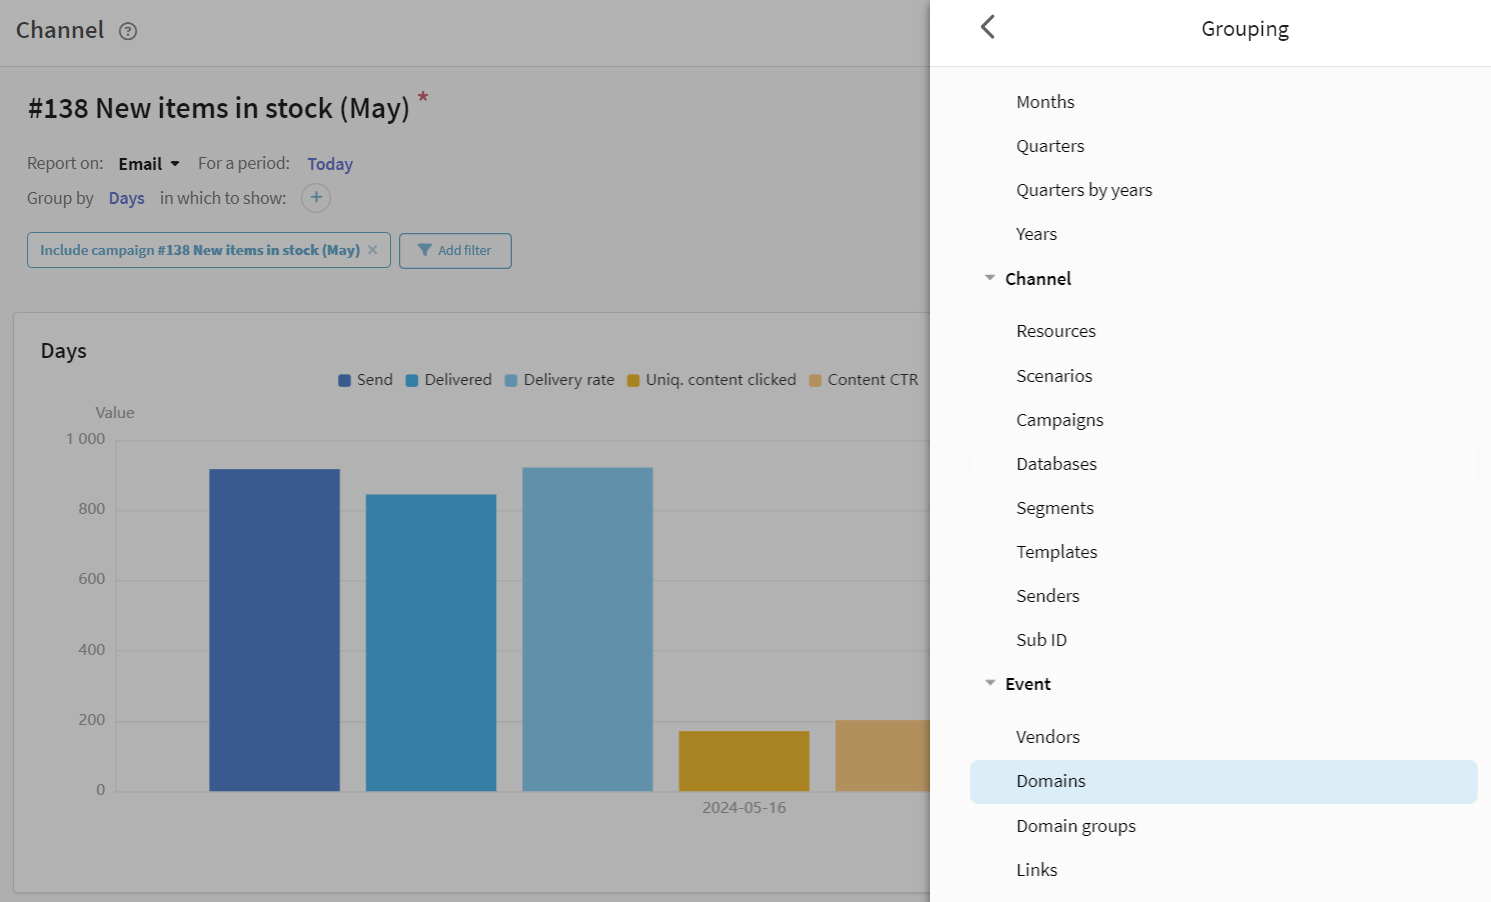
You'll see information on providers in the table below the graph:

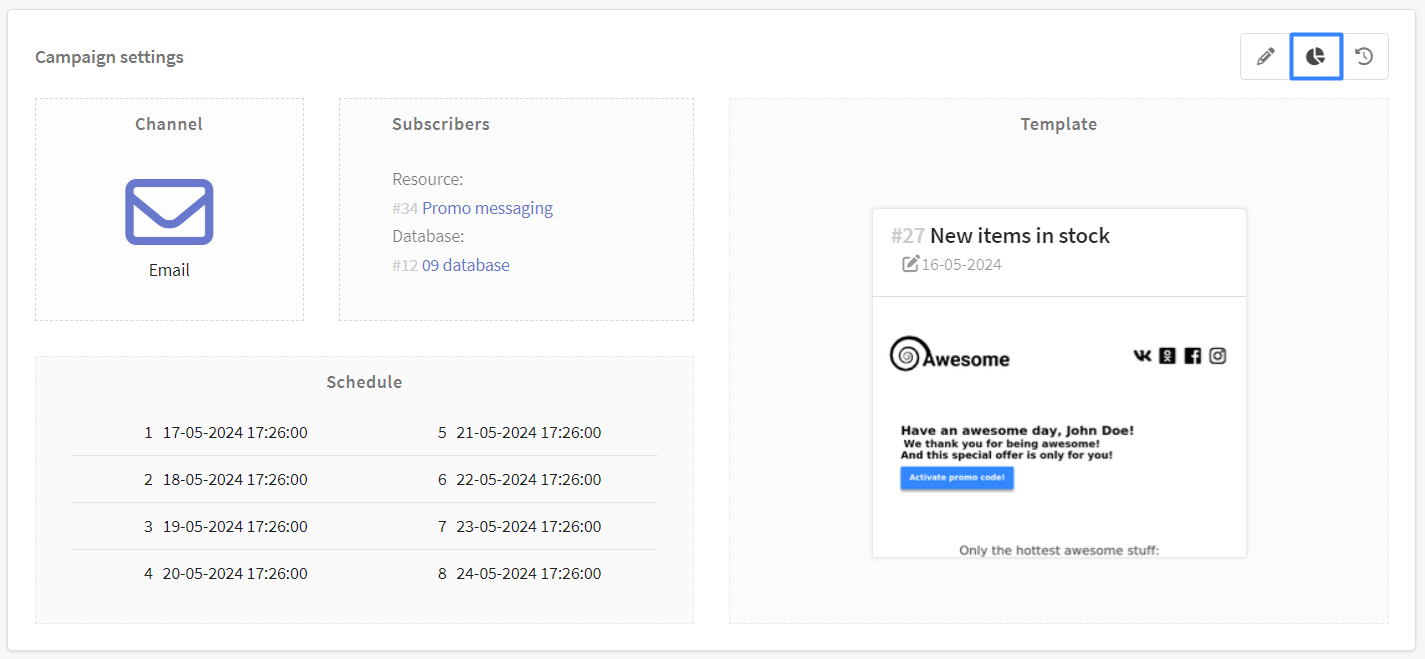
You can also go to the channel report for a specific campaign by following the link in the campaign editor:
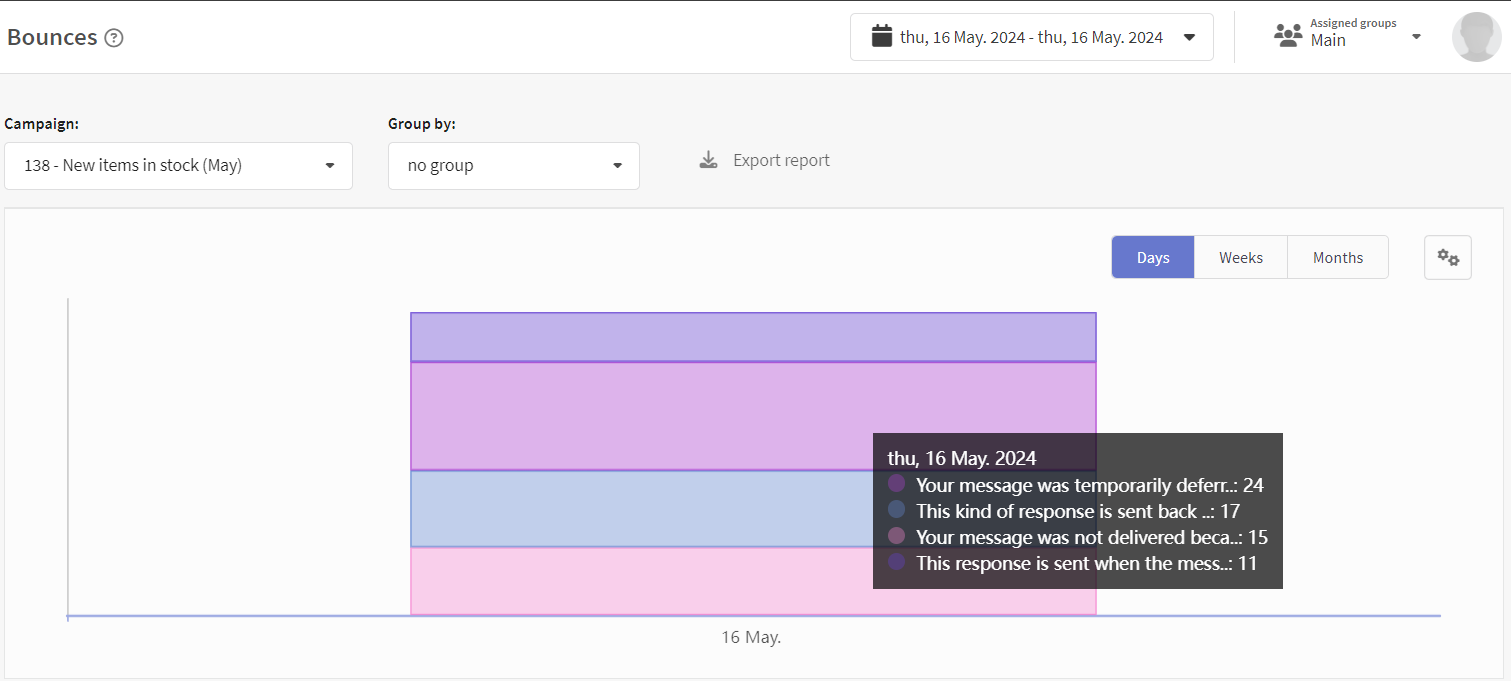
To analyze the problems of email message delivery, use Bounces and Undeliveries reports:
Actions in the Email campaign or in the template can turn into steps in the interactive conversion funnel:

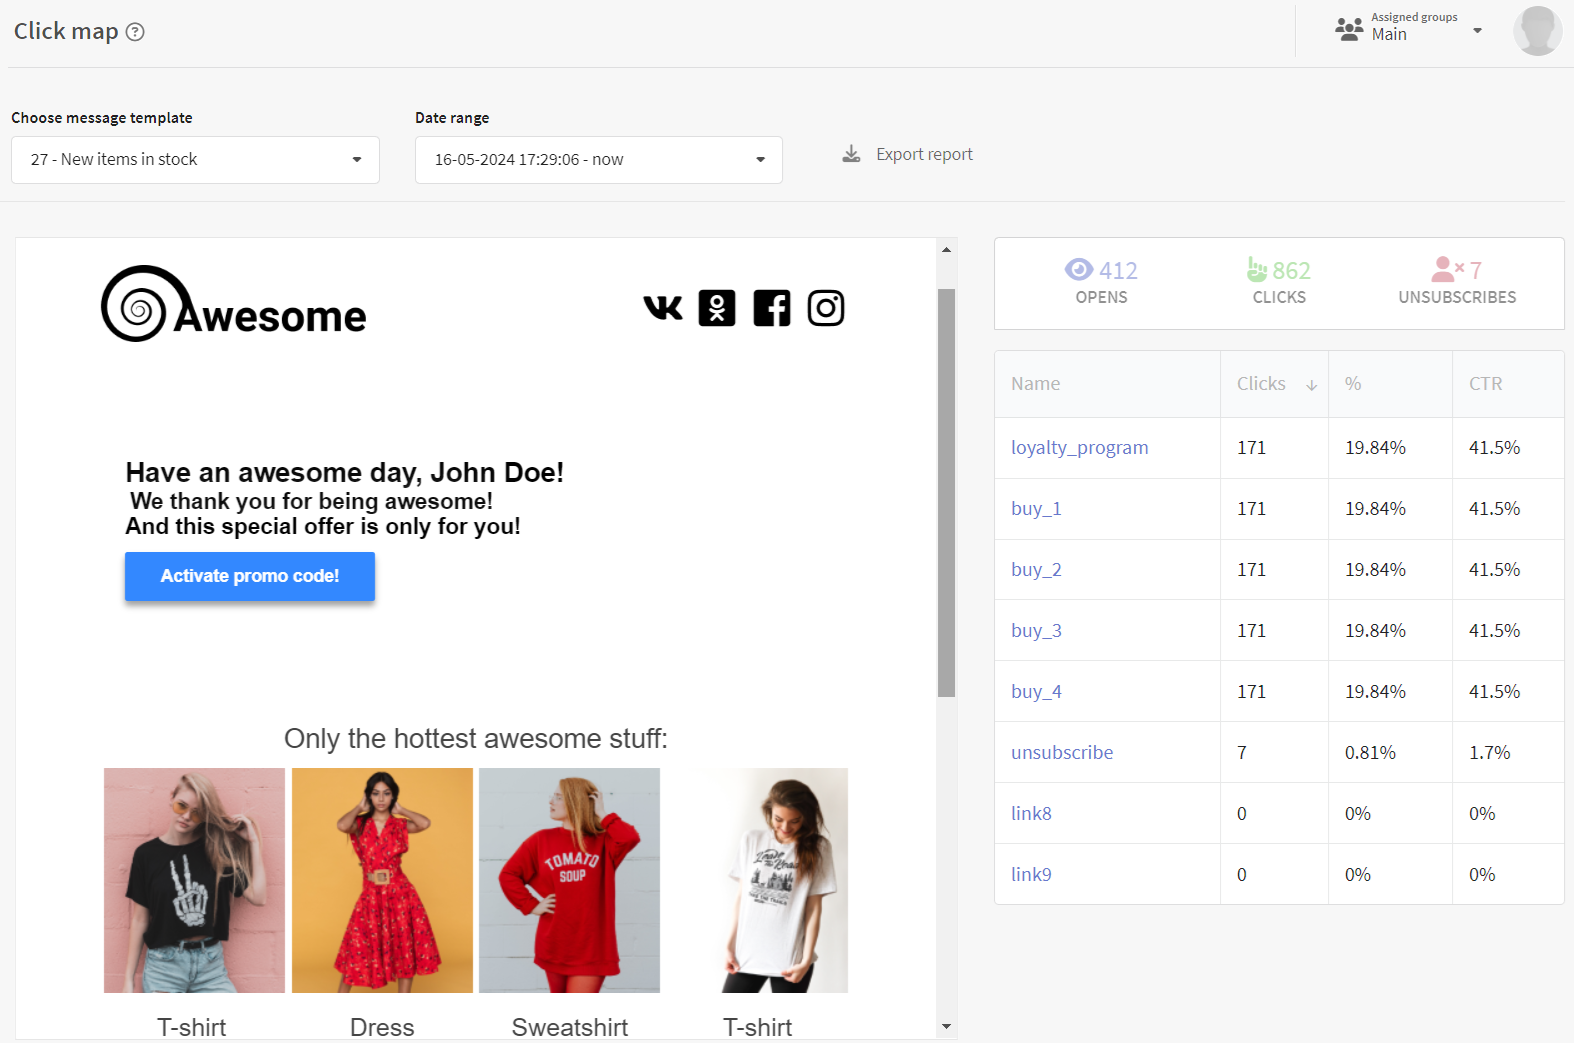
Another kind of report that is available for email messages is Click map. Click map is compiled for templates that includes an Email version. This template must be sent at least once.
When you make changes to the template and send again, a new version of the click map is created. It allows you to evaluate the dynamics of subscriber behavior: