Create a form
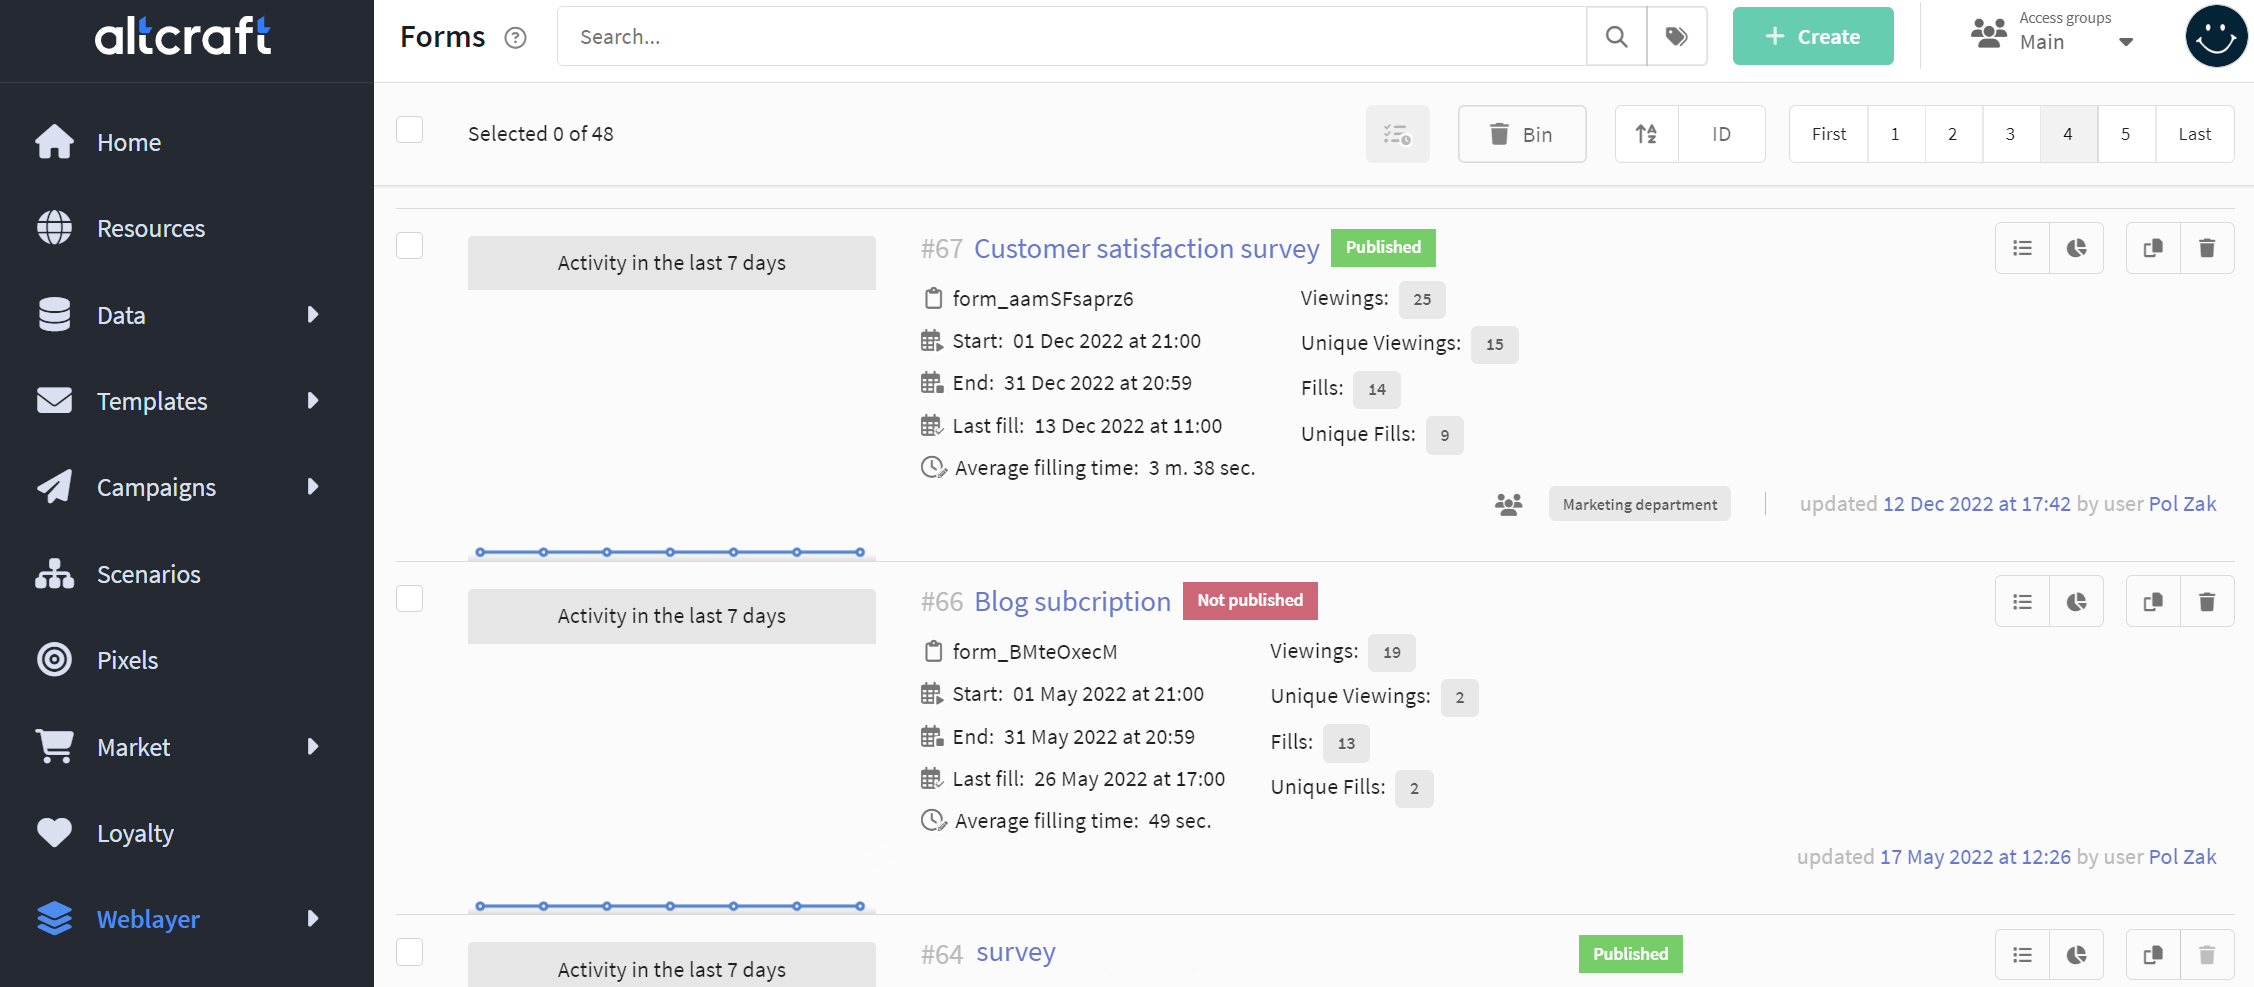
If you want to create a form, go the "Forms" section in the main menu and click on the button "Create".
General settings
The first tab is General. The available settings are name, description, identifier, and language. You can set access groups and assign tags for the form.
To make the form accessible via URL or as an iframe element, you need to activate the "Published" switch in the upper right corner. Note that the form cannot be deleted while it is published.
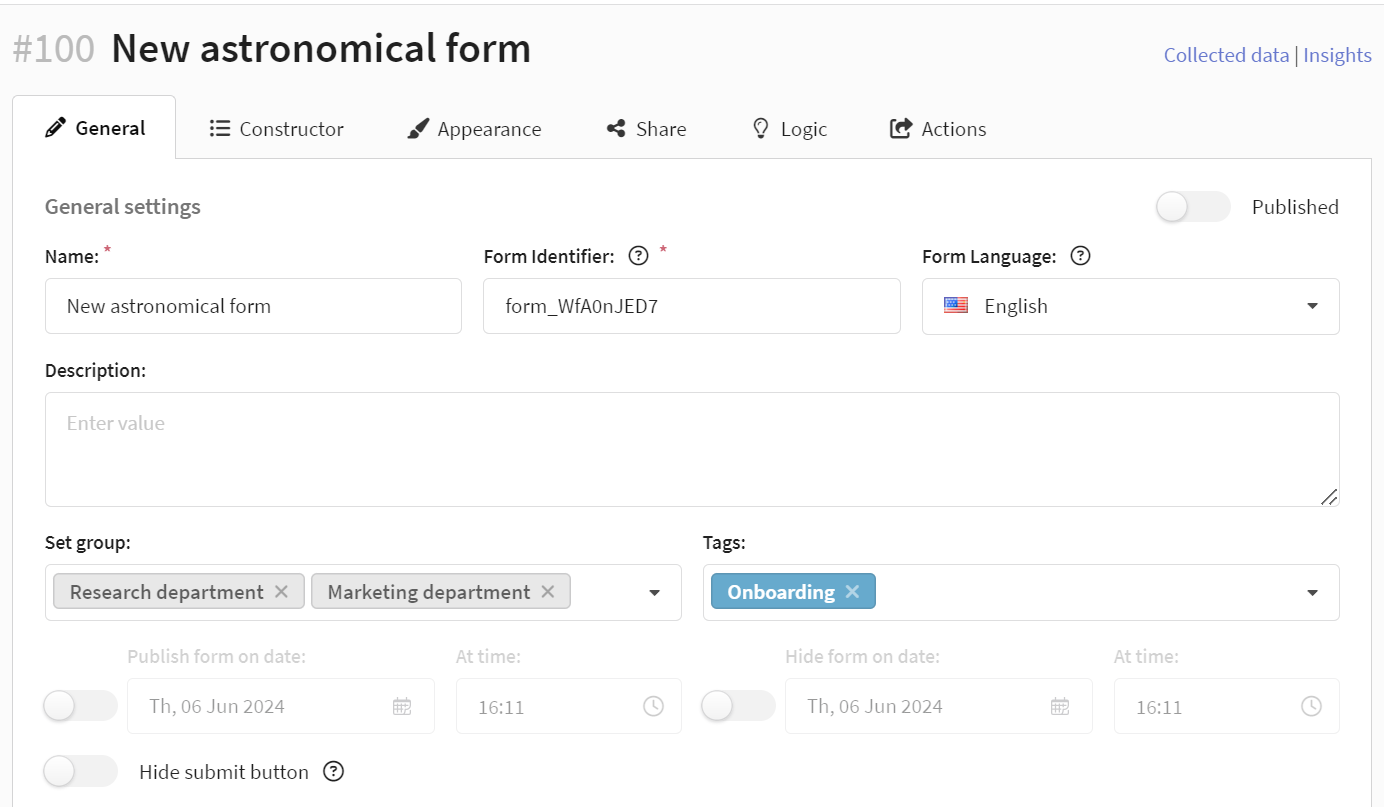
On this tab, you can set the start and end date and time for publishing the form if it is temporary. The form will be available to fill out on the chosen date and time, and it will be unpublished if a hide date is set. The "Published" toggle in the upper right corner should stay inactive. It will update automatically when the set dates come.

When loading the form, the system uses a cache to store it. The duration of the form's storage in the cache is 3 minutes. This may result in a delay in the form's publication of up to 3 minutes after the planned time. Also, the form may stay available for 3 minutes after it is unpublished.
If you do not want to show the "Submit" and "Next" buttons to the user until they have filled in all the required fields on the form page, activate the "Hide submit button" option.
Final page settings
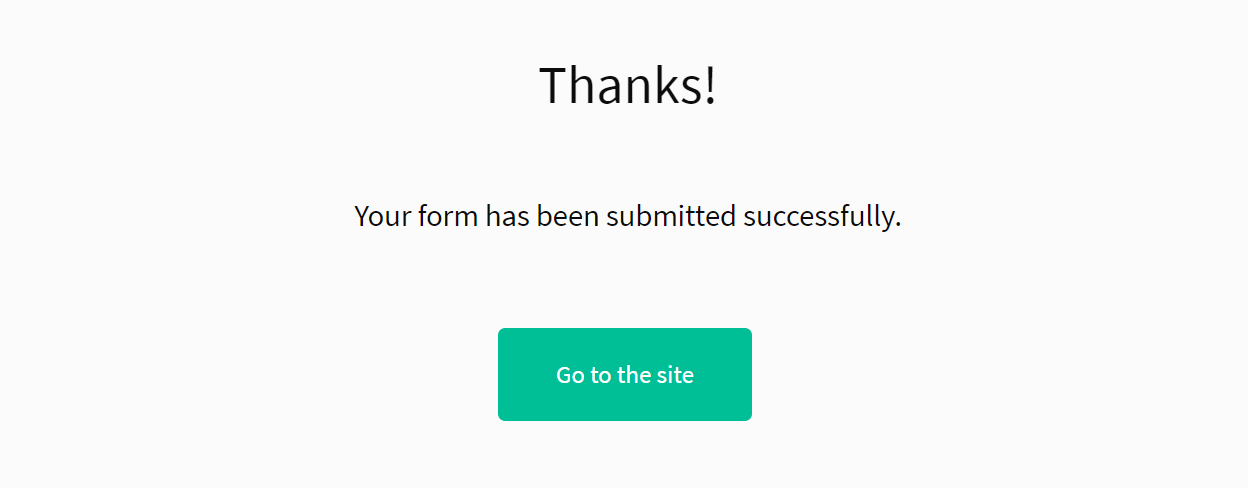
The final page is the page that the user will see after successfully submitting the completed form. By default, the page looks like this:

You can change the Title and Template on this page by filling in the appropriate fields:
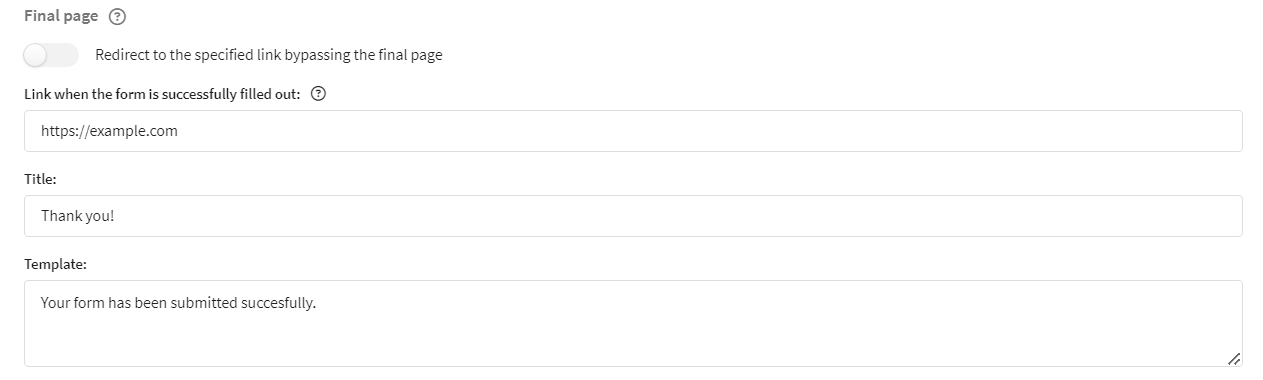
The link when the form is successfully filled out is the link that the user can follow after submitting the form. The link will be displayed as a "Go to the site" button. The button text can be changed in the "Appearance" tab.
If you toggle the "Redirect to the specified link bypassing the final message" switch, the user will be redirected to the specified link right after submitting the form.
Refill restriction
If you want to limit repeat submissions of the form by the same user, activate the switch and set the number of days during which the form submission should be restricted:
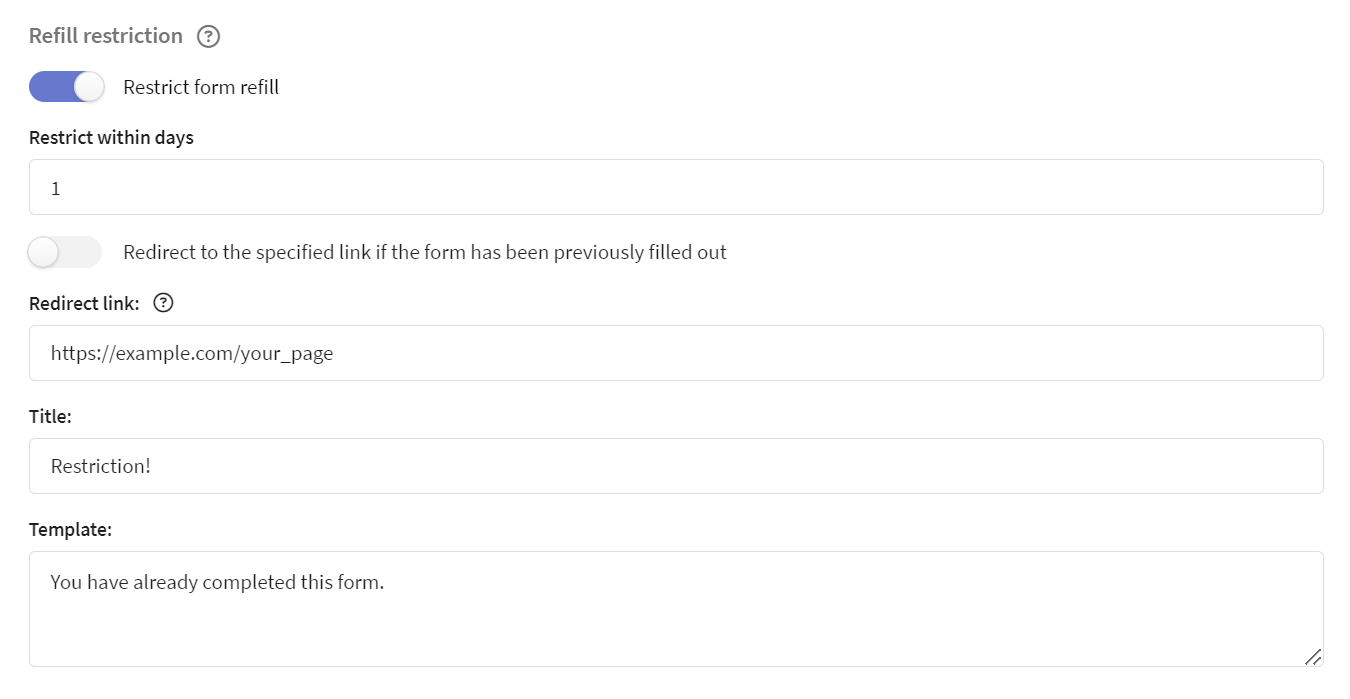
Form submission data is recorded in cookie files. When the user reopens the page with the form, the server reads the data from the cookies and displays a message instead of the form: "Restriction! You have already completed this form." You can change the text of this message by filling in the "Title" and "Template" fields.
You can also provide the user with the option to go to a specific site when attempting to resubmit. To do this, specify a redirect link. In this case, a "Go to the site" button will appear on the warning page. The button text can be changed in the "Appearance" tab.
If you want the user to be immediately redirected to another page upon trying to open an already submitted form, toggle the "Redirect to the specified link if the form has been previously filled out" switch.
Form customization
You can insert additional code in the form: in the <head> tag, after the opening <body> tag, or before the closing </body> tag.
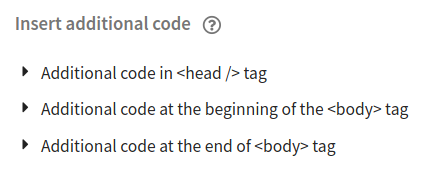
What can the additional code be used for?
- to design a from page;
- to add scripts (for example, analytics scripts or scripts for registering a goal).
In on-premise version of the platform administrators can customize the appearance and behavior of forms (error page, inactive form page, etc.) by modifying template files. More details in admin documentation.