Custom blocks
Save an entire section of the template as a custom block and then use that block over and over again. By the way, you can use it not only in the template where it was created, but also in any other.
What can be custom blocks? Any content that repeats from template to template. For example, the header or footer of a message.
How to create a custom block
Option 1: Add source code
In the right panel of the visual editor, go to the "Add blocks" section. Click "+ Add Block".

Enter source code of the fragment in the pop-up window and save the block.

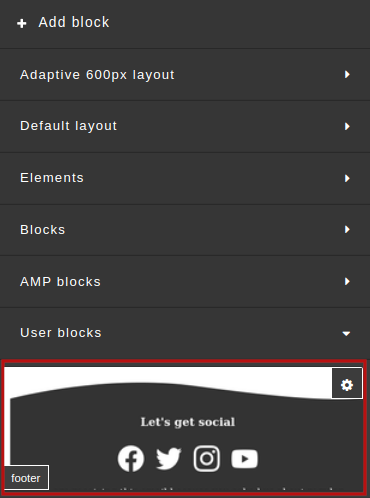
The new custom block will be displayed after all available elements of the visual editor.
Option 2: Save the template container
Select the group of elements you want to save. You can simply hover the cursor over the desired container in the template, or you can use the section "Layer Manager".
After you select the desired section, you'll see the button for calling the menu of container operations —  . Click the floppy disk icon
  to save the block.
The new custom block will be displayed after all available elements of the visual editor.
How to add a custom block
Select a custom block by clicking it, and then drag it to the part of the template you need. Let's get into practice.
Let's say we send emails to customers of the clothing store. Christmas is just around the corner, and we decide to give our subscribers a promotional code for a discount. This is how our template looks like:
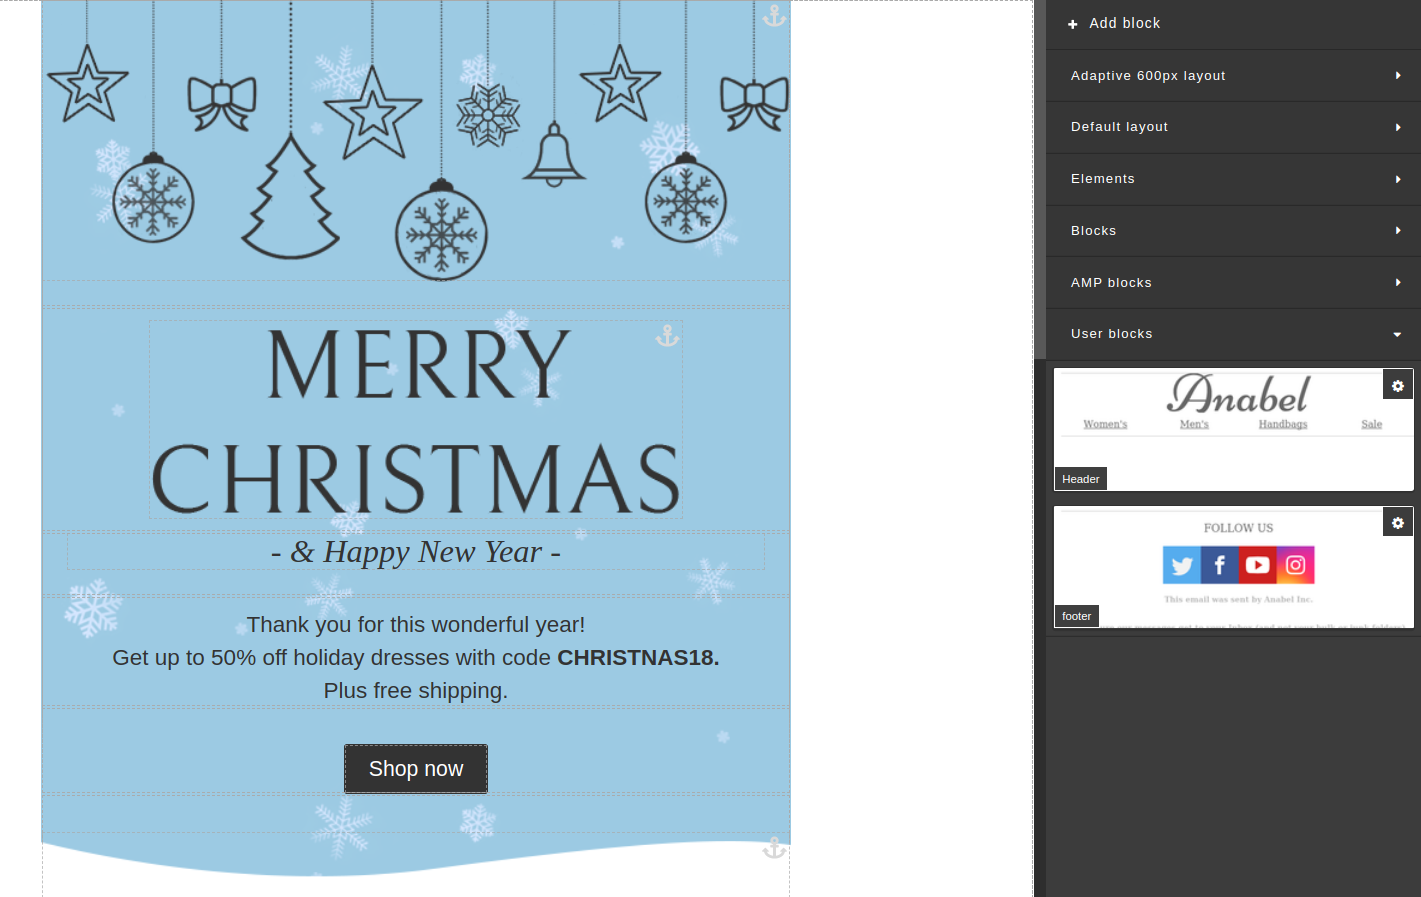
Of course, the main part of the message has changed in compare with usual messages, but the header with the store logo and the footer with our contacts will remain the same as in the daily mailings. Fortunately, we have long since saved these elements as user blocks.
Let's add our custom blocks to the template.
Good job, the template is ready, and we saved a lot of time! ![]()