Block editor for email template
Block editor for email template is a tool for creating, editing and customizing marketing email templates and emails without writing code. It is designed for marketers and designers who want to quickly assemble professional emails with an easy-to-use interface using blocks, visual elements and design customizations.
Detailed instructions, usage examples and tips on how to use the editor are available in a documentation.
Interface and main functions of the editor
In the main menu, open the Templates section and create a new message template. Select Editor → Email.
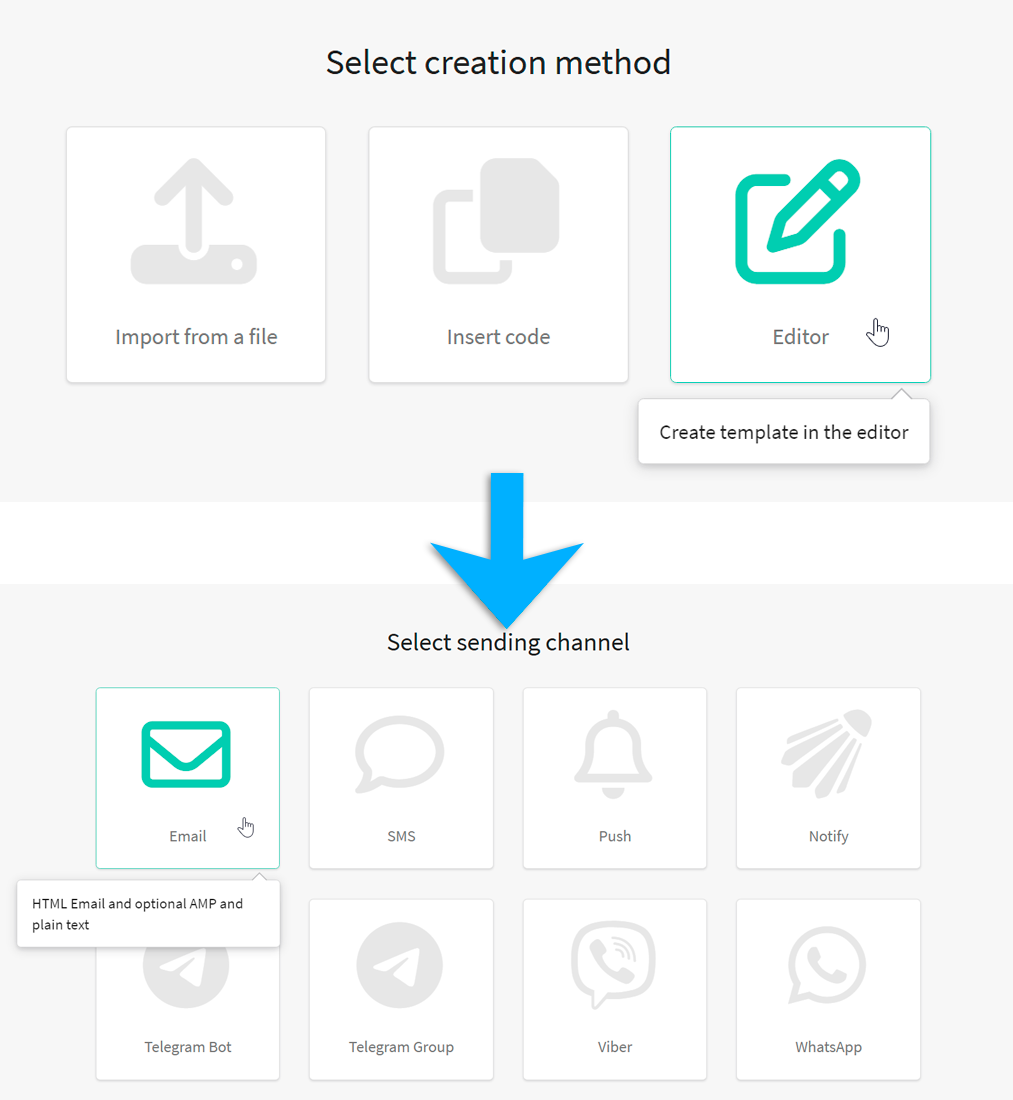
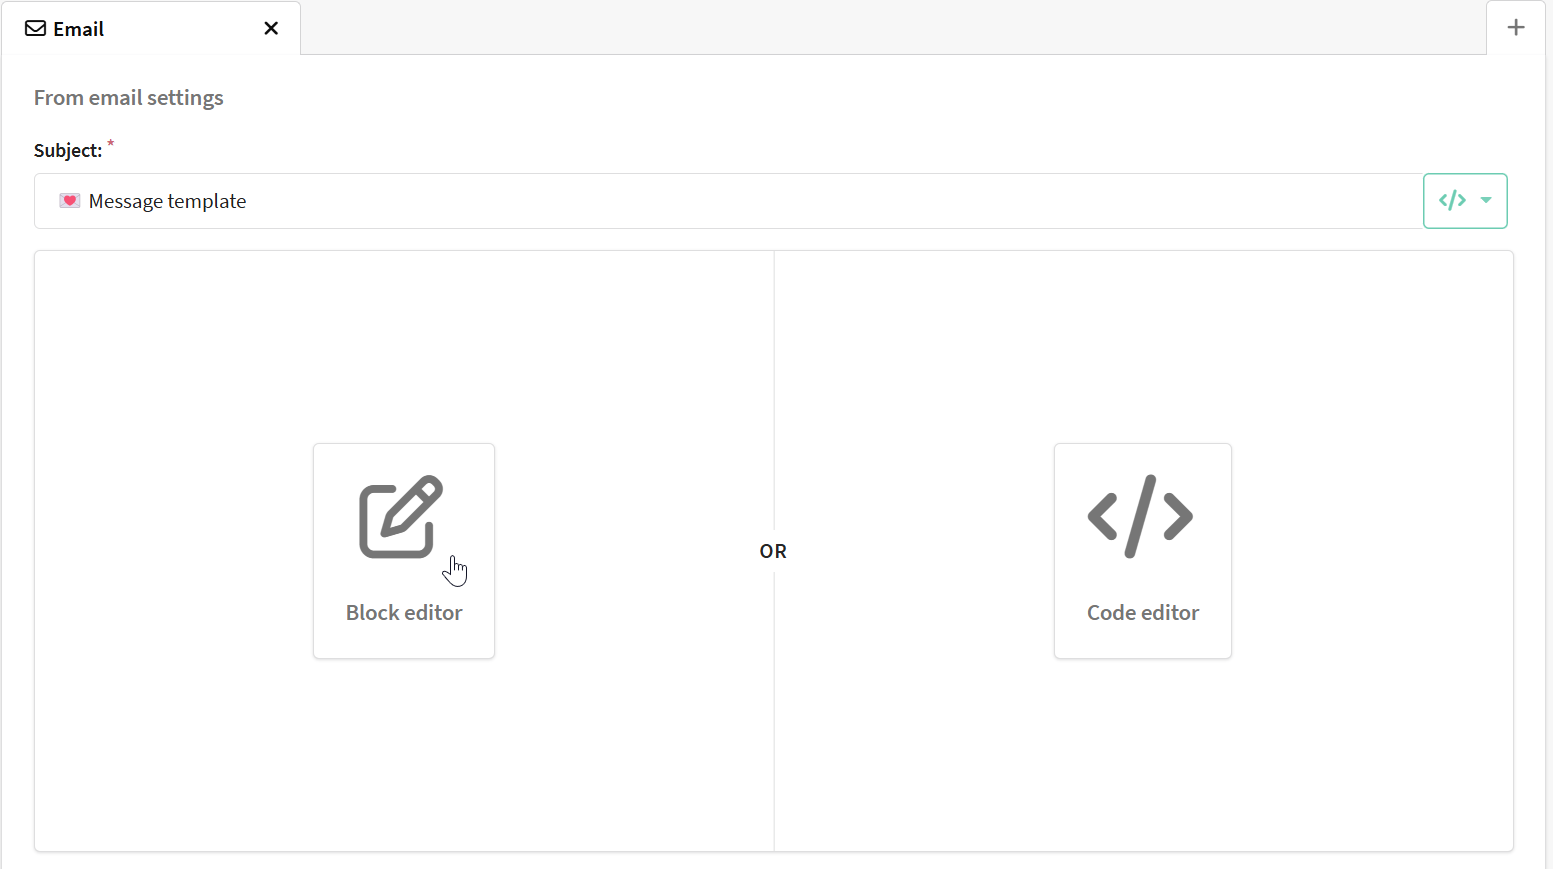
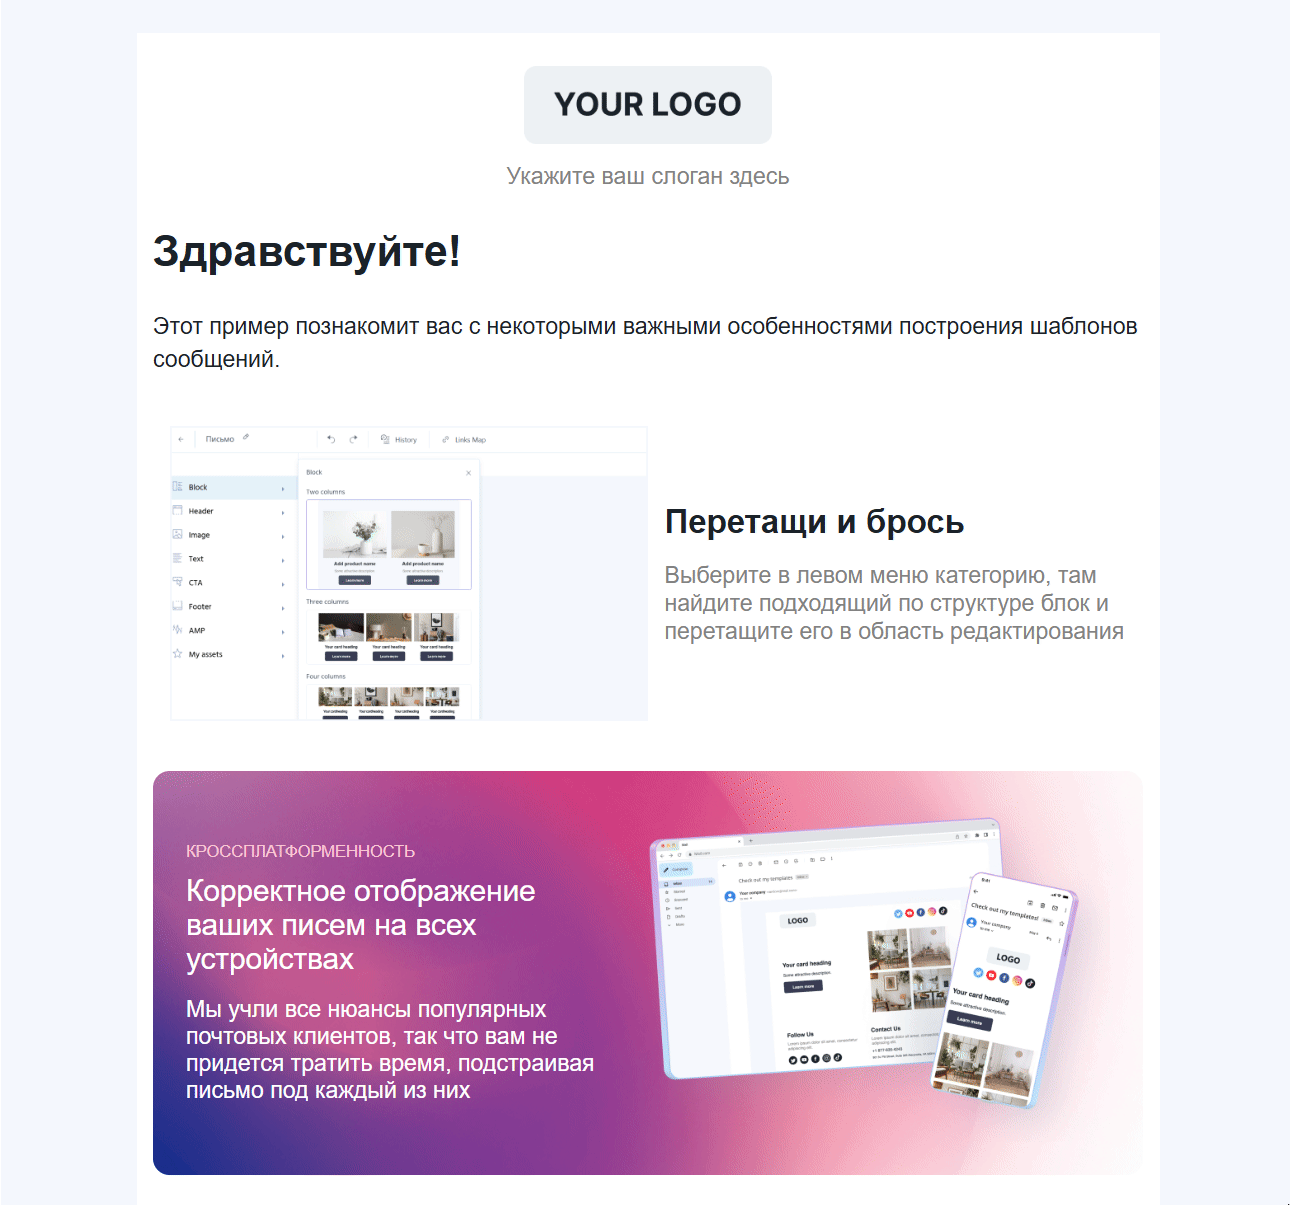
You will see an email template configuration window, select "Block Editor".
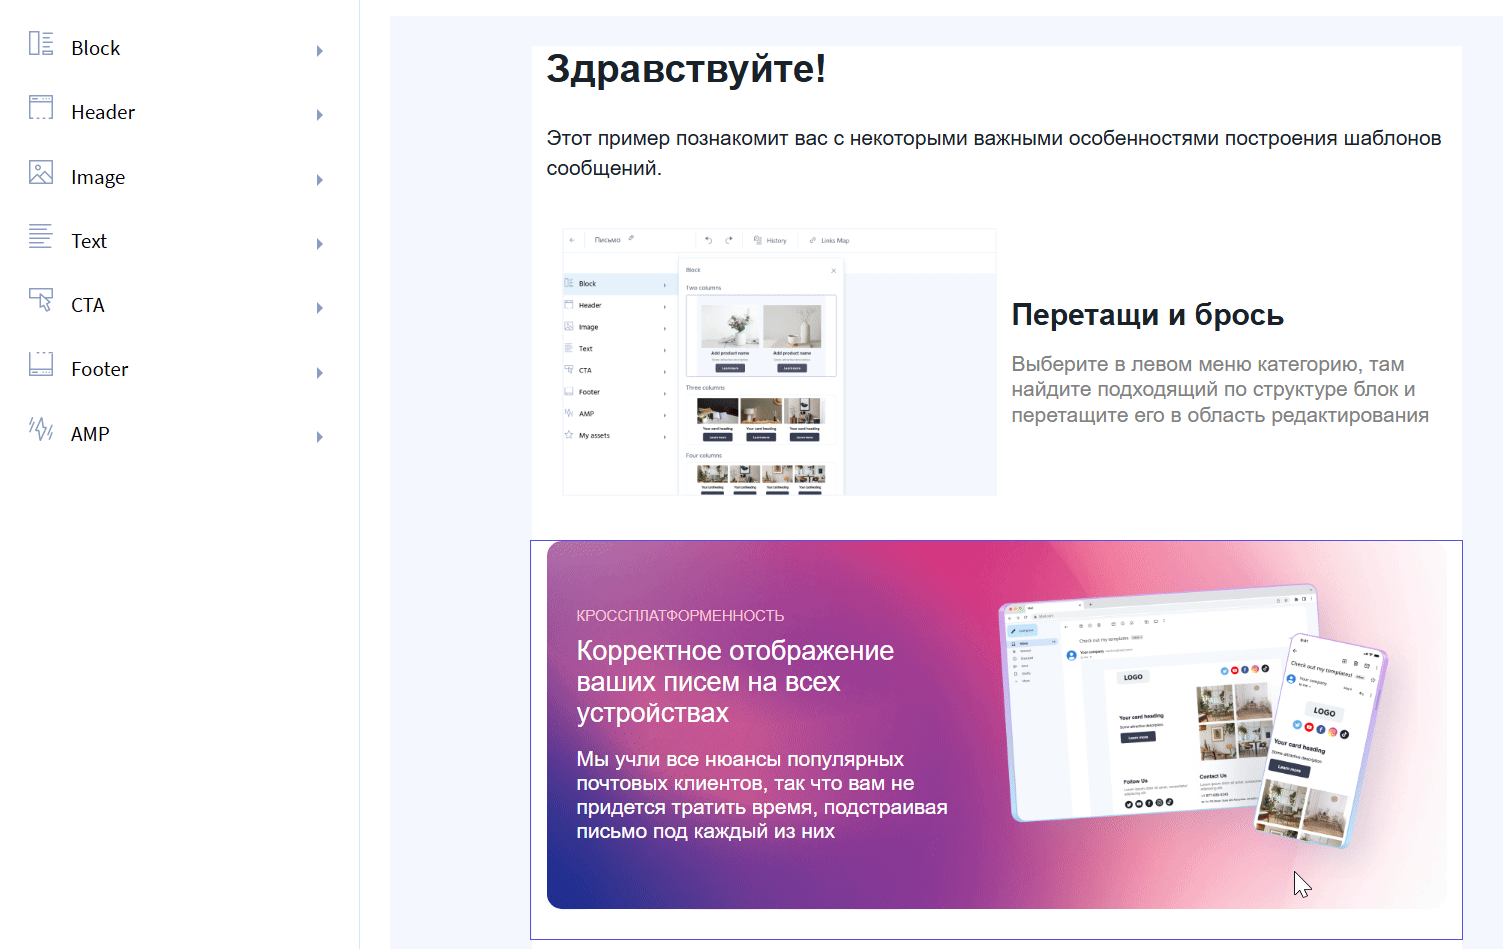
Central working area
The current email template, consisting of blocks, is displayed here.
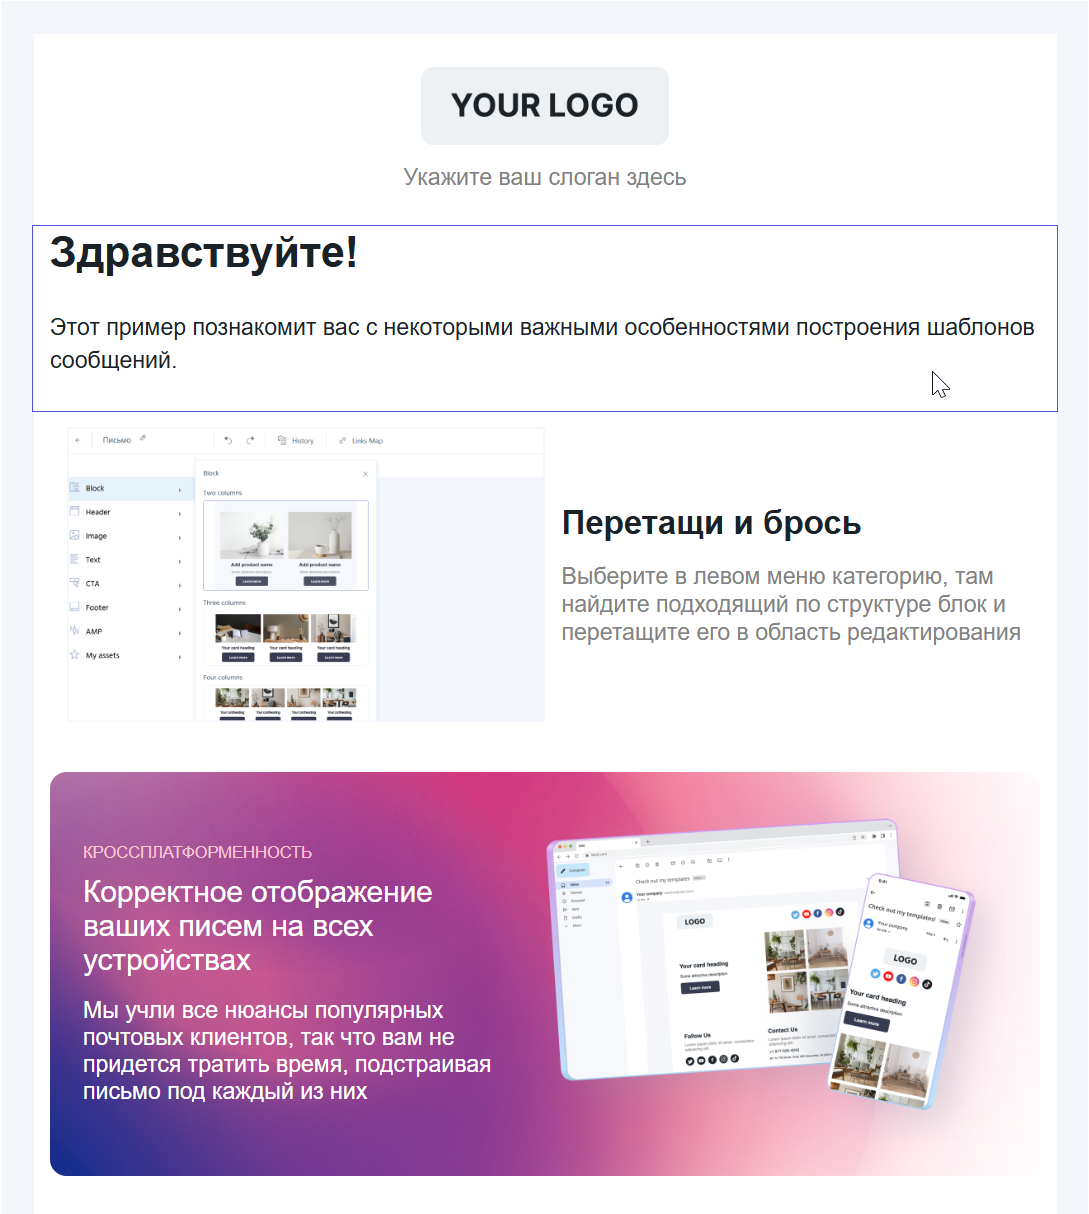
You can move the blocks, to do this select the item you want and click on the pointer or drag it manually.
Furthermore, you have additional actions available to you with the blocks of your template:
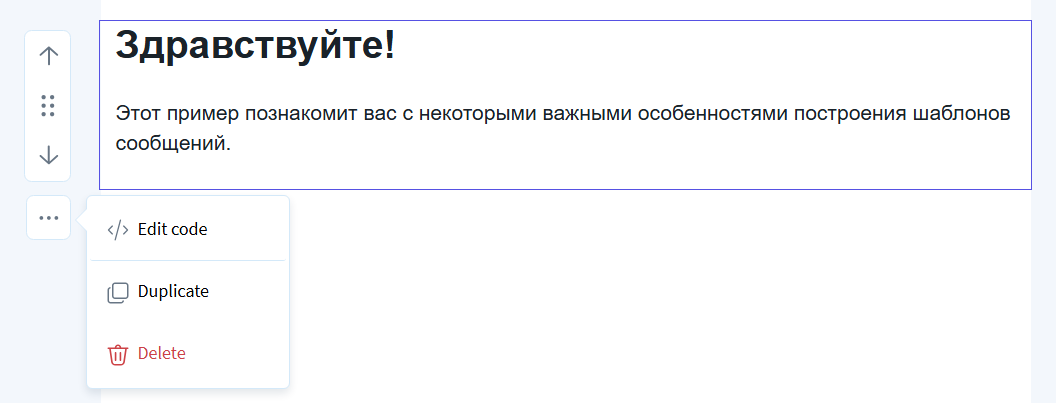
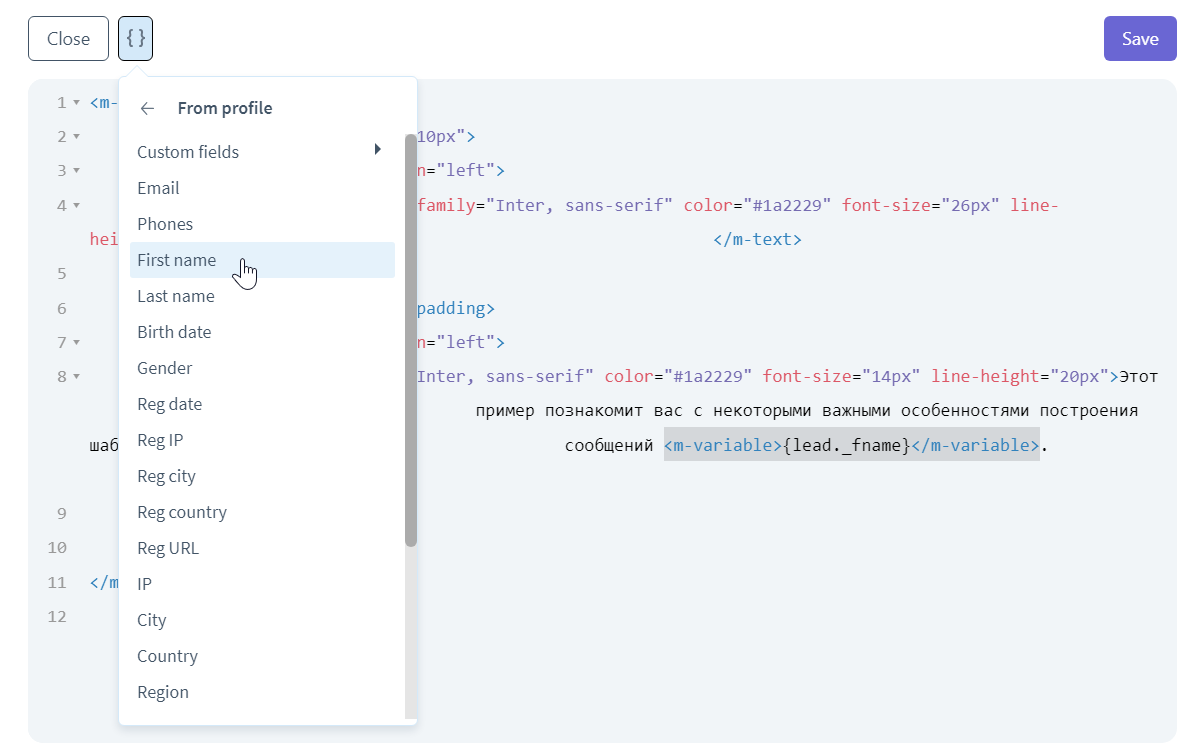
- Edit Code — provides access to the HTML code of the selected block for manual modification. In addition, you can add variables in the code editor.
-
Duplicate — creates a copy of the selected block, preserving its content, style and settings.
-
Delete — deletes the entire selected block with its contents
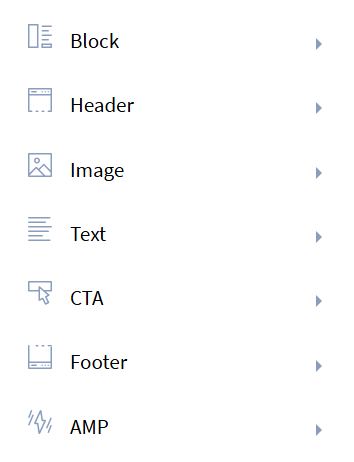
Left panel
Contains ready—made blocks categorized into categories:
 |
|
To add one of the blocks to the template, you just need to drag and drop it into the required area of the email.
Right panel
-
Design — customize the appearance of the block, including: paddings and margins, columns, colors (background, buttons and blocks), image settings.
-
Structure — allows you to edit the structure of some blocks. For example, you can remove a subheading or text in a block.
Upper operating panel

-
"Preview ” button — shows how the email template will look like on the recipient's screen, taking into account all added elements;
-
"Apply ” button — saves the changes made in the template;
-
Cross (Close) — closes the editor;
-
Cancel Action and Return Action buttons;
-
History — button to view changes made earlier;
-
Links Map — helps you quickly find, edit or check links without having to go through the entire template manually;
-
Settings button — allows you to customize the preheader of your email. Preheader is a text that is displayed right after the subject line in email clients. It serves as a brief description of the e-mail content and helps to interest the recipient by complementing the subject. In this block editor, the preheader is an invisible element. This means that it is not displayed in the email body itself, but its text is visible to the recipient in the preview bar next to the subject line in the email client.
Working with the template after creation
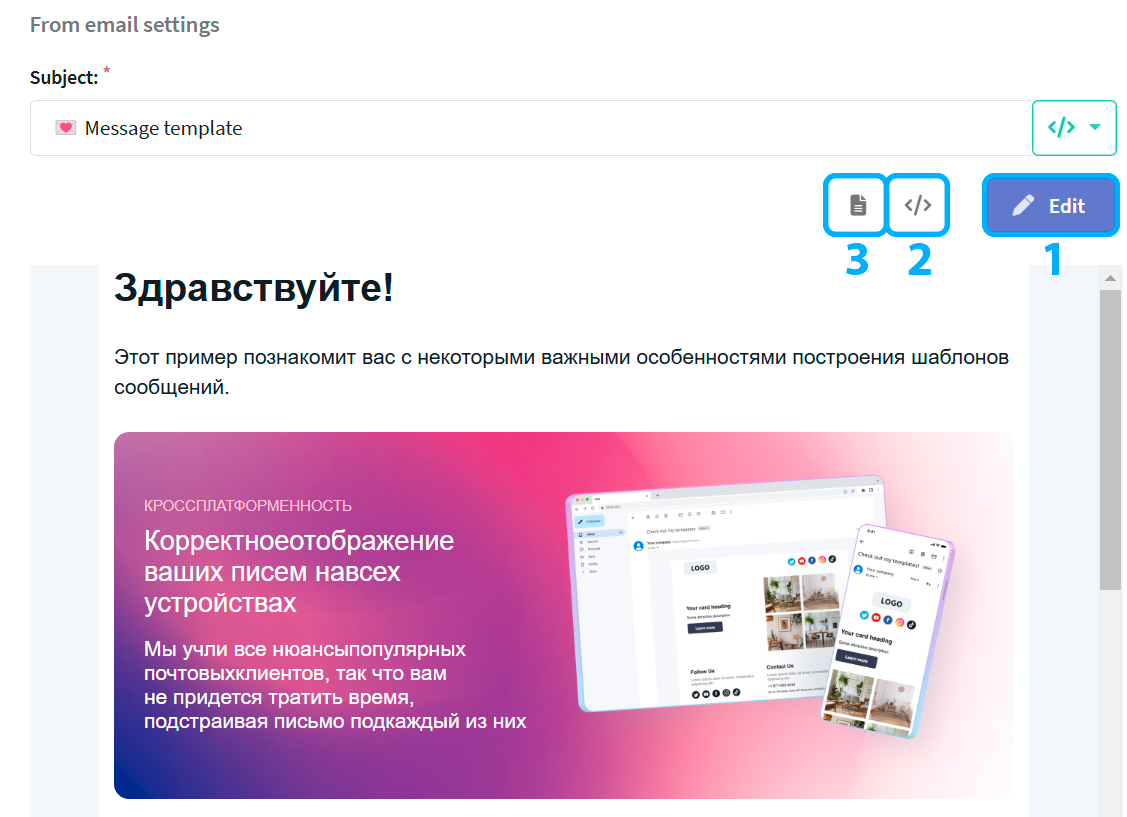
After creating a template and applying the changes, you will have several actions available to you:
-
"Edit" button - allows you to return to the editor and make changes to the template;
-
"Show template code" button - shows HTML code of the created template:
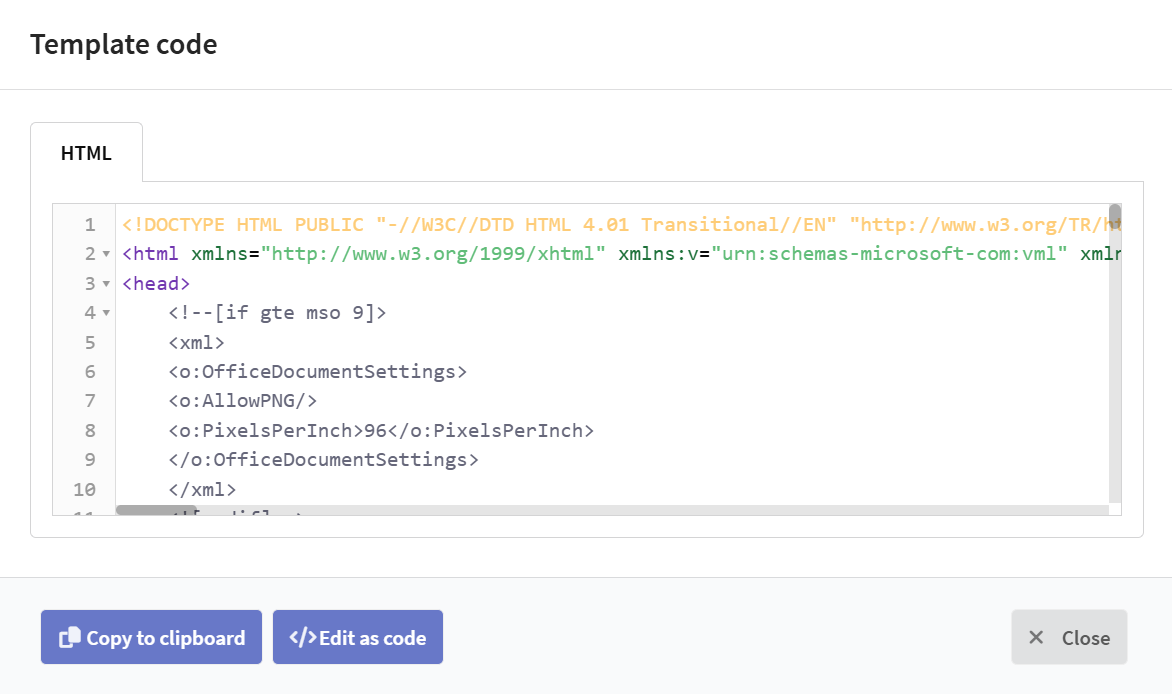
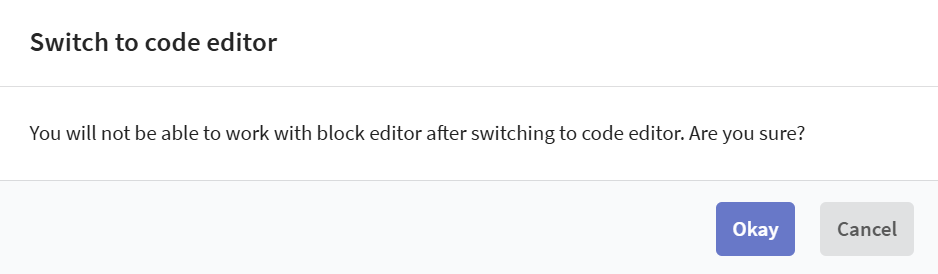
You can go to the code editor from the window that appears by clicking the "edit as code" button, but you will no longer be able to edit your template in the block editor.
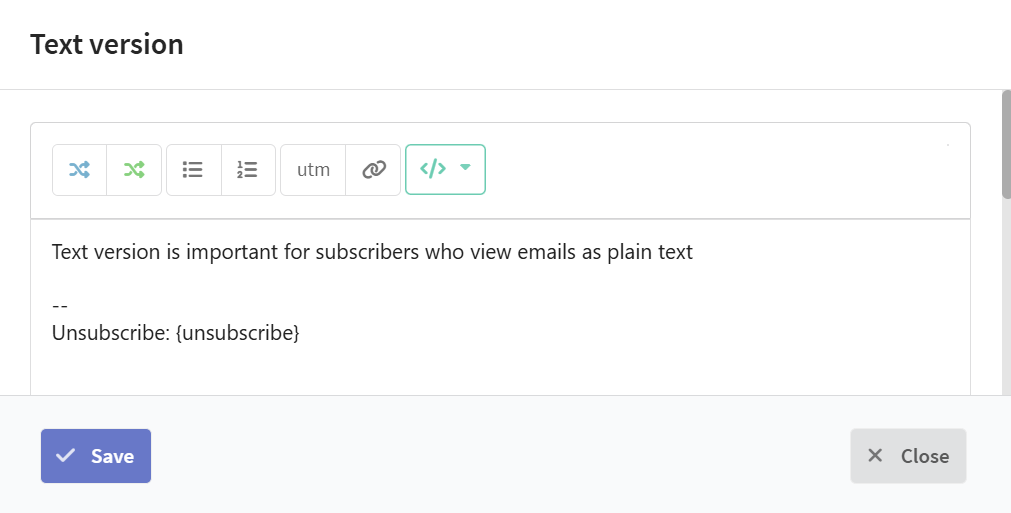
- "Edit text version" button — demonstrates the text version of your template, it also allows to edit it.